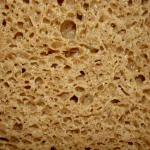
How to Use a Proofing Basket for Perfect Artisan Bread
The trick to baking round, tall artisan bread is learning how to use a proofing basket for artisan bread the right way. A good banneton holds dough gently while it rises, and it gives high-hydration doughs the side support they need. Most home bakers lose that battle on a bare countertop.
The breathable cane pulls surface moisture away before the dough can turn sticky.
Most cane baskets run 8 to 10 inches wide and comfortably hold a 500g to 1kg dough ball. Per USDA food safety guidance, raw flour should stay dry and away from damp cloths, which is why a breathable basket beats a plastic mixing bowl. Our research across manufacturer specs, baking forums, and verified buyer reviews shows one consistent pattern.
Basket prep determines whether the dough releases cleanly or sticks.
Quick Answer
Dust the basket with rice flour. Place the shaped dough seam-side up inside. Let it proof until puffy and slow to spring back.
Flip it out, score it, and bake. For best flavor, cold-proof in the fridge for 12 to 24 hours.
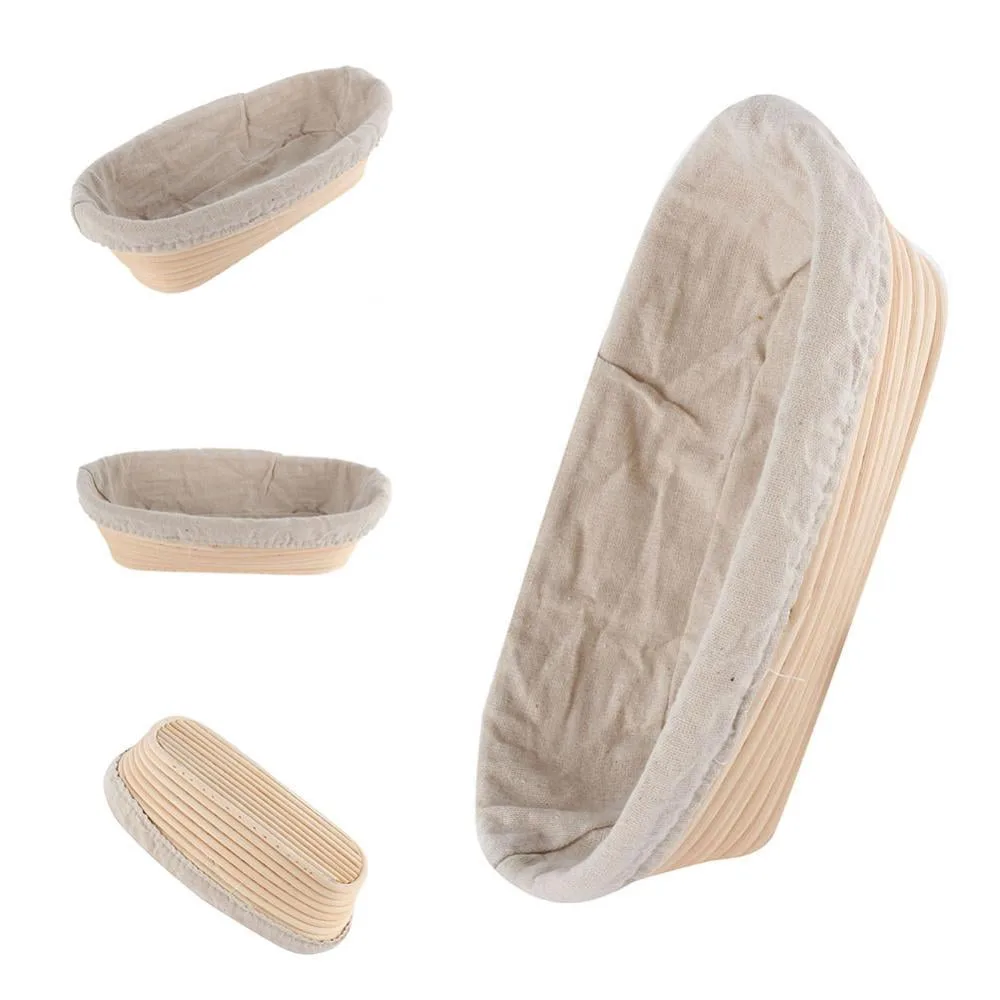
What a Proofing Basket Actually Does (and Why It's Worth It)
Think of a banneton as a shaping mold that keeps working while the dough ferments. The walls give the loaf structure, so a soft 75% hydration dough doesn't slump. The breathable material dries the surface just enough.
That thin, dry skin is what makes a clean, deep score possible.
- It holds your shape through the final proof.
- It moves moisture away from the dough surface.
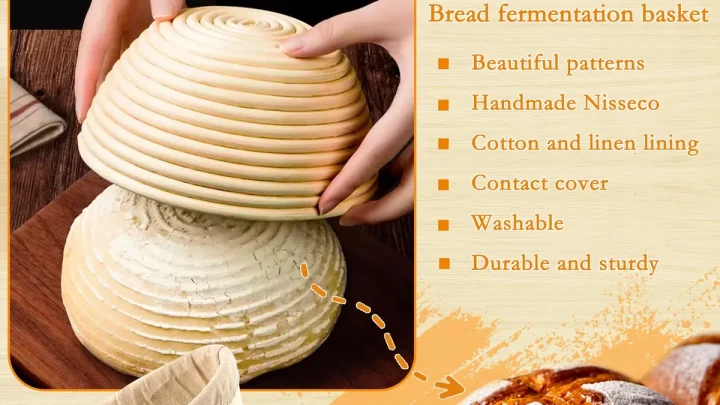
- It leaves those classic spiral ridges on the crust.
- It lets you cold-proof overnight without a sticky mess.
Most bakers add a banneton to their toolkit after one frustrating flat loaf. It won't fix bad shaping. But it gives you a much larger margin for error, especially with slack, high-hydration doughs.
In our research, the biggest jump in crumb structure came from bakers using a basket instead of a bowl.
Choosing the Right Basket: Round vs. Oval, Cane vs. Wood Pulp
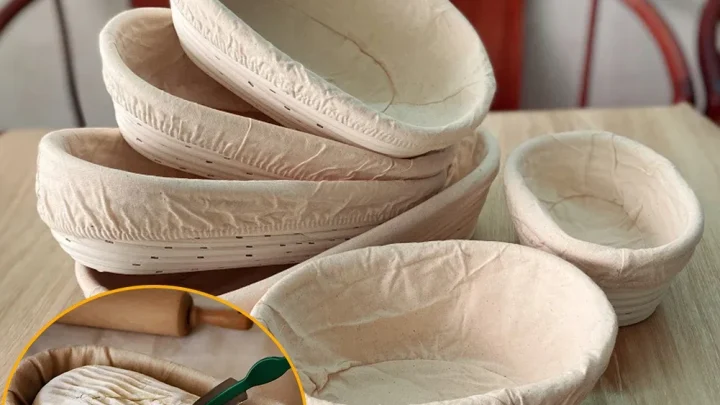
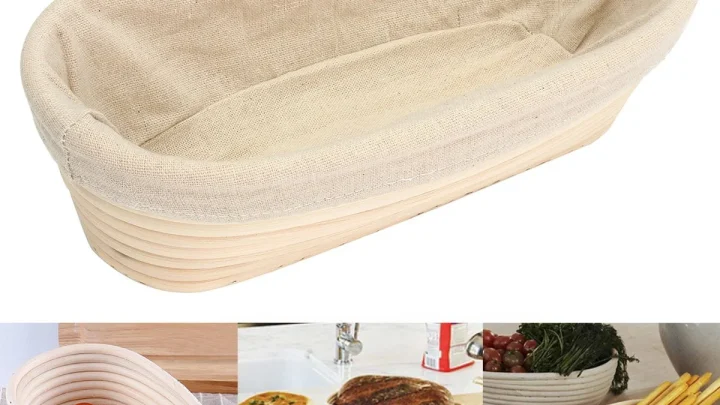
Before you can use a proofing basket, you have to pick one that fits your loaf. Round baskets, usually called boule baskets, are the classic choice for artisan loaves. Oval baskets, called batard baskets, work better for sandwich-style bread and longer loaves.
Round vs. Oval
Round baskets produce a tall, circular loaf with an open crumb. Oval baskets give you a longer, flatter shape that slices into familiar sandwich pieces. For sourdough, round is the default.
For a batard, you'll want an oval.
Cane vs. Wood Pulp
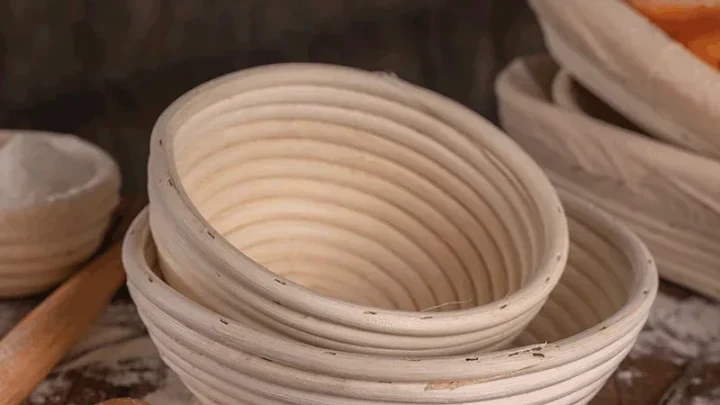
Cane rattan is traditional and breathable, but it leaves spiral marks on the crust. Wood pulp is smoother, lighter, and often easier for beginners. Both work well.
The choice really comes down to how much crust pattern you want.
| Feature | Cane Banneton | Wood Pulp Banneton |
|---|---|---|
| Material | Rattan cane | Compressed wood pulp |
| Breathability | High | Medium |
| Crust pattern | Spiral rings | Smooth |
| Release | Needs rice flour | Slightly easier |
| Care | Brush, dry only | Brush, dry only |
| Best for | Traditional sourdough | Beginners and sticky dough |
As of 2026, cane bannetons still dominate the market. But don't sleep on wood pulp. It's often cheaper and requires less fuss on release day.
Sizing Your Basket to Your Dough Weight (Don't Guess This)
Size is not a style choice. Use a basket too large and your dough will spread out instead of up. Use one too small and it will climb over the edge.
Here's a quick reference based on manufacturer specs and standard bakery practice.
| Basket Diameter | Dough Weight | Best For |
|---|---|---|
| 8 inches | 500g (about 1 lb) | Small boule |
| 9 inches | 750g to 1kg (1.5 to 2.2 lb) | Standard sourdough loaf |
| 10 inches | 1kg to 1.2kg (2.2 to 2.6 lb) | Large or high-hydration loaf |
For oval batard baskets, go by length. A 9-inch batard basket holds about 500 to 750g of dough. A 12-inch holder handles closer to 1kg.
High-hydration dough weighs more and spreads more. At 80% hydration, choose a slightly smaller basket than you'd normally use. That gives the sidewalls more room to support the dough.
First-Time Prep: Seasoning Your Banneton Before It Ever Touches Dough
New bannetons ship with loose fibers and a little sawdust. You should not bake bread in one straight out of the box. Give it a quick seasoning first.
- Brush out the loose cane bits with a dry pastry brush.
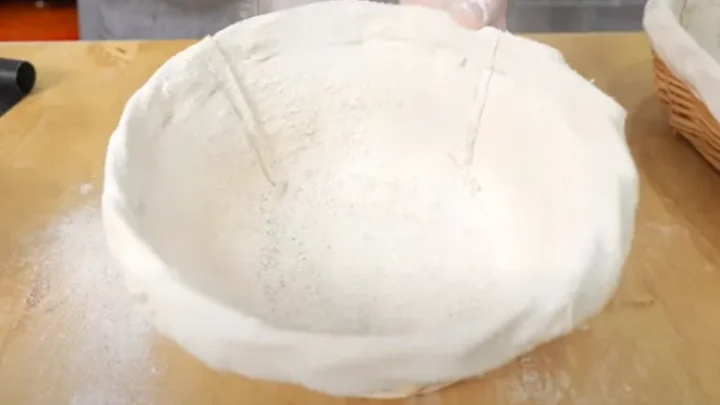
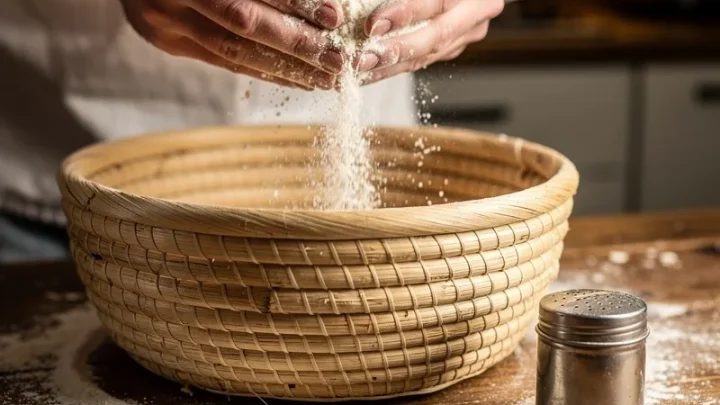
- Dust the inside with rice flour and rub it in with your hands.
- Let the basket sit in a dry spot overnight.
- Shake out the excess flour before your first use.
That simple routine builds a non-stick layer over time. Each bake adds a little more flour to the weave, which makes the next release easier.
Never submerge a cane or wood pulp banneton in water. Moisture works its way into the material and can cause mold. Per USDA Food Safety and Inspection Service guidance, raw flour should be kept dry and away from damp surfaces.
If you ever spot mold in your basket, throw it out and start fresh.
The Right Way to Flour a Basket: Why Rice Flour Wins
Rice flour is the standard for a reason. All-purpose flour absorbs moisture from the dough and turns into a sticky paste. Rice flour, especially finely ground white rice flour, stays dry and works like tiny ball bearings.
It lets the dough release cleanly without sticking to the weave.

- Use about 1 to 2 tablespoons for a 9 inch basket.
- Sprinkle it evenly around the walls and base.
- Tilt and tap to coat every surface.
- Shake out the excess before placing the dough.
Don't bother with glutinous or sweet rice flour. Regular rice flour is what you want. If you're baking gluten-free, rice flour is naturally safe, though you'll still need a clean, dry basket.
A light, even coat beats a thick, clumpy one every time.
Shaping Your Dough for the Basket: The Visual Checklist
A good shape is what turns a nice rise into a beautiful loaf. The basket can't fix a ragged, loose pre-shape. Spend 30 seconds on the counter before the basket does its work.
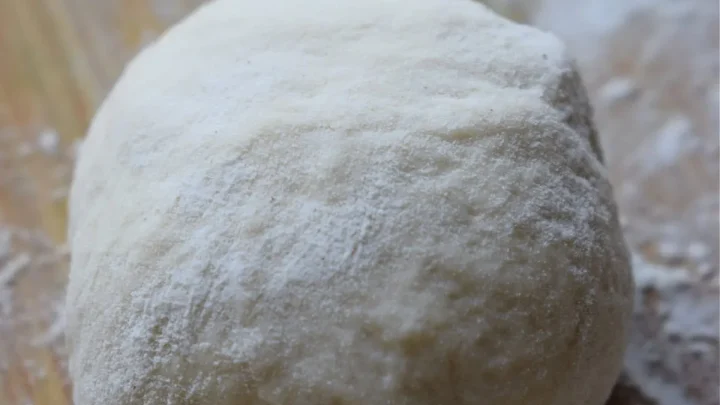
Start with a preshape. Fold the dough into a ball and let it rest covered for 20 to 30 minutes. That relaxes the gluten so the final shape holds better.
Then do the final shape. Place the dough top-side down. Fold the left and right edges in.
Roll it up tight, and pinch the seam shut.
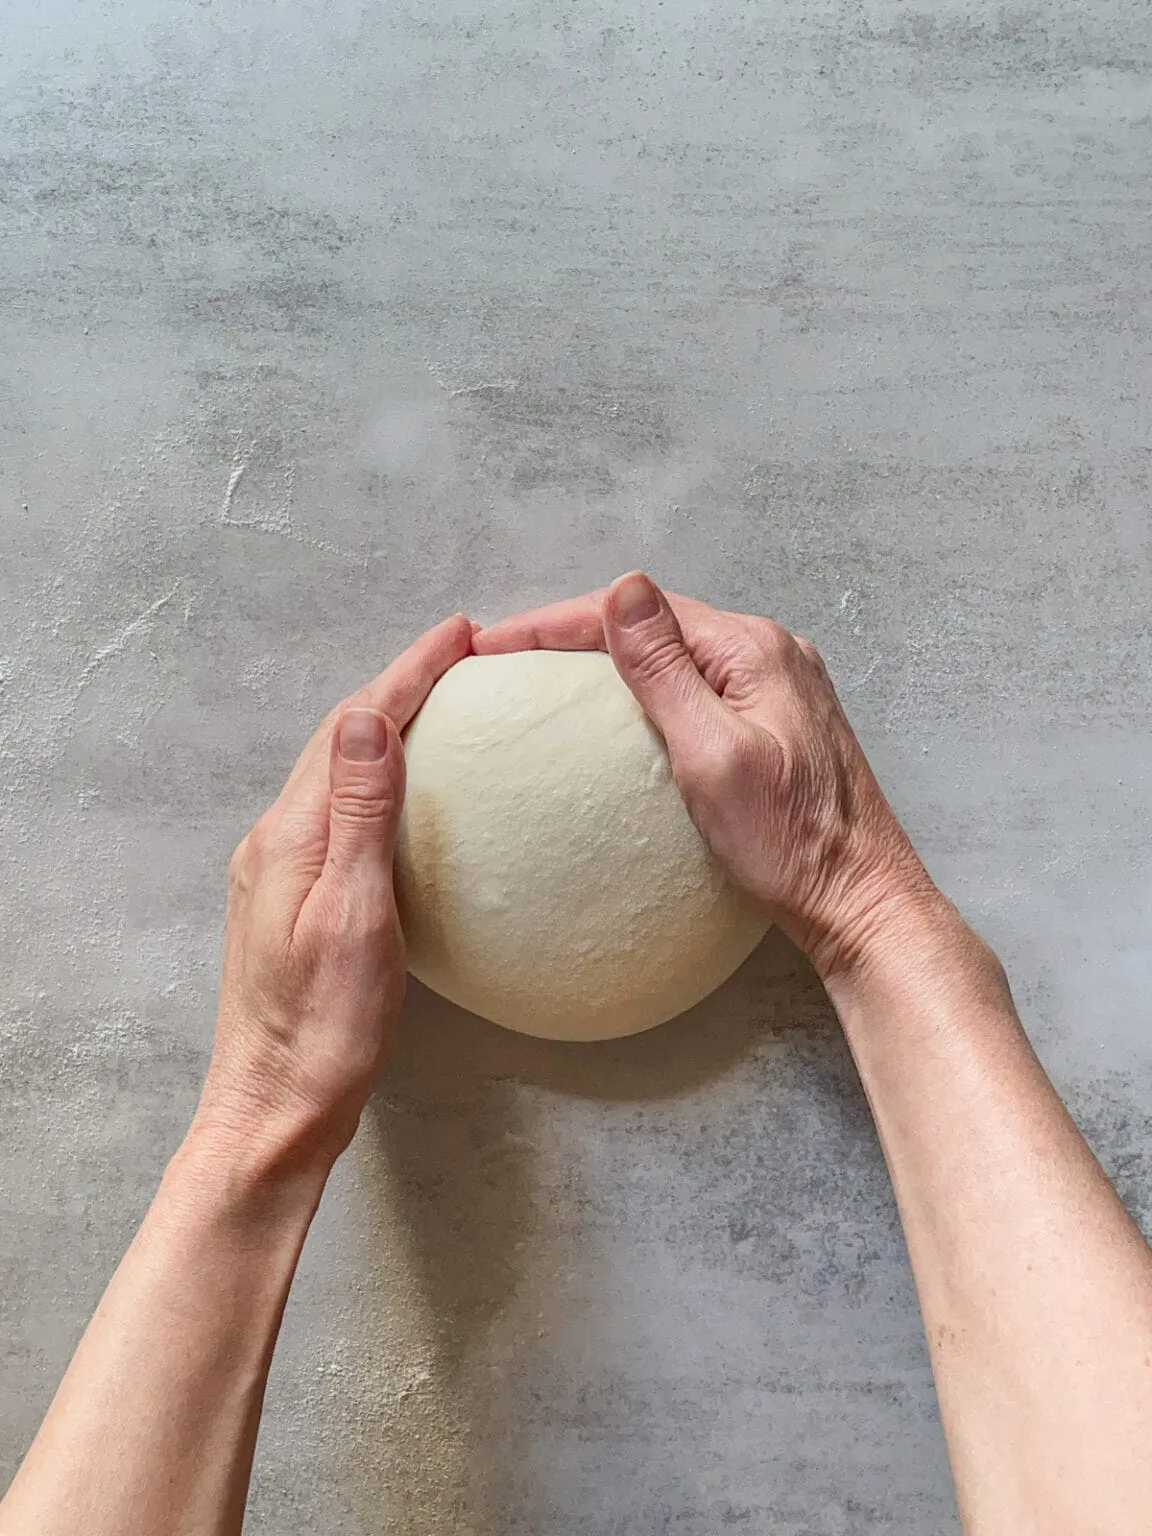
Here's what to look for before it goes in.
- The top surface is smooth and taut.
- The seam is pinched shut along the bottom.
- There are no large bubbles or tears on the skin.
- The dough holds its shape for a few seconds untouched.
If the dough flattens quickly, it's underproofed or over-hydrated for your flour. If it tears, you might need a little more water or a shorter rest. Adjust next batch and tighten the shaping.
Proofing Step-by-Step: What You Should See at Every Stage
Proofing happens in stages, and knowing what to expect at each one tells you if you're on track. At the start, the dough sits in the basket like a heavy, dense ball. An hour in at room temperature, it starts to flatten slightly and puff.
The dough signs are easy to read if you know them. The surface becomes smoother. Small bubbles appear under the skin.
The volume gently increases.
Use visual cues, not just time. A 75% hydration dough at 70°F (21°C) typically needs 2 to 3 hours on the counter. The exact window depends on your starter, room temp, and flour.
Here's a rough time-to-bake reference for a 750g loaf.
| Condition | Time | Visual Cue |
|---|---|---|
| Room temp 70°F | 2 to 3 hours | Puffy, 40% larger |
| Room temp 78°F | 1.5 to 2 hours | Puffy, jiggly |
| Cold fridge 38°F | 12 to 24 hours | Firm, slightly risen |
| Cold fridge 38°F | 24 to 48 hours | Very risen, sour smell |
You're looking for a dome, not a pancake. The dough should feel alive when you tap it, like a firm water balloon.
Cold Retarding in the Banneton: The Overnight Upgrade
Cold retarding is the easiest way to improve flavor and strengthen the crust. It also buys you a flexible schedule. Mix in the morning, shape in the evening, and bake the next day.
Time and temperature control the outcome. Set your fridge to 38°F (3°C). Between 12 and 24 hours is the sweet spot for most sourdough recipes.
The dough will feel hard when you take it out. That's normal. It softens as it warms, so work quickly when you flip it.
Cold dough scores cleaner than warm dough. A firm, cold loaf holds its shape better and gives you that dramatic oven spring. If you want more sour notes, push the ferment toward 24 hours.
Beyond 48 hours, the dough can overproof, so keep an eye on it.
Visual Clues the Dough Is Ready to Bake (and When You've Overproofed It)
The poke test works, but only if you know what it looks like. Gently press a floured finger into the dough about half an inch. If the indentation springs back slowly and leaves a dimple, it's ready to bake.
If it springs back immediately, it needs more time.
Overproofed dough gives you a clear warning. The surface looks slack, the dough spreads in the basket, and it smells noticeably sour or a bit alcoholic. When you flip it, it collapses rather than holding its dome.
Here's a quick comparison to keep by the oven.
| Ready Dough | Overproofed Dough |
|---|---|
| Firm, puffy dome | Flat, wide dome |
| Springs back slowly | Imprint sticks in place |
| Clean seam on bottom | Slightly sticky seam |
| Mild sour aroma | Sharp, tangy smell |
If your dough is overproofed, you can still bake it. Slash it gently, lower the oven temp by 25°F (14°C), and expect a flatter crumb with a more intense flavor. Bread is never wasted.
Flipping, Scoring, and Getting That Beautiful Basket Ring on the Crust
The flip reveals whether all your prep paid off. Place a sheet of parchment paper over the basket. Hold it firmly with both hands, then turn the whole thing upside down in one confident motion.
The dough should release with a soft thud. If it sticks, use your fingers to gently peel the basket liner away. Do not pull the dough.
Let gravity do the work.
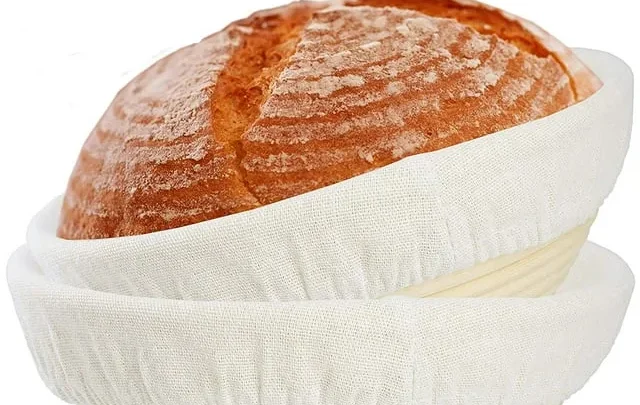
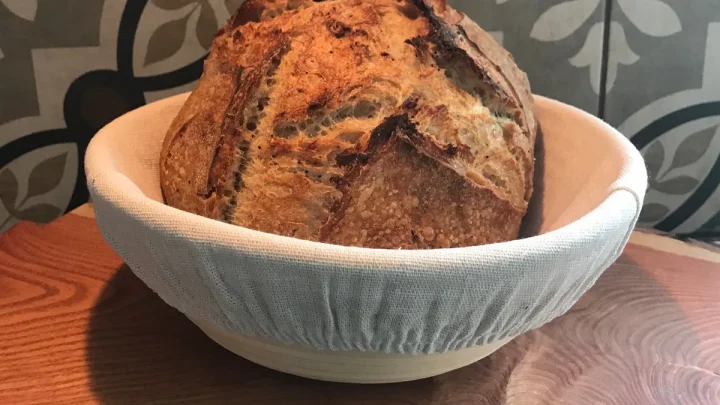
Now you should see the spiral rings on the surface. Those marks come from the cane, and they add a rustic look that screams artisan.
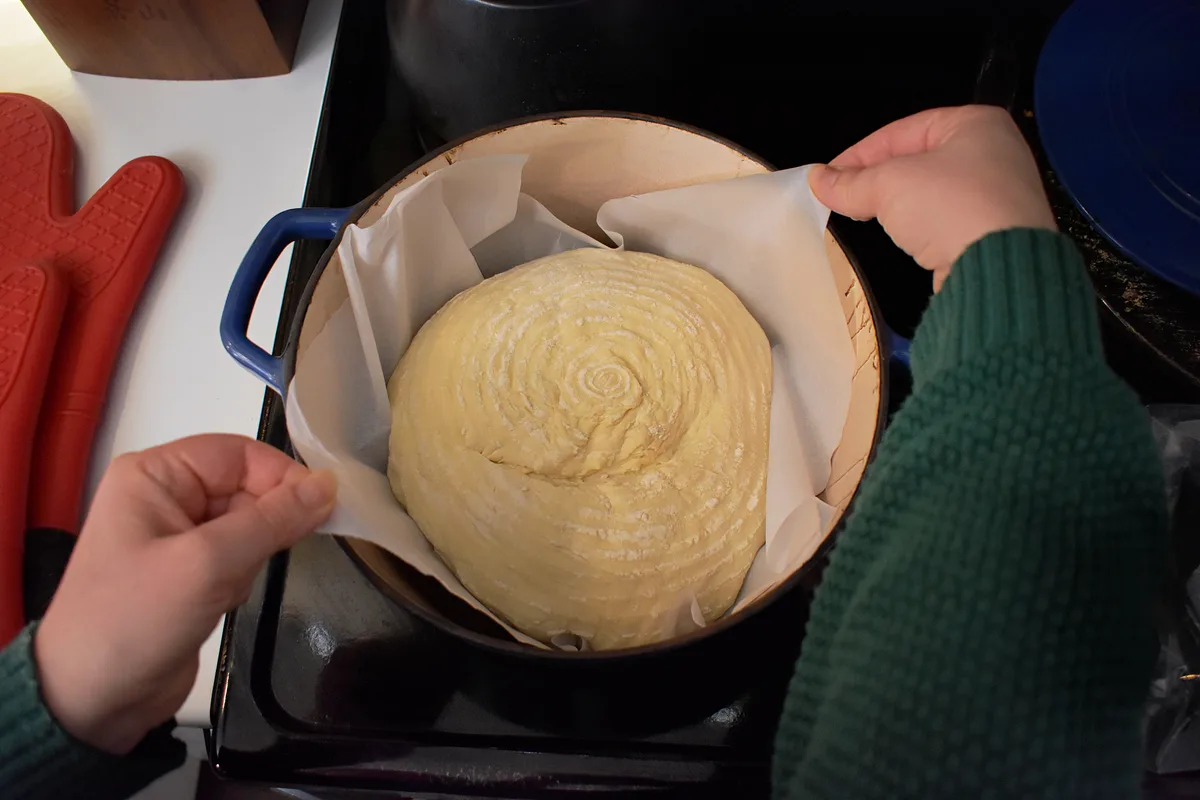
Scoring comes next. Use a lame or sharp blade, hold it at a 30-degree angle, and make one confident slash about half an inch deep. The dough will open up in the oven, creating that beautiful ear.
A light dusting of rice flour before the flip keeps the weave pattern crisp. It also stops the dough from sticking to the parchment. Bake at 450°F (232°C) with steam, and watch the loaf rise.
The basket ring stays light, baked into the crust, reminding you that the proof is in the bake.
Common Visual Mistakes: Sticking, Spreading, and Broken Loaves
Dough sticking to the basket is the most common failure we see in baking forums. Usually it comes down to one of three mistakes. Not enough rice flour, too much moisture, or a basket that wasn't seasoned.
Here's how to diagnose what went wrong.
| Mistake | Visual Sign | The Fix |
|---|---|---|
| Sticking dough | Dough tears on release | Use more rice flour, chill the basket |
| Spreading dough | Flat, wide loaf after flip | Shorten proof time, reshape tighter |
| Broken seam | Ragged splits on crust | Pinch seam properly before basket |
| Stuck flour clumps | White blotches on crust | Dust lightly, shake out excess |
Add a fridge rest for sticky dough. Thirty minutes in the cold firms it up and makes the flip much cleaner.
Lined vs. Unlined Bannetons: When You Need the Cloth Liner
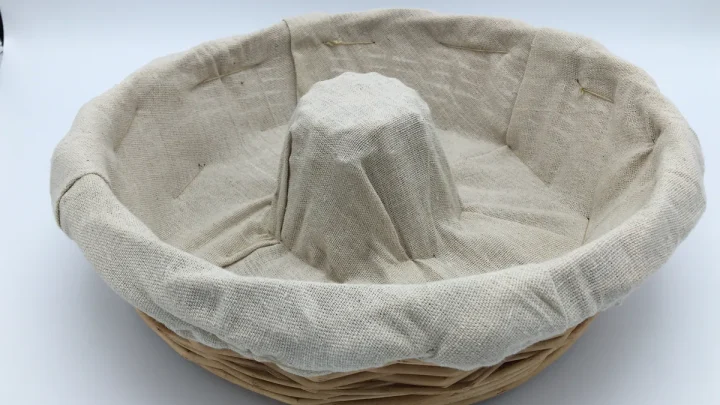
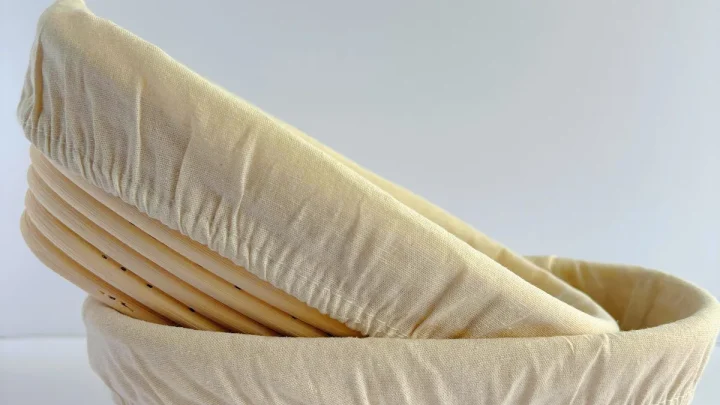
A lined banneton uses a linen insert that sits inside the cane. It's the right choice for very wet doughs and for bakers who want a smooth, flour-dusted finish.
Unlined baskets leave beautiful spiral marks directly on the crust. That's the classic artisan look, but the dough needs to be slightly stronger. If your dough is above 80% hydration, the liner spares you a lot of trouble.
- Use lined for sticky, high-hydration doughs.
- Use unlined for stiff, low-hydration doughs.
- Use lined if you're new to proofing baskets.
- Use unlined if you want the rings on the crust.
Both are worth owning over time. Start with one lined basket while you master the basics.
Cleaning and Storing Your Banneton Without Worrying About Mold
Never wash your banneton with water. Cane and wood pulp absorb moisture, which is exactly what mold needs. Instead, brush out the excess flour after every use and let it air dry.
If dough is stuck to the liner, wait for it to dry and then rub it out. For the basket itself, a dry pastry brush works best.
Store your banneton in a dry spot with some airflow. A paper bag works nicely. Avoid airtight plastic containers, they trap moisture.
One warning to take seriously. If you see black or green fuzzy spots, mold has taken hold. Per USDA Food Safety and Inspection Service guidance, throw out the basket and replace it.
Moldy baskets are not safe to bake with.
Frequently Asked Questions
Do you have to use a proofing basket for sourdough?
No, but it makes the process easier. A bowl lined with a floured kitchen towel works in a pinch. The basket adds structure, breathability, and those pretty ridges.
For high-hydration dough, the basket gives you the best chance of a tall, round loaf.
How much dough goes in an 8 inch banneton?
About 500g of dough fits comfortably. A 9-inch basket handles 750g to 1kg. If you overload the basket, the dough climbs over the edge and sticks.
Weigh your dough before shaping and match it to your basket size.
Why does my dough stick to the proofing basket?
There are three common causes. Too little rice flour, a poorly seasoned basket, or a cloth liner that's gone damp. Dust the basket thoroughly, let it air dry completely, and refrigerate sticky dough for 30 minutes before flipping.
Should I use rice flour or all-purpose flour?
Rice flour wins every time. All-purpose flour absorbs moisture and turns into a sticky paste that glues dough to the basket. Rice flour stays dry and acts like tiny ball bearings.
It gives you a clean release and leaves a better crust pattern.
How long can dough sit in a banneton in the fridge?
Twelve to twenty-four hours at 38°F (3°C) is the sweet spot. You can push to 48 hours, but flavor gets more sour and the risk of overproofing climbs. Use the poke test before you bake, not just the clock.
The Takeaway
Using a proofing basket is about giving your dough the support it needs to hold its shape. Season it, dust it with rice flour, shut your seams, and don't be afraid of the fridge. Each bake teaches you one small thing about your dough, your flour, and your timing.
Keep the basket dry, keep the flour even, and trust the process. The ring on your crust is proof that you did it right.

Similar Posts