Bread Machine Times: How Long Does It Really Take?
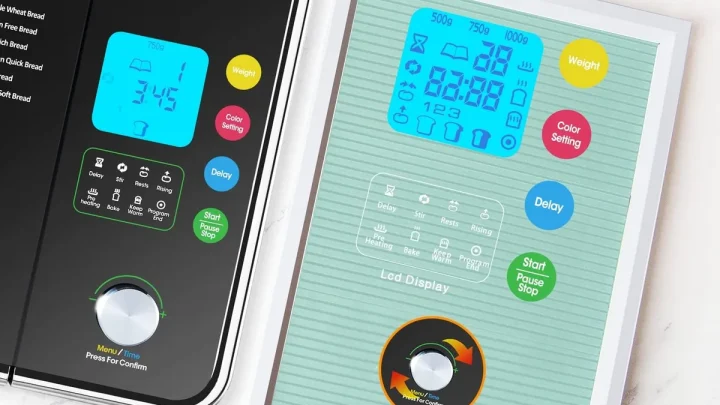
So, you've just unpacked a bread machine, and now you're staring at a control panel full of options wondering what you've gotten into. Real talk: how long does a bread machine take isn't the simple, one-number answer you were hoping for. It depends entirely on which cycle you pick, how big your loaf is, and whether you're using the delay timer to plan around dinner or a morning wake-up.
The good news? Once you understand the math behind each setting, the mystery disappears fast.
Manufacturer specifications indicate that the most common basic bread cycle runs between 2 hours 50 minutes and 3 hours, with rapid cycles cutting that nearly in half. As of 2026, even budget-friendly machines include at least five presets, and the differences between them can span over two hours. Let's break it all down so you can predict exactly when your kitchen will smell like fresh bread.
Quick Answer
A bread machine takes between 1 hour 20 minutes and 4 hours total. Your chosen cycle determines the time. The standard white bread program typically runs about 3 hours.
Rapid cycles finish fastest, often around 90 minutes. Whole grain or gluten-free presets require the longest, usually 3 to 4 hours. Plan your schedule around the preset you select.
Core Explanation: What the Machine Actually Does in Those Minutes
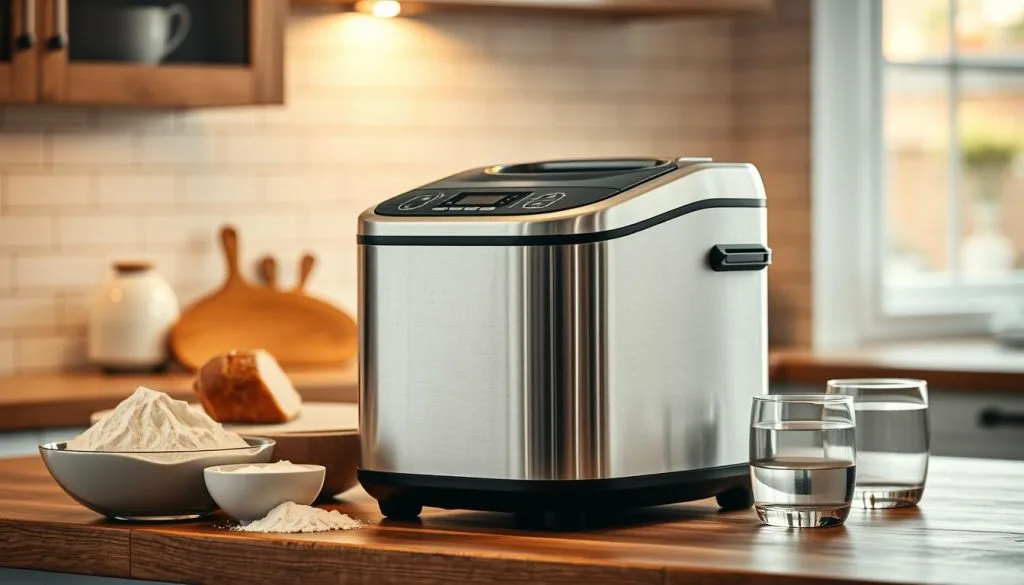
A bread machine isn't just a tiny oven. It's a fully automated mini-bakery that handles mixing, kneading, proofing, and baking inside one sealed box. The total time adds up because the machine moves through distinct stages, and each stage has a minimum duration that helps develop gluten and flavor.
You can't really rush a good rise without getting a dense brick.
The stages break down into five jobs, as shown in the diagram above. First, a warm-up phase gets ingredients to the right temperature. Then the paddle kneads the dough, developing gluten structure.
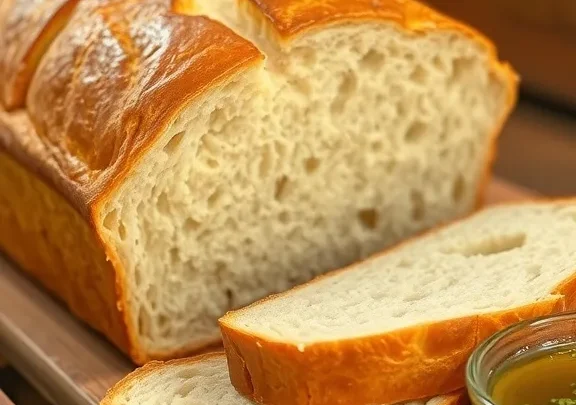
Next comes the rise stage, where yeast produces carbon dioxide and the dough expands. Some cycles add a punch-down step to redistribute the yeast before a second rise. Finally, the heating element bakes the loaf until the crust turns golden.
| Stage | What It Does | Typical Duration |
|---|---|---|
| Warm-up | Brings ingredients to optimal yeast temperature | 10–20 minutes |
| Knead | Develops gluten and mixes ingredients thoroughly | 15–30 minutes |
| First rise | Yeast ferments and dough rises | 30–60 minutes |
| Punch-down | Releases gas and redistributes yeast (optional) | 1–5 minutes |
| Second rise | Additional proofing for lighter texture | 20–40 minutes |
| Bake | Heat sets the crumb and forms the crust | 35–60 minutes |
The total adds up quicker than you'd think because those stages stack sequentially. A basic cycle doesn't spend all 3 hours baking. It spends most of the time waiting for the dough to rise, which is exactly what makes bread machines so convenient.
You're not doing the waiting. The machine handles every awkward pause between steps automatically.
Cycle-by-Cycle Breakdown: How Each Preset Changes Your Time
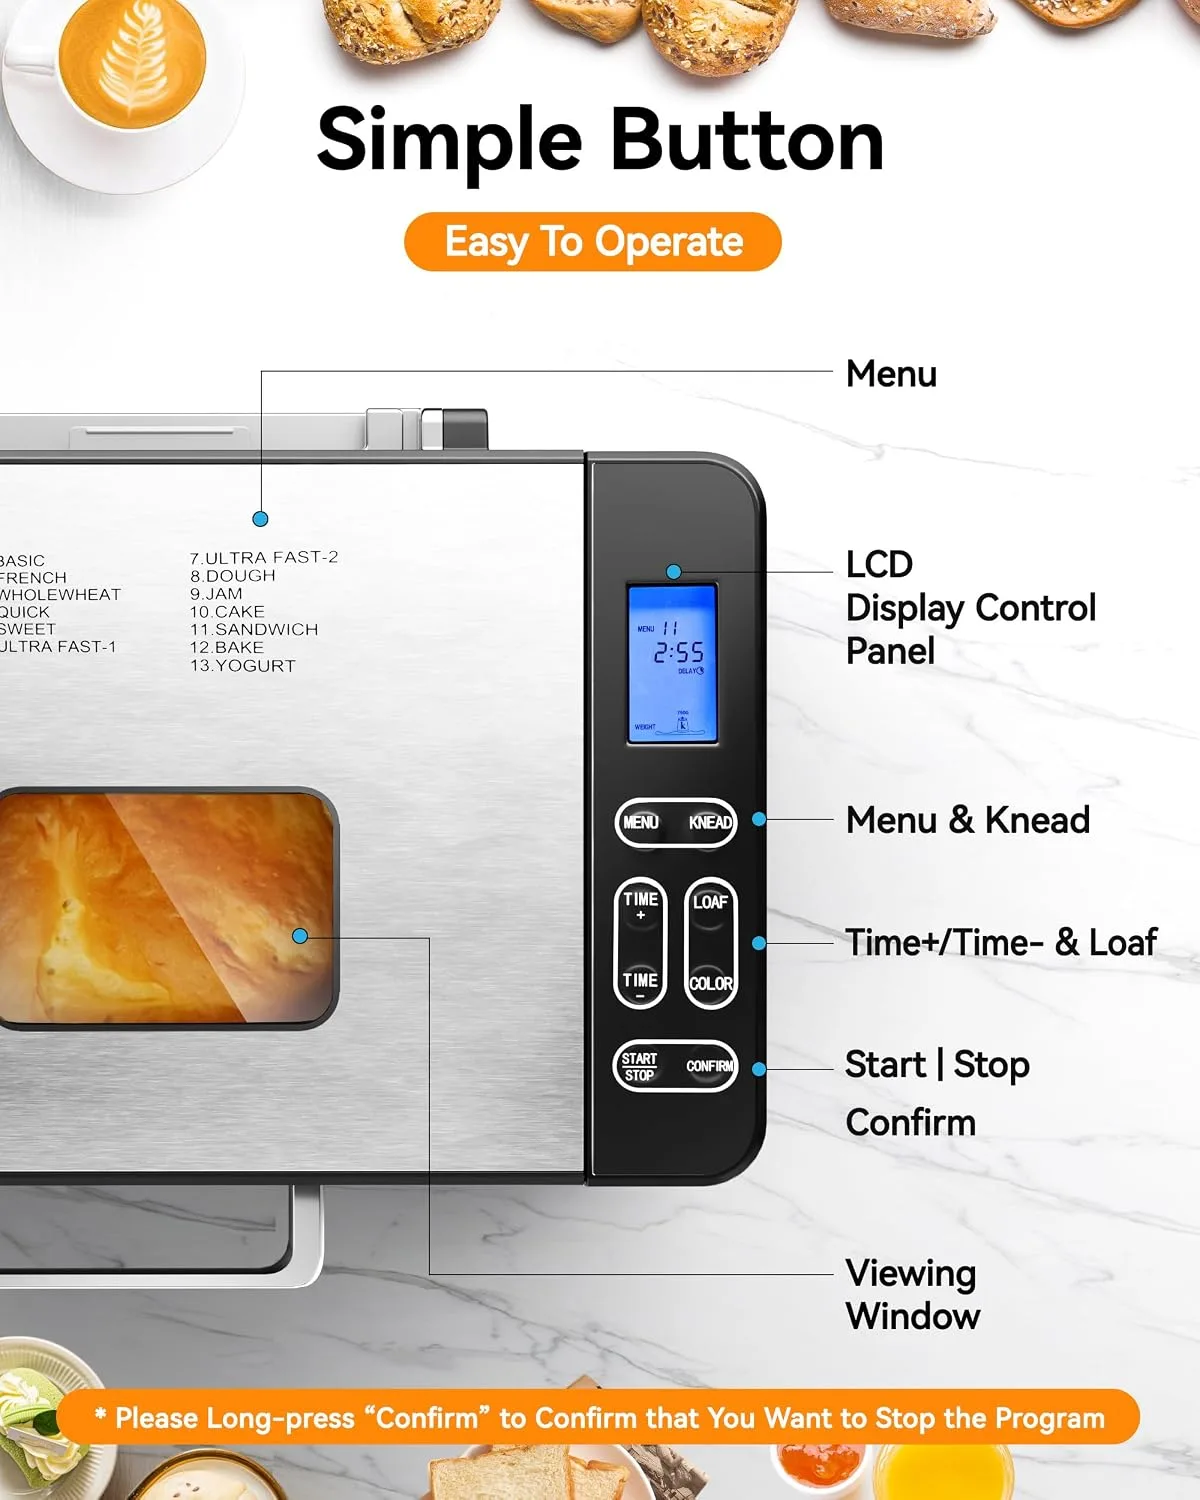
Every bread machine labels its presets slightly differently, but the core cycles are remarkably consistent across brands. The names on the buttons, like Basic, Whole Wheat, Rapid, and Dough, aren't marketing fluff. They correspond to different fermentation times, different baking temperatures, and different total durations.
Understanding what each one actually does helps you pick the right setting the first time.
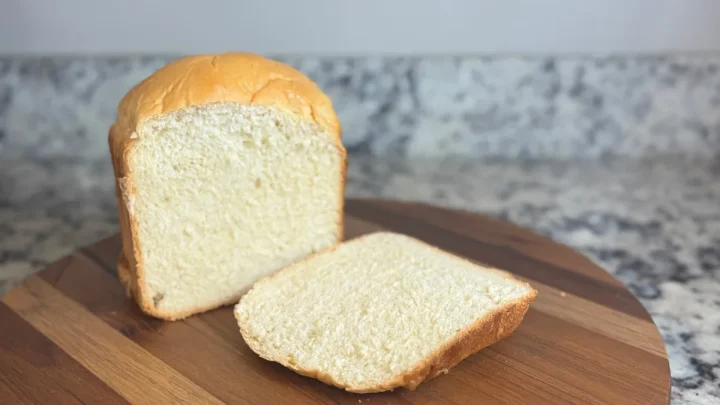
Basic or White Bread Cycle. This is the default program most people use for everyday sandwich loaves. It's a balanced cycle with one rise, moderate kneading, and a standard bake. Expect roughly 2 hours 50 minutes to 3 hours 10 minutes.
If you're new to bread machines, start here for white, all-purpose, or bread flour recipes.
Whole Wheat or Whole Grain Cycle. Heavier flours need more time to absorb liquid and develop gluten. The cycle includes a longer knead and often an extended rise phase. Total time runs 3 hours 15 minutes to 4 hours.
This is the setting for recipes using whole wheat, rye, or multi-grain blends that include coarse seeds.
Rapid or Express Cycle. This preset uses more yeast and higher temperatures to compress the timeline. It typically finishes in 1 hour 20 minutes to 1 hour 45 minutes. The trade-off is a slightly denser crumb and less developed flavor.
Perfect for last-minute dinner bread, but don't expect artisan-level texture.
Gluten-Free Cycle. Gluten-free dough behaves completely differently since it lacks the stretchy protein network of wheat. The cycle usually includes an abbreviated rise and a longer bake to set the structure. Most machines run this for about 2 to 2 hours 30 minutes.
Always use this preset with gluten-free mixes, even if the dough looks wetter than usual.
Dough-Only Cycle. This one doesn't involve baking at all. It kneads and rises the dough, then stops so you can shape and bake it yourself in a conventional oven. Total time lands around 1 hour 30 minutes to 2 hours.
The benefit is more control over final shaping. Use it for pizza crusts, cinnamon rolls, or artisan loaves you want to bake separately.
| Cycle | Typical Time | Best Used For |
|---|---|---|
| Basic / White | 2:50–3:10 | Everyday sandwich bread |
| Whole Wheat | 3:15–4:00 | Whole grain and seeded loaves |
| Rapid | 1:20–1:45 | Quick dinner bread |
| Gluten-Free | 2:00–2:30 | GF mix loaves |
| Dough-Only | 1:30–2:00 | Pizza, rolls, shaped loaves |
Now, a quick note on the delay timer. This feature lets you set a target finish time rather than a target start time. If you load the machine at 10 PM and want bread ready by 7 AM, you set the timer to finish at 7 AM, not to start at 5:30.
The machine calculates backward from your chosen end time and begins when it needs to. One warning: don't use the delay timer with fresh milk, eggs, or other perishable ingredients left out for hours. That's a food safety risk.
Step-by-Step Process: From Ingredients to Finished Loaf
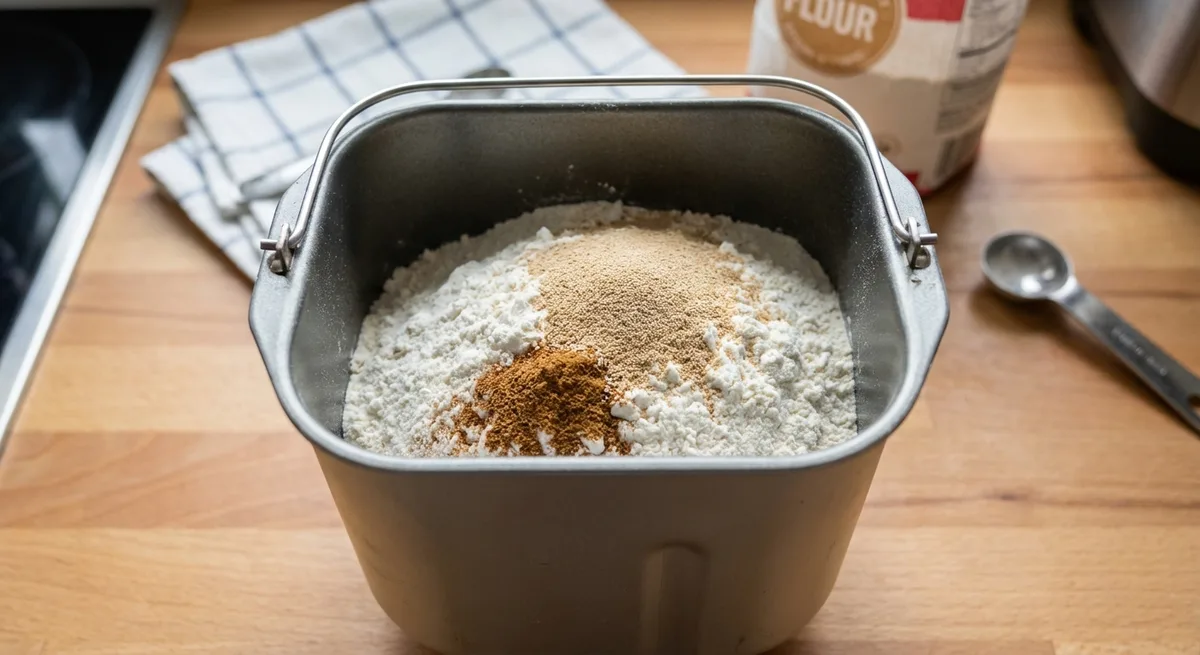
Now let's walk through the entire workflow, from pulling out the measuring cups to slicing your first warm piece. This is the exact sequence that gets you to a finished loaf without any surprises.
Step 1: Gather Your Ingredients. Read the recipe fully before touching anything. Measure everything ahead of time. Most recipes expect lukewarm liquid, flour, salt, sweetener, fat, and yeast.
Have each ingredient ready in its own small bowl if you're using the delay timer, since you'll need to layer them correctly.
Step 2: Load the Pan in the Right Order. This matters more than people think. The universal rule with a standard horizontal machine: liquids first, then salt and sweetener, then flour, then yeast on top. The logic is simple.
You want the yeast isolated from the liquid and salt until the kneading stage begins. Premature contact can kill the yeast or activate it too early. If your machine has an automatic yeast dispenser, load the yeast separately and skip the layering concern.
Step 3: Select Your Program and Press Start. Choose the cycle that matches your flour type, set your loaf size, and pick a crust color. Medium is the safest default. Light gives a soft crust, and dark produces a heartier, crunchier exterior.
Then press start and walk away. Resist the urge to peek constantly. Opening the lid mid-cycle lets heat and humidity escape, which can ruin the rise.
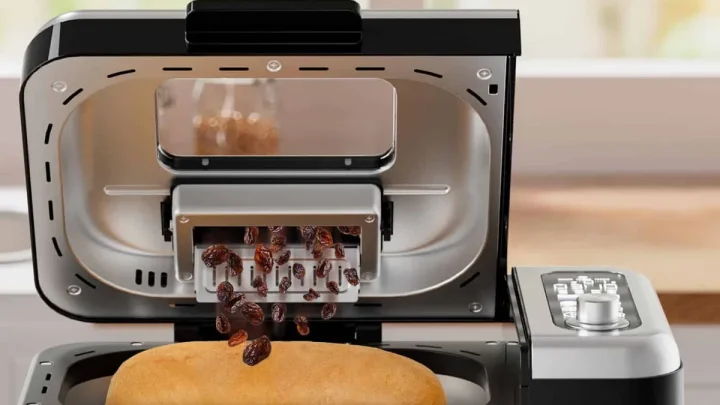
Step 4: Add Mix-Ins When the Machine Beeps. Many recipes call for adding nuts, seeds, dried fruit, or cheese during the second knead. The machine will beep to signal it's time. Open the lid quickly, drop in your extras, and close it back up.
Missing this beep isn't fatal. The ingredients just won't distribute evenly through the loaf.
Step 5: Remove the Loaf Immediately After Baking. When the cycle finishes, the machine typically switches to a keep-warm mode. Leaving the loaf inside for more than 10 or 15 minutes traps steam against the crust and makes it soggy. Wear oven mitts, grip the pan handle, and tip the loaf out onto a wire rack right away.
Step 6: Let It Cool Before Slicing. This step feels agonizing, but it matters for the finished texture. A hot loaf continues cooking internally as it sits. Cutting into it too soon produces a gummy, collapsed crumb.
Let the bread rest for 15 to 30 minutes on a wire rack so air circulates around every side.
Step 7: Clean the Machine While It's Warm. The pan and paddle release food residue much easier when they're still slightly warm. Wash the pan and paddle in warm, soapy water, or check your manual for dishwasher-safe parts. Wipe the inside of the machine itself with a damp cloth.
Don't submerge the machine base in water, ever.
Regarding food safety, the USDA recommends storing homemade bread at room temperature for up to a few days in an airtight container. If you add perishable fillings or if you live in a warm, humid climate, refrigerate quickly. More detailed storage guidance is available from the USDA if you need it.
Your bread may develop mold faster than a commercial loaf because it lacks preservatives, so store and monitor accordingly.
Common Mistakes That Add Time or Ruin the Loaf
Everyone makes a few bread machine blunders when they start out. The good news is that they're entirely avoidable once you know what to look for. Some of these mistakes add extra time to your schedule.
Others just produce a disappointing brick that goes straight to the trash. Let's run through the most frequent offenders.
Mistaking the dough cycle for a full bake. The dough-only preset stops after kneading and rising. If you walk away expecting a finished loaf, you'll come back to a bowl full of raw dough. To avoid this, double-check which preset you selected before pressing start.
The labeling is clear on the control panel, but it's easy to grab the wrong button when you're multitasking.
Overflowing the pan. Adding too much flour, liquid, or yeast can cause the dough to rise over the rim and spill into the machine cavity. This creates a sticky, burned mess that takes forever to clean. It also wastes all of that time you spent waiting.
If you're consistently fighting overflow, the causes are usually too much liquid or an oversized recipe for your machine's pan capacity. Our overflow troubleshooting guide covers the common causes in detail.
Using the rapid cycle for whole wheat flour. The rapid preset doesn't give whole wheat flour enough time to hydrate fully. The result is a shorter, denser loaf with a hard crust. If you only have whole wheat flour on hand, select a dedicated whole wheat program or add vital wheat gluten to help the structure hold.
Opening the lid during the rise. Every time you lift the lid, you lose heat and humidity. The rise slows down, which extends the cycle and often results in a flatter loaf. Trust the machine.
It's designed to manage the internal environment on its own.
Ignoring the keep-warm timer. Many machines hold the loaf at a warm temperature after baking. Leaving it there for half an hour is okay. Leaving it for two hours definitely changes the crust.
The exterior gets tough and chewy, and the inside can dry out. Set a timer on your phone to pull the loaf out when the cycle ends.
Using the delay timer with dairy. Milk, eggs, and butter can spoil at room temperature during a long delay, especially if you're starting the machine six to eight hours after loading. The bread may rise and bake fine, but you're risking a foodborne illness. If your recipe includes perishables, skip the overnight delay and start the machine manually.
Use Cases: Who Each Cycle Is Best For
The right cycle depends on your schedule and your baking goals. Here's a quick way to match your situation to a preset.
If you're a first-time user. Stick with the Basic cycle. It's forgiving, predictable, and produces a classic sandwich loaf. Use it a few times before experimenting with other presets.
If you're short on time. The Rapid or Express cycle is your friend. It works well for white bread and simple recipes. Just add a little extra yeast to help the quicker rise.
If you're baking whole grain bread. Use the Whole Wheat cycle. It gives heavy flours the extra kneading and rising time they need. Trying to shortcut this with a rapid cycle ends in disappointment.
If you're gluten-sensitive. Switch to a dedicated gluten-free cycle and high-quality gluten-free flour mix. The shorter rise and longer bake account for the lack of gluten structure.
If you're baking something that isn't a standard loaf. Pizza dough, breadsticks, and rolls work best with the Dough-Only cycle. Shape the dough yourself after the cycle ends, then bake in your regular oven.
Expert Tips: Getting the Best Loaf From Your Machine
A few insider habits can make the difference between good bread and bakery-quality bread. These aren't complicated. They just require a little attention.
Weigh your ingredients. Volume measurements like cups can vary wildly. A kitchen scale in grams is more accurate. Flour gets compacted as it sits in the bag, so a cup scooped at the top can weigh 20 grams more than one dipped from the bottom.
That difference changes hydration levels and rise times.
Use room-temperature ingredients. Cold milk or tap-cold water slows the yeast down. Most machines have a warm-up phase, but starting with ingredients at room temperature produces a more reliable rise. Unless your recipe specifically calls for cold liquid, let everything sit out for 15 minutes first.
Keep the yeast away from liquid and salt. If you're not using an automatic dispenser, place the yeast on top of the flour. This creates a barrier that prevents it from activating during the mixing phase. Even a few minutes of early activation can throw off the timing.
Use bread flour for better structure. All-purpose flour works fine, but bread flour has a higher protein content. That translates to stronger gluten and a taller, chewier loaf. If your bread comes out short or dense, switching to bread flour is the easiest fix.
Know your high-altitude adjustments. Above 3,000 feet, dough rises faster and bakes differently. You might need to reduce yeast slightly, increase water a little, or shorten the rise. Check your machine's manual for specific high-altitude guidance.
Maintenance and Long-Term Care
Your bread machine will last years if you treat it well. Most failures come from neglected cleanup or worn-out paddles.
Clean after every use. Wipe down the interior with a damp cloth once the machine cools. Wash the pan and paddle in warm, soapy water. Don't soak the pan, since water can get into the mechanism.
Check the paddle for wear. A dull or loose paddle kneads less efficiently. That means longer rise times and uneven dough. If the paddle wobbles or shows deep scratches, replace it.
Look for build-up on the heating element. Bits of dough and crumbs can bake onto the element over time. Gently clean it with a soft brush when the machine is completely cool. Never use metal tools, which can scratch the surface.
Store it in a dry, clean space. Moisture inside the machine promotes mold growth and affects performance. Leave the lid open for a few hours after cleaning to let everything dry fully before putting the machine away.
Frequently Asked Questions
Why does my bread machine take almost 3 hours for a basic loaf?
The 3-hour basic cycle includes every stage needed for a proper loaf. Warm-up, kneading, two rises, and baking all take time to develop gluten and allow the yeast to do its work. Each stage has a minimum duration that produces the light, fluffy texture people expect.
Shortening the basic cycle calls for a different preset.
Can I speed up my bread machine cycle?
Yes, switch to the rapid or express preset if your machine has one. These cycles use extra yeast and higher temperatures to shave off roughly half the time. The trade-off is a denser crumb and less developed flavor.
For a quick breakfast bread, that trade-off might be worth it.
How do I use the delay timer correctly?
Set a desired finish time, not a start time. Load ingredients, select the cycle, then adjust the timer to the hour you want fresh bread. The machine computes the start time automatically.
Avoid perishable ingredients like milk or eggs if the delay exceeds a couple of hours.
Why did my bread collapse in the middle?
A collapsed loaf usually means too much liquid or yeast. It can also indicate overproofing if the second rise ran too long. Check your recipe measurements and confirm you're using the correct cycle.
If it happens repeatedly, reduce the liquid by a tablespoon or two and try again.
How long does fresh homemade bread stay fresh?
Most homemade bread stays fresh for 2 to 3 days at room temperature in an airtight container or bread box. Because it lacks commercial preservatives, it can mold faster than store-bought loaves. For longer storage, slice it and freeze for up to 3 months.
Final Recommendation: Which Cycle Should You Use?
If you're new to bread machines, start with the Basic cycle and a simple white bread recipe. It gives you predictable results while you learn how your machine behaves. Once you're comfortable, branch out to whole wheat, gluten-free, and rapid cycles as your schedule demands.
For weeknight baking, the rapid cycle is your best bet when dinner is an hour away. For weekend baking, spending three hours on the basic cycle feels almost meditative. The key is matching the preset to your timeline and your recipe.
That's the entire trick to never waiting on your bread machine again.

Similar Posts