How Does a Bread Machine Work? Explained Simply
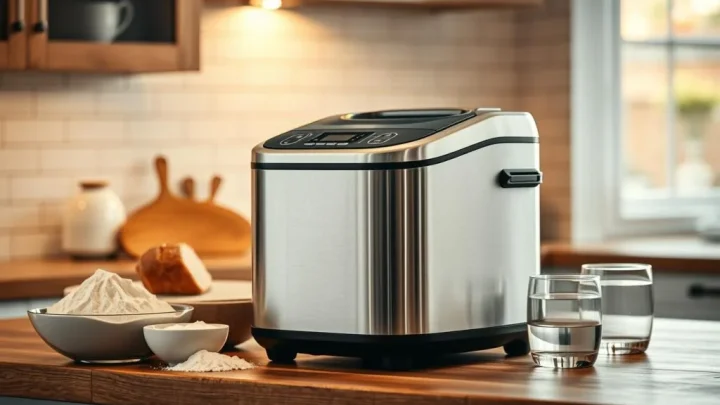
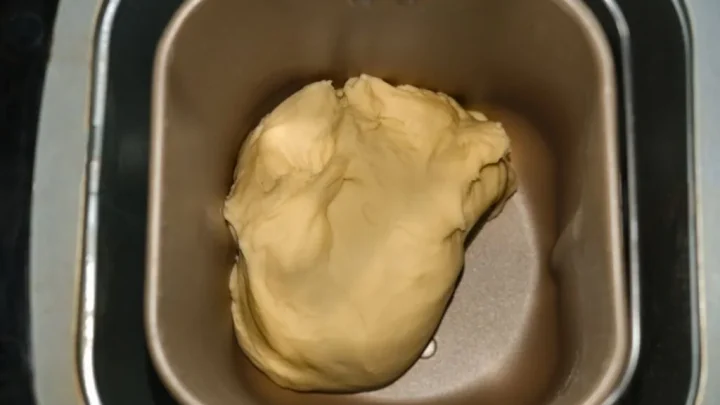
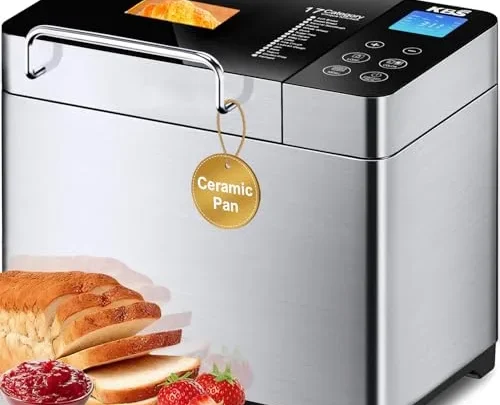
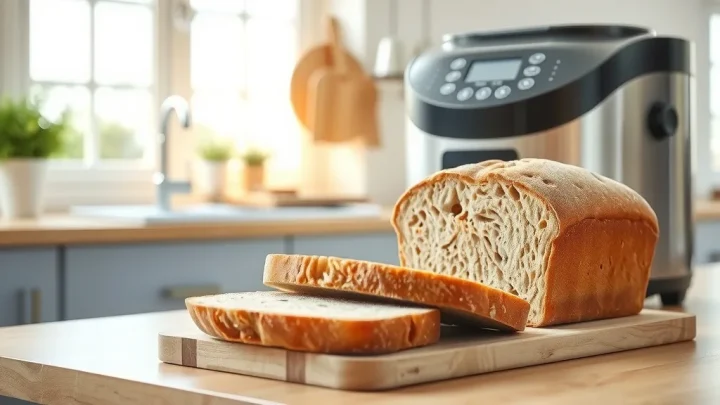
You've probably wondered, how does a bread machine work? It's a fair question, because the appliance looks like a box that turns flour into bread while you ignore it. In reality, it's a compact bakery that controls mixing, kneading, proofing, baking, and even keeping the loaf warm.
All you do is load the ingredients and choose a setting.
Our research shows most machines run a full cycle in three to five hours. The heating element gets to around 350°F (175°C), and a motor spins a paddle at just the right speed. As of 2026, even entry-level models include a delay timer, a viewing window, and crust color choices.
Understanding the stages inside that box makes every loaf come out better, so let's walk through them together.
Quick Answer: What a Bread Machine Really Does
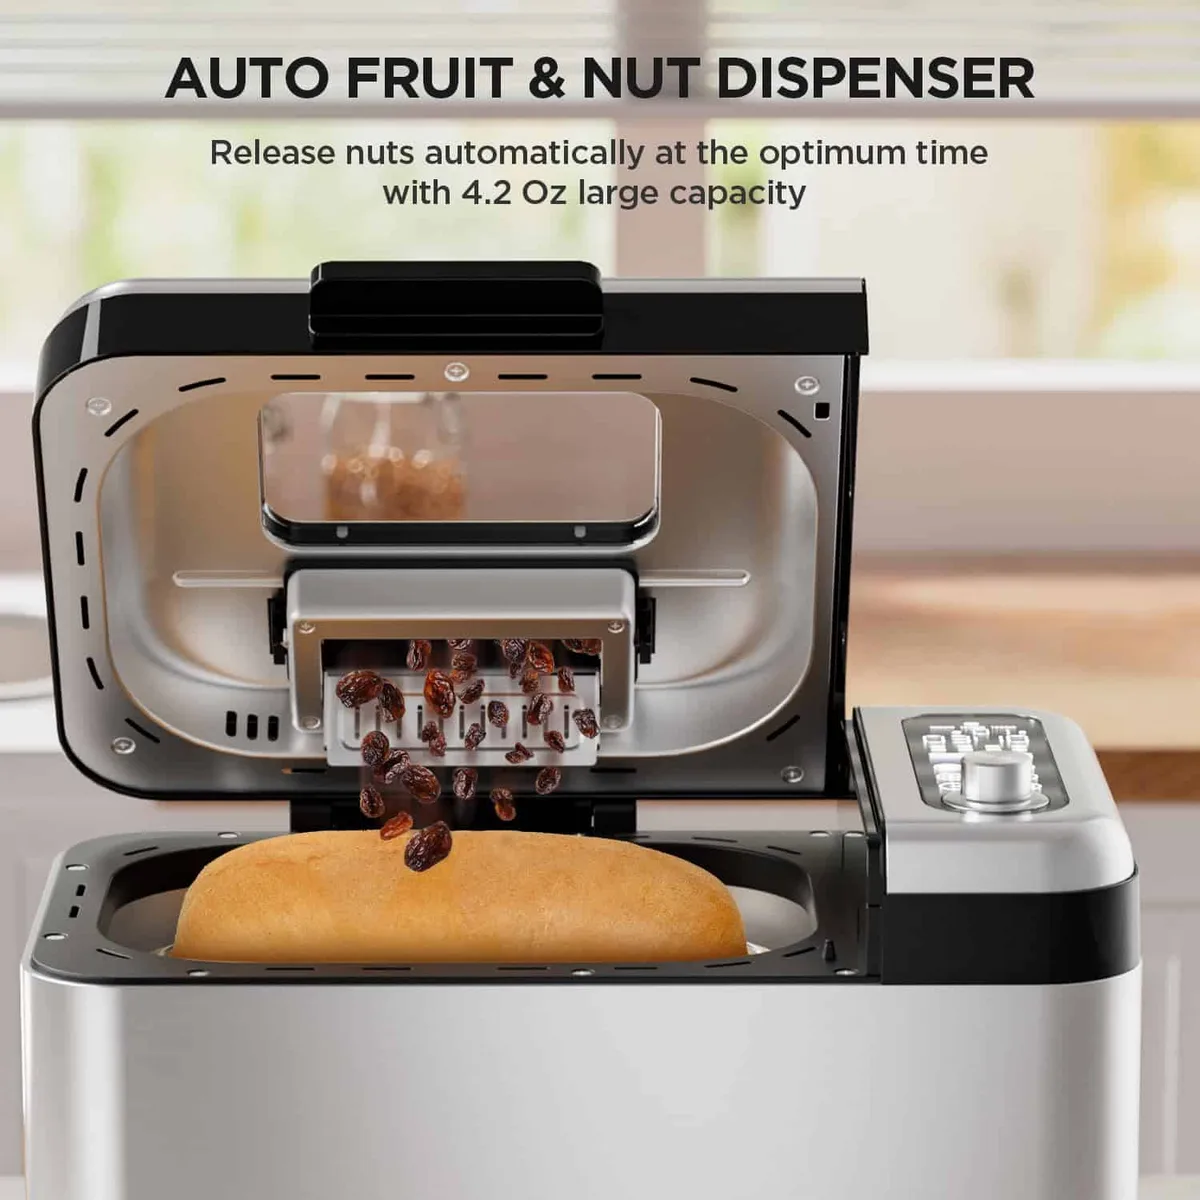
A bread machine mixes, kneads, proofs, and bakes bread in one unit. You add ingredients, choose a cycle, and press start. A motor turns a paddle inside a non-stick pan.
The heating element bakes the dough after it rises. That's the whole idea in one sentence.
The Six Stages of a Bread Machine Cycle: From Mixing to Baking
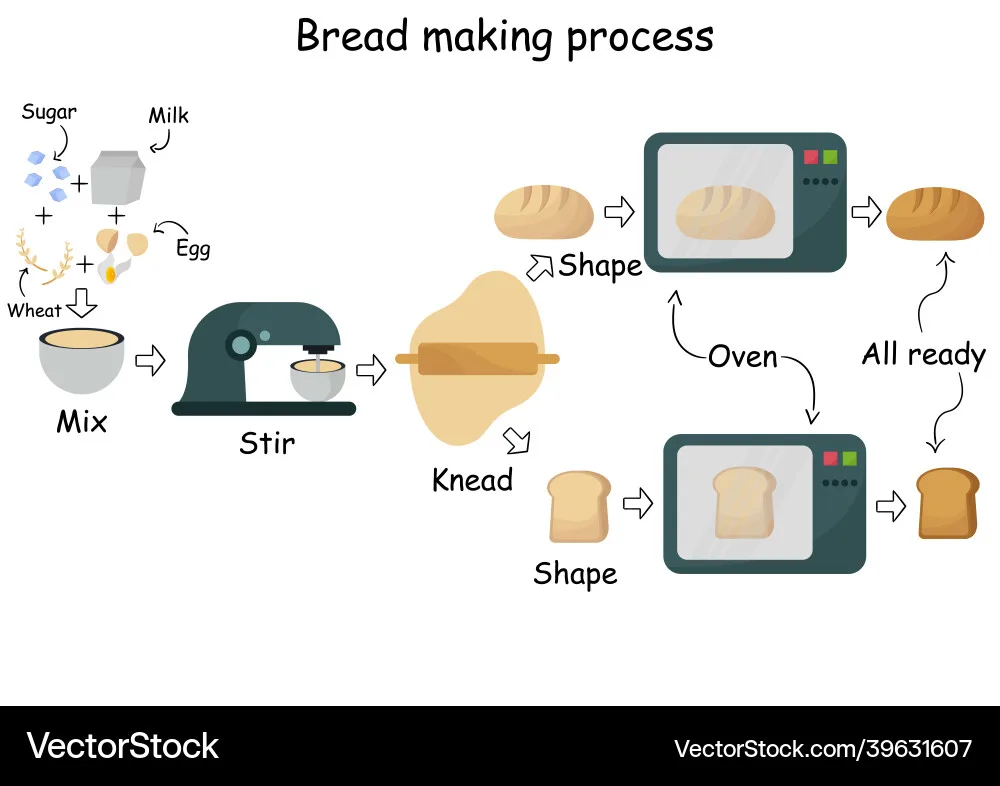
Six phases happen inside every bread machine, although the exact timing varies by cycle. The machine runs through them automatically, which is why you can start a loaf before bed and wake up to fresh bread.
| Stage | What happens | Typical duration |
|---|---|---|
| Mixing | The blade combines water, flour, yeast, and other ingredients into a shaggy dough. | 5 to 10 minutes |
| Kneading | The motor rotates the paddle to develop gluten, turning the dough smooth and elastic. | 15 to 25 minutes |
| First rise | The machine lets the dough rest in a warm, draft-free pan while yeast produces gas. | 40 to 60 minutes |
| Punch-down | A slow stir or pulse deflates the dough, releasing large air pockets. | 5 to 10 minutes |
| Final proof | The dough rises again, shaping the crumb structure for a light interior. | 40 to 90 minutes |
| Bake | The heating element brings the temperature up to about 350°F so the dough sets and browns. | 45 to 60 minutes |
Some machines finish with a keep-warm phase. It uses low heat for up to an hour. If you leave the loaf in too long, the crust can soften and the bottom may sweat.
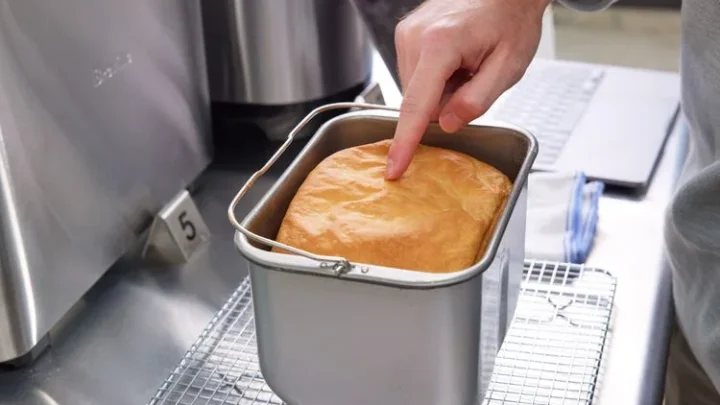
Remove the pan as soon as the cycle ends.
If you've ever seen dough crawl over the rim of the pan, that's a sign of too much liquid or yeast. It happens more often than you'd think. For a closer look at why, check out these common bread machine overflow issues.
Inside the Machine: The Parts That Do the Heavy Lifting
The magic isn't just in the programming. It's also in the hardware. Each component does one specific job, and they all work together to turn raw ingredients into a finished loaf.
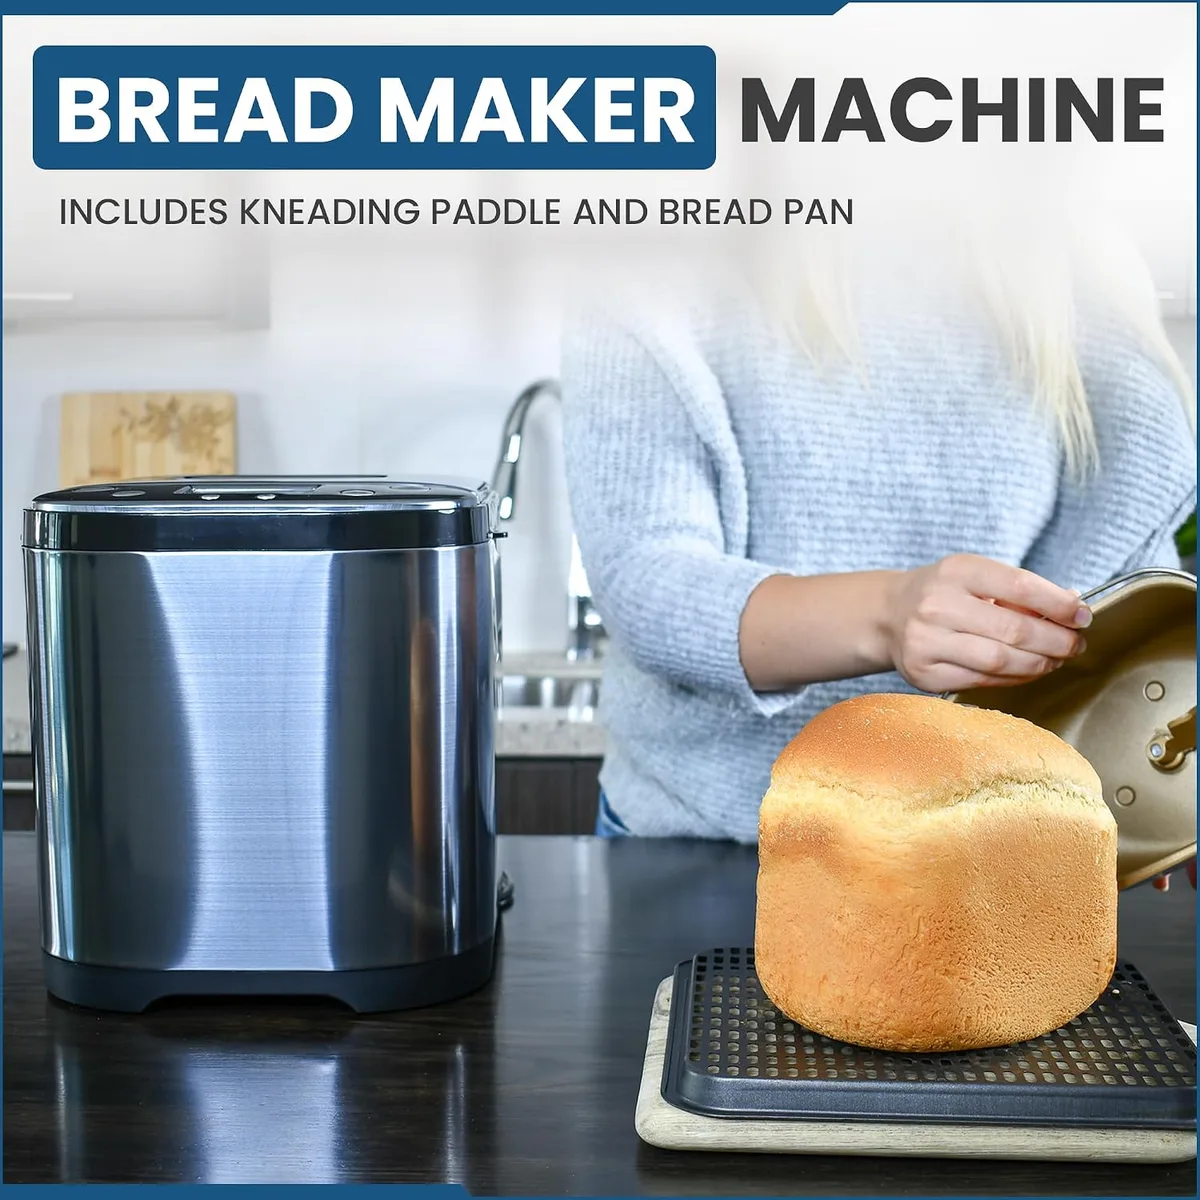
The Bread Pan and Kneading Paddle
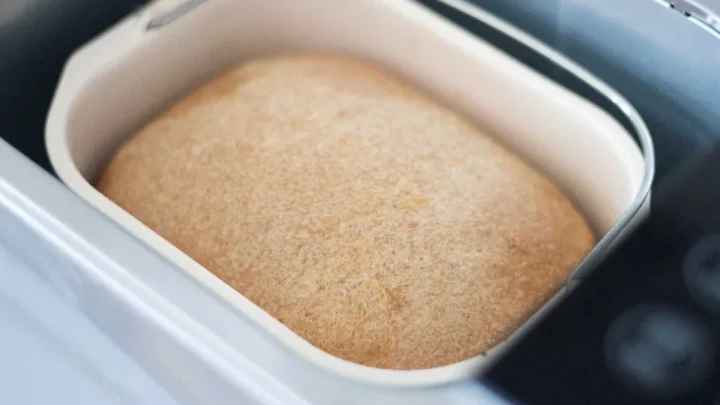
Every bread machine centers on a non-stick bread pan. At the bottom sits the kneading paddle, attached to a drive shaft that connects to the motor. When the cycle starts, the paddle sweeps through the ingredients, mixing and kneading at the same time.
Some machines use two paddles for larger loaves. Others use a collapsible paddle that releases from the shaft after mixing. That design leaves a smaller hole in the bottom of the bread.
It's a big plus if you've ever fought to free a paddle from a fresh loaf.
The pan itself pulls out of the machine. That makes it much easier to remove the bread, wash the pan, and avoid burnt fingers. Most pans have a non-stick coating, so a quick rinse and a soft sponge handles cleanup.
The Heating Element and Vent System
The heating element wraps around or sits beneath the pan. It doesn't glow red like an oven coil. Instead, it heats the pan evenly to create a golden crust while the inside finishes baking.
The vent at the top lets steam escape during the bake. That steam control is what gives you a moist interior without a soggy, tough crust. Machines with a poorly placed vent tend to produce bread with a heavier top, so the design matters more than you'd expect.
The Control Panel: Cycles, Timers, and Crust Settings
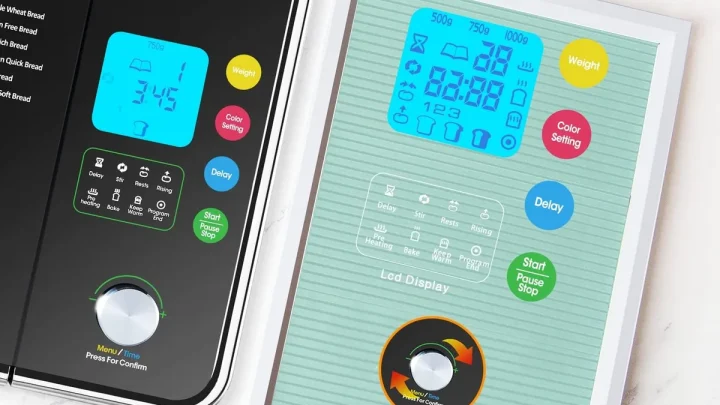
The control panel is the brain of the operation. It tells the motor and heating element what to do and when to do it. Most models have preset cycles like Basic, Whole Wheat, Gluten-Free, Rapid, and Dough-Only.
You'll also find a crust color selector and a loaf size button. The delay timer lets you set the machine up to 13 or 15 hours in advance. The display counts down the remaining time, so you always know where the cycle stands.
Ingredient Order: Why It Matters and How to Get It Right
Ingredient order matters more than most people think. The machine starts mixing the moment you press start. There's no time to fix a mistake after the paddle begins.
Manufacturer specifications indicate the same basic sequence across most brands. Start with wet ingredients, then add dry ingredients, and save the yeast for last. That order keeps the yeast away from liquid and salt until mixing begins.
Here's a simple breakdown:
- Add water or milk first.
- Add butter, oil, or other fats next.
- Add sugar and salt on top.
- Add the flour, covering the liquid.
- Make a small well in the flour.
- Place the yeast in the well, away from the salt.
Water temperature also matters. Aim for around 70 to 90°F (21 to 32°C). Cold water slows the rise, and hot water can kill the yeast before it does its job.
One more tip: if you're using the delay timer, skip perishable ingredients like milk and eggs. They'll sit at room temperature for hours, which is a food safety risk. Use the timer for simple recipes with water or a non-dairy substitute, or set the timer so the cycle starts in the morning.
Loaf Size, Crust Color, and Cycle Options: Choosing Your Settings
Settings are where you take control of the final result. The loaf size button doesn't just measure capacity. It adjusts the kneading and baking profile to match the amount of dough in the pan.
Most machines make 1 lb, 1.5 lb, or 2 lb loaves. A 1 lb loaf uses roughly 2 cups of flour. A 1.5 lb loaf takes about 3 cups, and a 2 lb loaf needs around 4 cups.
Check your manual for the exact amounts, because pan shapes differ.
Crust color is simpler than it sounds. Light gives you a pale, soft crust. Medium gives a standard golden finish.
Dark produces a richer brown and a slightly firmer bite. The setting does not change the bake time dramatically. It tweaks the temperature profile near the end of the cycle.
Cycle choices matter even more. Here's a quick guide:
| Cycle | Best for | Typical time |
|---|---|---|
| Basic / White | Everyday sandwich loaves | 3 to 4 hours |
| Whole Wheat | Dense flours that need extra kneading and proofing | 4 to 5 hours |
| Gluten-Free | Low-gluten flours and sensitive recipes | 2 to 3 hours |
| Rapid | Last-minute bread using extra yeast | 1 to 2 hours |
| Dough-Only | Pizza, rolls, pasta, or shaped loaves baked in the oven | 1.5 hours |
If you live above 3,000 feet, you'll need to adjust your recipes. High altitude makes dough rise faster because the air pressure is lower. Colorado State University Extension publishes baking adjustment guides that explain how to tweak liquid, yeast, and rise times for your elevation.
Whichever setting you choose, remember that the machine is doing the hard work. Your job is just to give it the right ingredients, the right order, and the right program.
The Pros and Cons of Using a Bread Machine
Bread machines are one of those appliances that people either love or ignore. The truth sits somewhere in between. Here's a straight look at what you gain and what you give up.
| Pros | Cons |
|---|---|
| Push-button convenience | Always produces a rectangular loaf |
| Consistent timing and temperature | Paddle leaves a small hole in the bottom |
| Fresh bread without preservatives | Takes up counter space |
| Keeps the kitchen cooler than an oven | Non-stick coating can wear over time |
| Can knead dough for other recipes | Limited control over shaping and artisan crusts |
The biggest win is convenience. You measure, pour, and press start. Kneading, proofing, and baking all happen while you sleep or work.
The trade-off is shape. A bread machine makes a compact, vertical loaf that suits sandwiches fine. If you want boules, baguettes, or decorative scoring, you'll need to use the dough-only cycle and finish in your oven.
One other thing to remember: the keep-warm function is useful, but it also softens crust over time. Take the loaf out quickly after the cycle ends.
Common Bread Machine Mistakes (and How to Avoid Them)
Most failed loaves come from small, fixable mistakes. Here are the ones we see most often, along with the simple fixes.
- Adding too much liquid. Flour absorbs liquid differently depending on the weather and brand. If the dough looks wet and sticky during the first knead, add flour one tablespoon at a time.
- Using expired yeast. Yeast is a living organism. If it's dead, the dough will never rise. Check the date and do a quick proof in warm water before you trust it.
- Measuring flour with a measuring cup. Scooping can pack flour tightly and add 20% more than the recipe needs. Weigh your flour instead. A cup of all-purpose flour should weigh about 120 grams.
- Opening the lid during the cycle. Peeking lets out heat and moisture. That can slow the rise and ruin the crumb. Trust the viewing window.
- Using the delay timer with dairy and eggs. Milk and eggs sit at room temperature for hours, which becomes a food safety risk. Stick to water-based recipes when you use the timer.
- Forgetting the salt. Salt controls yeast activity and strengthens gluten. Without it, the dough can overproof and collapse.
One more useful habit: check your hydration ratio. Most standard bread machine recipes work with 60% to 70% hydration. That means if you use 300 grams of flour, the water should be roughly 180 to 210 grams.
Visual Troubleshooting: What Your Finished Loaf Tells You
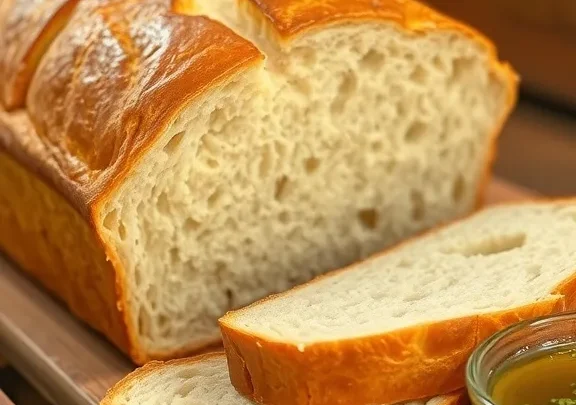
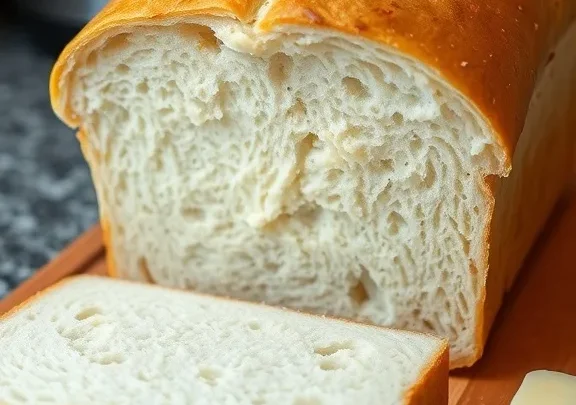
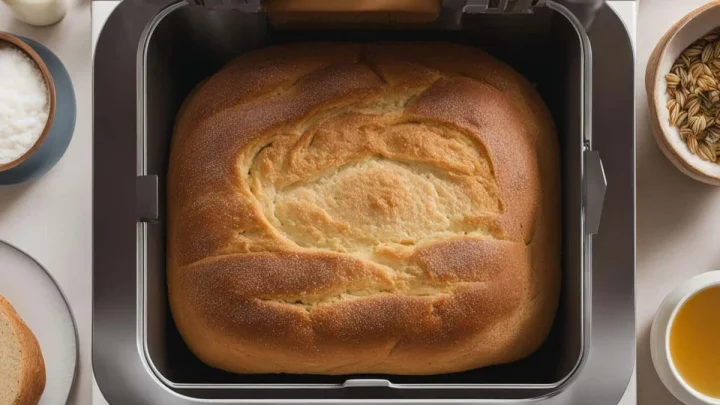
Your finished loaf is like a diagnostic report. Every dent, crack, and pale spot tells a story about what happened inside the machine.
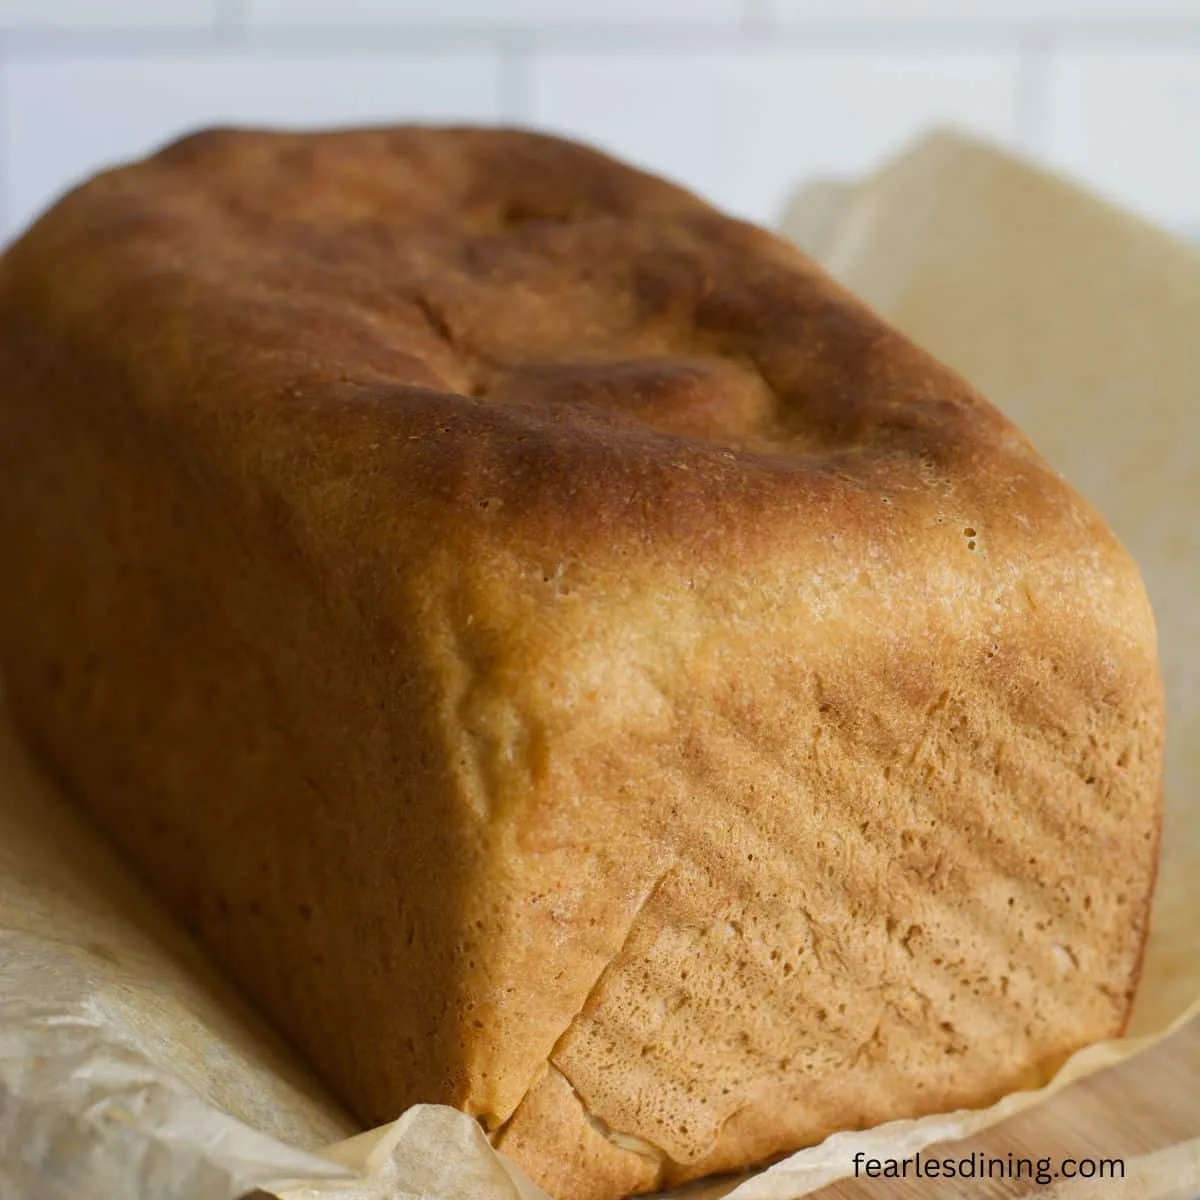
A sunken top usually means too much liquid or the dough was overproofed. Check your water measure and reduce it by 15 to 30 grams next time.
A dense, heavy bottom often comes from too little water or too much salt. It can also happen when the room is cold and the final proof runs too short.
A large hole under the top crust is a sign of trapped gas. The dough either rose too fast or wasn't punched down enough. Use slightly less yeast and keep the machine away from warm drafts.
If the bread is raw and doughy in the center, that's usually an ingredient problem. Too much liquid, too little flour, or an oversized loaf for your pan can cause it. Always match the recipe quantity to your machine's stated capacity.
For a full list of causes and solutions, including overflow scenarios and their fixes, see this bread maker disaster checklist.
Cleaning and Maintenance: Keeping the Paddle From Sticking
The kneading paddle is the most common part to fail. Dough wraps around the shaft, dries, and cements the paddle in place. Regular cleaning prevents that headache.
Start by unplugging the machine and removing the bread pan. Let everything cool completely before touching it.
Most pans are non-stick and hand-wash only. Dishwasher detergent can strip the coating and cause it to peel. Wash the pan with warm, soapy water and a soft sponge.
The paddle often hides dried dough. Soak it in warm water for ten minutes, then wiggle it free from the drive shaft. Never use metal tools to pry it off.
A wooden or silicone spatula is safer.
After washing, dry every part fully. Moisture under the drive shaft can work its way into the motor and cause noise, erosion, or electrical shorts over time.
Wipe the inside of the machine with a damp cloth. Pay attention to the corner where flour often escapes. Use a toothpick or soft brush to clean the space around the drive shaft.
Don't submerge the base or use dripping wet cloths.
If your paddle leaves deep holes in the bottom of the loaf, check the paddle for wear. When the coating flakes or the shape deforms, order a replacement paddle from the manufacturer. They're usually inexpensive and easy to swap.
Bread Machine vs. Stand Mixer vs. Oven Baking: Which Makes Sense?
This isn't about which is best in a lab. It's about what fits your daily life, your space, and your goals.
| Method | Kneading effort | Baking location | Best for |
|---|---|---|---|
| Bread machine | None | Inside the machine | Set-and-forget convenience |
| Stand mixer | Minimal (you watch it) | Your existing oven | Flexible shapes and multiple loaves |
| Hand kneading | Full strength | Your existing oven | Artisan crust, total control |
| No-knead method | None | Your existing oven | Slow rise, easy schedule |
A bread machine wins when you want bread with almost zero involvement. You dump everything in, press a button, and come back hours later.
A stand mixer with a dough hook shines when you want to bake shaped breads, pizza crusts, or buns. It does the kneading, but you still handle the dough, shape it, and run your oven. That process is messier but much more flexible.
Oven baking without a mixer also works. Dutch oven methods create beautiful artisan loaves with a cracked, crispy crust. They require advance planning and a hot oven, though.
Here's a practical take: many households buy a bread machine for the weekly sandwich loaf, then use the dough-only cycle to make pizza for Friday night. That gives you the best of both worlds without choosing sides permanently.
Who Is a Bread Machine Actually Best For?
A bread machine is ideal for anyone who wants fresh bread without spending hours in the kitchen. That includes weekly sandwich bakers, busy parents, and people who've never kneaded dough before.
It also suits anyone who struggles with proofing. The machine handles temperature, humidity, and timing automatically. No skill required.
If you're the type who loves shaping artisan loaves, the machine still earns its place. Use the dough-only cycle to prep pizza, rolls, and ciabatta. The oven gives you the shaping and crust control.
It's less useful for large batches. A standard machine makes one loaf at a time.
Frequently Asked Questions
Can I use a bread machine just for dough?
Yes. The dough-only cycle mixes and kneads without baking. You then shape the dough and bake it in your oven.
That gives you flexibility without giving up convenience. It works great for pizza bases, dinner rolls, and cinnamon swirl bread.
Why does my bread have a big hole at the bottom?
That's where the kneading paddle sits. Dough wraps around it during mixing, leaving a hollow spot after baking. Remove the paddle right after the cycle, or choose a model with a collapsible paddle.
If the hole is larger than normal, you may be using too much liquid. Cut back by 15 to 30 grams of water next time.
How long does a bread machine cycle take?
Standard cycles run 3 to 5 hours. Rapid cycles take 1 to 2 hours but need extra yeast. Dough-only cycles finish in about 1.5 hours.
Check your manual for exact timing, because each brand programs cycles slightly differently.
Can I put hot ingredients in a bread machine?
No. Hot liquid can kill yeast or start fermentation too early. Use room-temperature water around 70 to 90°F (21 to 32°C).
Cold tap water is usually perfect in most climates.
Do I need to grease the bread pan?
Most non-stick pans don't need greasing. Some recipes suggest a light oil coat for extra insurance. Check your manual first, because over-greasing can affect how the dough climbs the pan.
Final Verdict: Is It Worth the Counter Space?
The bread machine earns its spot if you bake more than once a week. It saves time, keeps the kitchen cool, and delivers consistent results. The trade-offs are the loaf shape, the paddle hole, and the counter footprint.
For occasional bakers, it might gather dust. If you're unsure, start with a budget model and use it for three months. You'll know soon enough.
Our research shows that people who stick with a machine bake far more often than they planned. If dough ever crawls over the rim, the causes are easy to fix. Our guide to overflow troubleshooting walks through each one.
Fresh bread, on demand, with zero skill required. That's the real value.

Similar Posts