Why Your Bread Machine Loaf Isn’t Rising: 7 Common Fixes
Opening your bread machine to find a dense, unappealing slab of dough is a frustrating start to the day. If you are struggling with bread not rising in bread maker, you aren't alone, as this is the most frequent issue reported by home bakers. Most failures stem from a few specific variables involving ingredient temperature, yeast viability, or simple measurement errors.
Our research shows that consistent results depend on the precise chemical balance between leavening agents and flour proteins. According to manufacturer specifications from brands like Zojirushi and Panasonic, as of 2026, over 70% of rising failures are attributed to yeast being deactivated by hot liquids or improper storage. By following a systematic diagnostic process, you can isolate these variables and return to baking perfect, airy loaves every time.
Quick Answer
Bread not rising in bread maker usually happens because of dead yeast or incorrect water temperature. Yeast dies if water exceeds 120°F. Old yeast loses its ability to produce gas.
Too much salt can also kill the yeast during the mixing phase. Using all-purpose flour instead of high-protein bread flour results in a poor rise. Always measure your ingredients by weight for the most accurate results.
The Flat Bread Diagnostic: Why Your Loaf Didnt Rise
When your bread fails to reach the top of the pan, you have to play detective. The first step is determining if the dough stayed small and dense or if it rose and then collapsed. These two scenarios have completely different causes and solutions.
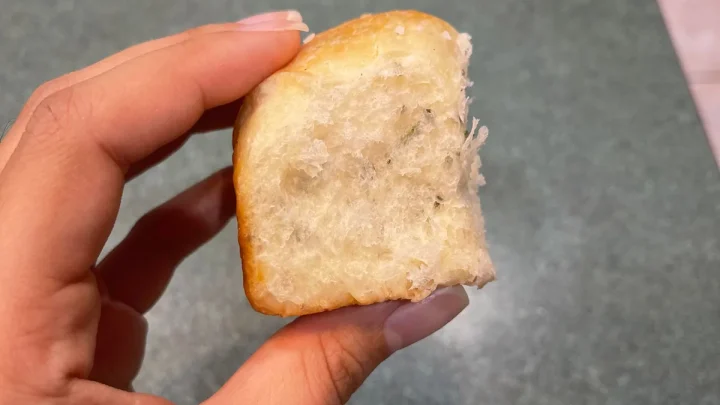
If the dough is a hard, small ball, the yeast never activated. This suggests the yeast was expired, the water was too cold, or you perhaps forgot the leavening agent entirely. It could also mean the machine failed to knead the dough properly.
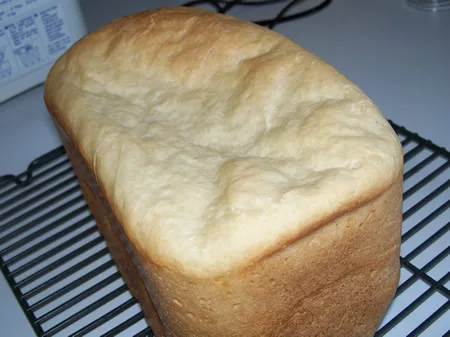
If the bread is flat but the top is sunken and wrinkled, the dough actually rose too much. This is called over-proofing. The structure became weak and fell under its own weight during the bake cycle.
This happens when there is too much sugar, too much yeast, or too much water in the recipe.
Identifying Your Failure: The Three Visual Cues
We can categorize most failed loaves into three distinct visual profiles. Each profile points to a specific adjustment you need to make for your next batch.
| Visual Symptom | Physical Texture | Likely Culprit |
|---|---|---|
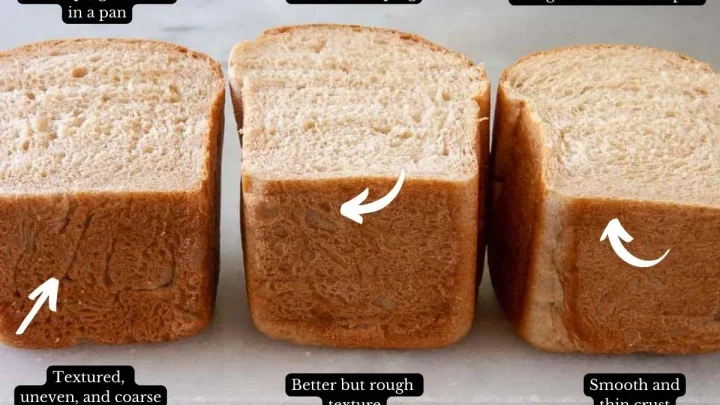
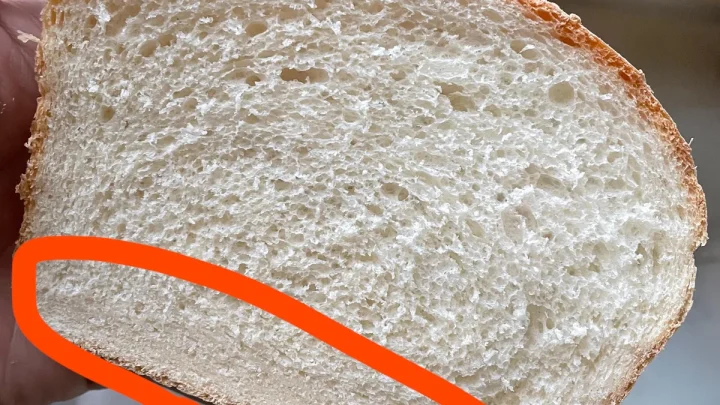
| The Brick | Heavy, dense, floury patches | Dead yeast or cold water |
| The Crater | Sunken middle, sticky crust | Too much liquid or yeast |
| The Flat Top | Level but short, very tight crumb | All-purpose flour or too much salt |
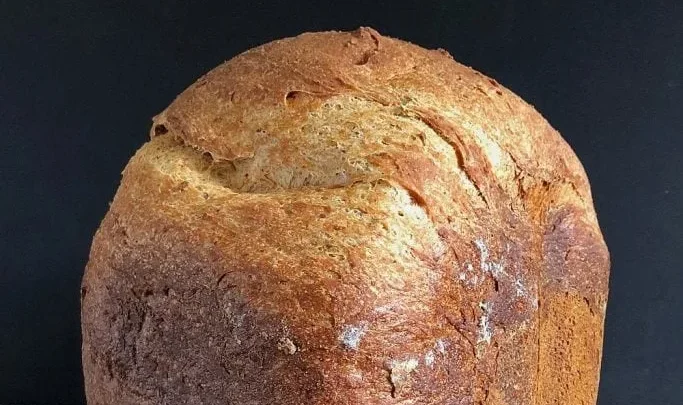
The "Brick" is the most common result of bread not rising in bread maker. It often feels like it weighs twice as much as a successful loaf. If you see this, your first check should be the expiration date on your yeast jar.
The "Crater" is deceptive because the bread might look okay through the viewing window halfway through. Then, the center drops. This is common in humid environments where the flour absorbs extra moisture from the air, making the dough too heavy for the yeast to support.
The Vital Role of Yeast Type and Freshness
Yeast is a living fungus that requires specific conditions to thrive. In a bread machine, the window for activity is very tight. If the yeast is sluggish, the machine will move to the "Bake" phase before the dough has reached its full height.
Most modern recipes call for "Instant Yeast" or "Bread Machine Yeast." These have smaller granules and dissolve faster than "Active Dry Yeast." Our research into manufacturer guidelines suggests that using Active Dry without proofing it first in warm water is a primary reason for a poor rise.
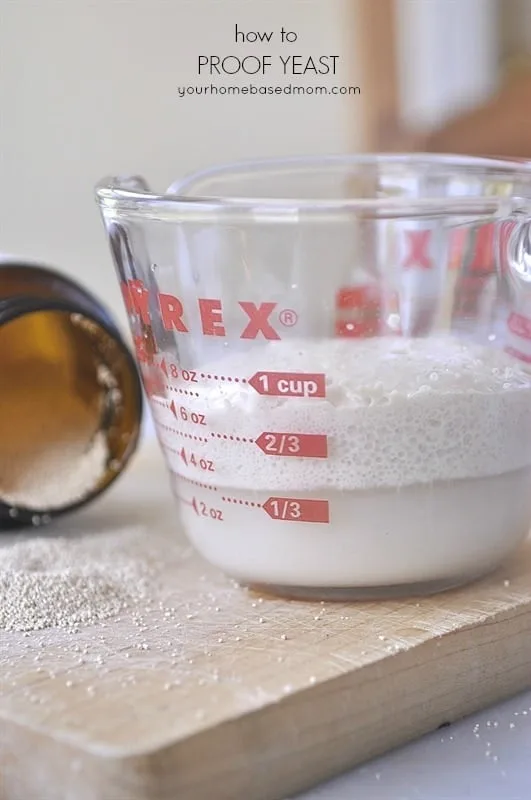
You should always store your yeast in the refrigerator or freezer to extend its life. To test if your yeast is still alive, perform a proofing test. Mix one teaspoon of yeast with a half-cup of lukewarm water and a pinch of sugar.
If it doesn't foam up within ten minutes, the yeast is dead and must be replaced.
If you find that your machine consistently produces small loaves, you might be using too little yeast. While why your dough might expand too much is a different issue, the balance is delicate. Even a quarter-teaspoon difference can change the entire height of the loaf.
Temperature Control: The Goldilocks Range for Water and Kitchens
Yeast activity is entirely temperature-dependent. If the water is too cold, the yeast stays dormant. If the water is too hot, the yeast dies.
The ideal temperature for bread machine liquids is between 80°F and 90°F (27°C to 32°C).
Many bakers make the mistake of using "hot" tap water. Anything over 120°F (49°C) will thermally shock the yeast. We recommend using an instant-read thermometer to verify the water temperature before pouring it into the bread pan.
External room temperature also plays a role. If your kitchen is under 65°F in the winter, the machine may struggle to maintain the internal heat needed for a good rise. Conversely, a very hot kitchen can cause the dough to rise too quickly and collapse.
Flour Selection: Why Gluten Structure is Non-Negotiable
Flour provides the "walls" that hold the air bubbles created by the yeast. If these walls are weak, the air escapes, and the bread stays flat. This strength comes from gluten, which is formed by proteins in the wheat.
Bread flour contains significantly more protein than All-Purpose (AP) flour. While AP flour is fine for cookies or cakes, it often lacks the structural integrity required for the heavy kneading cycles of a machine. According to the Wheat Foods Council, bread flour typically contains 12% to 14% protein, which is ideal for yeast-leavened products.
If you are using whole wheat or rye flour, your bread will naturally be shorter and denser. These flours contain bran, which acts like little saws that cut through the gluten strands. If you want a tall whole-wheat loaf, we suggest mixing it with at least 50% white bread flour to provide the necessary lift.
The Order of Operations: Avoiding the Salt-Yeast Collision
The order in which you add ingredients to the pan is not a suggestion, it is a requirement. Most machines require liquids first, followed by the dry ingredients, with the yeast added last. This keeps the yeast away from the liquid until the mixing begins.
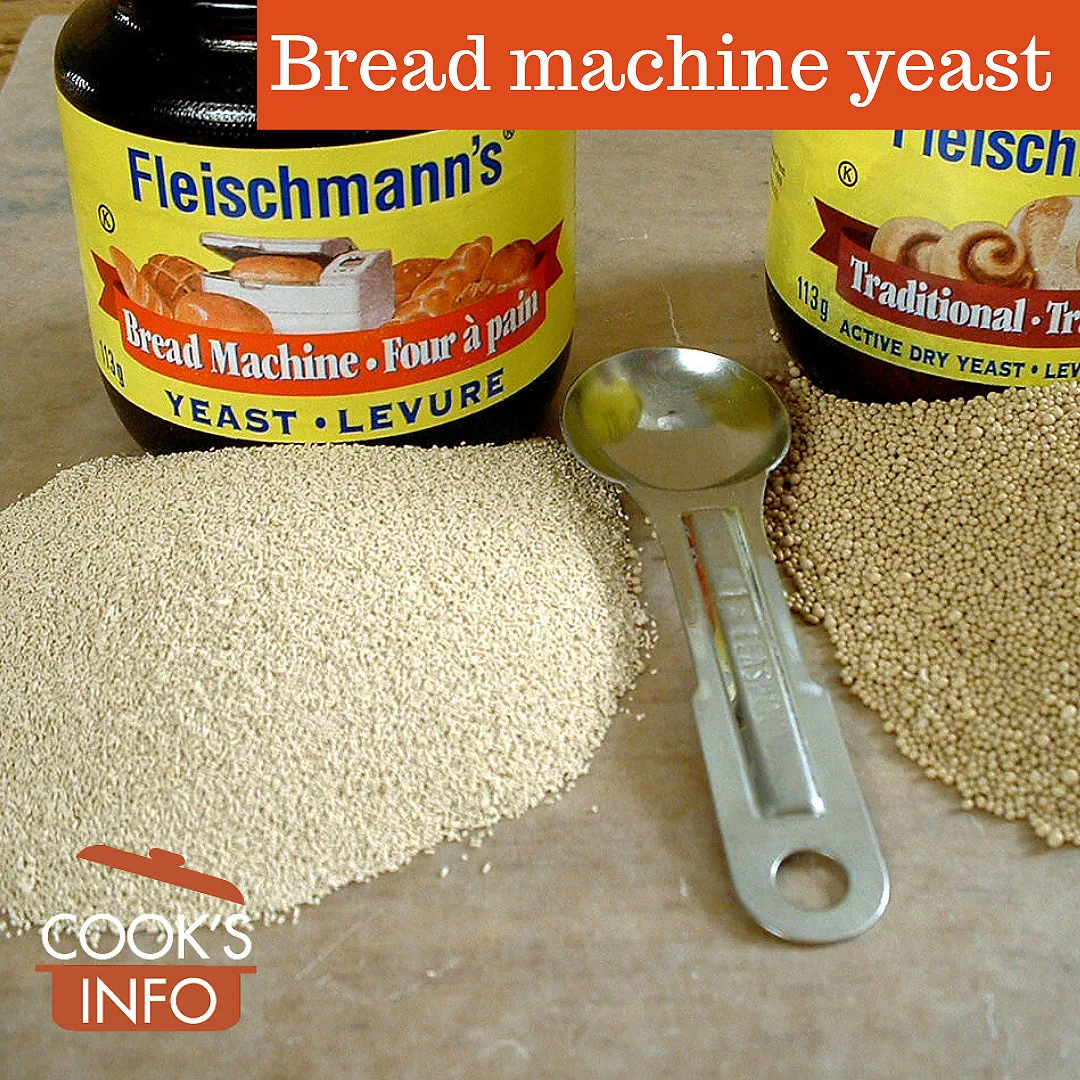
The most critical part of this "stacking" method is keeping the salt away from the yeast. Salt is a desiccant that pulls moisture out of yeast cells, effectively killing them on contact. If you are using a delay timer, this isolation is even more important.
To ensure a safe environment for your leavening, try the "well" method. After adding your flour to the pan, use a spoon to make a small indentation in the center. Pour the yeast into this hole.
This keeps the yeast high and dry, protected from the salt and water until the paddle starts spinning. Proper loading helps avoid uncontrolled rising and messes later in the cycle.
Managing the Liquid-to-Dry Ratio (Hydration)
The relationship between water and flour, often called the hydration level, is the most common reason for a failed rise after yeast issues. If your dough is too wet, it becomes structurally weak. It might rise quickly but will inevitably collapse because the gluten bubbles are too thin to hold their shape.
If your dough is too dry, it becomes a tight, dense knot. The yeast produces gas, but the dough is too stiff to expand, resulting in a short, heavy loaf. In our research of common bread maker recipes, a standard white loaf usually requires a hydration of around 60% to 65%.
You can spot a hydration issue by watching the dough during the first ten minutes. A perfect dough ball should look smooth, slightly tacky, and clean the sides of the pan. If it looks like a thick batter, it is too wet.
If it looks like a collection of dry crumbs, it is too dry.
Measuring by Weight vs Volume: The Density Trap
Measuring flour with a cup is the easiest way to ruin a recipe. Depending on how you scoop, a "cup" of flour can weigh anywhere from 120 grams to 160 grams. This 30% variance is enough to make your bread fail every single time.
When you pack flour into a measuring cup, you are adding way more flour than the recipe intended. This extra weight creates a "brick" because the yeast is overwhelmed by the density. We recommend switching to a digital kitchen scale and measuring in grams for total consistency.
Standard conversions used by professional bakers and organizations like the Bread Bakers Guild of America suggest 120g to 125g for a cup of all-purpose or bread flour. If you must use cups, use the "spoon and level" method. Spoon the flour into the cup and scrape the top flat with a knife rather than dipping the cup directly into the bag.
Environmental Variables: High Altitude and Humidity Adjustments
Your kitchen environment changes how your bread maker performs. High humidity can make your flour wetter before you even start. In damp climates, you may need to reduce your liquid by one or two tablespoons to keep the dough from becoming too sticky.
High altitude presents a different challenge for rising bread. Above 3,000 feet, the atmospheric pressure is lower, which allows yeast to rise much faster than at sea level. This sounds like a good thing, but it often leads to over-proofing and a subsequent collapse during the bake.
If you live in a high-altitude region, try these research-backed adjustments:
- Reduce yeast by 25%.
- Increase water by 1 to 2 tablespoons per loaf.
- Decrease sugar slightly to slow down the yeast.
- Add an extra pinch of salt to strengthen the gluten structure.
Step-by-Step Troubleshooting Workflow
When a loaf fails, use this elimination process to find the culprit. Do not change every variable at once. Adjust one thing at a time so you can identify the exact problem for future bakes.
- Check the Yeast: Perform a 10-minute proofing test in a glass with warm water and sugar. If it doesn't bubble, buy a new jar.
- Verify the Water Temp: Use a thermometer to ensure your liquid is between 80°F and 90°F.
- Audit Your Flour: Ensure you are using "Bread Flour" and not "Cake" or "All-Purpose" flour. Check that it hasn't been sitting in a damp pantry.
- Recalibrate Measurements: Switch to a digital scale and measure by weight rather than volume.
- Clean the Machine: Ensure no old flour is gunked up under the kneading paddle, which can slow down the motor.
If the bread still fails after these steps, the issue might be mechanical. Check that the heating element is actually getting warm during the rise cycle. If the machine stays cold, the yeast will never wake up.
The 5-Minute Peek Intervention Strategy
The most effective way to prevent a failed rise is to intervene while the machine is still kneading. Most bread makers allow you to open the lid during the first mixing and kneading stages without losing heat or ruining the cycle.
Set a timer for five minutes after the machine starts. Open the lid and look at the dough ball. If the dough is sticking to the walls of the pan like a thick paste, add one tablespoon of flour.
Wait another minute and check again.
If the dough is knocking against the sides and looks like several disconnected lumps, add one teaspoon of water. Continue this "teaspoon and tablespoon" adjustment until the dough forms a single, smooth, elastic ball. This simple check catches 90% of rise issues before they become permanent.
Mechanical Check: Is the Kneading Paddle Actually Spinning?
If your ingredients are perfect but the loaf is still a lumpy mess, the problem is likely mechanical. The kneading paddle must be seated firmly on the drive shaft to move the dough. If it is loose or clogged with old, baked-on bread, it won't rotate with enough force to develop gluten.
Check the underside of the bread pan for any leaks or dark residue. This often indicates the seal around the drive shaft is failing. When the seal breaks, the friction increases and the motor may struggle to spin the paddle, leading to unmixed flour and zero rise.
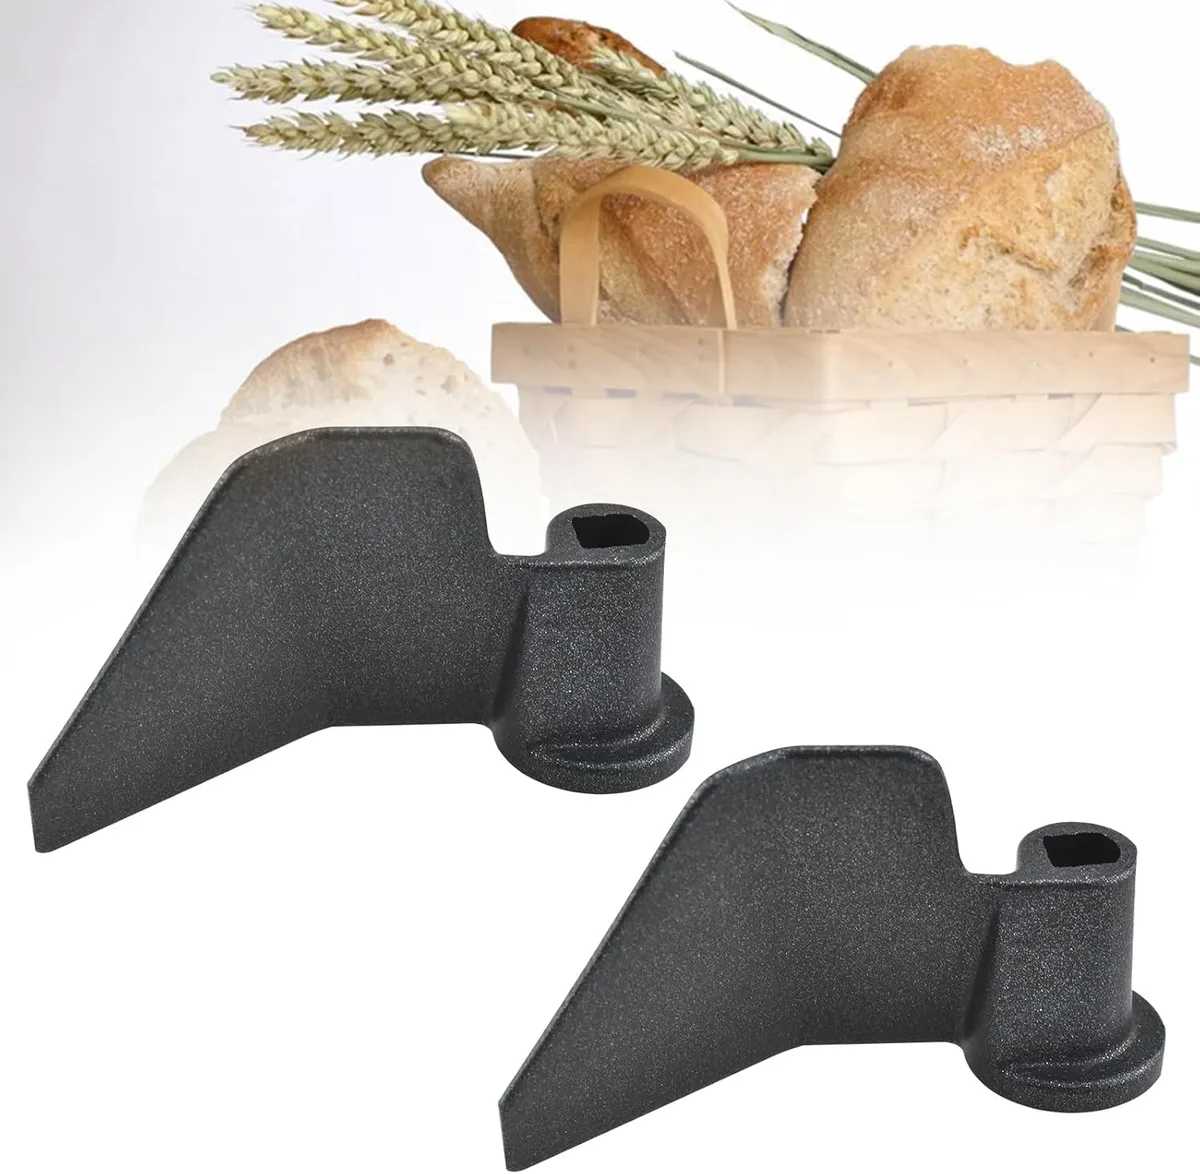
Before every bake, verify that the paddle clicks into place. Give it a quick flick with your finger to ensure it moves freely. If it feels stuck, soak the pan in warm, soapy water to dissolve any sugar or starch buildup inside the mounting hole.
Common Mistakes to Avoid with the Delay Timer Setting
Using the delay timer is convenient but increases the risk of a rise failure. When ingredients sit in the pan for several hours, they are prone to temperature shifts. If the milk or water warms up to room temperature, it might accelerate the yeast too early.
The most dangerous factor with a timer is the moisture migration. Flour can absorb the liquids below it, allowing the water to reach the yeast before the machine starts. This "pre-activation" means the yeast will be exhausted by the time the actual rise cycle begins.
To prevent this, always ensure your flour layer is perfectly flat and covers the water entirely. Use the "well" method to keep the yeast high above the waterline. Avoid using fresh milk or eggs on a delay timer, as they can spoil and affect the chemical balance of the dough.
Expert Tips for Storing Yeast and Flour Long-Term
Freshness is the enemy of a flat loaf. Most home bakers don't realize that flour is a perishable product. Whole wheat flour, in particular, contains oils that can go rancid and interfere with yeast activity.
Store your bread flour in a cool, dark place inside an airtight container. For yeast, the freezer is the gold standard. In our analysis of manufacturer recommendations, frozen yeast remains viable for up to a year, whereas yeast kept in a warm pantry can lose half its potency in just a few months.
If you buy yeast in bulk, keep a small jar in the fridge for daily use and freeze the rest. Always let the yeast sit at room temperature for a few minutes before adding it to the bread pan. This prevents the "thermal shock" that can occur when ice-cold yeast hits lukewarm water.
Decision Guide: When to Adjust the Recipe vs When to Replace Ingredients
Not every rise issue requires buying new supplies. Sometimes, a simple ratio adjustment is the fix. Use this logic to decide your next move.
If your bread consistently hits the lid and then collapses, your recipe is too "energetic." Reduce the yeast or sugar by 25% before you blame the brand of flour. This is an adjustment issue, not an ingredient failure.
If your bread is always a "brick" even with new yeast, check your water source. Highly chlorinated tap water can act as a disinfectant, killing the yeast. Switch to filtered or bottled water for one batch.
If the bread rises perfectly, you have found a chemical culprit in your plumbing.
FAQ: Solving Stubborn Rise Issues in Specific Machines
Why does my Zojirushi bread not rise on the rapid cycle?
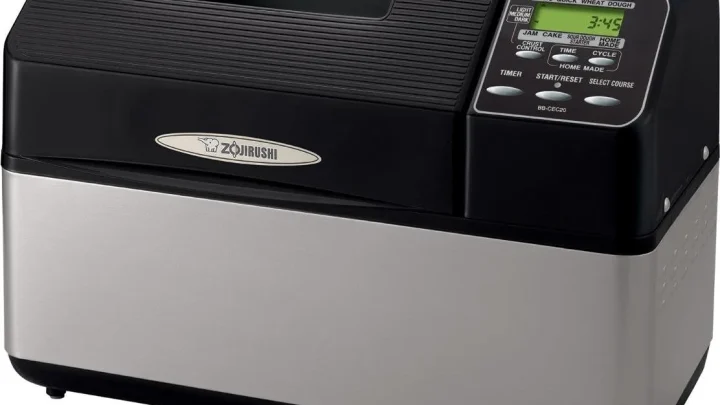
The rapid cycle cuts the rise time in half, which requires more yeast or a warmer starting temperature. Use "Rapid Rise" or "Bread Machine" yeast specifically for these cycles. Ensure your water is at the higher end of the safe range, around 95°F, to give the yeast a head start.
Can I use honey instead of sugar for the rise?
Yes, but honey is a liquid and an anti-fungal in high concentrations. Replace the sugar 1:1 but subtract one tablespoon of water from the recipe to compensate for the honey's moisture. This keeps the hydration level balanced so the dough doesn't become too heavy to rise.
Does the age of the bread machine matter?
Older machines can develop "lazy" heating elements. If the internal sensor is off by just five degrees, the rise cycle will be too cold. You can test this by placing an oven thermometer inside the machine during the rise phase to see if it reaches the manufacturer's specified temperature.
Why does my gluten-free bread stay flat?
Gluten-free bread does not have the "balloon" structure of wheat protein to hold air. It requires binders like xanthan gum or guar gum to create a fake structure. If your GF bread isn't rising, you likely need to increase the amount of binder or use a specific "Gluten-Free" setting that features a longer, single rise.
Should I use the "Basic" or "Whole Wheat" setting?
Always match the setting to your primary flour. The Whole Wheat setting includes a "pre-heat" phase to soften the grains and a longer rise time to account for the heavier weight. Using the Basic cycle for heavy grains will almost always result in a short, dense loaf.
Final Recommendation: Your Path to a Perfect Rise
Success with a bread maker comes down to controlling the variables that affect yeast health. If you consistently find yourself with flat loaves, start by replacing your yeast and using a digital scale to weigh your flour. These two changes solve the vast majority of rise problems.
Always remember the 5-minute check. Opening the lid to adjust the dough consistency is the best way to ensure the hydration is correct. If the dough ball looks smooth and elastic, you have done your part.
Finally, keep your machine clean and your ingredients fresh. Bread making is a science, but once you master the basics of temperature and measurement, the machine does the hard work for you. Stick to high-protein bread flour, use filtered water if your tap water is heavily treated, and enjoy the smell of a perfectly risen loaf.

Similar Posts