Why Did My Bread Machine Overflow? 7 Common Causes
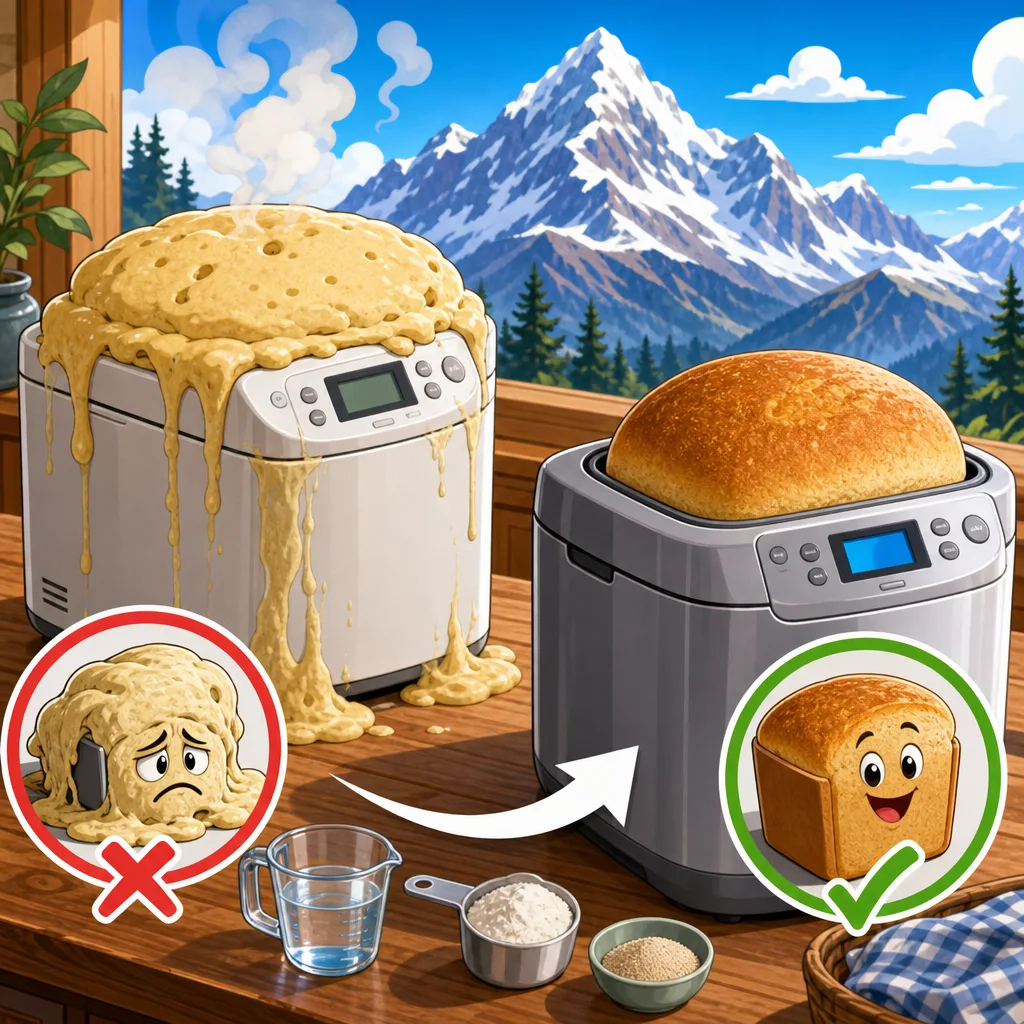
Bread machine overflows are one of the most common frustrations in home baking, and if you've ever asked why did my bread machine overflow last night, the fix is almost always in the recipe or the environment, not the machine itself. Dough climbs out of the pan when yeast produces more gas than the loaf pan can hold before baking sets the crumb. Once you know which variable pushed things over the edge, the fix usually takes minutes.
Most overflows trace back to five variables working together: yeast amount, flour type, liquid ratio, pan size, and kitchen temperature. As of 2026, aggregate reviews of the top bread machines (Zojirushi, Panasonic, Cuisinart, Breville, Hamilton Beach) show that "loaf too big" and "dough hit the lid" remain the two most cited user complaints. Let's walk through what actually causes an overflow and how to stop it from happening again.
Quick Answer
Bread machine overflows happen when dough over-rises before baking sets the crumb. Common causes are too much yeast, sugar, or liquid. A warm kitchen speeds proofing and pushes dough over the pan.
Recipes sized for a bigger pan also overflow smaller machines. Cut yeast by 1/4 teaspoon and match recipe size to your pan.
Why Your Bread Machine Overflowed (The Short Answer)
An overflow is a proofing problem, not a baking problem. The dough over-rose during one of the two or three rise cycles built into your program. By the time the bake stage started, the crumb structure was already too tall for the pan.
Nothing the machine does during baking can walk that back.
The good news? Every cause has a straightforward fix. You don't need a new machine.
Adjust one or two variables in the recipe or the setup, and the loaf will stay where it belongs.
The 6 Real Reasons Dough Climbs Out of the Pan
Our research across manufacturer manuals and verified user reports points to the same six culprits, in roughly this order of frequency:
| # | Cause | Quick Fix |
|---|---|---|
| 1 | Too much yeast | Reduce by 1/4 tsp |
| 2 | Recipe sized for a bigger pan | Scale ingredients to your pan |
| 3 | Too much liquid (wet dough) | Add 1 tbsp flour at a time |
| 4 | Warm kitchen or hot liquid | Use cool water, cut yeast by 1/4 tsp |
| 5 | Wrong flour type (too much gluten) | Match flour to recipe spec |
| 6 | Delay start with instant yeast | Skip the timer or use less yeast |
Five of the six come down to the recipe or the environment. Only the last one is really about how you set up the machine. Work through them in order and you'll usually find the fix on the first or second try.
First Check: Was the Recipe Sized for Your Pan?
This is the single most common mistake in bread machine baking. A recipe written for a 2 lb pan will absolutely overflow a 1.5 lb pan. Always check the recipe's total flour weight before you start.
A 1 lb loaf uses roughly 2 cups (240 g) of flour. A 1.5 lb loaf uses about 3 cups (360 g). A 2 lb loaf uses closer to 4 cups (480 g).
If your recipe and your pan don't match, you've already lost the battle.
How to Match Recipe Size to 1 lb, 1.5 lb, and 2 lb Pans
Check your machine's manual for its stated maximum flour capacity, then use this rule of thumb:
- 1 lb pan: 2 cups flour, 3/4 cup liquid, 1 tsp yeast
- 1.5 lb pan: 3 cups flour, 1 to 1 1/8 cups liquid, 1 1/2 tsp yeast
- 2 lb pan: 4 cups flour, 1 1/3 to 1 1/2 cups liquid, 2 tsp yeast
If a recipe calls for 4 cups of flour and you have a 1.5 lb machine, scale everything by 0.75. Overflow solved before the first knead. Skip this step and no amount of yeast tweaking will save you.
Yeast Problems That Cause Overflow
Yeast is the single biggest lever behind an overflow. A quarter teaspoon too much can push a loaf from perfect to spilling over the pan rim. Warm kitchens, sweet doughs, and the wrong yeast type all amplify the effect.
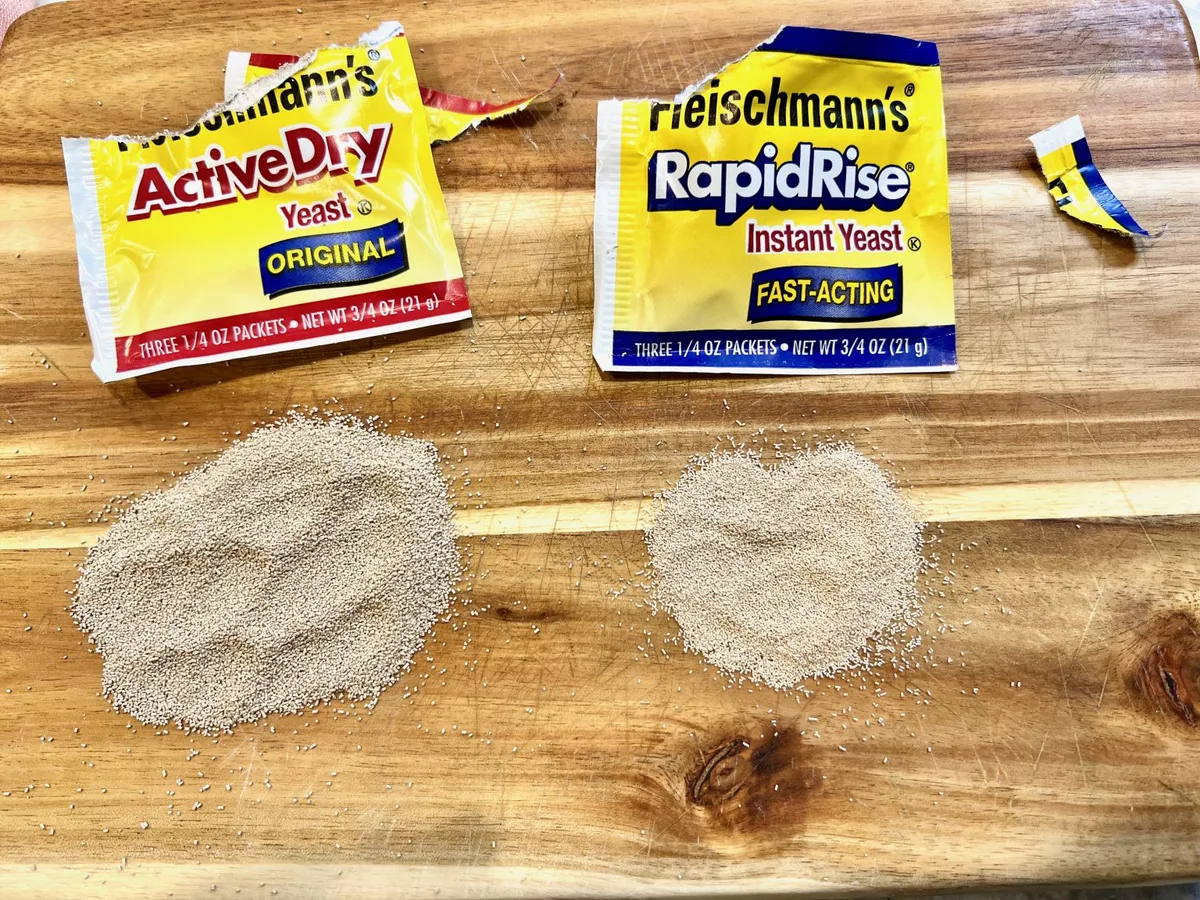
Instant vs. Active Dry vs. Bread Machine Yeast
Not all yeast is interchangeable. Swapping one for another at the same measurement is a common source of runaway rises. Here's the conversion most bakers get wrong:
| Yeast Type | Rise Speed | Substitution Ratio |
|---|---|---|
| Active dry | Standard | 1 tsp = baseline |
| Instant / rapid rise | ~25% faster | 3/4 tsp per 1 tsp active dry |
| Bread machine yeast | Fastest | 3/4 tsp per 1 tsp active dry |
Per Red Star Yeast and Fleischmann's manufacturer guidance, instant and bread machine yeast are essentially the same strain, milled finer for faster hydration. If a recipe was written for active dry and you swap in instant at a 1:1 ratio, you've overloaded the dough by about 25%. That's often all it takes for an overflow.
How Much Yeast Is Actually Too Much
For a standard 1.5 lb white loaf, the sweet spot is around 1 1/2 teaspoons of bread machine yeast. Anything past 2 teaspoons in that pan size will climb the walls. Whole wheat and enriched doughs need slightly more, but not by much.
If your kitchen sits above 78°F (26°C), knock the yeast down by another 1/4 teaspoon. Warm dough proofs faster. Faster proofing means more gas, and more gas means the dough hits the lid.
Flour Type and Protein Content: Why It Matters More Than You Think
Flour choice controls how much gas your dough can trap before it collapses or spills. Higher protein means a stronger gluten network. A stronger network holds more CO2 and pushes the loaf taller, sometimes taller than the pan wants.
Per data from the USDA, bread flour typically runs 12 to 14% protein. All-purpose flour sits at 10 to 12%. That few-percent gap translates to noticeably different loaf heights in the same pan.
Most bread machine recipes are written for bread flour. Swap in all-purpose and the loaf tends to be shorter and denser, with almost no overflow risk. Swap in high-gluten flour, or add vital wheat gluten to a standard recipe, and suddenly a reliable formula rockets past the rim.
Whole wheat flour is the opposite trap. It looks heavy, so bakers often add extra yeast or vital wheat gluten to help it rise. Do both and you've engineered an overflow.
Stick to the flour type the recipe calls for, and change only one variable at a time if you're substituting.
Liquid, Sugar, and Salt Ratios That Push Dough Over the Top
Liquid, sugar, and salt work together to control how fast a dough rises. Get any one of them wrong and the loaf can climb past the pan before baking starts. The standard target for machine loaves is 60 to 65% hydration, meaning liquid weight equals about 60 to 65% of flour weight.
Extra liquid softens the dough. Softer dough traps gas more easily and spreads outward, then upward. If your loaf came out with a mushroom top or spilled sideways, check hydration first before blaming the yeast.
Sugar feeds yeast directly. Doubling the sugar in a recipe (say, from 1 tablespoon to 2) can turn a normal rise into a runaway one. Enriched breads like brioche and sweet rolls are especially prone to this.
Salt does the opposite. It slows yeast activity and tightens the gluten. Under-measure salt (or forget it) and the loaf will rise faster and taller than intended.
Aim for 1 to 1 1/2 teaspoons of salt per 3 cups of flour and don't cut it "for health reasons" without cutting yeast to match.
Kitchen Temperature and Seasonal Overflow (Summer vs. Winter)
Ambient temperature is the invisible variable behind seasonal overflows. The ideal dough temperature during proofing sits around 75 to 78°F (24 to 26°C). A kitchen above that range accelerates yeast activity noticeably.
Summer bakes overflow more often than winter ones. If your loaf was perfect in February and spilling over the pan in July, the recipe didn't change. Your kitchen did.
Two adjustments handle this cleanly:
- Use cool tap water (60 to 65°F) instead of warm water in summer
- Reduce yeast by 1/4 teaspoon when the kitchen is above 78°F
In winter, the opposite is true. A cold kitchen slows proofing, and bakers sometimes add extra yeast to compensate, then forget to remove it when spring hits. Set your baseline recipe for a 72°F kitchen and adjust yeast up or down from there.
Delay Start Timer Mistakes That Guarantee a Blowout
The delay start feature is the number one hidden cause of overflow, especially with instant yeast. When the timer holds a loaded pan for six or eight hours before baking, the yeast and liquid sit together the entire time. Fermentation starts long before the first knead.
Instant and bread machine yeast activate fast on contact with any moisture, including moisture from the flour itself. By the time the machine begins kneading, the dough may already be partially proofed. The scheduled rises then push it straight over the pan.
Two rules keep the delay timer safe:
- Never let yeast touch liquid, salt, or sugar during the delay
- Reduce yeast by 1/4 to 1/2 teaspoon for any delay over 4 hours
Better yet, skip the delay start for anything richer than a plain white loaf. Enriched, whole-grain, and high-sugar doughs overflow far more often on the timer than on an immediate start.
Loading Order: Why Yeast Should Never Touch Liquid Early
Loading order matters more than most manuals admit. The correct sequence keeps yeast dry and dormant until the machine's first knead mixes everything together. Get the order wrong and yeast starts feeding immediately.
Manufacturer specifications for most top-loading machines (Zojirushi, Panasonic, Cuisinart) recommend this exact order:
- Liquids first (water, milk, oil)
- Sugar, salt, and any dry seasonings on top of the liquid
- Flour spread evenly over the liquid to seal it
- A small well in the flour for yeast, added last
The flour layer acts as a barrier. It keeps yeast on the dry surface until the paddle mixes everything. Dump yeast straight into the water and it starts working before the machine is ready.
That head start is often enough to blow the loaf out of the pan.
The 10-Minute Dough Ball Check That Prevents Most Overflows
Around 8 to 10 minutes into the knead cycle, open the lid and look at the dough. This single habit prevents more overflows than any other adjustment.
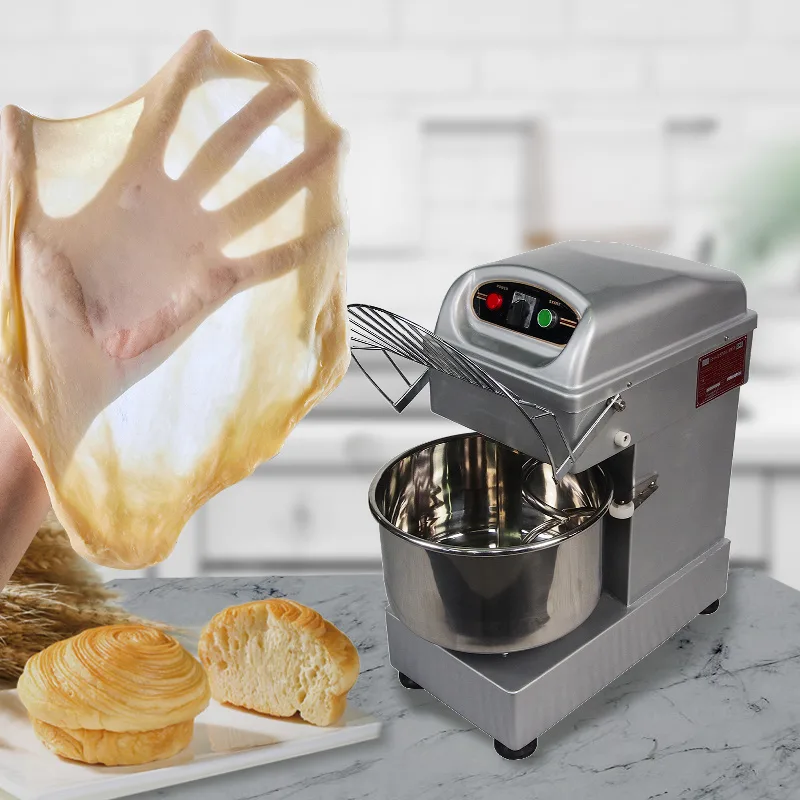
A properly hydrated dough forms a smooth, slightly tacky ball that clears the sides of the pan but sticks lightly to the bottom. If it looks like a wet batter smeared across the pan, add flour 1 tablespoon at a time until the ball forms. If it looks dry, crumbly, or breaks into two pieces, add water 1 teaspoon at a time.
Getting the ball right at 10 minutes almost eliminates overflow risk. A properly formed dough rises predictably. A wet, over-hydrated dough rises fast, spreads, and climbs the pan walls.
Make the check a habit for every new recipe, especially in the first two or three bakes. Once you know a recipe behaves, you can skip it. Until then, ten seconds of watching saves an hour of cleanup.
How to Adjust a Recipe After an Overflow
Only change one variable at a time. Adjust two or three at once and you won't know which fix actually worked. Start with the most likely culprit from the six-cause list.
Reducing Yeast, Sugar, or Liquid the Right Way
Reduce yeast first, by 1/4 teaspoon. This alone solves the majority of overflow cases. Bake the same recipe again with no other changes and see if the loaf now fits the pan.
If the loaf still climbs, cut sugar by 25% next. Then, if needed, reduce liquid by 1 tablespoon at a time until the dough ball at the 10-minute mark is smooth and cleared from the sides. Note the final measurements in the margin of the recipe.
That's your new baseline for that machine.
Cleaning Overflow Off the Heating Element Safely
Spilled dough on the heating element is a fire risk and needs to come off before the next bake. Unplug the machine first and let it cool completely. Never scrape or spray water into a warm chamber.
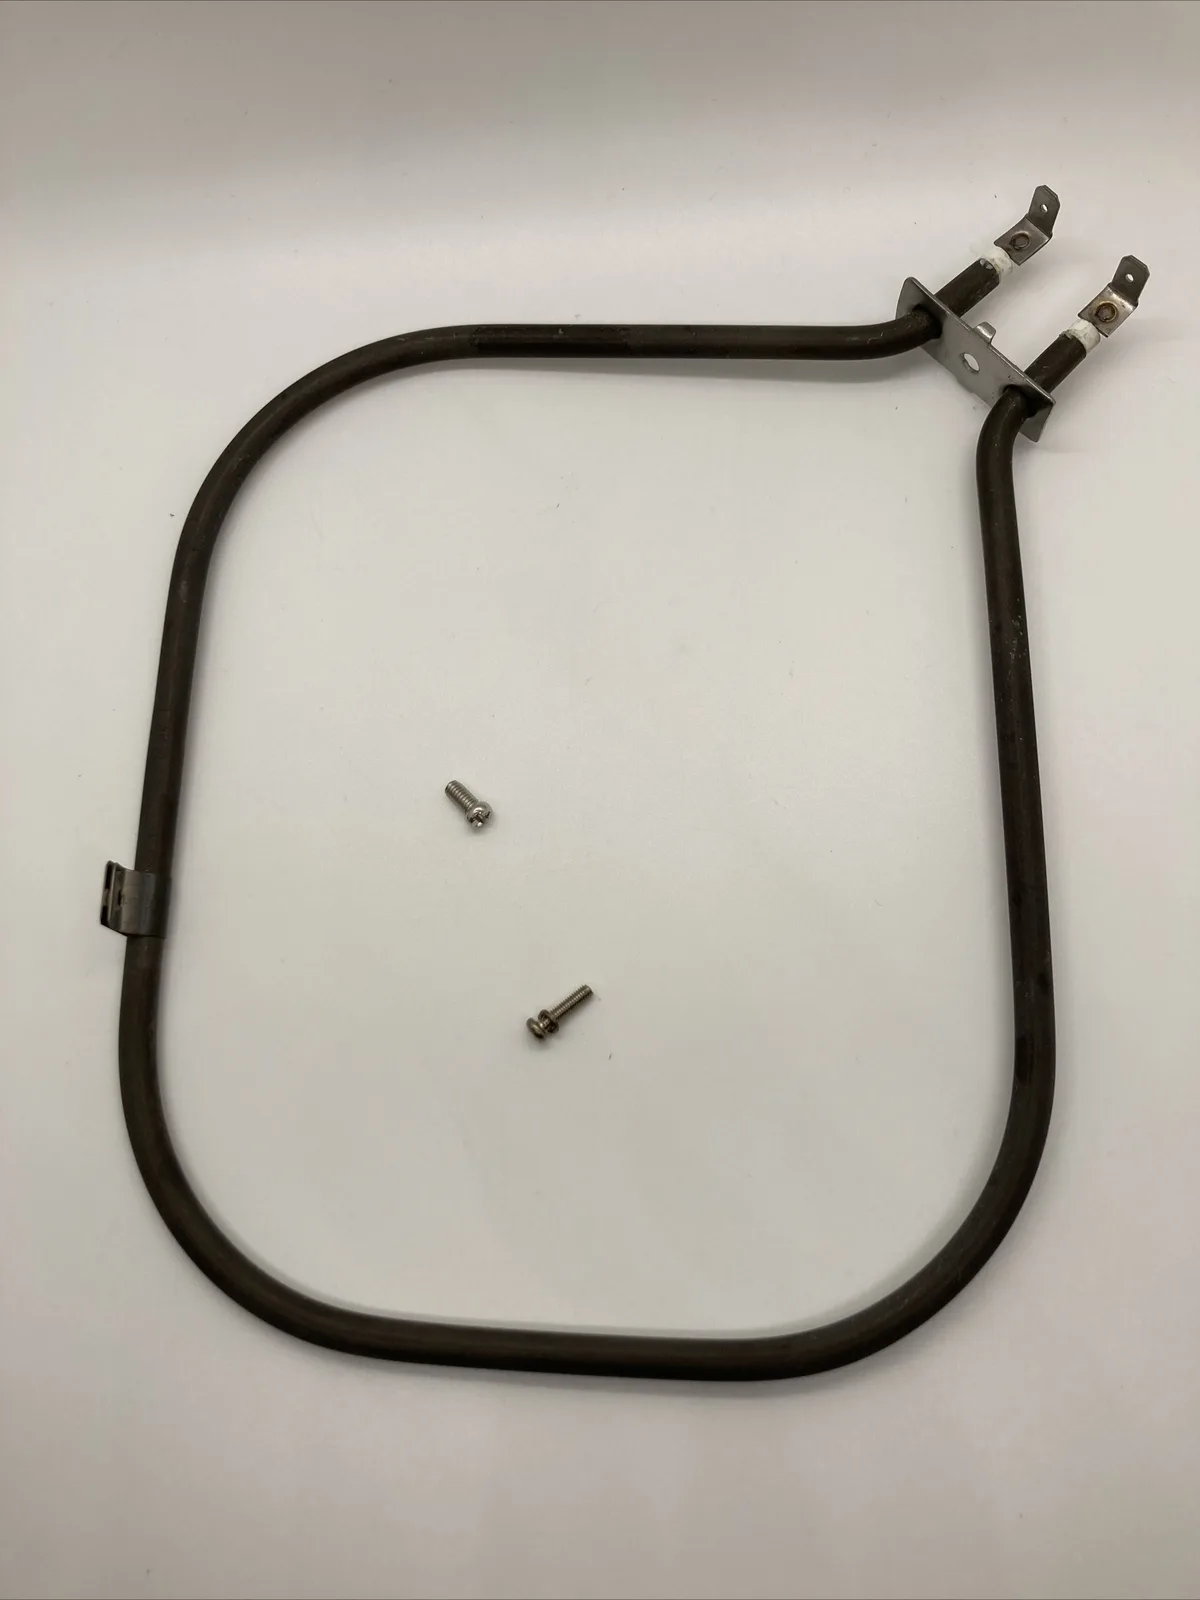
Remove the loaf pan and paddle. Use a soft, slightly damp cloth to lift baked-on dough from the coil and the chamber walls. For stubborn spots, a wooden skewer or a plastic scraper works.
Metal utensils can nick the coil coating.
If dough dripped through the pan seal onto the drive shaft, wipe that area clean and dry it fully. Any moisture trapped near the motor can cause corrosion or shorts. Once cool and dry, run an empty test cycle for 5 minutes and confirm there's no smoke or burnt smell before baking again.
Overflow Mistakes to Stop Making Today
A few habits cause repeat overflows even after bakers "fix" the recipe. Cut these out and your success rate jumps immediately.
- Measuring flour by loosely scooping the cup (packs 15 to 20% more flour than spec)
- Substituting instant yeast 1:1 for active dry
- Using warm milk straight from the microwave without checking temperature
- Setting a 2 lb program for a 1.5 lb recipe (extra rise time = extra height)
- Adding "just a bit extra" yeast because the last loaf seemed short
- Running enriched doughs on the delay timer
The flour scoop is the sneakiest one. Weigh flour in grams whenever possible, or spoon it lightly into the measuring cup and level with a knife. Packed flour throws hydration off enough to swing a loaf from perfect to overflowing.
When It's the Machine, Not the Recipe
Sometimes the fault really is the machine. Age, sensor drift, and worn parts all shift how a program behaves. If a proven recipe suddenly starts overflowing on a machine that's five or more years old, check these:
- Temperature sensor stuck reading low, triggering longer rise times
- Weak heating element that never brings the chamber up to bake temperature promptly
- Sticky lid latch letting steam escape and skewing timing
- Damaged pan seal that lets the dough shift oddly
A quick test: bake a known-good recipe in a different program (basic instead of rapid, for example) and see if the overflow repeats. If it does across cycles, the sensor or heating element is likely the issue. Manufacturer service info from Zojirushi, Panasonic, and Cuisinart covers replacement parts for most models still in production as of 2026.
Quick Decision Guide: Diagnose Your Overflow in Under a Minute
Work through these questions in order and stop at the first "yes":
- Is the recipe sized for a bigger pan than yours? Scale it down.
- Did you use instant yeast at the active-dry measurement? Cut by 25%.
- Is your kitchen above 78°F? Cool the water and cut yeast by 1/4 tsp.
- Was the dough a wet batter at the 10-minute check? Add flour next time.
- Did you use the delay start with instant yeast? Skip the timer.
- Is sugar above 2 tablespoons per 3 cups of flour? Reduce it by 25%.
- Same recipe, same machine, sudden change? Check the sensor and heating element.
If you answered no to all seven, try dropping yeast by 1/4 teaspoon and rebaking. That single change fixes most stubborn cases.
FAQs About Bread Machine Overflow
Can I stop the machine mid-cycle if the dough is climbing?
Yes. Hit stop, remove the pan, and gently deflate the dough by pressing it back down with a wet spatula. Restart on the dough cycle or bake it in the oven instead.
Waiting rarely helps because the rise will only continue.
Does altitude cause bread machine overflow?
Yes. Above 3,000 feet, lower air pressure lets dough rise faster and higher. Reduce yeast by 1/4 teaspoon per 1,000 feet of elevation and cut sugar slightly to keep proofing controlled.
Why did my bread overflow only on the rapid bake cycle?
Rapid cycles use hotter proofing temperatures to speed things up. That accelerates yeast activity and often pushes standard recipes past the pan rim. Cut yeast by 1/4 teaspoon or use a recipe written specifically for the rapid setting.
Can old yeast cause overflow?
Rarely. Old or expired yeast usually causes under-rising, not overflow. If your yeast is producing a taller loaf than expected, it's fresh and probably being over-measured or substituted incorrectly.
Is a mushroom top the same as an overflow?
Not quite. A mushroom top means the dough rose past the pan rim but didn't spill, usually from slightly too much yeast or liquid. A full overflow means the dough spilled onto the heating element.
Both come from the same six causes.
