How to Make Perfect Whole Wheat Bread in a Bread Maker
If you've ever pulled a dense, crumbly brick out of your bread maker, you know the struggle of figuring out how to use a bread maker for whole wheat bread. It's a completely different game from white bread. Whole wheat flour behaves differently, drinks more water, and needs more time to develop gluten.
Manufacturer specifications indicate that whole wheat dough needs higher hydration and a longer kneading phase than standard white dough. As of 2026, most mid-range machines include a dedicated whole wheat cycle. That helps, but it isn't a magic fix.
You still need to get the ingredients and technique right.

Why Whole Wheat Loaves Fail in Bread Makers
Whole wheat bread fails for one main reason: weak gluten. The bran flakes in whole wheat flour are sharp. They cut through gluten strands as the dough kneads.
Without a strong gluten network, the dough can't trap carbon dioxide. The loaf comes out short, dense, and heavy.
In our research across user manuals and verified buyer feedback, three mistakes keep showing up.
- Not enough water. Whole wheat flour absorbs more liquid than white flour.
- No added gluten. Whole wheat flour lacks the gluten strength of white flour.
- Using the wrong cycle. The basic cycle often cuts the rise time short.
That's where if/then logic helps.
| Problem | Likely Cause | What to Try |
|---|---|---|
| Dense, short loaf | Weak gluten or dry dough | Add vital wheat gluten, increase water |
| Collapsed top | Overproofing | Use less yeast, shorten the delay timer |
| Gummy center | Bread cut too soon | Cool fully on a wire rack before slicing |
| Crumbly texture | Too much flour | Measure by weight, reduce flour |
Quick Answer
Use the whole wheat cycle. Add extra water and vital wheat gluten. Check the dough ball after ten minutes.
Adjust flour or water to get a soft, tacky ball. Let the bread cool completely before slicing.
That's the core process. Everything else is about adjusting to your specific machine and kitchen conditions.
What's Different About Whole Wheat Dough
Whole wheat dough isn't just rougher. It's chemically different.
Whole wheat flour contains the entire wheat berry: the bran, the germ, and the endosperm. The bran and germ dilute the gluten-forming proteins. That means there's less structural potential than in white flour.
So the dough needs longer kneading to develop gluten. It also needs more water to soften the bran and hydrate the starch.
Your bread maker needs a longer rise time, too. Whole wheat dough rises more slowly. A standard basic cycle often doesn't allow enough time for the dough to double.
That's exactly why the whole wheat cycle exists. It extends the rise stages and can raise the baking temperature to help the loaf set.
If your machine only has a basic cycle, you still have options. Add vital wheat gluten to strengthen the dough. Or run the dough-only cycle first, let it rise properly, then bake it in your oven.
That method works well, but it adds about an hour to the process.
Before You Start: Pick the Right Flour, Yeast, and Gluten Boosters
The ingredients you choose matter more than the machine.
- Whole wheat flour. Use hard red whole wheat for a hearty loaf. Use white whole wheat for a milder flavor and softer crumb.
- Vital wheat gluten. It reinforces the weak gluten network. One tablespoon per loaf is enough.
- Instant yeast. It handles the longer whole wheat cycle better than active dry yeast.
- Liquid. Water is standard. Milk adds tenderness and a richer flavor.
- Fat and sweetener. Oil, butter, honey, or molasses soften the crumb and help the yeast.
Measure your flour by weight, not by scooping. A cup of whole wheat flour can weigh anywhere from 4 to 5.5 ounces depending on how it's packed. That swing changes the dough dramatically.
A kitchen scale gives you consistent results.
You can check the USDA's whole grain guidelines for fiber and nutrition details.
For a standard 1.5-pound loaf, a solid starting point is about 3 cups of flour, 1.25 cups of liquid, and 1.5 teaspoons of salt. Add one tablespoon of vital wheat gluten and one teaspoon of instant yeast. Adjust from there based on how your machine behaves.
Step-by-Step Workflow: Loading the Pan and Running the Cycle
The exact process varies by model, but this workflow works for most machines.
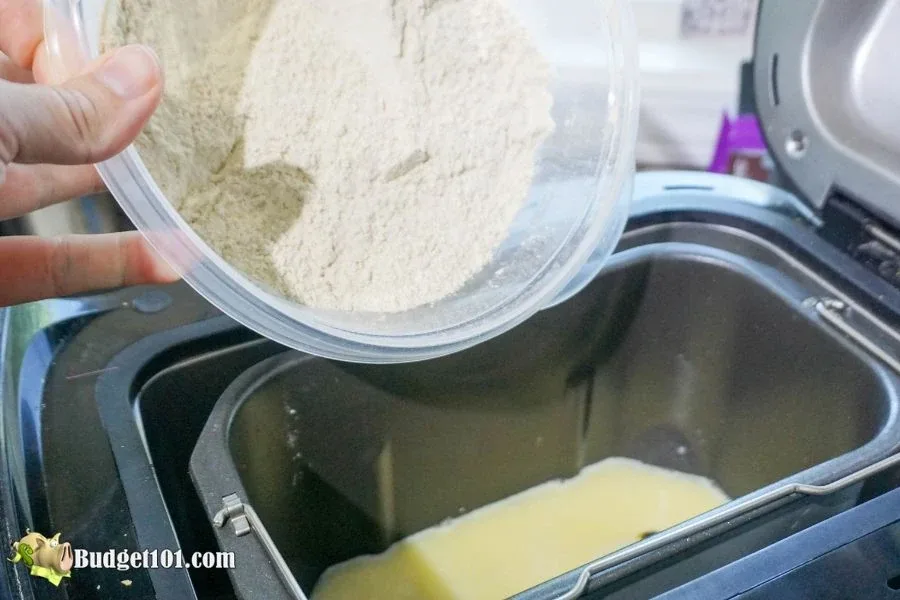
- Add the liquid first. Water, milk, oil, and honey go into the pan before anything else. This keeps the flour from jamming the paddle.
- Add the flour on top. Cover the liquid completely. This creates a barrier.
- Put salt and sugar on opposite corners. This keeps them separate until mixing begins.
- Make a small well in the flour. Yeast goes here. It stays dry until the kneading starts.
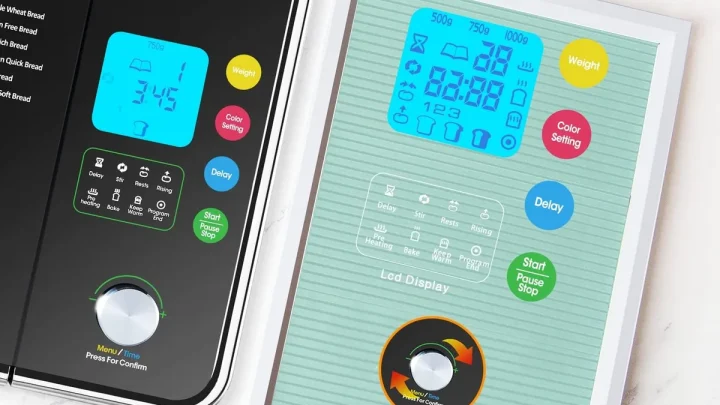
- Start the machine. Select the whole wheat cycle, choose your loaf size, and pick your crust color.
- Watch the first knead. About 10 minutes in, open the lid and look at the dough.
That last step is the most important one.
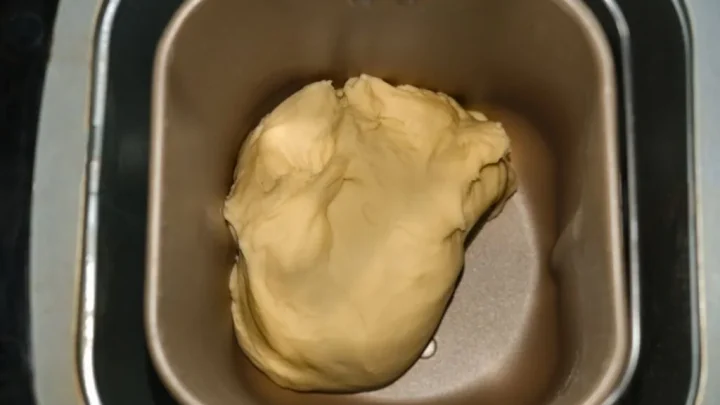
The dough should form a smooth, round ball that pulls cleanly from the pan's sides. If it looks dry and shaggy, add a tablespoon of water. If it looks wet and sticks, add a tablespoon of flour.
Let it knead for a minute after each adjustment.
Once the dough looks right, close the lid. The machine handles the rest. When the timer goes off, remove the pan immediately.
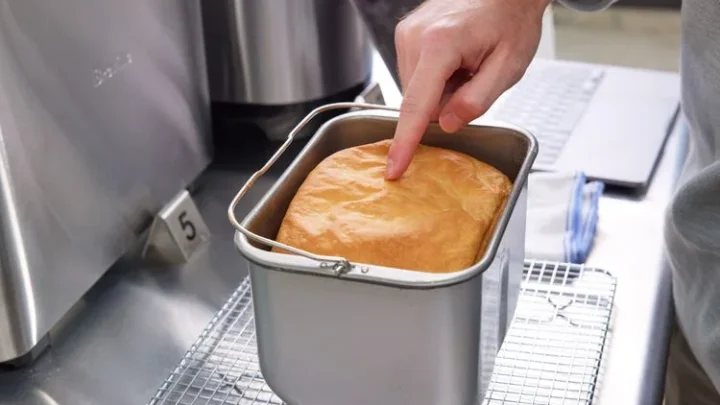
Turn the loaf onto a wire rack and let it cool completely.
The Mid-Knead Check: How the Dough Ball Should Look
About 10 minutes into the kneading cycle, open the lid. This is the single most useful habit you can build with a bread maker.
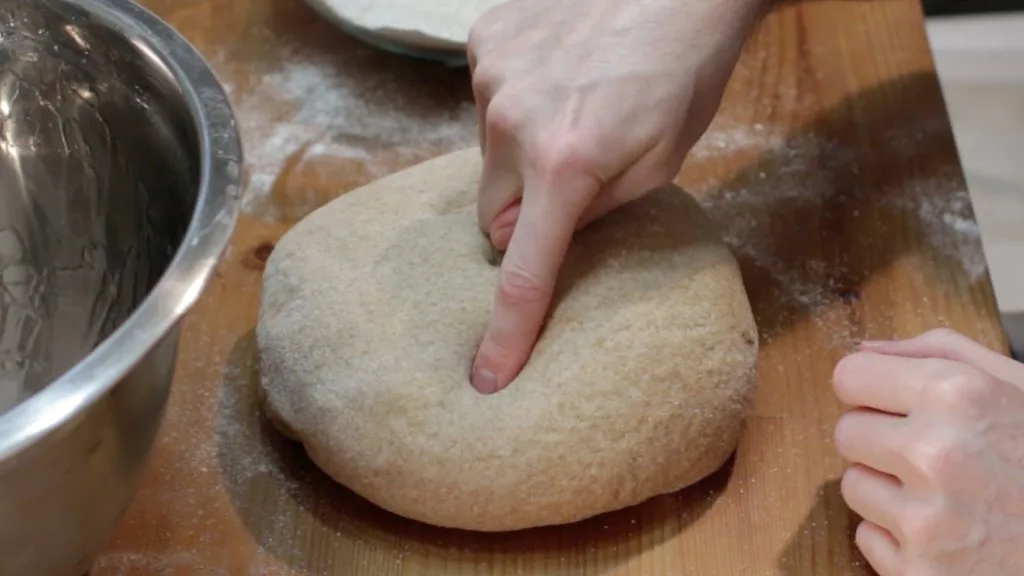
You're looking for one thing. A smooth, round ball that pulls cleanly away from the pan walls. That means the hydration is right.
Here's the if/then logic.
- If the dough looks shaggy and dry, then you need more water. Add one tablespoon at a time.
- If the dough sticks to the sides, then you need more flour. Add one tablespoon at a time.
- If the dough forms a ball but feels stiff, leave it alone. Let the machine finish.
Wait a full minute after any adjustment. The machine needs time to incorporate the extra ingredient.
You're compensating for flour variation. Every bag of whole wheat flour behaves differently. Sometimes the wheat was milled finer.
Sometimes your kitchen is more humid. The mid-knead check turns that variability into one simple visual cue.
Don't skip this step just because your machine has a whole wheat cycle. That cycle handles timing. It can't fix dough that's too dry.
Choosing the Right Cycle, Crust, and Loaf Size
The whole wheat cycle is your default choice. It adds kneading time and extends the rise phases. If your machine has one, use it every time.
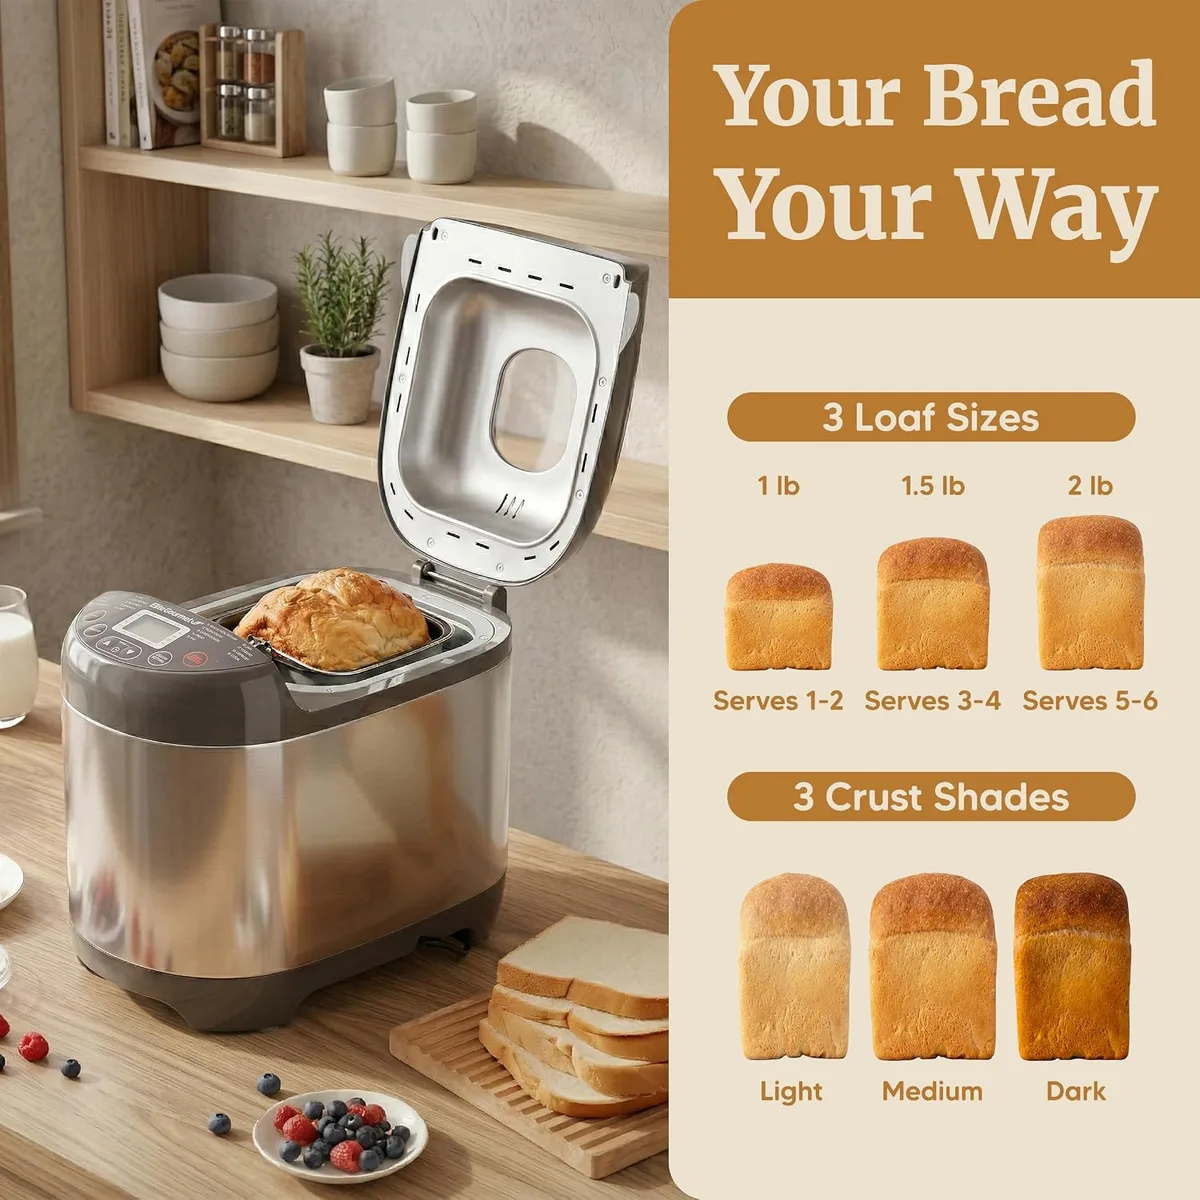
What if your machine only has a basic cycle? Then you have two solid options. Add vital wheat gluten and run the basic cycle, or use the dough-only cycle and bake separately.
| Cycle | What It Does | Best For |
|---|---|---|
| Whole wheat | Longer knead, extended rise, higher bake temperature | Any whole wheat loaf |
| Basic | Standard timing, shorter rise | White flour or whole wheat with added gluten |
| Dough only | Kneads and rises, no baking | Shaping the loaf yourself or oven baking |
| Rapid | Shortest time, aggressive yeast demand | White bread only, avoid for whole wheat |
Crust color and loaf size are personal preference. A darker crust setting can help a whole wheat loaf. It gives the crust more time to set, which helps the loaf hold its shape during the final rise.
For loaf size, pick the setting that matches your flour weight. A 1.5-pound loaf usually needs about 3 cups of flour. A 2-pound loaf needs closer to 4 cups.
Check your machine's manual for capacity guidelines.
Using the Delay Timer With Whole Wheat: What's Safe, What's Not
Delay timers are handy. Load the pan at night, wake up to fresh bread. But whole wheat dough doesn't always cooperate.
The biggest risk is overproofing. When yeast sits in warm, moist dough for hours, it keeps fermenting. The dough rises too high, then collapses before the bake starts.
Whole wheat dough's weaker gluten network collapses more easily.
Food safety matters too. Fresh milk, eggs, and yogurt can sit at room temperature for hours. That's a risk you don't need.
Here's the safe rule.
- If you use the delay timer, then use water or powdered milk. Avoid fresh dairy.
- If your recipe uses fresh milk or eggs, then start the machine right away.
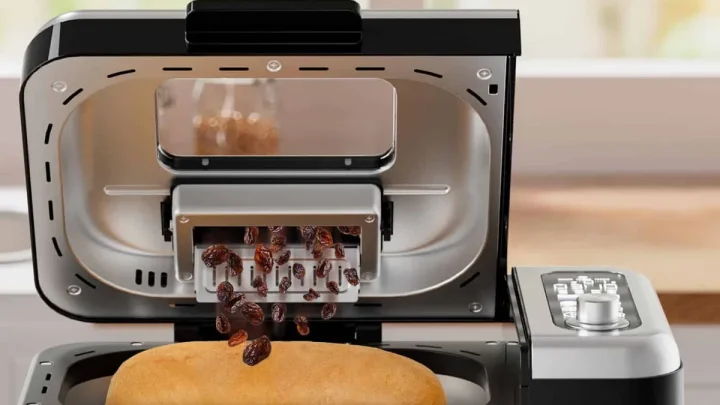
- If your machine has an automatic yeast dispenser, then use it. It keeps yeast dry until mixing begins.
Set the timer for no more than 7 to 8 hours ahead. Longer delays increase overproofing risk.
Common Problems and the Exact Fix for Each One
Every bread machine baker hits a snag eventually. Here are the common ones, with fixes that actually work.
| Problem | What It Looks Like | The Fix |
|---|---|---|
| Dense loaf | Short, heavy, tight crumb | Reduce flour, add vital wheat gluten |
| Sunken top | Crown collapses mid-bake | Reduce yeast, skip the delay timer |
| Gummy crust | Bread slices feel raw | Cool for 30+ minutes before cutting |
| Crumbly slices | Loaf breaks apart | Increase water, let it cool fully |
| Overflow | Dough spills over the pan | Yeast too high or flour too low |
| Burnt crust | Outer layer too dark | Switch to the light crust setting |
The overflow issue deserves extra attention. It usually means too much yeast or a recipe that doesn't match your pan size. You can find a detailed breakdown of causes and fixes in our guide to common bread machine overflow scenarios.
If your loaf is dense even after adding gluten, double-check your flour measurement. Scooping packs flour in. That extra flour absorbs the water and leaves the dough stiff.
Mistakes to Avoid: What Most Beginners Get Wrong
These mistakes show up constantly in verified buyer feedback and bread machine forums. Skip them and your success rate jumps.
Using the manual's recipe exactly. Manufacturer recipes are starting points, not gospel. Check the dough ball early.
Measuring flour with a scoop. A cup of whole wheat flour can vary by 30 percent depending on packing. Use a kitchen scale.
Forgetting vital wheat gluten. Whole wheat needs structural help. One tablespoon per loaf dramatically improves the rise.
Adding yeast with the liquids. It activates too early. Keep it in a well in the flour or use the machine's dispenser.
Cutting the bread too soon. It's a huge cause of gummy loaves. The bread is still setting as it cools.
Ignoring humidity. On humid days, reduce the liquid by a tablespoon. On dry days, add one. Flour absorbs moisture from the air.
Pro Tips for Softer, Higher-Rising, Better-Tasting Whole Wheat Bread
Small tweaks can turn a serviceable loaf into one you'll crave.
- Swap in white whole wheat flour. It has a lighter bran and a milder flavor.
- Add a tablespoon of vital wheat gluten. It gives the dough more structure and a taller rise.
- Use honey or molasses instead of sugar. Both soften the crumb and keep the bread moist longer.
- Substitute milk for water. The extra fat and protein make the crumb tender.
- Let the bread cool for a full hour. Cutting early makes the crumb gum up.
For a softer crust, wrap the warm loaf in a clean kitchen towel while it cools. The trapped steam softens the exterior without making the bread soggy.
Whole Wheat Bread Machine FAQs
Why is my whole wheat bread so dense?
The dough likely lacks gluten or hydration. Add one tablespoon of vital wheat gluten and increase the liquid by two tablespoons. Then check the dough ball during the kneading cycle.
A dry, stiff ball always bakes dense.
Can I use the delay timer for whole wheat bread?
Yes, but only with safe ingredients. Use water or powdered milk instead of fresh dairy. Keep the delay under 7 to 8 hours.
Otherwise, the yeast overproofs and the loaf collapses before baking.
Do I actually need vital wheat gluten?
It's not strictly required, but it's the easiest fix for whole wheat bread machine issues. Without it, the loaf tends to be shorter and denser. One tablespoon per loaf makes a noticeable difference.
Why does my bread crumble when I slice it?
The dough is either too dry or you cut it too soon. Add a little more water to the recipe. Then wait until the loaf is completely cool before using a serrated bread knife.
Final Decision Guide: Your Best Starting Point
Here's the simple path to success.
- If your machine has a whole wheat cycle: use it, add vital wheat gluten, and check the dough ball. That's 90 percent of the battle.
- If your machine only has a basic cycle: add gluten and a longer rise time, or use the dough-only cycle and bake in your oven.
- If you want the softest loaf: use white whole wheat flour and milk or powdered milk.
- If you want to use the delay timer: keep it short, use water, and skip fresh dairy.
- If you're still troubleshooting: revisit the mid-knead check first. The dough ball tells you everything.
Get that dough ball right and the machine handles the rest. A soft, tall, hearty whole wheat loaf is absolutely achievable with your bread maker. It just needs the right ingredients, the right cycle, and a quick look inside the lid.

Similar Posts