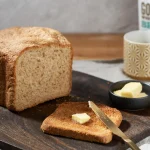
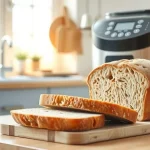
Bread Machine Settings Explained: Perfect Loaf Every Time
Opening the lid to a dense, sunken loaf is the fastest way to feel like you wasted an afternoon. So here's bread machine settings explained without the jargon: every cycle is a time and temperature recipe tuned for a specific dough. Pick the right one and the machine does the chemistry for you.
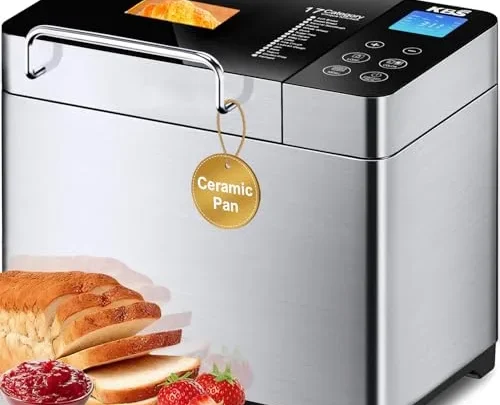
Most machines offer six to eight cycles, plus crust color and loaf size controls. Manufacturer specs show a typical basic cycle runs three to four hours, while a quick cycle squeezes the whole bake into under two. That timing gap is why the same dough can rise beautifully on one setting and fail on another.
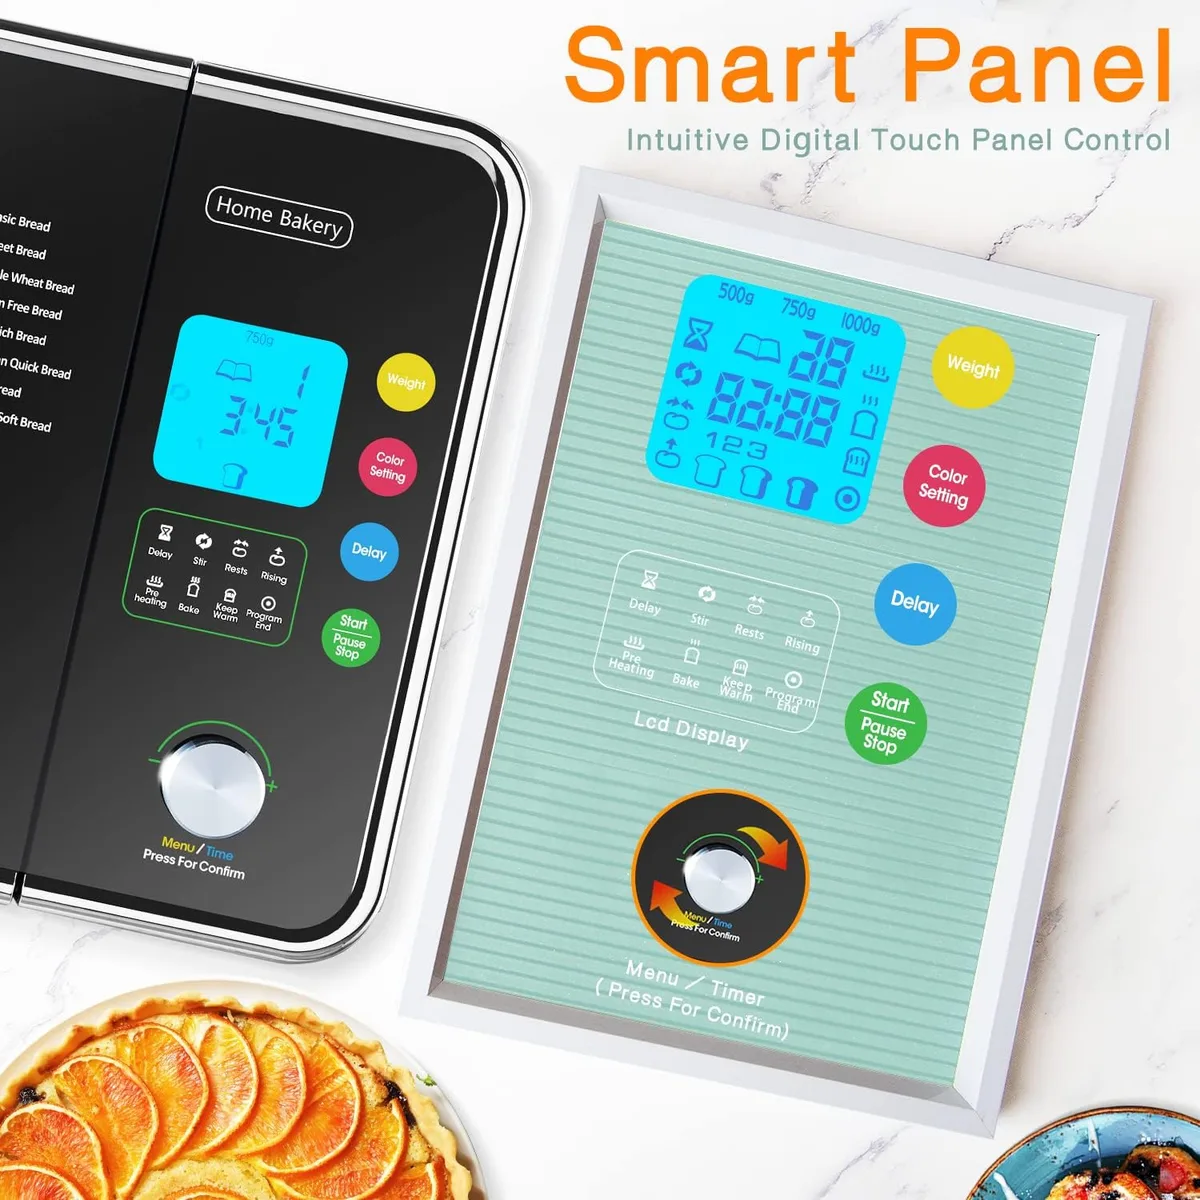
Quick Answer: The Cycle Name Is Really a Time and Temperature Recipe
Bread machine settings control kneading, proofing, and baking timings. The cycle you choose must match your flour and recipe type. Whole wheat needs extra kneading time.
Quick cycles rush the rise for a denser loaf. Crust color and loaf size adjust heat and baking time.
How a Bread Machine Actually Works: The Four Phases Behind Every Setting
Every bread machine setting follows the same four-phase skeleton. The difference is how long each phase runs. If you watch through the viewing window, you'll see the machine move through each phase automatically.
That's why the cycle choice matters so much.
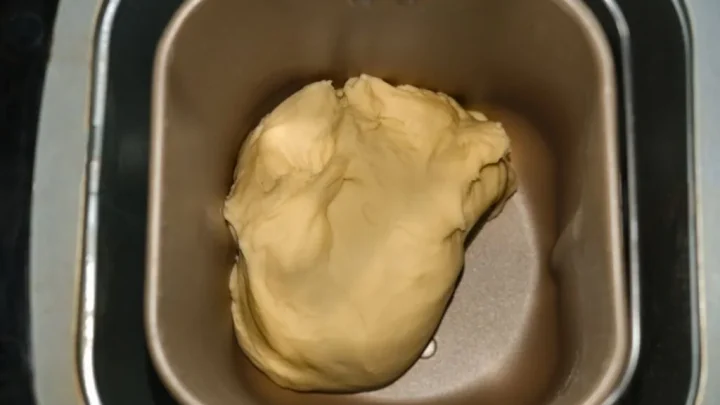
Mixing and kneading (10 to 30 minutes). The paddle blends ingredients into a dough. Then it kneads, stretching gluten into an elastic network. White flour needs less work than dense whole grain.
First rise (30 to 90 minutes). The machine warms the pan and the dough proofs. Yeast feeds on sugars and releases carbon dioxide, which inflates the dough. Most machines hold the temperature around 80 to 90°F (27 to 32°C).
Punch-down and second rise (30 to 90 minutes). The machine briefly kneads the dough again to release trapped gas. Then it rises once more. This double proof deepens flavor and makes the crumb finer.
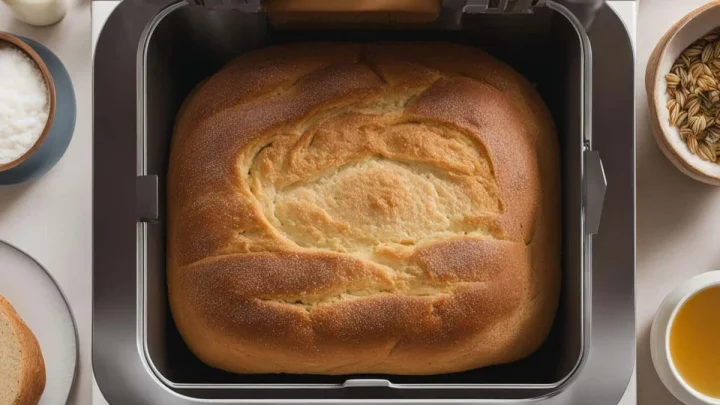
Baking (40 to 70 minutes). The heating element turns on, the crust browns, and the loaf sets. A finished loaf should reach an internal temperature near 190 to 210°F (88 to 99°C), following USDA food safety guidance.
The Main Setting Decisions You'll Make Every Bake
These are the cycles you'll actually choose between. Each one exists for a specific dough. Learn what they do, and you'll stop second-guessing the control panel.
- Basic cycle. The default for white, sandwich-style, and enriched loaves. It runs three to four hours with a balanced knead and rise. If you're new to bread machines, start here.
- French cycle. Longer, slower rises and a hotter final bake. You get a crisp crust and a more open crumb. It's perfect for artisan loaves without added fat.
- Whole wheat cycle. Adds extra kneading time and a longer rise. Heavy whole-grain flours absorb more water and need more mechanical work to develop gluten.
- Gluten-free cycle. Uses a short rise and a carefully shaped bake curve. With almost no gluten to develop, the machine rushes the process to stop the dough from collapsing.
- Quick/rapid cycle. Crams the entire bake into roughly 1.5 to 2 hours. Expect a tighter crumb and a shorter rise. Think of it as the "I forgot to start earlier" cycle.
- Dough-only cycle. Mixes, kneads, and handles the first rise, then stops. Use it for pizza dough, rolls, or cinnamon buns that you shape and bake yourself.
- Bake-only cycle. Skips mixing and proofing entirely. Use it when you've proofed dough on the counter and just want the machine to handle the heat.
Crust Color, Loaf Size, and Delay Timer: The Settings People Overthink
These three controls don't change the cycle structure. They change how the finished loaf behaves. That makes them easy to ignore, but they matter more than most people expect.
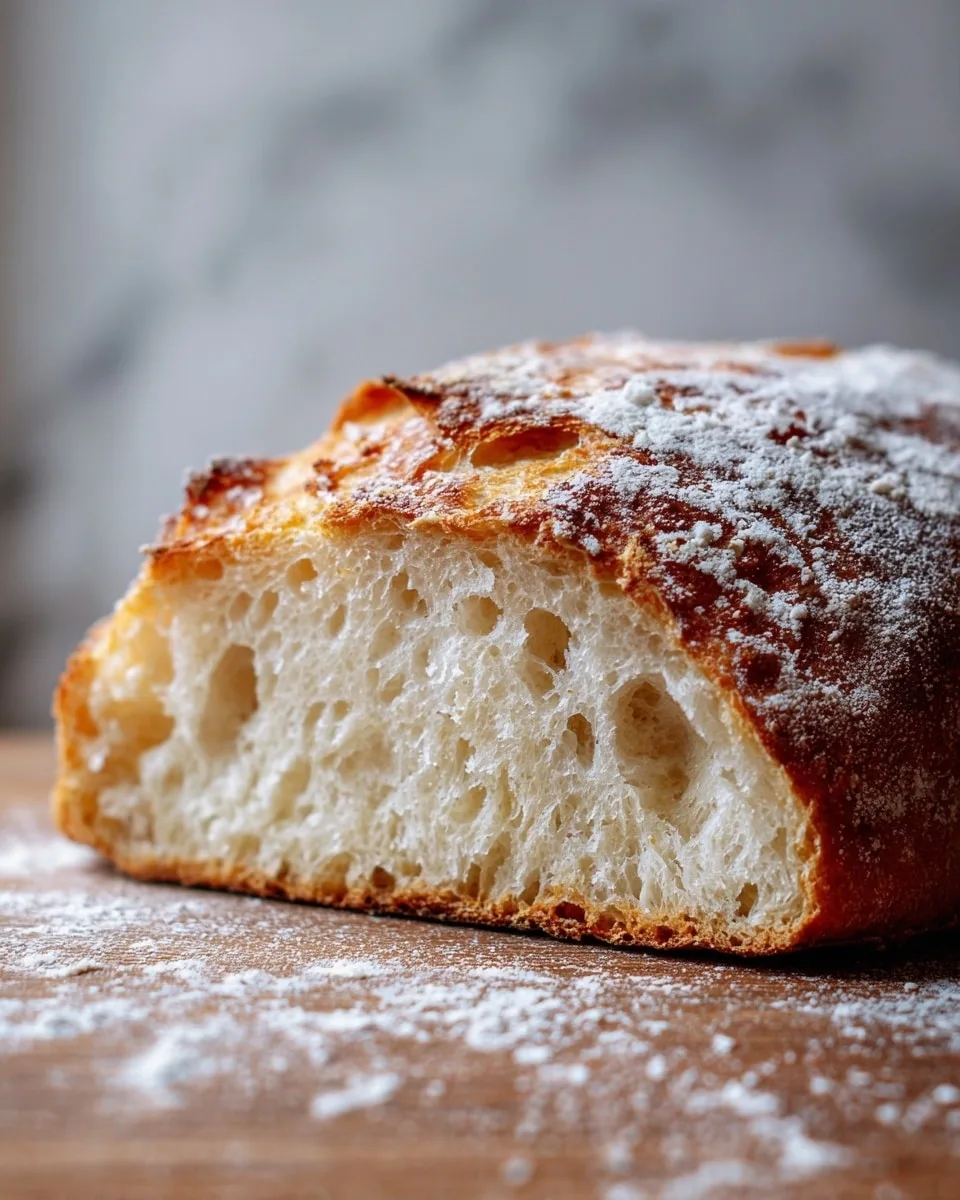
Crust color: light, medium, or dark. Medium is the safe default. Light gives a soft, pale crust, ideal for sandwich bread. Dark extends the final bake phase to create a deeper, crunchier shell.
If your machine runs hot, drop to light rather than accept burnt edges.
Loaf size: 1 lb, 1.5 lb, or 2 lb. This setting tells the machine how long to bake and how aggressively to knead. It doesn't automatically adjust your recipe ingredients, so measure for the loaf size you select. A 2 lb recipe in a 1.5 lb pan is a common capacity mistake that leads to sticky overflow.
The delay timer. As of 2026, most machines cap the delay at 13 to 15 hours. It's brilliant for waking up to fresh bread. Use it only with shelf-stable ingredients.
Fresh milk and eggs can spoil while sitting in the pan for hours. Also remember that the keep-warm phase turns on after baking. Leaving the loaf in there too long softens the crust.
A Simple Workflow for Choosing the Right Setting Every Time
Start with the flour, then the texture, then the time you have. That order makes the decision almost automatic.
| What you're baking | Cycle to pick | Why it wins |
|---|---|---|
| White or sandwich loaf | Basic | Balanced kneading, rise, and bake |
| Whole wheat or multigrain | Whole Wheat | Extra gluten development |
| Crispy, open-crumb loaf | French | Longer proof, hotter finish |
| Pizza dough or rolls | Dough-Only | You shape and bake it yourself |
| Gluten-free blend | Gluten-Free | Shorter rise, no gluten to build |
| Last-minute bread | Quick/Rapid | Fast, but a denser crumb |
If the table feels like a lot, remember the pattern. Flour type drives the cycle. Texture preferences drive crust color.
Available time drives the rise-to-bake ratio.
Step 1. Match the cycle to your flour type first. Step 2. Set the loaf size to match your pan. Step 3. Choose the crust color you want. Step 4. Use the delay timer only for dairy-free recipes. Step 5. When in doubt, basic plus instant yeast wins.
Cycle Showdown: What's Actually Different Between Similar Settings?
The names sound alike, but the timings are not. Here's how the closest settings compare when you're staring at the buttons.
Basic vs French. The French cycle adds 30 to 60 minutes of rise time. That extra proof develops more flavor and a chewier crumb. Then it bakes hotter, which creates that crackly, golden crust.
Quick vs Basic. Quick starts baking sooner, so the dough rises less. You get a tighter, denser loaf. It's not a bad loaf, just a different one.
For fluffy sandwich bread, give the basic cycle the full time.
Whole wheat vs Basic. Whole wheat flour is coarser and thirstier. The whole wheat cycle kneads longer and rises longer to compensate. Run a wheat loaf on basic and you often get a heavy brick.
Dough-only vs Full bake. Dough-only is the front half of any cycle, minus the baking. You get control over shaping, toppings, and the final bake. Many home bakers actually prefer this workflow.
Some newer machines add specialty cycles like sandwich or artisan-bake. Those are usually basic or French cycles with slightly tweaked timings. Read the manual once and you'll know which is which.
Who Should Use Which Setting: Matching Cycles to Your Real Life
Busy families lean on the delay timer. Load the machine at night and wake up to fresh bread. Keep the ingredients shelf-stable.
Skip milk, eggs, and yogurt in overnight recipes.
Health-focused bakers spend most of their time on whole wheat. They add seeds, oats, and flax. The longer knead gives those heavy doughs enough structure to hold air.
Gluten-free households should always use the dedicated gluten-free cycle. It's a fast, carefully timed rise that stops before the dough can collapse. Some machines also use a separate paddle position.
Pizza and roll makers get the most from the dough-only cycle. The machine handles mixing and the first proof. You handle shaping and oven-baking.
Beginners should start with the basic cycle and a plain white loaf. Once you have one good result, change one variable at a time. If you bake rarely, the basic cycle plus a dough-only option covers 90% of what you'll ever need.
Keep it simple.
Common Mistakes That Ruin Bread Machine Loaves (and How to Fix Them)
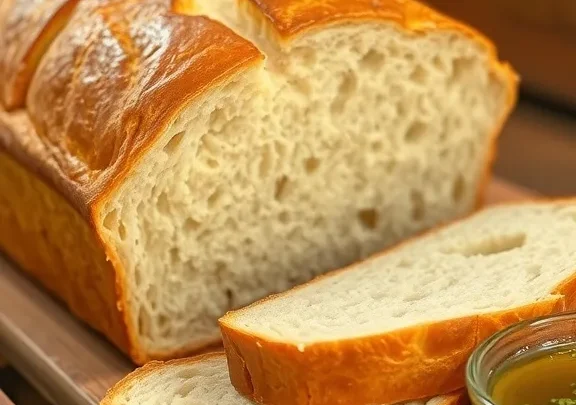
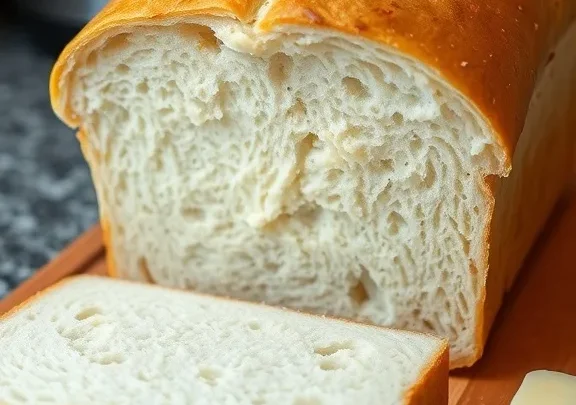
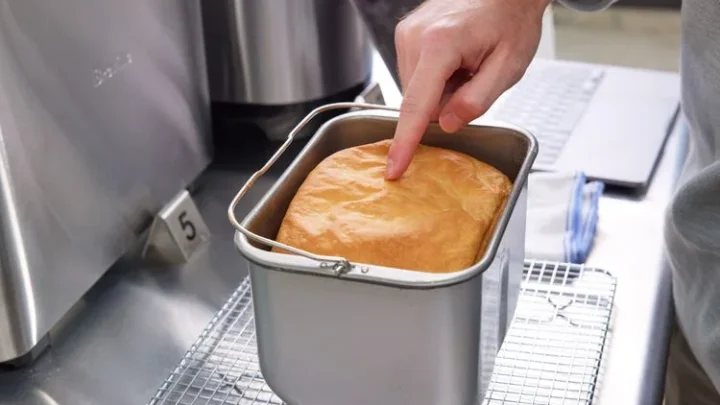
Most failures trace back to a few simple mistakes. If your loaf looks like the photo below, check this list first.
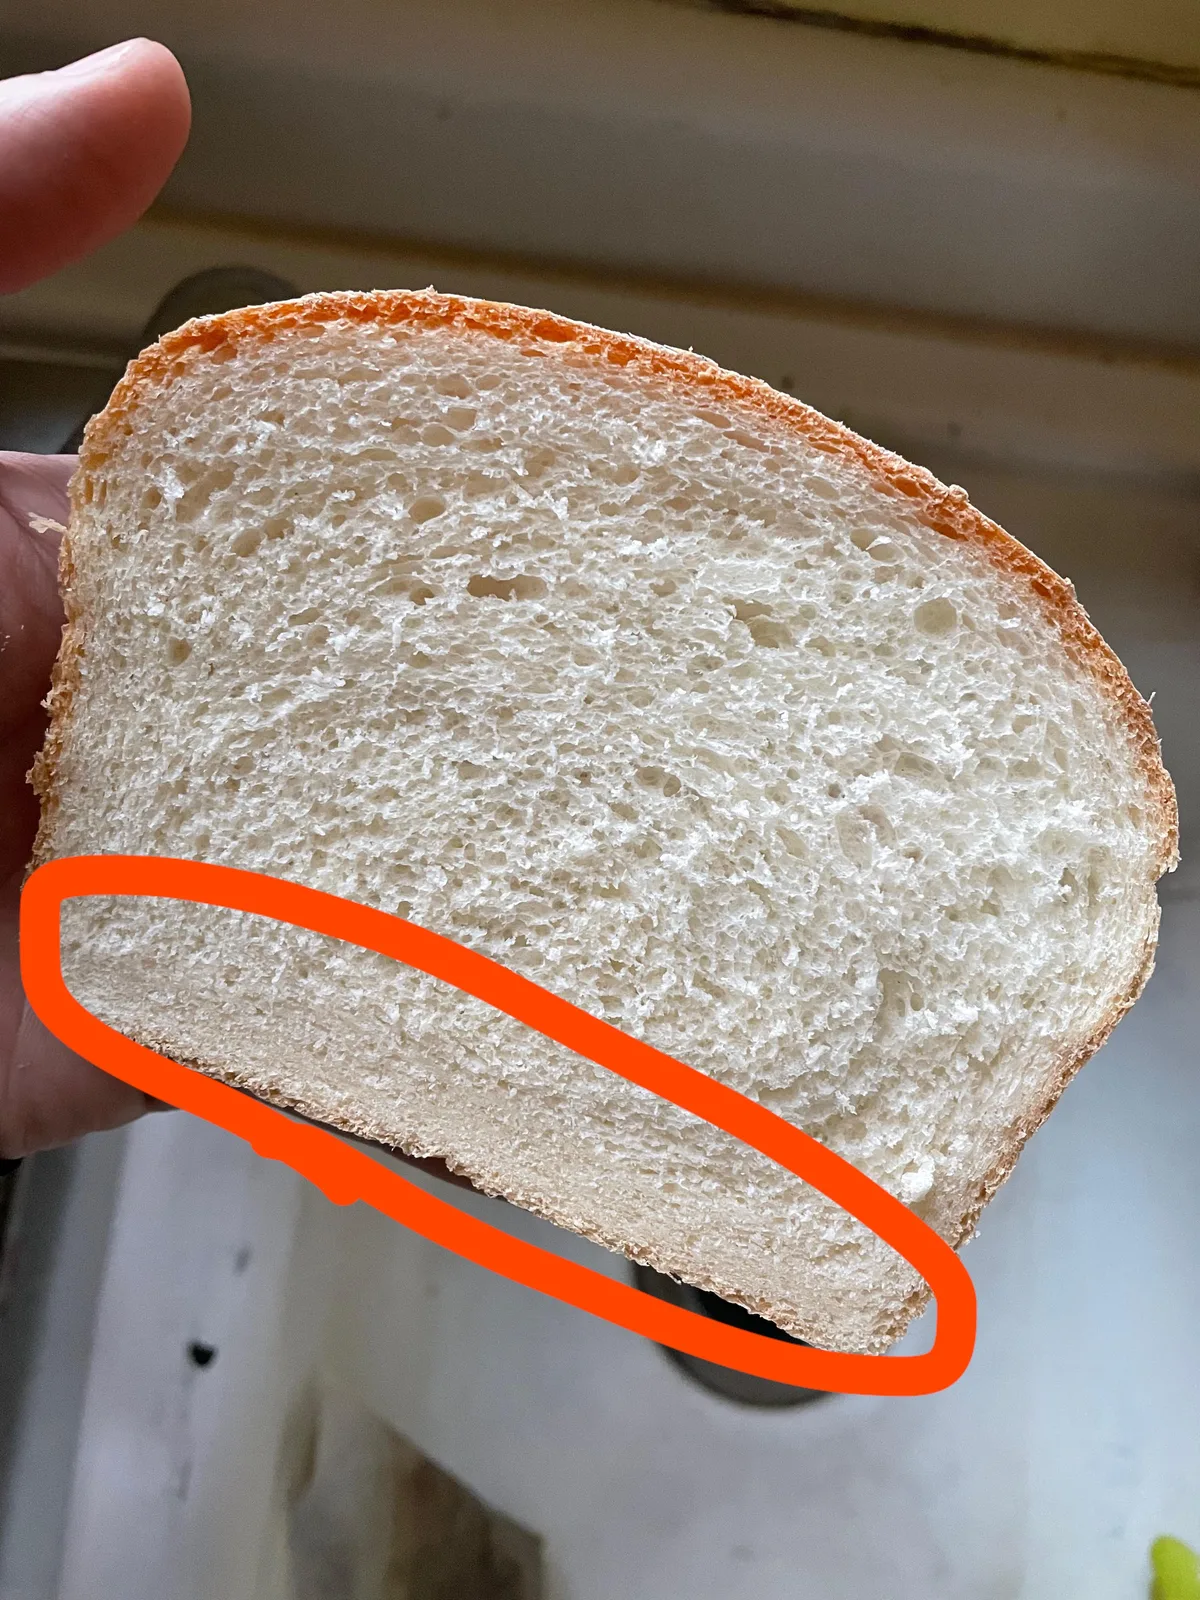
- Wrong cycle for the flour. Whole wheat on the basic cycle never develops enough gluten.
- Delay timer with dairy. Milk and eggs sour at room temperature, weakening the rise.
- Old or dead yeast. If the yeast doesn't foam in warm water first, it won't lift the loaf.
- Too much liquid or too little salt. The dough can collapse before the crust forms.
- Overfilled pan. When the recipe exceeds the pan's capacity, the machine turns into a sticky mess. Our guide to overfilled pan spills walks through the seven usual causes.
Expert Tips You Didn't Get in the Manual
These tips come from researching how bread machines behave across many models. Small changes make the biggest difference.
- Weigh your flour. A cup can weigh anywhere from 4 to 5 ounces depending on how you scoop. Weigh it at 120 grams per cup of bread flour for consistent dough.
- Use instant yeast for quick cycles. It activates faster, so it performs better when the machine runs a short timeline.
- Check the dough ball at 10 minutes. You should see a smooth, elastic ball. Too wet? Add a tablespoon of flour. Too dry? Add a teaspoon of water.
- Let the loaf cool before slicing. The crumb finishes setting during cooling. Cutting early tears the texture and makes bread gummy.
- Keep a notebook. Write the flour brand, the cycle, and the result. Patterns appear after a few bakes.
- Clean the kneading paddle thoroughly. Dried dough on the paddle throws off the next loaf's balance.
Frequently Asked Questions
Can I use the basic cycle for everything?
Yes, but you'll get better results matching the cycle to the flour. Basic works fine for white or all-purpose loaves. Whole wheat needs a longer knead and gluten-free dough needs a shorter rise.
On the basic cycle, both risk dense or sunken results.
Why is my bread dense on the quick cycle?
The quick cycle shortens both rise phases by roughly half. The yeast doesn't have enough time to produce as much carbon dioxide. The result is a tighter crumb.
For a fluffy loaf, plan ahead and use the basic or whole wheat cycle.
Why did my loaf collapse after baking?
Collapse usually means the dough over-proofed or under-proofed. Too much rise time weakens the gluten, so the loaf deflates in the oven. Too little liquid or expired yeast also causes the top to cave in.
Check your yeast freshness and measure carefully.
How long is too long on the delay timer?
Most machines cap the delay at 13 to 15 hours, but longer isn't better. A long delay lets the dough sit at room temperature and over-proof before baking. For even, soft loaves, keep the delay under 8 to 10 hours.
What's the best setting for sourdough in a bread machine?
Sourdough ferments slowly, so the basic cycle won't give it enough time. Use the dough cycle to knead and proof, then move the dough to a floured basket and refrigerate overnight. Finish with the bake-only cycle the next morning.
If your machine has a dedicated sourdough cycle, use that instead.
The Final Verdict: Your Setting Decision Guide
Here's the short version. Match the cycle to your flour first. Then adjust crust color and loaf size to taste.
Save the delay timer for recipes without dairy. When in doubt, run the basic cycle with instant yeast and accurately weighed flour. Success isn't about memorizing every button.
It's about knowing what each knob actually controls: time, heat, and gluten.

Similar Posts