How to Use a Proofing Basket for Sourdough Success
Learning how to use a proofing basket for sourdough is simpler than it looks, but the basket isn't there for decoration. It supports your shaped dough while fermentation does its work. Skip it with a wet dough, and you'll watch your loaf flatten into a pancake before it ever reaches the oven.
This guide covers the real decisions, not just the steps.
As of 2026, most bannetons are made from natural cane or wood pulp, with removable linen liners for sticky doughs. In our research, three variables decide success: dough strength, flour type, and proofing temperature. We'll work through each one so you get a clean release and a bakery-style crust.
Why Your Sourdough Needs a Proofing Basket (and When You Can Skip It)
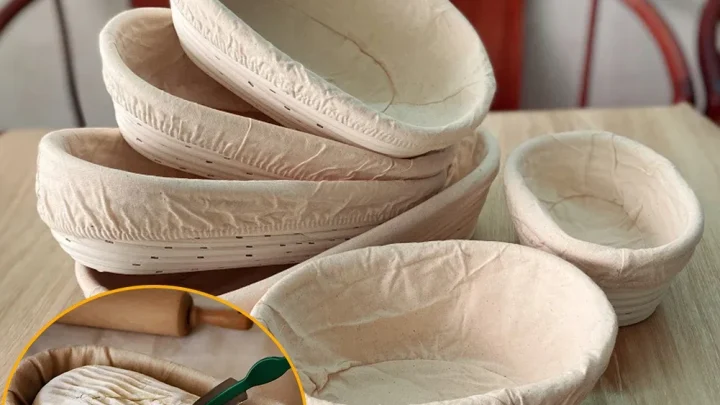
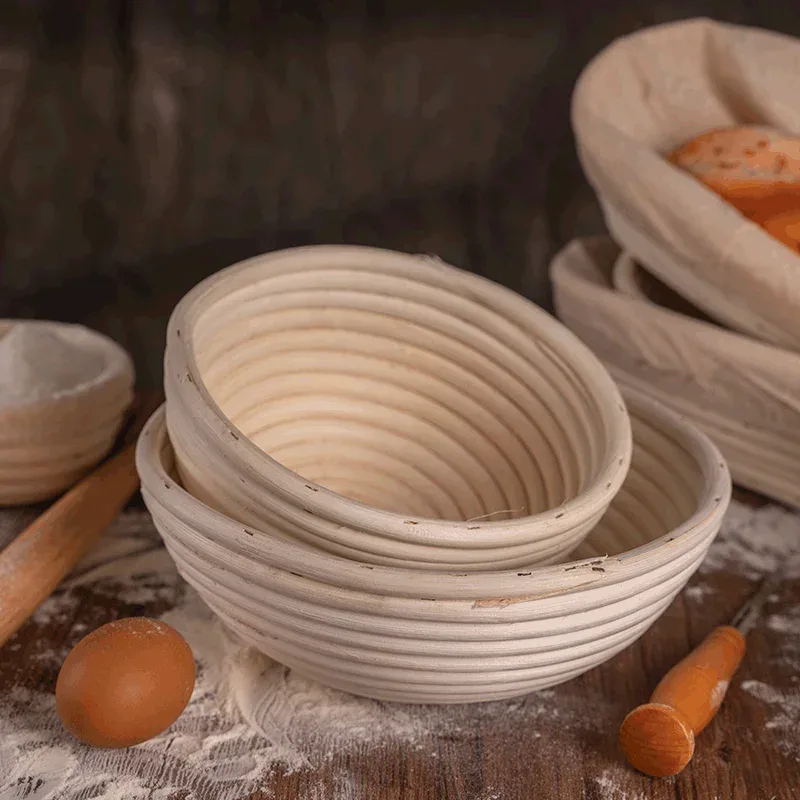
A proofing basket, or banneton, is a breathable mold for your shaped dough. It holds the loaf in a tight round or oval while fermentation happens. Without it, high-hydration dough sags across the counter and turns into a flat bread.
You don't always need one. At 60% to 65% hydration, dough is firm enough to hold shape in a bowl lined with a floured towel. The basket earns its place once you hit 70% and above.
Cold proofing is another reason. The basket supports the dough for 12 to 24 hours in the fridge and lets air circulate so the surface dries. That dry skin helps the loaf release cleanly and improves oven spring.
The Quick Answer: The Basket Isn't for the Rings. It's for Support.
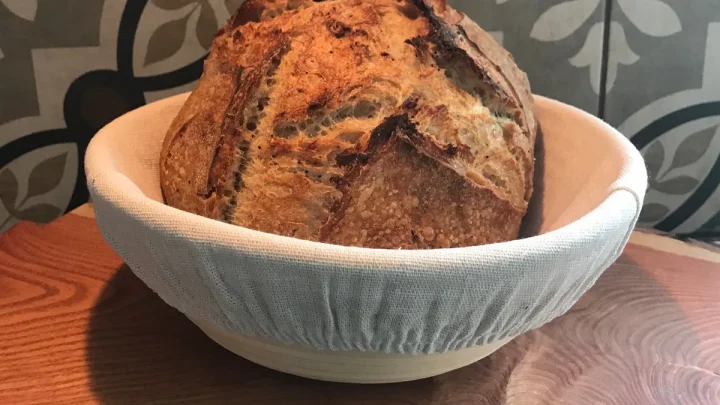
To use a proofing basket for sourdough, dust it with rice flour, shape the dough into a tight ball, and place it seam side up. Proof at room temperature for 1 to 3 hours, or in the fridge for 12 to 24 hours. Flip the basket onto parchment paper, score the top, and bake in a preheated Dutch oven.
The spiral pattern is a side effect, not the purpose. The real job is structural support. Rice flour prevents sticking because it doesn't absorb into the dough like wheat flour.
Know Your Dough First: Hydration, Stickiness, and Strength
Look at your dough before picking up the basket. Hydration percentage tells you how sticky it will be. A 65% dough is firm and slightly tacky.
A 75% dough sticks to your fingers but releases with a wet hand. An 85% dough is shaggy and needs serious gluten strength.
| Hydration Range | Dough Feel | Best Basket Setup |
|---|---|---|
| 60%–65% | Firm, springy | Any bowl or basket |
| 65%–75% | Slightly tacky | Bare cane or lined |
| 75%–85% | Sticky, soft | Cloth liner with rice flour |
| 85%+ | Very sticky | Cloth liner, heavy dusting, cold proof |
If your dough lacks tension from enough folds, no basket will save it. The basket is a mold, not a muscle. For more on dough fermentation, the University of Minnesota Extension publishes reliable references on bread behavior.
Decision 1: Bare Cane vs Cloth Liner vs Improvised Bowl
Bare cane bannetons give you those classic flour rings. They're beautiful, but they're unforgiving with sticky dough. You need a heavy dusting of rice flour, and even then, a high-hydration dough can cling to the crevices.
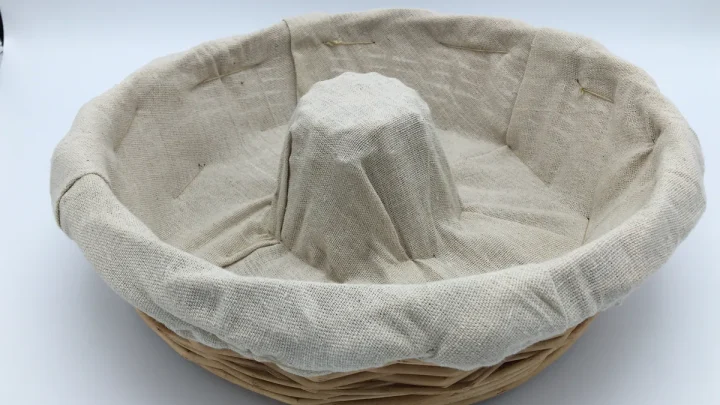
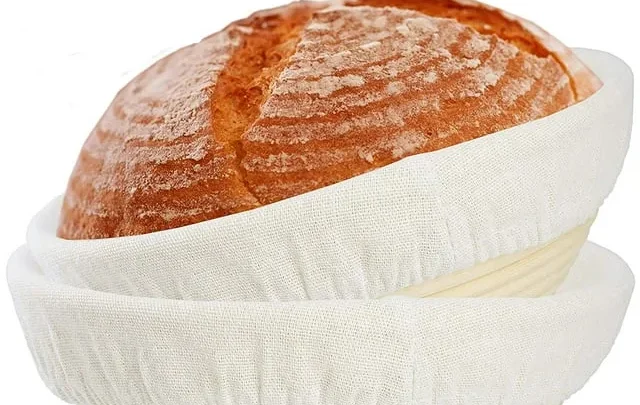
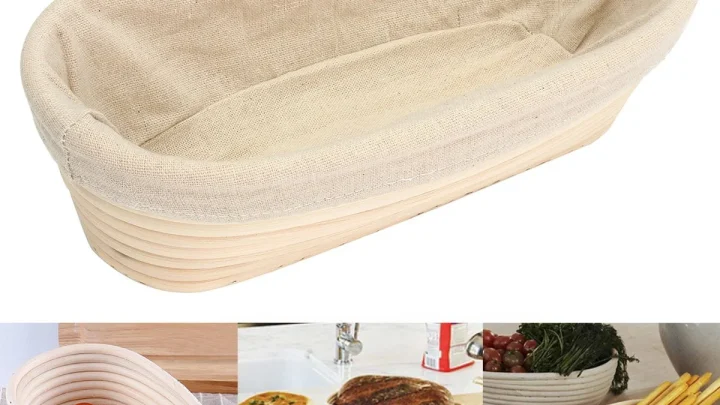
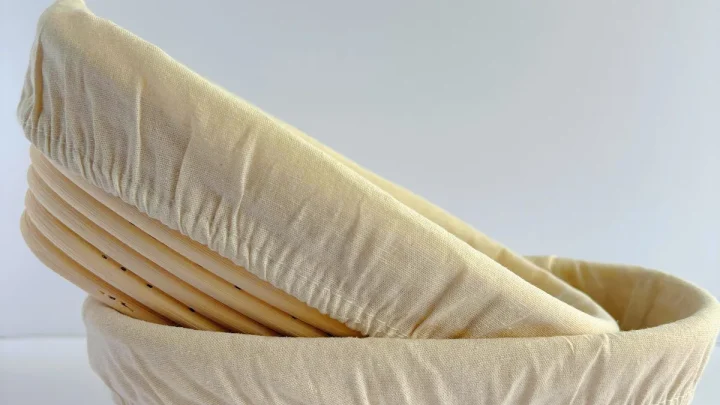
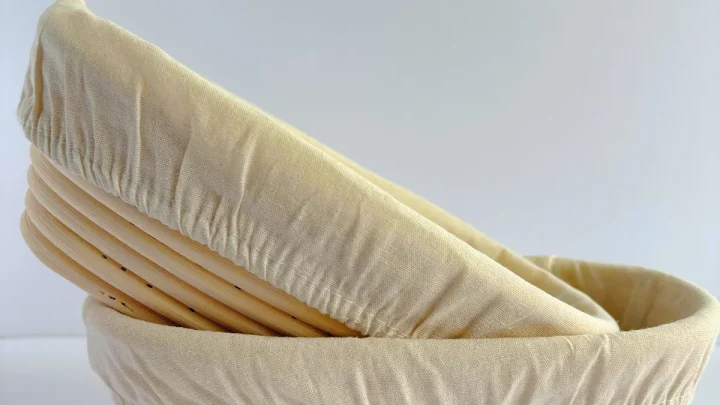
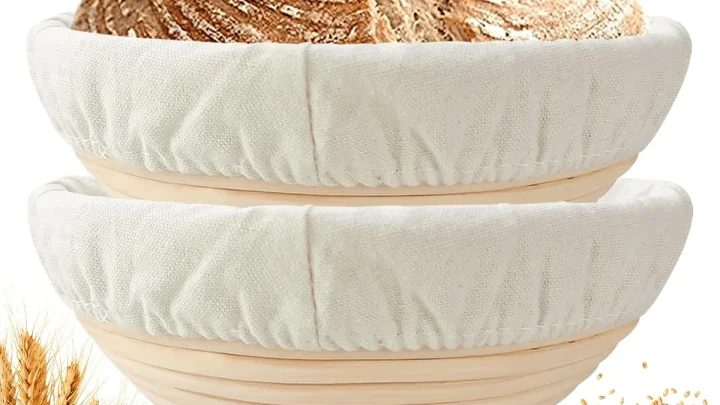
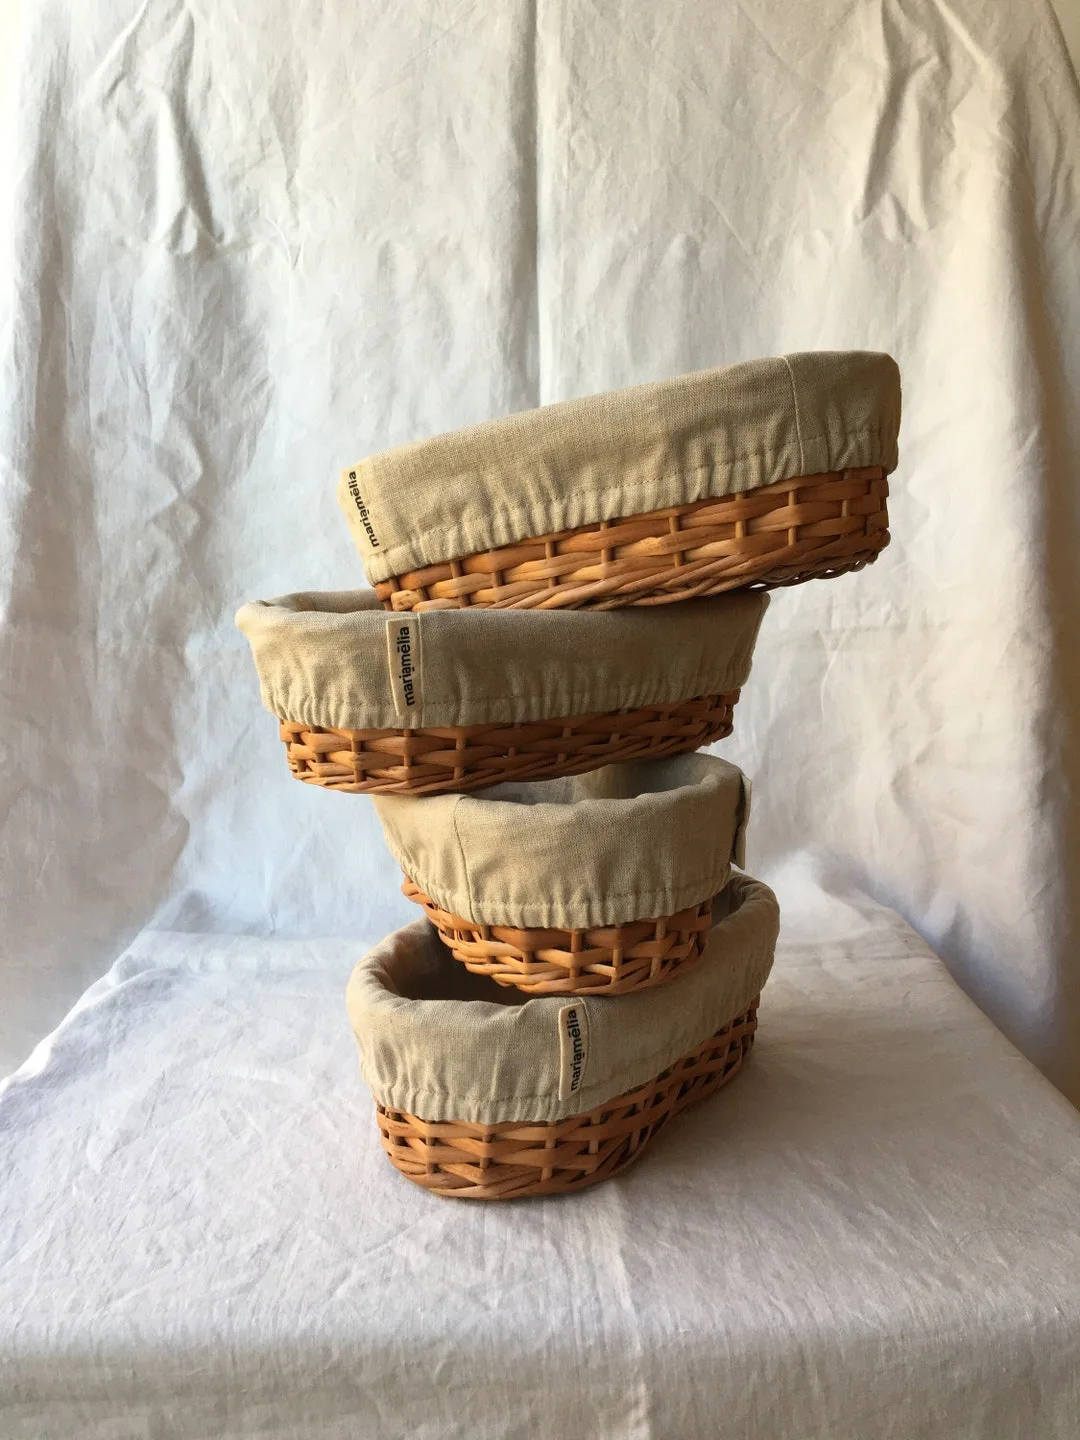
Cloth-lined baskets come with a smooth, removable liner. They're better for wet doughs, and the liner is machine-washable. The trade-off is losing the spiral pattern on the crust.
An improvised bowl with a floured towel works in a pinch. It costs nothing, but you lose airflow and even shaping. A wrinkled towel can leave creases in the dough.
- Bare cane: best for 65% to 72% hydration and classic spiral marks.
- Cloth liner: best for 75% to 85% hydration, beginners, and easy cleaning.
- Improvised bowl: best for occasional bakers who want to avoid new equipment.
The practical compromise is a bare cane basket with a separate linen liner. You get both setups in one tool.
Decision 2: Round vs Oval Banneton: Which Shape Fits Your Bake
Round baskets produce boules. Oval baskets produce batards, the elongated loaves that fit neatly in an oval Dutch oven. Use the wrong shape, and you'll end up with a lopsided crust.
Check your bakeware. A round basket with an oval pot leaves empty space that lets the dough spread. An oval basket with a round pot forces the loaf into a shape it doesn't want to be in.
The diameter also matters. A small 8-inch basket holds about 500 grams of dough. A 10-inch basket fits 800 to 1000 grams comfortably.
Match the basket to your recipe's dough weight, and the dough will rise upward instead of outward.
How to Prep the Basket: Rice Flour, All-Purpose Flour, and the Linen Liner
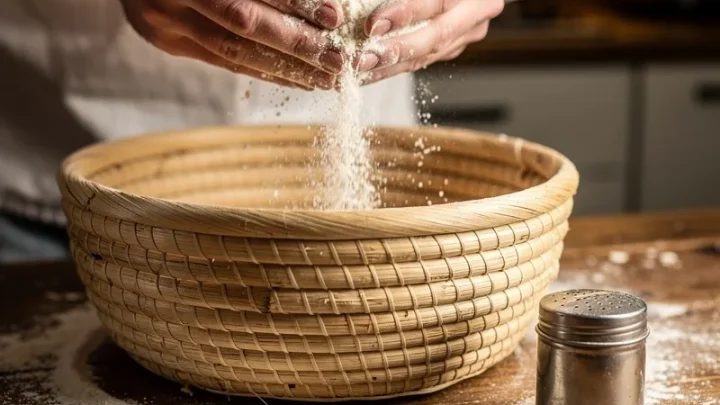
Rice flour is the gold standard. It has no gluten, so it doesn't absorb moisture from the dough. That means the dough slides out cleanly instead of fusing to the basket.
All-purpose flour works in an emergency, but it hydrates into a paste. That paste bakes into a gummy, chalky coating on the crust. Use rice flour if the crust matters to you.
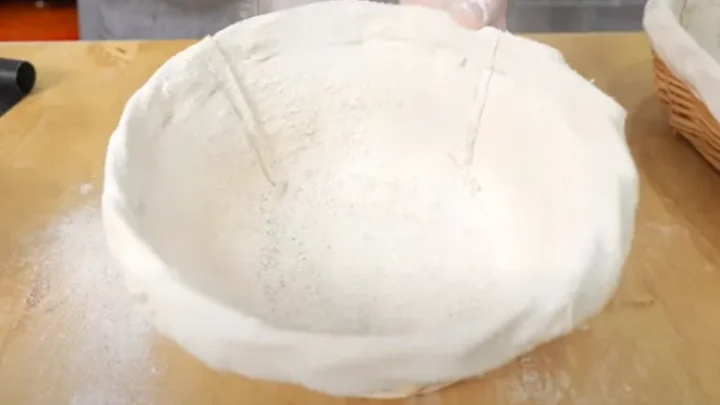
For a bare cane basket, use about two tablespoons of rice flour. Rub it into the crevices with your fingers, then tap out the excess. For a cloth liner, one tablespoon sprinkled around is plenty.
New cane baskets need seasoning before the first use. Lightly mist the basket with water, dust it with rice flour, and let it dry completely. Repeat once.
This fills the gaps in the cane and creates a non-stick surface.
How to Shape and Seat the Dough: Seam-Up vs Seam-Down
Place the dough seam side up in the basket. That keeps the seam hidden during proofing. When you flip the loaf out, the seam becomes the bottom, and you score the smooth, tight top.
Seam side down only works for stiff 60% hydration dough. A wet dough will spread through the bottom and stick to the cane. Seam up keeps the tension where it belongs.
Set the dough in gently. Don't jam it into the basket or you'll deflate it. Center it in the middle and nudge the sides to fill the rings.
If you use a cloth liner, smooth out any wrinkles before seating the dough.
Room-Temp Proofing vs Cold Retard: Timelines, Temps, and Handling
Room temperature proofing takes 1 to 3 hours. Cold retard in the fridge takes 12 to 24 hours. Both work well in a banneton, but they handle differently.
At room temperature, cover the basket with a damp towel or plastic wrap. The dough stays soft and scores easily. The risk is overproofing, which turns your loaf into a flat, sticky mess.
Cold retard is more forgiving. The fridge slows fermentation, so a few extra hours rarely hurts. The dough firms up, making it easier to flip and score.
The flavor also develops more complexity.
| Factor | Room Temp | Cold Retard |
|---|---|---|
| Time | 1–3 hours | 12–24 hours |
| Dough feel | Soft, puffy | Firm, set |
| Scoring | Needs quick hand | Clean, easy cuts |
| Overproof risk | High | Low |
| Best for | Same-day bake | Next-day bake |
For beginners, cold retard is the safer path. The window of error is much wider.
Flipping the Dough: How to Turn It Out Without Deflating
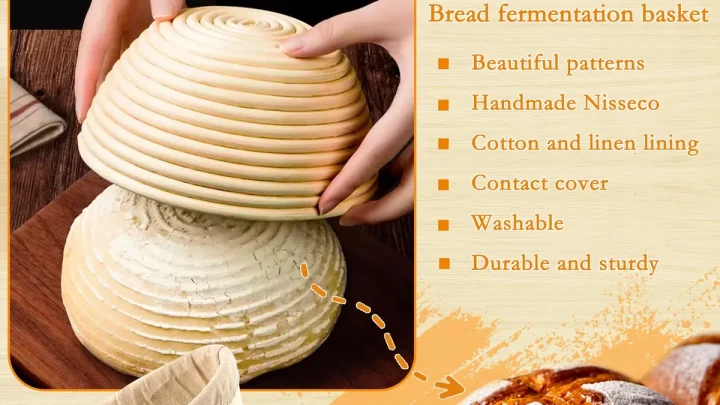
Place a sheet of parchment paper over the basket. Put a cutting board or baking peel on top. Flip the whole thing over in one confident motion.
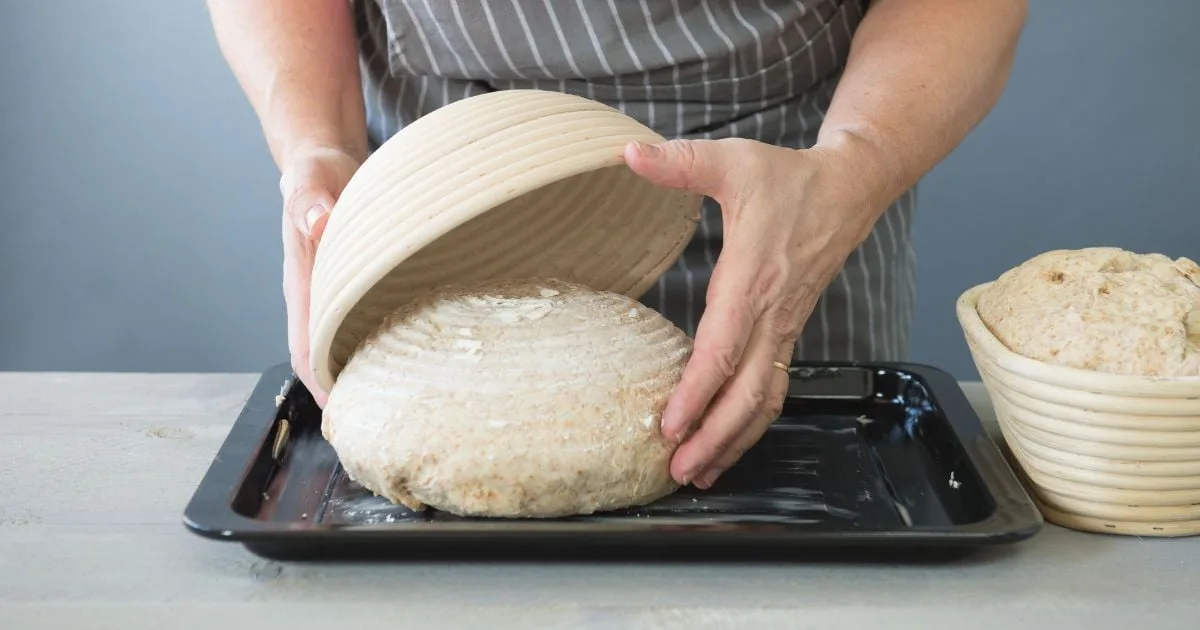
The dough should drop out cleanly. Rice flour plus a firm cold dough makes this nearly effortless. If the dough sticks, press gently around the sides of the basket to coax it out.
Never pull on the dough itself.
Once flipped, the seam side faces down. The smooth top is ready for scoring. Slide the parchment into your Dutch oven and make one clean slash about a quarter-inch deep.
Common Mistakes and Fixes: Sticking, Gummy Crust, and Flat Loaves
Every sourdough failure has a fix. Sticking is the most common complaint. It means you didn't use enough rice flour, or your new basket wasn't seasoned.
| Problem | Likely Cause | Quick Fix |
|---|---|---|
| Dough sticks to basket | Not enough rice flour | Double the dusting |
| Gummy, chalky coating | All-purpose flour used | Switch to rice flour |
| Loaf flattens on flip | Overproofed or weak dough | Shorter proof, more folds |
| Creases on crust | Wrinkled liner | Smooth cloth before seating |
| Uneven rings | Dough not centered | Seat dough in the middle |
Gummy crust also happens when you cut the bread too soon. Wait until the loaf is fully cool, about two hours, before slicing. Steam trapped in the crumb needs time to escape.
Flat loaves come from weak gluten or overproofing. Add more stretch-and-fold sets during bulk fermentation. Remember, the basket supports the dough.
It doesn't build strength for you.
Mold, Cleaning, and Storage: Keeping Your Banneton Alive
Cane baskets are porous. They absorb moisture from dough, and when left damp, they grow mold fast. A moldy banneton ruins bread and is a food-safety risk.
Brush out loose flour after every bake with a dry pastry brush. Never dunk the basket in water. For stuck bits, wipe with a barely damp cloth and a little white vinegar.
Let it air dry completely, ideally in direct sun for an hour.
Cloth liners are easier. Shake out the flour, then machine wash on a gentle cycle. Air dry fully before storing.
Many bakers keep a spare liner so one can wash while the other works.
Store the basket in a dry cabinet with the liner removed. If you live somewhere humid, add a small silica gel packet nearby. The USDA Food Safety and Inspection Service treats flour as a raw agricultural product, so keeping your tools dry and clean matters.
Banneton Sizes and Dough Capacity: Matching Basket to Loaf Weight
The diameter of your basket must match your dough weight. Too small, and the dough overflows the top. Too large, and the dough spreads flat instead of rising up.
| Basket Diameter | Dough Weight | Best For |
|---|---|---|
| 8 inches | 400–600 g | Small boules |
| 9 inches | 600–800 g | Standard loaves |
| 10 inches | 800–1000 g | Family-size loaves |
| 12 inches | 1000 g+ | High hydration, big batches |
A typical sourdough recipe with 500 grams of flour produces about 950 grams of dough after adding starter and water. That calls for a 10-inch basket. Check your recipe yield before buying.
The Whole Workflow in One Glance: Shape → Proof → Flip → Score
Here's the entire process in four steps. Shape the dough into a tight boule or batard. Dust the basket with rice flour and seat the dough seam side up.
Proof at room temperature for 1 to 3 hours, or in the fridge for 12 to 24 hours. Flip onto parchment, score, and bake in a preheated Dutch oven.
| Step | Action | Key Detail |
|---|---|---|
| 1 | Shape | Build strong surface tension |
| 2 | Proof | Room temp or cold retard |
| 3 | Flip | Use parchment, don't pull dough |
| 4 | Score | One clean slash, 1/4-inch deep |
Frequently Asked Questions
How long should dough proof in a banneton?
At room temperature, expect 1 to 3 hours depending on your starter strength. In the fridge, plan for 12 to 24 hours. Look for the dough to puff up about 50% and feel springy when poked.
Underproofed dough is dense, while overproofed dough flattens on flip.
Why is my dough sticking to the banneton?
The usual cause is not enough rice flour. Bare cane baskets need a heavy dusting, about two tablespoons, worked into the crevices. A cloth liner needs less, about one tablespoon.
Also, a new basket needs seasoning before the first use.
Can I use all-purpose flour instead of rice flour?
You can, but it's not ideal. All-purpose flour absorbs moisture and bakes into a gummy, chalky coating on the crust. Rice flour has no gluten, so it stays dry and releases cleanly.
Use rice flour if the crust matters to you.
Should I proof in the fridge or at room temperature?
Cold proofing is more forgiving. The fridge slows fermentation, so timing mistakes rarely ruin the loaf. It also firms the dough for easier flipping.
Room temperature is faster but leaves a narrow window before overproofing.
Can I bake directly from the fridge?
Yes. Cold dough scores more cleanly and holds its shape better in the oven. Preheat your Dutch oven, flip the cold loaf onto parchment, score, and bake.
No need to warm it up first.
Final Recommendation
If you're just starting, get a 10-inch cloth-lined banneton. The liner makes high-hydration doughs forgiving, and the size handles most standard recipes. If you want the classic flour rings, buy a bare cane basket with a removable liner for the best of both.
Once you're comfortable, the workflow becomes second nature. Shape, dust, seat, proof, flip, score, bake. Your banneton will reward you with taller loaves, better oven spring, and a professional-looking crust, every single time.

Similar Posts