How to Use a Proofing Basket: No More Sticky Dough
So you've got a proofing basket, the coiled rattan or wicker thing that looks like a planter. Maybe you've already watched a boule stick to it like glue. Maybe you're just trying to figure out how to use a proofing basket without turning your dough into a flat, sticky mess.
We dug through baker's forums, manufacturer specs, and a pile of sourdough recipe tests to give you the exact workflow. As of 2026, the standard advice from commercial rattan suppliers hasn't changed much: rice flour, seam-side up, and a dry basket are the three pillars. The common home-size basket holds 750g to 1kg of dough, which covers a standard sourdough loaf.
Here's the step-by-step, plus the mistakes that trip everyone up.
What Exactly Is a Proofing Basket (and What Does It Do)?
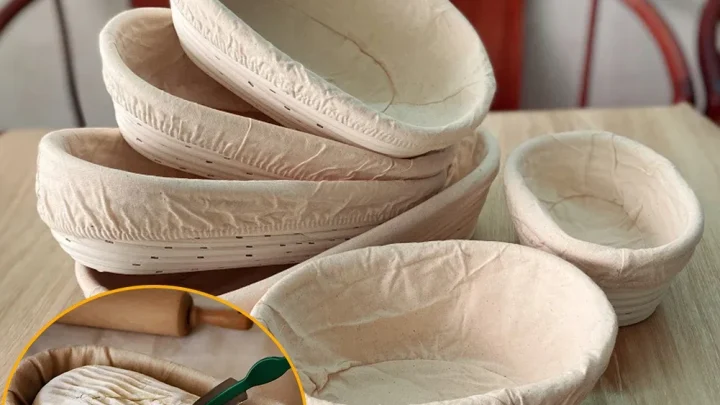
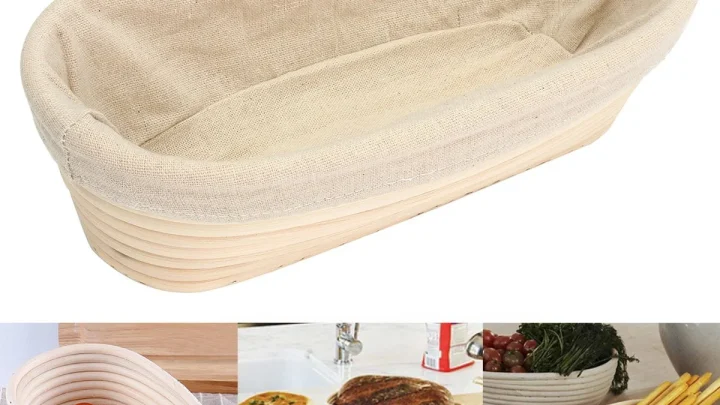
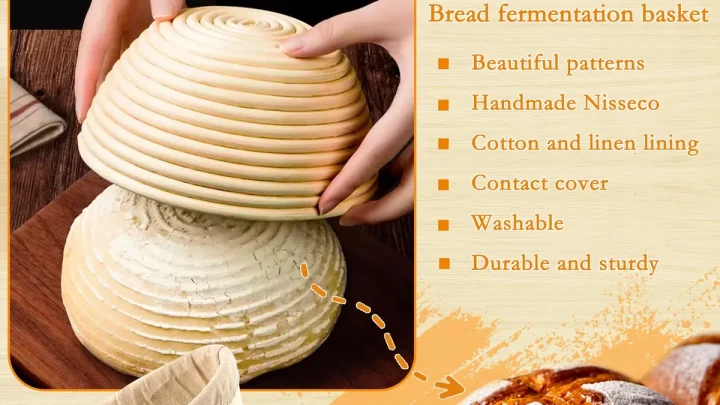
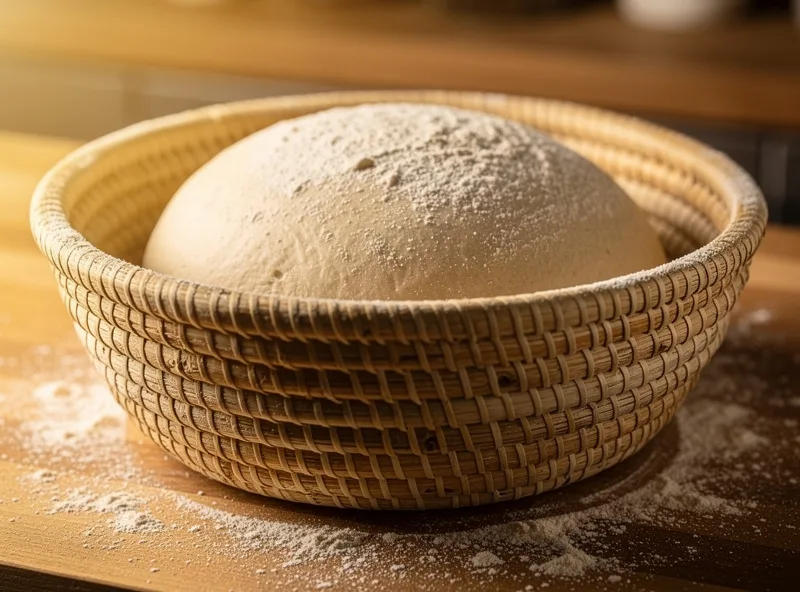
A proofing basket, also called a banneton or brotform, is a container that supports dough during its final rise. It's usually made from woven rattan, cane, or wood pulp, and it shapes the dough while letting moisture escape from the surface. That airflow helps form a thin dry "skin" on the dough, which is what gives you a crisp, clean score when you bake.
The key thing is that a proofing basket isn't a mold that forces dough into shape. It's a support structure that holds everything together while the gluten relaxes. Without it, high-hydration dough spreads into a pancake instead of rising tall.
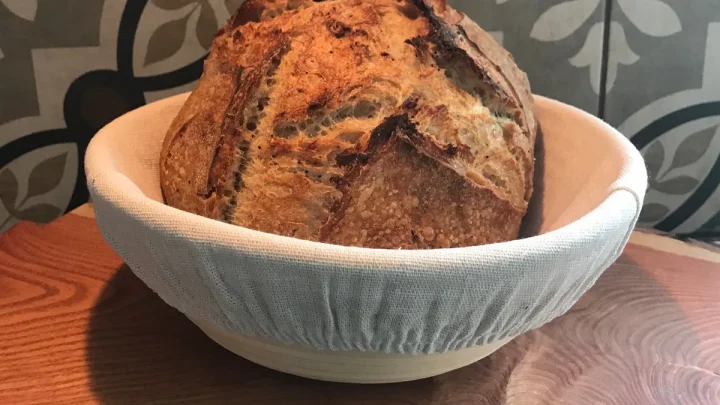
With it, you get that beautiful round boule or oval batard shape.
Most baskets are sold by weight capacity. Here's the usual sizing:
| Capacity | Best For |
|---|---|
| 500g | Small loaves, single bakes |
| 750g to 1kg | Standard home sourdough recipes |
| 1.5kg+ | Large batches or sharing-size loaves |
The basket's spiral pattern also leaves those classic flour rings on the crust. That's purely cosmetic, but it tells anyone looking that the bread was proofed properly. The real job is structural support, air circulation, and moisture control.
Lined or Unlined Rattan: Which Basket Are You Using?
Before you do anything else, check the inside of your basket. Is there a cloth liner, or is it bare rattan? That single detail changes how you prepare it, how you flour it, and how likely the dough is to stick.
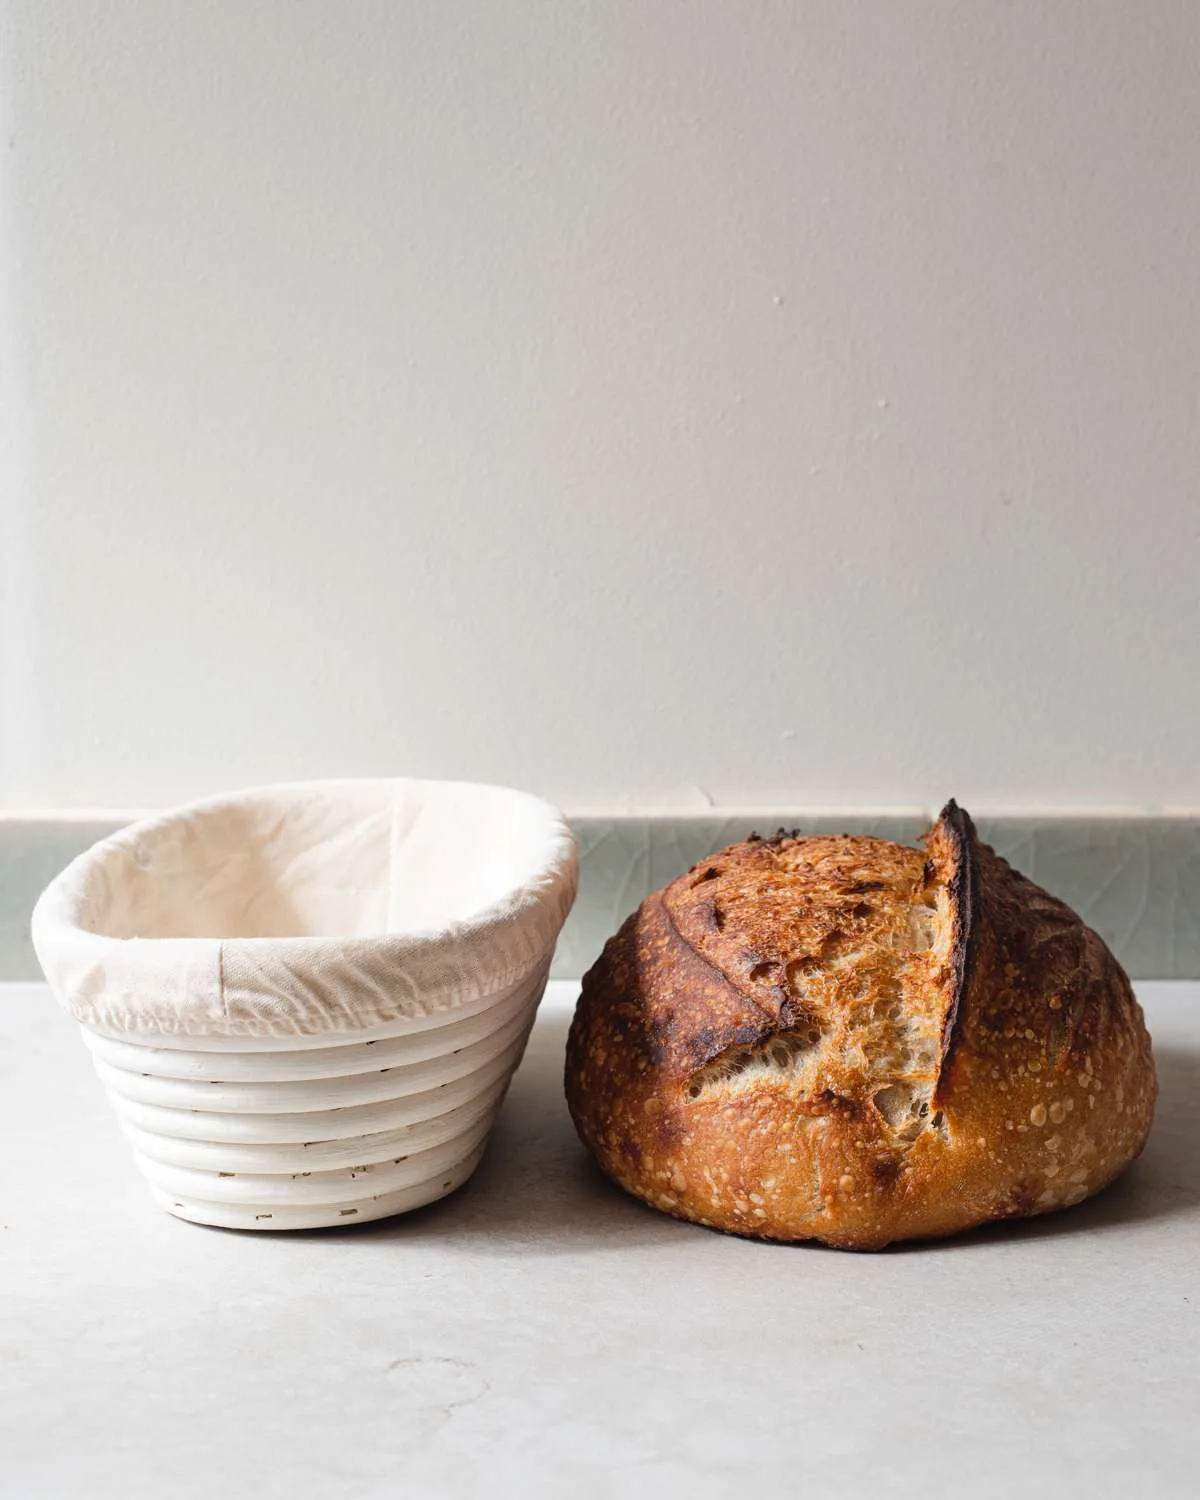
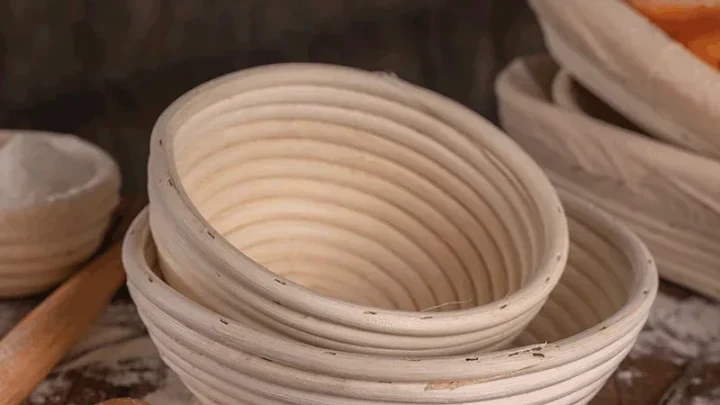
An unlined rattan basket has exposed coils. The texture transfers a rustic pattern onto the dough, but it's also more porous. Sticky dough can creep into the gaps, especially at high hydration.
You absolutely need a generous dusting, and rice flour is non-negotiable.
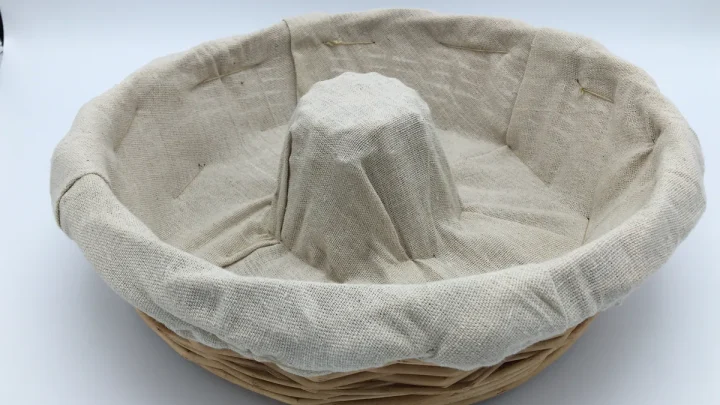
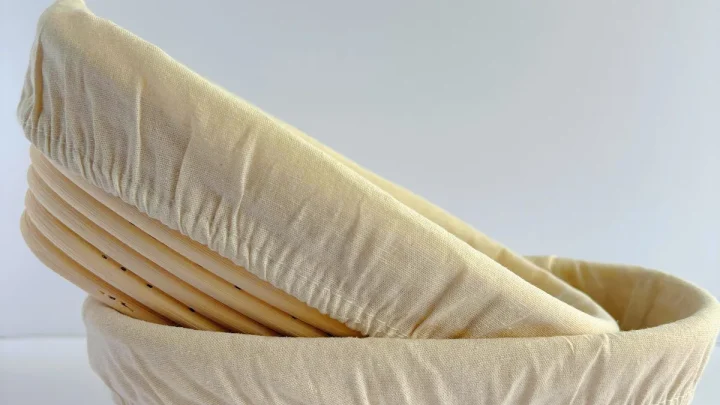
A lined basket has a removable linen or cotton liner inside. That cloth creates a smooth barrier, so the dough has less contact with the coils. Lined baskets are more forgiving for beginners, and they're easier to clean.
You just swap the liner out and brush it off. The tradeoff is that you lose the decorative spiral ridges on the crust.
If you're not sure which you have, look at the interior. Bare rattan means unlined. A fabric insert you can lift out means lined.
Some baskets come with a liner folded down inside, so lift it up and check.
Both work well. Unlined gives you that classic artisan look. Lined gives you peace of mind when working with wet dough.
The Dusting Formula: Rice Flour vs Wheat Flour, Coverage, and Clumps
This is where most people go wrong. You dust the basket with flour, but the dough still sticks. Here's why: wheat flour absorbs moisture from the dough and turns pasty.
Rice flour stays dry because it has no gluten and doesn't absorb water the same way. That's what makes it the gold standard for proofing baskets.
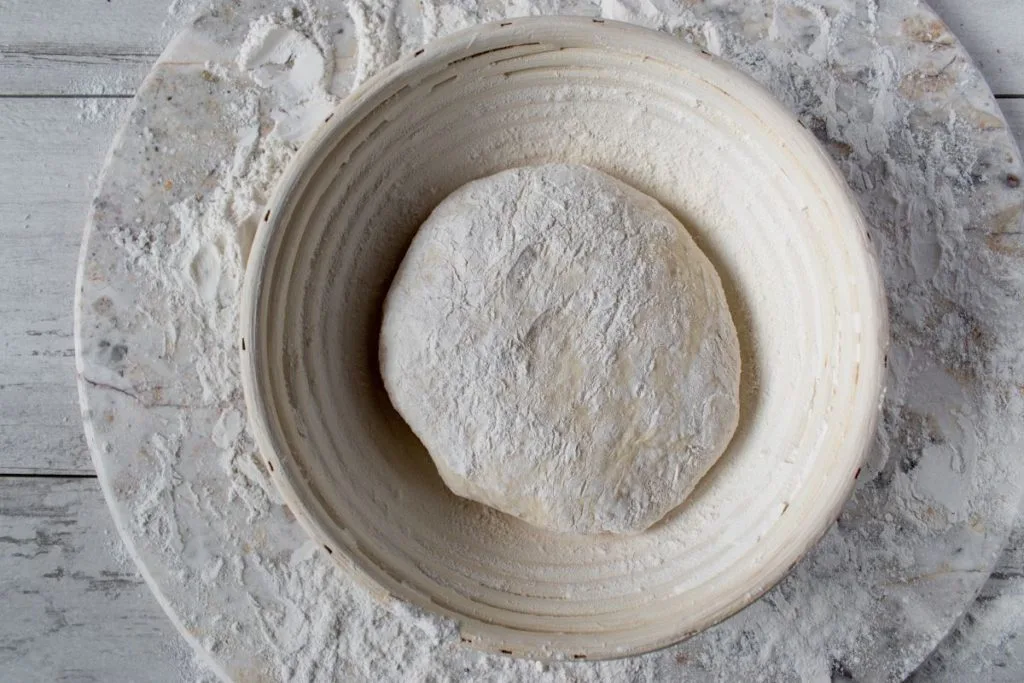
You can use all-purpose flour in a pinch, though you'll deal with more stuck spots. Brown rice flour works too, though it adds a slightly speckled look to the crust. White rice flour is the cleanest choice and the one most bakers prefer.
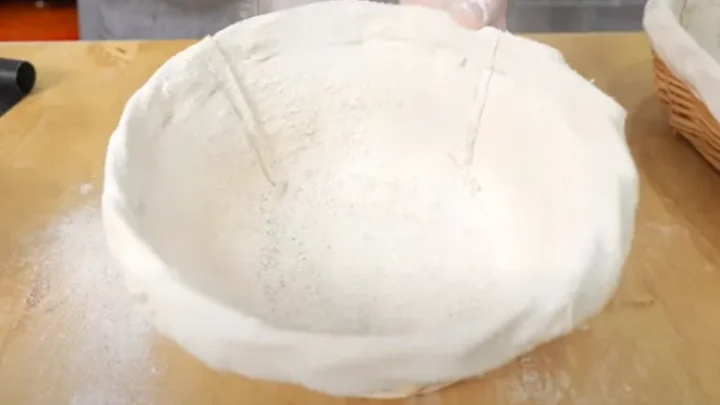
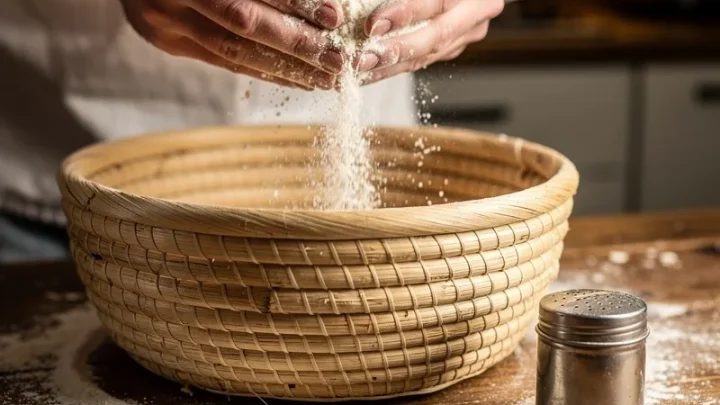
The amount matters just as much. You want a thin, even coat, not a snowy blanket. A heavy layer leaves thick, chalky patches on the baked loaf.
A thin layer that completely covers every coil and seam is exactly right.
How to dust properly:
- Put 1 to 2 tablespoons of rice flour into the basket
- Shake and tilt the basket so the flour moves across all surfaces
- Run your fingers along the coils to reach the crevices
- Tip out any excess flour
If you see shiny spots or bare wood, those are places where dough will stick. Add a little more flour and work it into those areas. The goal is an even, bone-dry coating across the entire interior.
Shaping Your Dough Before It Hits the Basket
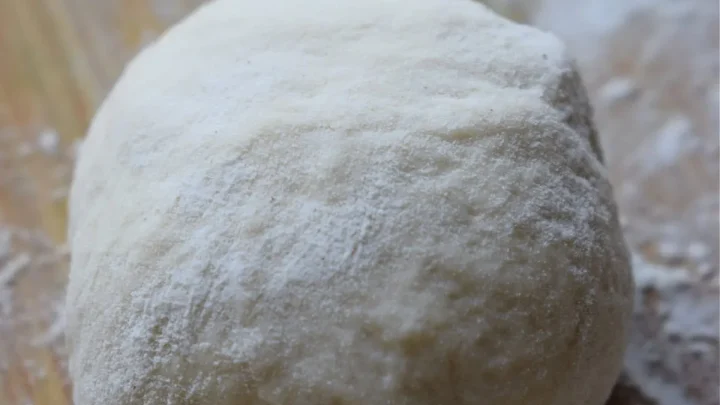
A proofing basket can't correct a sloppy shape. The dough needs to go in as a tight, smooth ball or oval. Otherwise, it'll flatten out and the seams will burst during the bake.
Start with a bench rest. After bulk fermentation, turn the dough out onto a lightly floured surface. Let it sit for 15 to 30 minutes.
This relaxes the gluten so it's easier to shape without tearing.
Then do your final shape. For a boule, pull the dough toward you into a ball, rotating as you go. The surface should feel taut, like a drum.
For a batard, fold the dough in thirds like a letter, then roll it into a log.
Don't overwork it. You want strong surface tension, but you don't want to degas the dough completely. Leave some air in there.
That air is what creates the open crumb structure you're after.
When you're done, the dough should hold its shape for at least a minute on the counter. If it slumps and spreads immediately, you need a tighter shape. If it holds but looks rough, it's ready for the basket.
Seam-Up or Seam-Down? How to Seat the Dough Properly
You've shaped the dough. Now, which side faces the bottom of the basket? The short answer: seam-side up.
That's what most sourdough bakers do, and here's why.
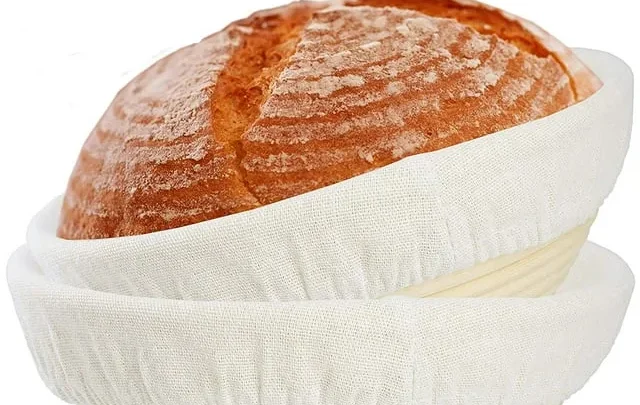
When you place the dough seam-side up in the basket, the seam is visible at the top during proofing. When you flip the basket out onto parchment, that seam becomes the bottom of the loaf. The smooth, tight surface you shaped ends up on top, which is exactly where you want to score it.
The seam stays hidden underneath and naturally seals as the loaf bakes.
If you place the dough seam-side down, the smooth side rests against the basket. When you flip it out, you're scoring the seam side, which can open up unpredictably. It's also more likely to stick to the basket, since the seam has a rough texture.
So remember: seam-up in the basket. But there's a nuance. Some bakers with particularly wet dough prefer seam-side down to keep the seam flattened and reduce stick risk.
That's a valid workaround, but only if you're confident the dough won't stick. If you're just starting out, stick with seam-up.
After seating the dough, pinch any split seams gently to close them. Then cover the basket with a shower cap or plastic wrap to prevent a dry skin from forming. Now you're ready for the proofing phase, whether that's a cold overnight retard or a quick counter rise.
Cold Retard vs Room-Temp Proof: Adjusting the Workflow
The big question after you seat the dough is whether to proof it on the counter or stick it in the fridge. Both work, but they serve different schedules and different bread styles.
Room-temperature proofing takes 1 to 2 hours at roughly 20 to 22°C (68 to 72°F). That works if you want a same-day bake. The tradeoff is that you're on a clock.
Over-proofing happens fast at room temp, especially with high-hydration dough.
Cold retard is the other play. You proof the dough overnight at 5 to 7°C (40 to 45°F) for 8 to 14 hours. That slows fermentation way down, which builds a deeper, more complex sourdough flavor.
It also makes the dough firmer, so scoring is easier and the loaf holds its shape better.
Here's a simple way to decide:
- Short on time, same-day bake: room temp, keep an eye on it
- Better flavor, easier handling, flexible schedule: cold retard
- Wet or sticky dough at 80%+ hydration: cold retard, it'll be easier to flip out
If you go the cold route, cover the basket tightly. A shower cap or plastic wrap prevents the dough from drying out. When you're ready to bake, take the dough straight from the fridge to the counter.
Don't let it warm up first.
Flipping the Basket Out Without Tearing the Dough
This is the moment of truth. You've waited through the whole proof, and now you have to get the dough out in one piece. Stay calm and move with confidence.
Lay a piece of parchment paper over the basket. Set a flat baking sheet or a pizza peel on top of that. Then hold the basket and the sheet together, and flip them over in one smooth motion.

Here's where people mess up: they drag the basket. Lifting it straight up and away is the trick. A quick, decisive flip releases the dough cleanly onto the parchment.
A slow, hesitant flip can tear the surface or deflate the dough entirely.
If the basket sticks, don't tug at it. Gently shake it from side to side until you feel the dough release. You can also slide a bench scraper between the dough and the basket to break the seal.
A properly proofed dough should slide out with minimal resistance. If you see torn patches, don't panic. You can patch them with a little water and a pinch of flour before scoring.
The final bake will hide most sins.
When to Score and How to Get the Dough Into the Oven
Score the dough immediately after flipping it out. Don't wait. The surface tension you created during shaping is at its peak, and that's what gives you a clean, dramatic cut.
Use a bread lame or a sharp razor blade for the best results. You want a cut that's about 1/4 to 1/2 inch deep. A single long slash across the top, slightly off-center, lets the dough expand evenly as it rises.
If you want a decorative ear, angle the blade at about 30 degrees. That creates a flap that peels back during the bake. A straight-down cut gives you a cleaner, more even split.
Here's the technique:
- Hold the lame at a low angle, almost parallel to the dough
- Use one confident, fluid motion
- Don't saw back and forth, that creates ragged edges
- Complete the cut in one pass
Colder dough is easier to score. If you did a cold retard, you can score straight from the fridge. For room-temp dough, work quickly so the dough doesn't start weeping or collapsing.
Transfer your dough to the oven using parchment as a sling. You can pick up the parchment and lower it into a preheated Dutch oven. That's the method most home bakers use.
If you're baking on a stone or a steel, slide the whole parchment sheet onto it directly.
Why Your Dough Stuck to the Basket (and How to Fix It Next Time)
Nearly every home baker has cursed at a banneton at least once. The good news is that dough sticking has a handful of causes, and they're all preventable.
| Problem | Likely Cause | Fix |
|---|---|---|
| Dough stuck to rattan coils | Not enough rice flour on the walls | Generously dust every surface, especially seams |
| Dough left a pasty residue | Used wheat flour instead of rice flour | Switch to rice flour, it won't absorb moisture |
| Dough stuck in patches | Bare spots in the flour coating | Run flour into every crevice with your fingers |
| Dough removed as a sticky blob | Over-proofed, too much surface moisture | Shorten the proof or move to a cold retard |
| Stuck despite heavy dusting | Dough hydration above 85% | Use a lined basket or flour the exterior of the dough |
If you bake very wet dough regularly, unlined rattan will always be a battle. A linen liner solves most of those problems. You can also roll the dough ball in excess rice flour before seating it, though that leaves a white coating on the crust.
How to Clean, Dry, and Store Your Banneton Without Mold
Your proofing basket took on moisture and raw flour. If you don't care for it after each bake, mold will move in within a few weeks. That's not something you want touching your bread.
The simple rule is: water is the enemy. Never soak your banneton. Never put it in the dishwasher.
The rattan can warp, crack, or absorb enough water to grow mold even after it dries.
After each use, do this:
- Brush out the dry flour with a stiff pastry brush
- Use a clean, dry cloth to wipe down the coils or liner
- Let the basket sit in a warm, dry spot for a few hours
- Store it in a dry place, not inside a sealed plastic bag
If dough residue is baked on, don't be tempted to scrub it. A dry brush can remove most of it. For stubborn bits, a little dry scraping with a bench scraper works.
Watch for these mold warning signs:
- Black, green, or gray speckles on the rattan or liner
- A musty, earthy smell that doesn't disappear
- White powder that doesn't dust off easily
If you see actual mold, replace the basket. Washing it with water won't fully kill the mold inside the weave. The USDA's food safety resources stress that porous materials that can't be sanitized aren't worth keeping around food.
A new basket costs far less than a ruined loaf.
One more tip: save the liners. Most linen liners are machine-washable on a gentle cycle, then air-dried flat. That's a quick way to keep them clean without damaging the basket body.
Skip the Basket? When a Lined Bowl or Loaf Pan Works Fine
A proofing basket is great, but it's not mandatory. For many home bakers, a lined bowl does the job just as well.
Grab a mixing bowl close in size to your loaf. Line it with a clean tea towel or a linen cloth. Dust the cloth generously with rice flour, then seat your dough seam-side up exactly as you would in a banneton.
Loaf pans are another solid substitute. They give you a sandwich-style loaf that doesn't need the structural support a banneton provides. The walls of the pan hold the dough in shape, and you bake directly in the same pan.
When should you just skip the basket entirely?
- Low-hydration dough below 65% holds its own shape fine
- Enriched doughs like brioche bake in pans
- Free-form boules can proof on parchment inside a large bowl
Use the lined bowl trick when you're waiting for your banneton to arrive. The crust won't have the same spiral pattern, but the bread will taste identical.
Final Verdict: The Three Bakes That Will Make You a Pro
You don't need a dozen recipes to master a proofing basket. Three bakes will teach you everything worth knowing.
Bake 1: Classic sourdough boule at 72% hydration. This gets you comfortable with the basics. Dust, shape, proof overnight, and flip. If it comes out clean, you've nailed the foundation.
Bake 2: High-hydration country loaf at 80%+ hydration. This one will test your dusting and your patience. Use rice flour generously, cold retard for at least 12 hours, and don't rush the flip.
Bake 3: Seeded or rye dough. Heavy doughs with seeds or whole grains are stickier and more fragile. They find every crack in the basket. This bake teaches you proper seam sealing and extra dusting.
Once those three come out consistently, you're past the beginner stage. You'll know exactly how your dough behaves, when it's proofed, and which flours you can trust in your basket.
Frequently Asked Questions
How long should I let dough proof in a banneton?
At room temperature, expect 1 to 2 hours. In the fridge, plan for 8 to 14 hours. The dough should roughly double in size and feel slightly springy when gently pressed.
If it feels dense and doesn't bounce back, it's under-proofed. If it collapses on touch, it's over-proofed.
Do I need rice flour for a proofing basket?
Yes, especially for unlined rattan. Rice flour doesn't absorb moisture the way wheat flour does. That dry barrier is what stops dough from sticking to the coils.
Wheat flour works in an emergency, but you'll deal with more stuck spots and a pasty residue.
Can I wash my banneton with water?
No. Always brush your banneton dry after use. Water can warp the rattan and promote mold growth.
For stubborn caught flour, use a stiff brush or gently scrape it with a bench scraper. If you see mold, replace the basket instead of washing it.
How do I know if my dough is over-proofed?
Over-proofed dough flattens when flipped out and spreads sideways instead of springing up. It also has a strong, sour smell and a sticky, slack texture. Shorten your proof time next bake, or move to a colder spot in the kitchen.

Similar Posts