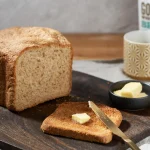
How to Use a Proofing Basket for a Perfect Boule
Learning how to use a proofing basket for boule looks simple on video. Then the dough sticks to the cane, and the loaf comes out flat. Sound familiar?
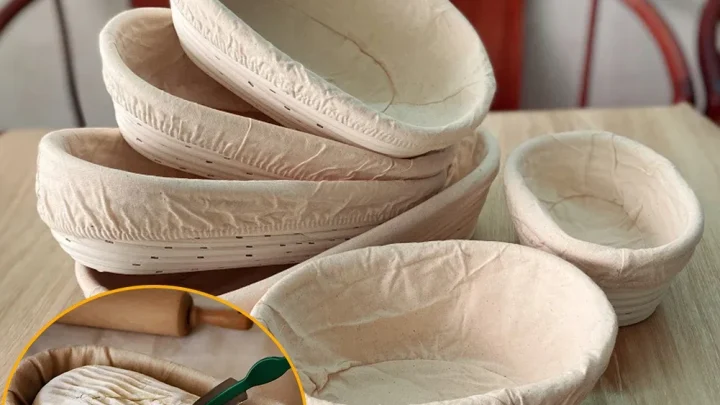
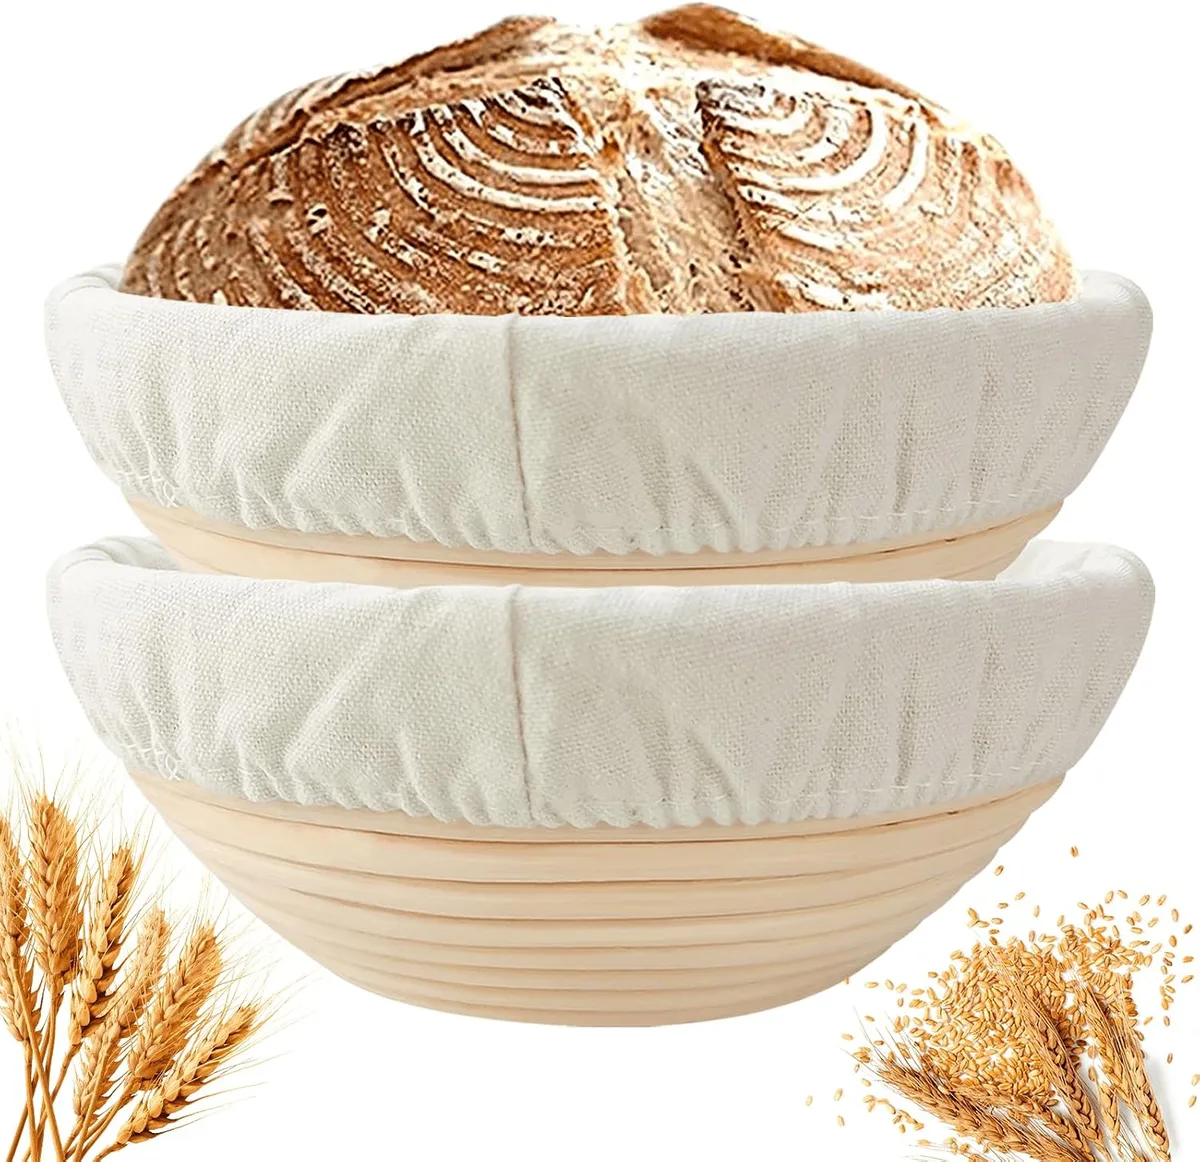
A proofing basket, also called a banneton, holds wet dough in shape during its final rise. It's a simple tool, but small details decide everything.
In our research, most failed bakes trace back to flour, shaping, or release technique. As of 2026, the most common round bannetons are cane rattan or wood pulp, sized from 8 to 10 inches across. The good news is that every mistake has a visible cause.
Once you know what to look for, the whole process clicks.
Quick Answer
Flour the basket, shape the dough, and place it seam-side up. Use rice flour to prevent sticking. Let it proof, ideally cold overnight.
Flip onto parchment, score, and bake hot.
Why Visual Cues Matter with a Proofing Basket
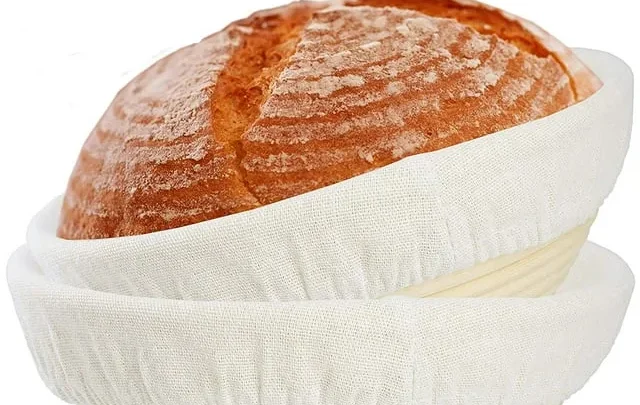
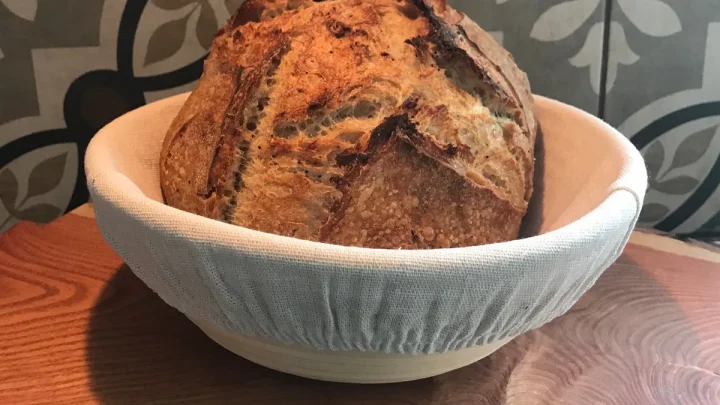
Baking with a proofing basket is a visual process. You're reading the dough, not just measuring it. The basket leaves marks on the crust, so it should look like a sunflower, not a flat pancake.
You need to know what to look for, because every dough behaves differently.
The first cue is the dough's surface. After 30 minutes in the basket, it should feel slightly springy, not sticky to the touch on the floured side. The second cue is the shape.
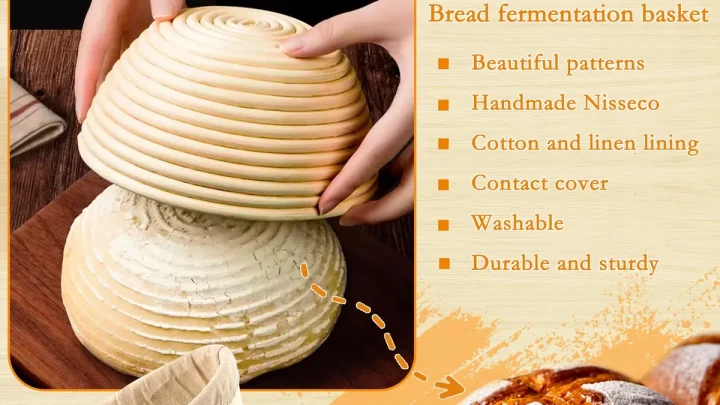
If the dough bulges out over the basket's rim, it's over-proofing or under-shaped. The third cue is the flip. When you turn the basket upside down, the dough should release cleanly, with visible spiral marks from the coil.
Aggregate reviews from home bakers reveal that most failures happen at the flip, not the rise. The dough either sticks to the basket or spreads instantly. Both are visual signals of a fixable issue, usually flour or shaping.
The fix starts with the basket itself.
Choosing the Right Banneton for a Boule
For a boule, you want a round banneton. The diameter should match your dough weight. Use an 8-inch basket for 500 grams of dough, a 9-inch for 750 grams, and a 10-inch for 1 kilogram.
That's your main rule.
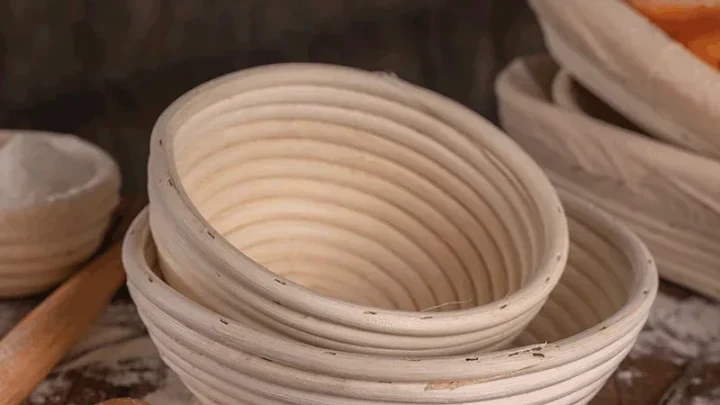
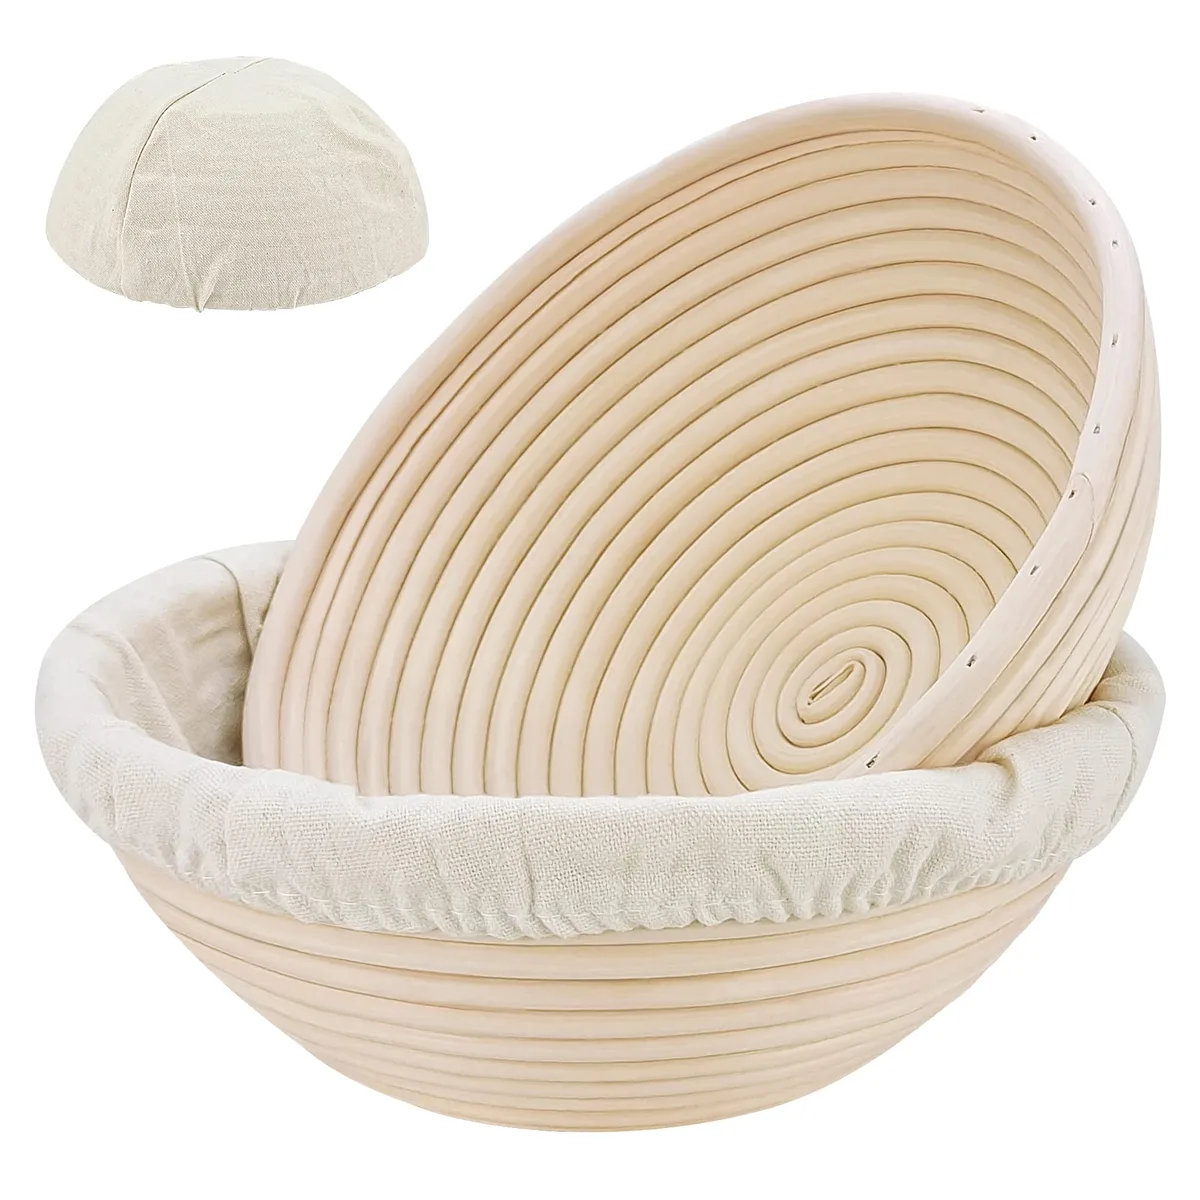
Material matters too. Cane rattan is traditional and breathable. It wicks moisture from the dough surface and leaves an attractive spiral pattern.
Wood pulp baskets are lighter and cheaper, but they absorb more flour and can stick if under-floured.
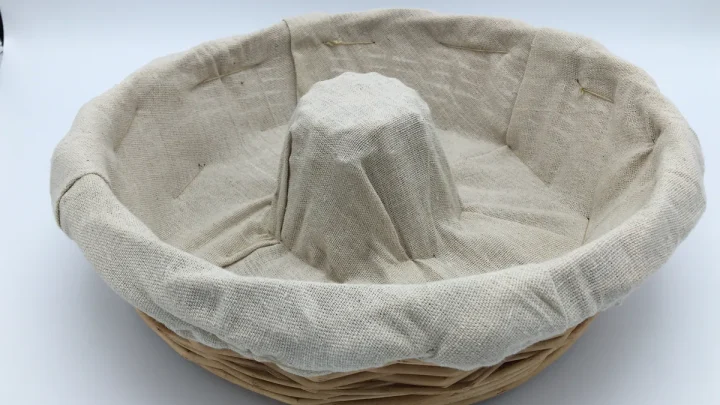
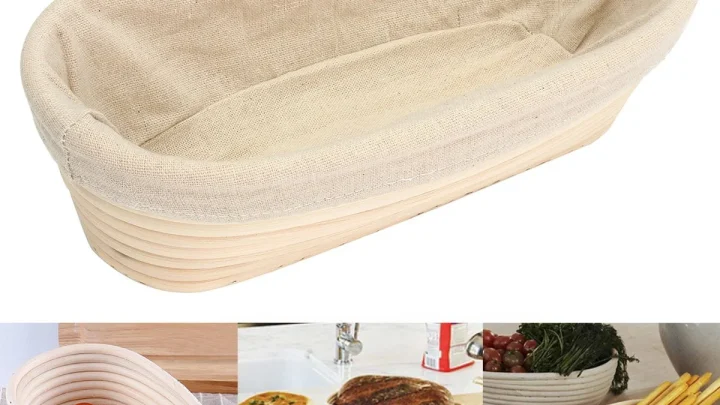
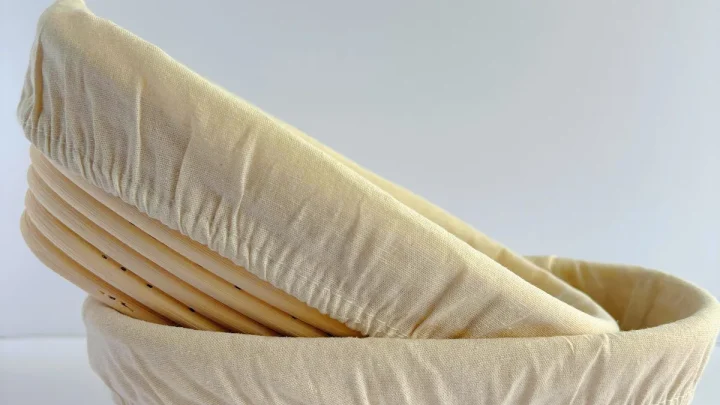
You also have lined and unlined options. A linen liner is the safe choice for very high hydration dough, meaning 80% or more. Unlined baskets allow more airflow and create a bolder pattern, but they need a proper dusting.
For most home bakers, an unlined round rattan basket offers the best balance.
Here's a quick sizing table that most manufacturers agree on:
| Basket diameter | Dough weight | Hydration range |
|---|---|---|
| 8 inches | 400–600 g | 65–80% |
| 9 inches | 700–850 g | 65–80% |
| 10 inches | 900–1100 g | 70–80% |
Flour and Dusting: The Sticking Problem
This is the part that trips everyone up. If you use all-purpose or bread flour by itself, it will absorb into the dough's surface and create a sticky paste. That's the number one cause of dough welded to the basket.
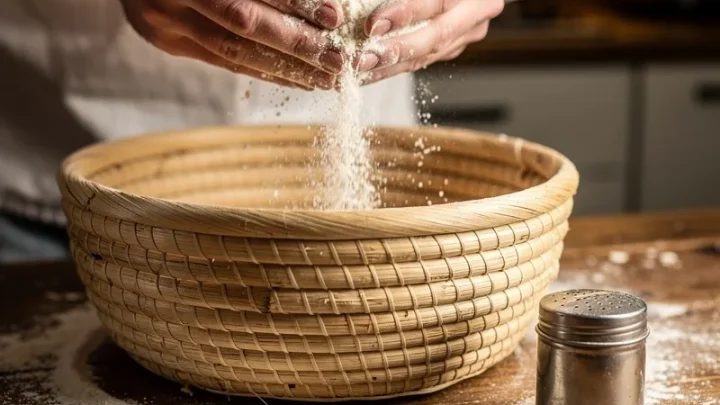
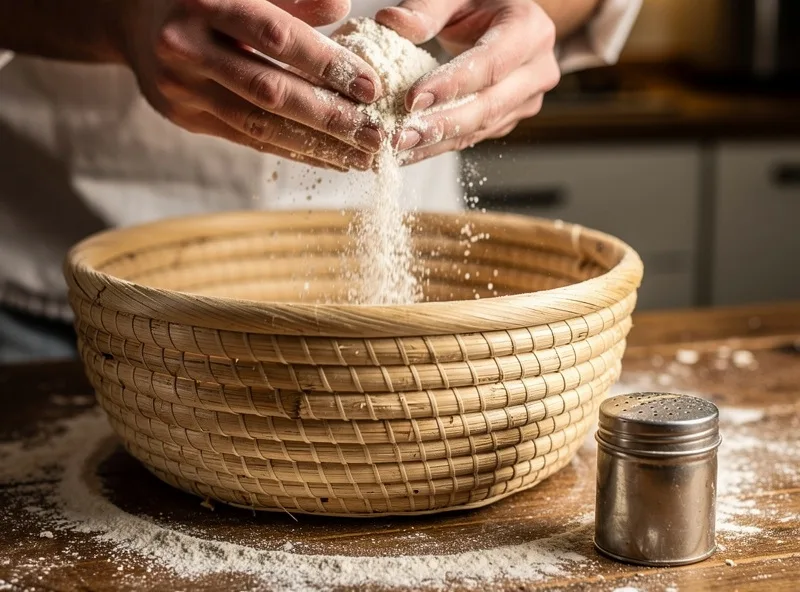
Instead, use rice flour. Rice flour doesn't absorb moisture the way wheat flour does. It forms a dry barrier between dough and basket.
You can use 100% rice flour, or mix it half and half with bread flour for a better crust color. For very wet dough, go with pure rice flour.
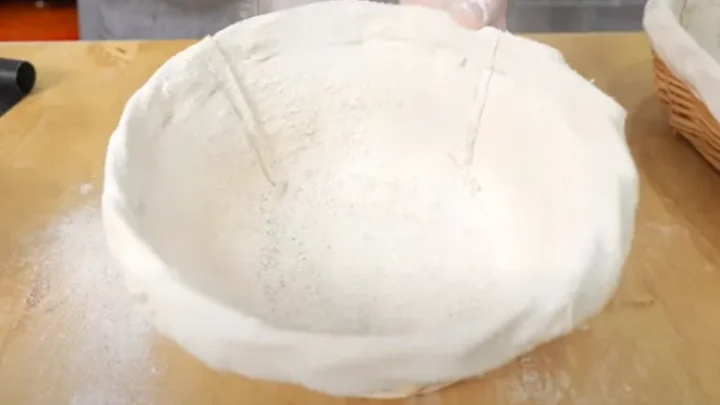
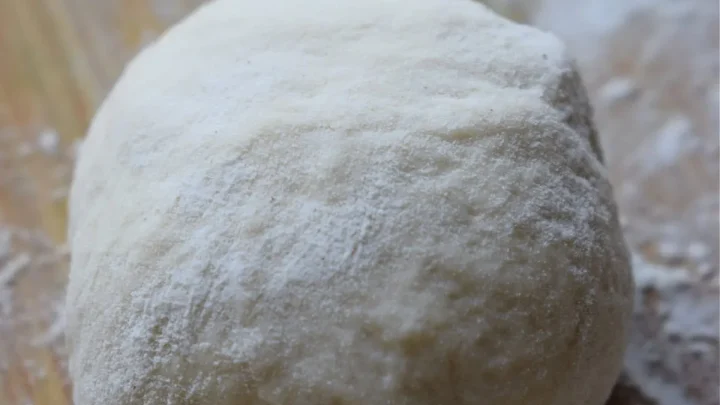
Apply it evenly. A heavy dusting works better than a light sprinkle. The dough will press against the flour, so you want a thin, complete coating.
Shake out any excess so there are no dry clumps inside the basket.
As of 2026, many commercial bread flours already include rice flour blends for this exact purpose. But even with those, you'll always get better results dusting your basket fresh before each use.
- All-purpose flour: absorbs moisture, high risk of sticking
- Bread flour: better structure, still absorbs
- Rice flour: dry barrier, prevents sticking
- 50/50 blend: good middle ground, better crust color
Shaping the Boule Before It Hits the Basket
Shaping is where the basket's job really starts. The basket doesn't shape the dough. It only holds the shape you give it.
If your dough is slack and weak after shaping, it will flatten inside the basket no matter how nice the banneton is.
Start with a pre-shape. Turn your dough out onto a lightly floured surface. Fold the edges into the center, then flip it over and drag it toward yourself with a bench scraper to build surface tension.
Let it rest for 20 to 30 minutes. That gives the gluten time to relax.
Then do the final shape. Repeat the same folding and dragging, but this time create a tighter ball. The top should look smooth and hold a seam.
If the seam opens, pinch it closed. A taut outer skin is your visual goal.
The USDA's food safety guidelines on raw flour also apply here. Keep raw flour away from ready-to-eat foods, and wash your hands and tools afterward.
Loading the Basket: Seam Up and Dough Placement
Now the dough goes into the basket. The seam goes up. That's the opposite of what you'd expect, because flipping the basket later turns the seam side into the bottom of the loaf, which gets slammed onto the baking surface.
Make sure the seam stays closed. Open seams are a common cause of lopsided loaves. After placing the dough in the basket, run a finger along the seam to pinch it shut if needed.
Also give the top a light dusting of rice flour. This prevents the dough from sticking to the cover cloth during proofing.
Then cover the basket. Use a clean shower cap, a large plastic bag, or a damp but not wet kitchen towel. Covering stops a skin from forming on the dough.
If you're cold proofing, place the whole basket in the fridge. The dough will hold its shape better when chilled.
The basket is not the proofing chamber. It's a support system. The dough should look like a firm ball when you close the cover, not a blob trying to escape.
How Proofing Changes the Dough's Look and Feel
The proofing period is a waiting game, but it's not passive. The dough changes in two ways. It rises, and it relaxes.
Both are visible.
During the first hour at room temperature, the dough starts to swell. It fills the basket, pressing gently against the sides. If you poke it with a floured finger, it should spring back slowly.
That means it's ready. If it doesn't spring back at all, over-proofing has begun.
Cold proofing changes the timeline. At 36, 40°F (2, 4°C), the dough rises much more slowly. It can sit in the basket for 8 to 16 hours without over-proofing.
The dough firms up, which makes scoring easier and gives a more open crumb.
The dough's surface also tells you things. A dry, cracked top means it wasn't covered well. A pale, sticky spot means the basket was under-floured.
Both are fixable next time.
Flipping, Scoring, and the Visual Cues of Oven Spring
When the proof is done, place a piece of parchment paper over the basket. Put a flat cutting board or baking sheet on top. Then, in one confident motion, flip the whole thing over.
The dough should release with a gentle thud.
If it sticks, don't pull. Wiggle the basket slightly and let gravity help. Sticking usually means the dough needs more rice flour on the basket next time.
Now the seam is on the bottom. The top shows the spiral pattern from the basket. This is your scoring canvas.
Use a lame or a sharp knife. Make one long slash about 1/2 inch deep across the top. The angle matters more than the length.
A 30-degree angle creates the classic ear.
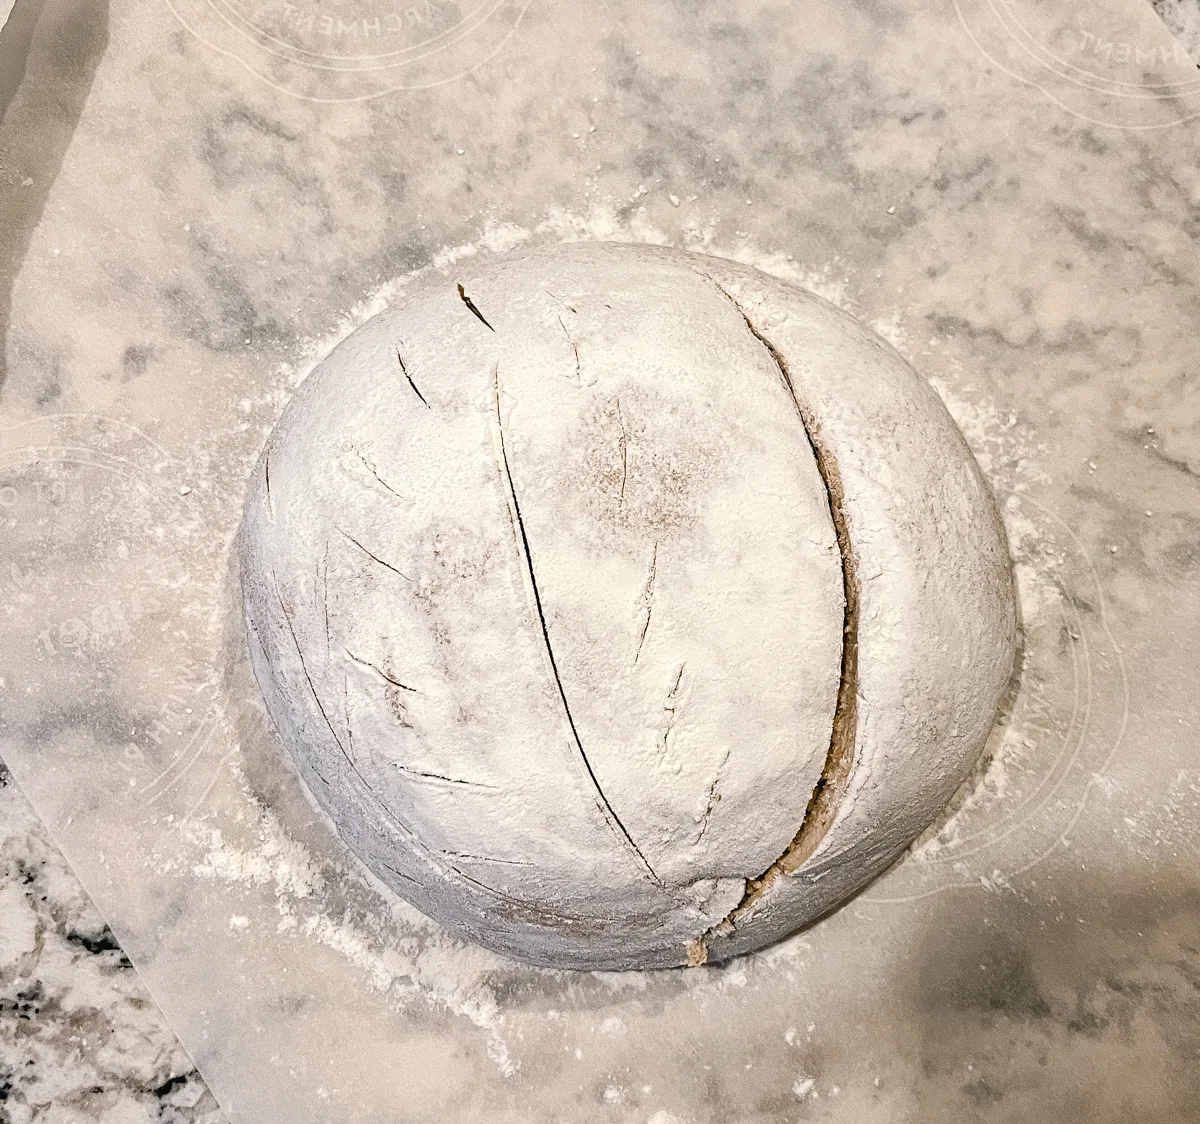
Oven spring is the final visual reward. In the first 10 minutes of baking, the dough should puff up dramatically. The score opens like a mouth, and the crust turns golden.
No spring means the dough was over-proofed or the oven wasn't hot enough.
Common Visual Mistakes and How to Fix Them
You'll spot these problems by looking, before you even bake. Catching them early saves a lot of disappointment.
The dough flattens immediately after flipping. Your shaping wasn't tight enough. Fix it by building more surface tension during the final shape. Also, consider a shorter room-temperature proof.
The basket leaves no marks on the crust. The dough was too wet or the basket wasn't dry. Dry the basket thoroughly after each use. Use a higher-flour blend or a shorter proof with a higher-hydration dough.
The loaf sticks to the basket. This is the most reported issue. Use more rice flour, and make sure it's spread evenly into the corners and along the walls. A 50/50 blend of rice flour and bread flour works for most home bakers.
The crust looks pale and powdery. That's over-flouring. You don't want a thick coating, just a thin barrier. Shake the basket to remove excess flour after dusting.
Banneton Care, Cleaning, and Mold Prevention
A proofing basket is a dry tool. Never soak it in water. That breaks down the cane and creates a perfect mold home.
After each use, brush out any stuck flour with a stiff pastry brush. If dough is caked on, use a dry cloth or a bench scraper to scrape it off. Let the basket air out completely before storing.
If mold appears, you can spot-clean it with a mixture of vinegar and water. Dampen a cloth, wipe the affected area, then let it dry in direct sunlight for a few hours. Sunlight is a natural sanitizer.
Store the basket in a dry place. Plastic bins and damp cabinets are bad choices. A paper bag or open shelf works well.
If you use a linen liner, wash it in warm soapy water and air dry it flat.
Quick Reference Guide: Dough Weights, Hydration, and Flour Blends
Here's a compact cheat sheet for your next bake. Copy it into your recipe notes.
| Basket size | Dough weight | Hydration | Dusting blend | Proofing time |
|---|---|---|---|---|
| 8 inches | 400–600 g | 65–70% | 100% rice flour | 1–2 hrs at 75°F |
| 9 inches | 700–850 g | 70–75% | 50/50 rice flour + bread flour | 1–2 hrs at 75°F |
| 10 inches | 900–1100 g | 75–80% | 100% rice flour for wet dough | 8–16 hrs cold proof |
Proofing time depends on temperature and starter strength. The timings above are starting points, not rules.
One last tip: always dust the basket right before loading the dough. Do it after your final shape. That prevents a dry, powdery crust under the dough.
Frequently Asked Questions
What if my dough sticks to the banneton?
Don't pull it out. Gently wiggle the basket from side to side and let gravity help release the dough. If it's truly stuck, dust the dough and basket with extra rice flour, then try again.
Next time, use a heavier dusting and consider a linen liner for high-hydration dough.
Can I proof bread longer than 16 hours in the basket?
Yes, but only in the fridge. Cold proofing at 36, 40°F can extend to 24 hours without over-proofing, depending on your starter and dough strength. At room temperature, anything past 3 hours risks a slack, spreading loaf.
Watch the dough, not the clock.
Do I need rice flour, or can I use regular flour?
Regular flour works in a pinch, but it absorbs moisture and increases sticking. Rice flour sits on the surface instead of absorbing, so the dough releases cleanly. A 50/50 blend of rice and bread flour gives a good balance of release and crust color.
For wet dough, stick to full rice flour.
How do I clean a proofing basket?
Brush out dry flour after each use. Never soak the basket in water. For stuck dough, scrape gently with a dry cloth or bench scraper.
Let it air out completely before storing. If mold appears, wipe with a vinegar-water solution and dry in sunlight.
Should I cover the basket while proofing?
Yes. Covering prevents a dry skin from forming on the dough. Use a shower cap, a plastic bag, or a damp kitchen towel.
In the fridge, a covered basket also protects the dough from absorbing other food odors.
Why does my boule go flat after flipping?
Your shaping wasn't tight enough, or the final proof ran long. Build more surface tension during shaping and shorten the room-temperature proof. Chilling the dough for 30 minutes before the flip also helps it hold structure.
Final Recommendation
A proofing basket is a simple tool with a clear job. It supports your dough, keeps it round, and helps build a beautiful crust. The whole process comes down to three basics: dust well, shape tightly, and read the dough's visual cues.
Match your basket size to your dough weight. Use rice flour for a clean release. Cover the basket during proofing.
Flip with confidence, score with a sharp blade, and bake hot. If something goes wrong, the dough will tell you. Adjust your flour, your shaping, or your timing next time.
For most home bakers, an unlined round rattan banneton in the 9-inch size handles everyday sourdough boules beautifully. It breathes, leaves a classic spiral, and holds up for years with simple care. Buy one good basket, learn its quirks, and your bread will thank you.

Similar Posts