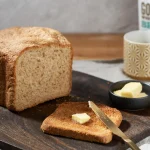
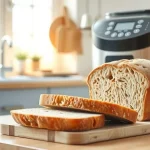
How to Use a Bread Maker: A Beginner’s Guide
Got a bread maker sitting on the counter and a manual that reads like a foreign language? You're not alone. Learning how to use a bread maker is easier than most people expect, but the machine does have quirks.
Once you understand a few basic rules, you can produce a proper bakery-quality loaf with almost zero hands-on time.
In our research across user manuals, manufacturer specifications, and aggregate reviews, one thing stands out. Most standard bread makers cycle through mixing, kneading, proofing, and baking in 2 to 5 hours. Wattage usually lands between 450 and 600 watts.
The trick is matching the program to the bread, and the ingredients to the machine.
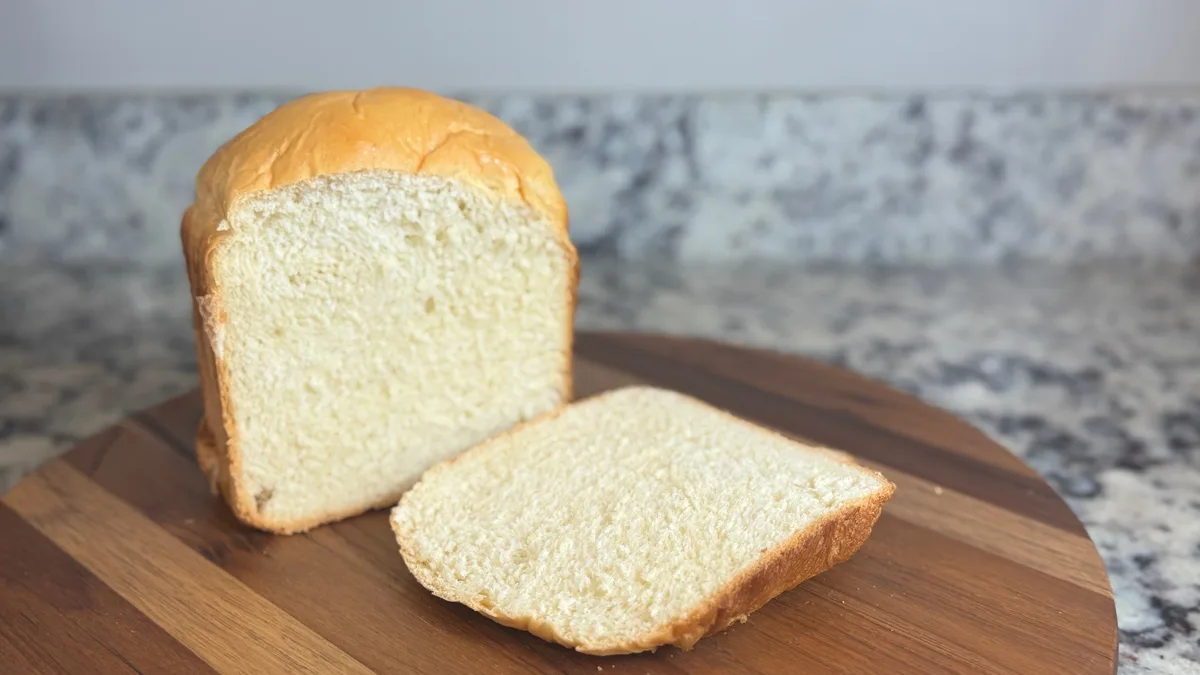
What Your Bread Maker Actually Does (and Why Ingredient Order Matters)
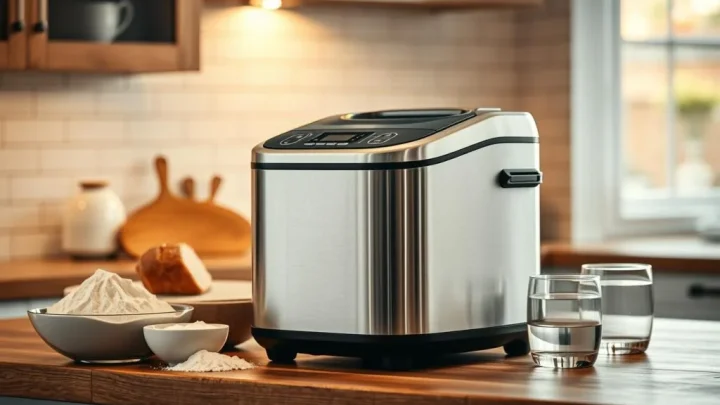
A bread maker is a small countertop appliance that automates the entire bread-making process. It mixes the dough, kneads it, lets it rise, and bakes it inside the same machine. You don't shape a loaf, you don't watch the oven, and you don't need a stand mixer.
Inside the machine sits a bread pan, usually nonstick, with a kneading paddle at the bottom. The paddle spins to knead the dough, then stays still during the rise. The heating element around the pan bakes the loaf when the cycle is done.
That's why ingredient order matters. Since the machine does everything in one go, the ingredients start interacting immediately. If the yeast touches the liquid too soon, you can get a weak rise.
If the salt lands directly on the yeast, it can kill it. Simple order rules fix both problems.
The machine also controls temperature and timing. That's a huge advantage over hand-kneading, where you have to monitor the dough closely. But it means you need to trust the program and follow the recipe's sequence.
If you mix things up and end up with a loaf that climbs past the pan and overflows, the cause is usually too much yeast, too much liquid, or the wrong program. We've covered why loaves climb out of the pan separately, but the quick fix is measuring carefully and sticking to the ingredient order below.
First Things First: Setting Up Your Machine
Before you measure a single ingredient, get the machine ready. It's boring work, but it prevents most beginner problems.
Place the bread maker on a flat, stable countertop. Leave a few inches of space around it for airflow. The machine vents steam, so keep it away from cabinets and paper towels.
If the surface is uneven, the machine can walk across the counter during kneading.
Attach the kneading paddle firmly onto the drive shaft. It should click or push down snugly. If you skip this, the machine spins but the dough never mixes.
A loose paddle also allows flour to pack underneath, making it tough to clean later.
Most bread pans are nonstick, so avoid metal utensils. Before the first use, wipe the pan with a damp cloth and dry it completely. Some manuals recommend a quick empty cycle first to burn off factory residue.
Check your machine's instructions, but a 10-minute bake-only cycle usually works.
Set out your measuring cups and spoons before you start. Bread machine measuring cups differ from standard cooking cups. Use the cup that came with your machine, or use a kitchen scale.
Scales are more accurate and give you the most consistent loaves.
Liquids First or Yeast First? The Ingredient Order Rule
The golden rule of bread makers is simple: liquids first, then dry ingredients, then yeast last, with salt somewhere in between. This keeps the yeast away from the water until the machine starts mixing.
Most machines recommend adding the yeast last, on top of the flour, away from the corners. The paddle blends everything together quickly, but the delay protects the yeast from a direct hit of cold water or salt. If your bread maker has an automatic yeast dispenser, you can ignore this step entirely.
Just load the dry ingredients into the pan and put the yeast in the little compartment on top.
Here's a typical layering order for a basic white sandwich loaf:
- Water or milk
- Butter or oil
- Salt and sugar, placed on opposite sides of the pan
- Bread flour, covering the liquid completely
- A small well in the center of the flour
- Yeast in that well, safely above the liquid
The salt first or flour first question trips people up. Put salt in the liquid or on the edge of the flour, just keep it away from the yeast. Salt inhibits yeast activity.
Even a little direct contact during the first few minutes can dull the rise.
Choosing the Right Flour, Yeast, and Liquid for Your Loaf
Not all flour behaves the same in a bread maker. Bread flour has more protein, which creates more gluten. That means a higher rise and a chewier crumb.
All-purpose flour works too, but the loaf will be shorter and softer.
Whole wheat flour is trickier. It absorbs more liquid and develops gluten more slowly. Many machines have a whole wheat program that adds a longer knead and a longer rise.
If you swap bread flour for whole wheat in a regular program, expect a denser loaf.
The table below gives a quick reference:
| Ingredient | Best for | Notes |
|---|---|---|
| Bread flour | Classic sandwich loaves, light texture | Protein content around 12–14% |
| All-purpose flour | Quick loaves, softer crusts | Use slightly less liquid |
| Whole wheat flour | Heavier, nuttier bread | Needs a whole wheat cycle |
| Instant yeast | Most bread maker recipes | Mixes straight into flour |
| Active dry yeast | Works, but needs dissolving | Use about 25% more by volume |
| Water | Crisper crust, standard texture | Use room-temperature water |
| Milk | Softer crumb, richer flavor | Can brown the crust faster |
Yeast choice matters more than most beginners think. Instant yeast and bread machine yeast are the easiest. They mix directly into the dry ingredients without proofing.
Active dry yeast works too, but it has a coarser coating and may need a head start. If your recipe calls for active dry and you use instant, cut the amount by about 25%.
Liquid temperature is the next variable. Most machines prefer liquids at 75 to 85°F. Cold water slows the rise.
Hot water, above 130°F, can kill the yeast before it starts. The USDA treats flour as a raw agricultural product, so avoid tasting raw dough and wash your hands after handling it.
Picking the Right Program and Crust Setting for the Bread You're Baking
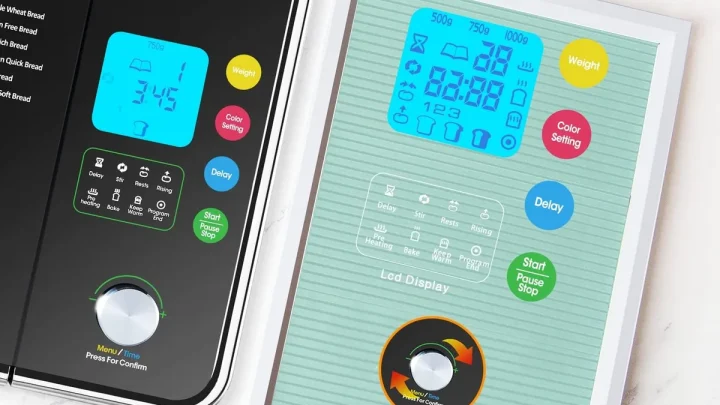
This is where people get stuck. The machine has buttons for Basic, Whole Wheat, French, Dough, Quick, and Gluten-Free. Which one do you choose?
The short answer is: match the program to the flour and the time you have.
- Basic is for white and all-purpose flour sandwich loaves.
- Whole Wheat adds a longer knead and rise for whole wheat flour.
- French gives a crisper crust, good for lean doughs without much fat or sugar.
- Dough runs the mix and rise cycles, then stops before baking.
- Quick shortens the entire process, often around 1.5 to 2 hours.
- Gluten-Free uses a gentler knead and a shorter rise, ideal for rice flour blends.
As of 2026, most machines also let you choose crust color: light, medium, or dark. If you follow a recipe, use what it suggests. If you're experimenting, start with medium.
Dark crust settings bake longer, which can dry out a small loaf. Light crust settings often leave the crumb paler and softer.
Here's a simple decision guide:
| Your situation | Use this program |
|---|---|
| White flour, no special instructions | Basic |
| Whole wheat or grainy flour | Whole Wheat |
| Crispy, crusty artisan-style loaf | French |
| Need dough for pizza, rolls, or cinnamon buns | Dough |
| In a hurry, white flour only | Quick |
| Gluten-free flour blend | Gluten-Free |
The delay timer is a separate feature. It lets you load the machine at night and wake up to fresh bread. Before you use it, double-check that your recipe doesn't contain fresh milk or eggs.
Leaving dairy in the pan for eight hours can spoil the loaf. We'll cover the delay timer more fully later, but the rule here is simple: if it can sit out safely, it can wait in the machine.
The 10-Minute Dough Ball Check (and How to Fix What You See)
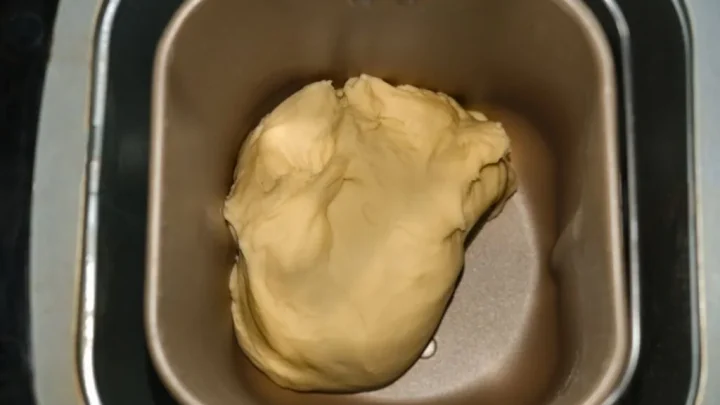
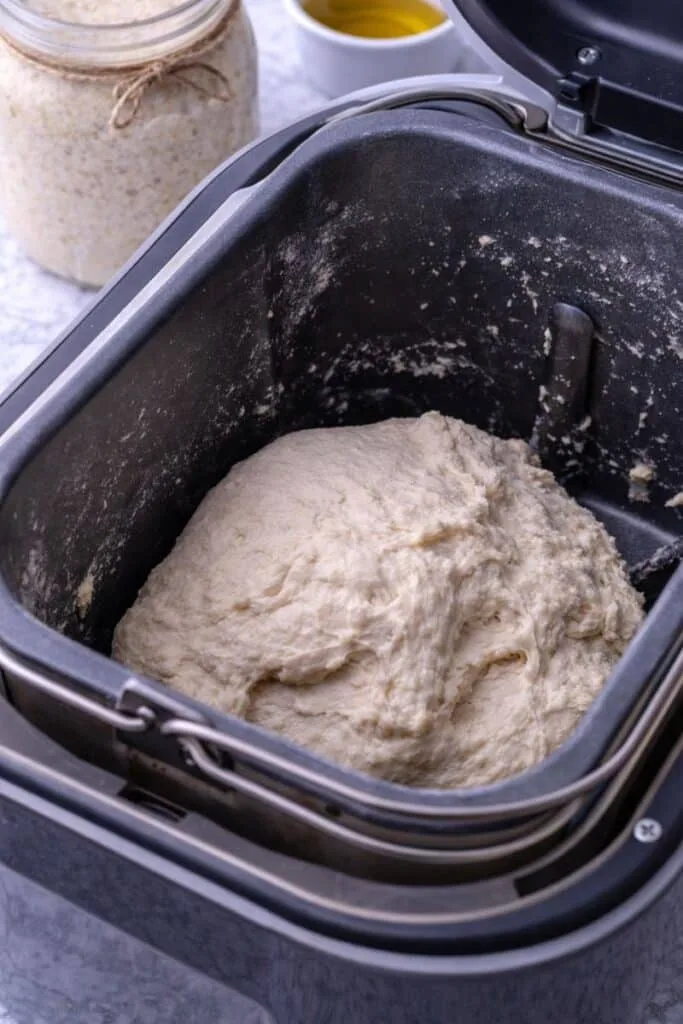
Five to ten minutes into the knead cycle, peek through the window or lift the lid. The dough should be gathering into a smooth, round ball. It should be soft but not sticky.
The sides of the pan should look mostly clean.
If the dough looks like soup or sticks heavily to the walls, add flour one tablespoon at a time. Wait 30 seconds between each spoonful. If the dough feels dry, crumbly, or struggles to form a ball, add room-temperature liquid one tablespoon at a time.
The exact look depends on the recipe and the flour you used. Whole wheat dough stays stickier and rougher. Rye dough barely forms a smooth ball.
As long as the ball is cohesive and slowly rotating, you are fine.
Mistakes at this stage are easy to reverse. Just don't add a big handful of flour at once. That shocks the hydration and can make the loaf dense or crumbly.
Step-by-Step: Baking a Simple 2-Pound Sandwich Loaf from Scratch
Let's put it all together. This basic white loaf is the standard starting point for any machine. It works on nearly every bread maker sold.
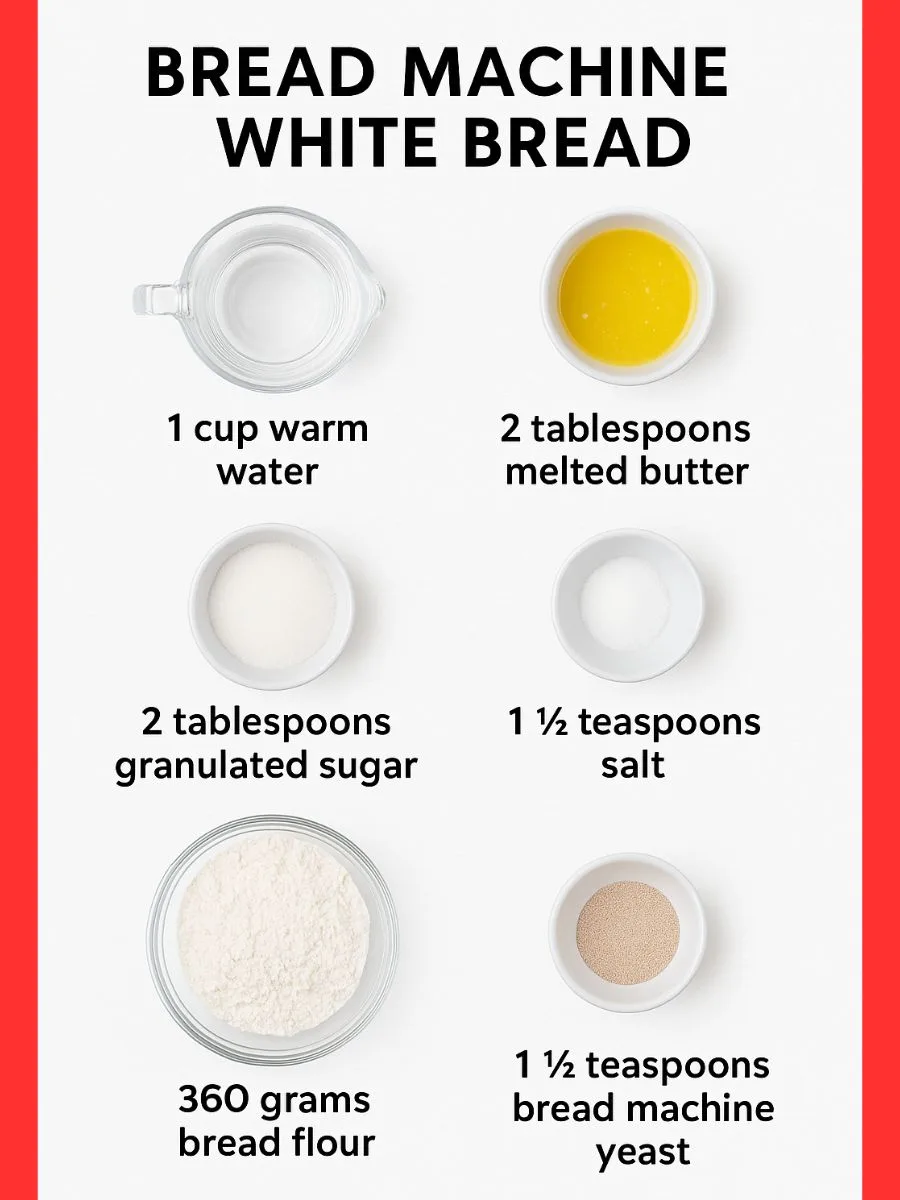
- 1 1/4 cups warm water
- 2 tbsp softened butter or oil
- 1 1/2 tsp salt
- 2 tbsp sugar
- 4 cups bread flour
- 2 1/4 tsp instant yeast
Add ingredients in this order: water first, then butter, then salt and sugar on opposite sides. Cover everything with flour. Make a small well in the center and add the yeast.
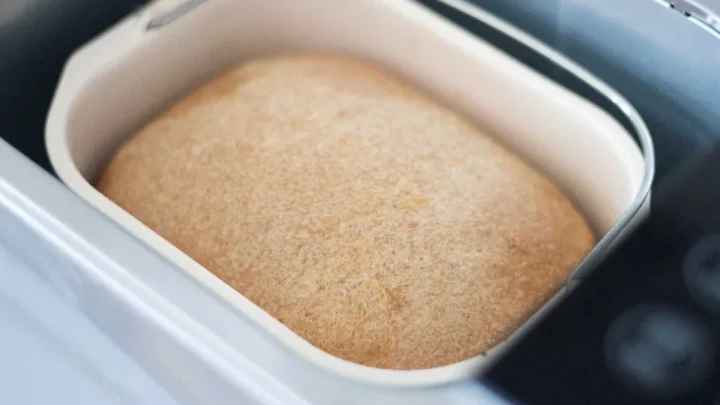
Set the machine to Basic, 2 lb, Medium crust. Press start. At the 10-minute mark, do the dough ball check.
Close the lid and let the cycle finish.
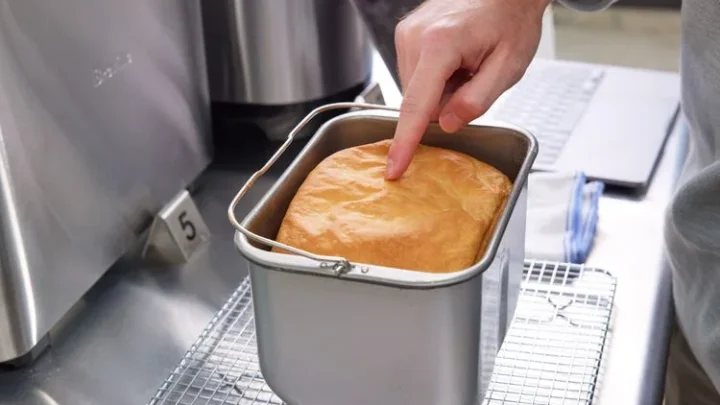
When the machine beeps, remove the pan with oven mitts. Turn the loaf out onto a wire rack. Let it cool for 20 to 30 minutes before slicing.
The crumb sets during this rest, so slicing early makes a gummy mess.
Using the Delay Timer Safely (and the Recipes That Handle It Best)
The delay timer is one of the best features on a bread maker. You load it before bed, set the timer, and wake up to a warm loaf. But it has limits.
Perishable ingredients are the problem. Fresh milk, eggs, and cheese sit at room temperature for hours before the machine starts. That's a food safety risk.
The USDA recommends keeping perishables out of the temperature danger zone between 40°F and 140°F.
Use powdered milk or water instead. Skip eggs. Oil works better than butter because butter can soften and leak unevenly.
The safest delay-timer recipes are plain water-based loaves, like basic white or French.
Most timers allow up to 13 hours. Set the timer for the time you want the bread done, not the time you want the machine to start.
Dough-Only Mode: Making Pizza, Rolls, and Cinnamon Buns in the Same Machine
Your bread maker doubles as a dough mixer. The dough-only cycle kneads and proofs the dough, then stops before baking. You take it out, shape it, and bake in your regular oven.
Pizza comes together fast with this trick. Use the dough cycle, flatten the dough into a greased pan or pizza stone, add toppings, and bake at 475°F for 12 to 15 minutes.
The same dough becomes cinnamon rolls. Roll it out, spread butter with cinnamon and sugar, slice, let rise about 30 minutes on a baking sheet, then bake at 350°F for 20 to 25 minutes.
The key is a shorter second rise after shaping. The machine handles the first proof. Your job is just shaping and the final bake.
Common Bread Maker Mistakes That Ruin Loaves (and Simple Fixes)
| Mistake | What goes wrong | The fix |
|---|---|---|
| Scooping flour | Dense, heavy loaf | Spoon and level, or weigh it |
| Opening the lid often | Temperature drop, weak rise | Check once at 10 minutes, then leave it |
| Cutting too early | Gummy, wet crumb | Wait 20 to 30 minutes |
| Too much yeast | Overproofing, overflow | Measure exactly using a scale |
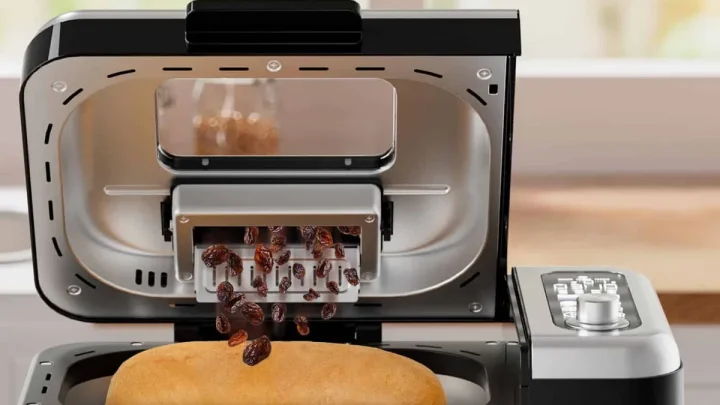
| Adding mix-ins early | Crushed nuts and fruit | Wait for the machine's add-in beep |
One more common issue is the loaf climbing over the pan rim. That's a classic sign of too much yeast, too much liquid, or the wrong program. A runaway loaf usually traces back to seven common causes, and most of them have a fast fix.
Raw flour carries a small but real risk of bacteria. USDA food safety guidance warns against tasting raw dough, and that applies to the dough-only cycle too.
Cooling, Slicing, and Storing Homemade Bread Without Crushing It
Pull the pan out the second the cycle finishes. Use oven mitts, since the pan is extremely hot. Turn the loaf onto a wire rack right away so steam can escape and the crust stays crisp.
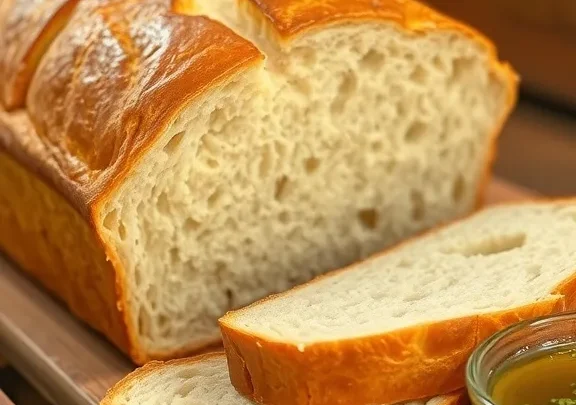
Let the bread cool for 20 to 30 minutes. The crumb finishes setting during this rest. Slicing early crushes the soft interior and makes the loaf gummy.
Use a serrated bread knife. Saw gently instead of pressing down. If your machine uses a collapsible paddle, tug the paddle out first so it doesn't tear the bottom of the loaf.
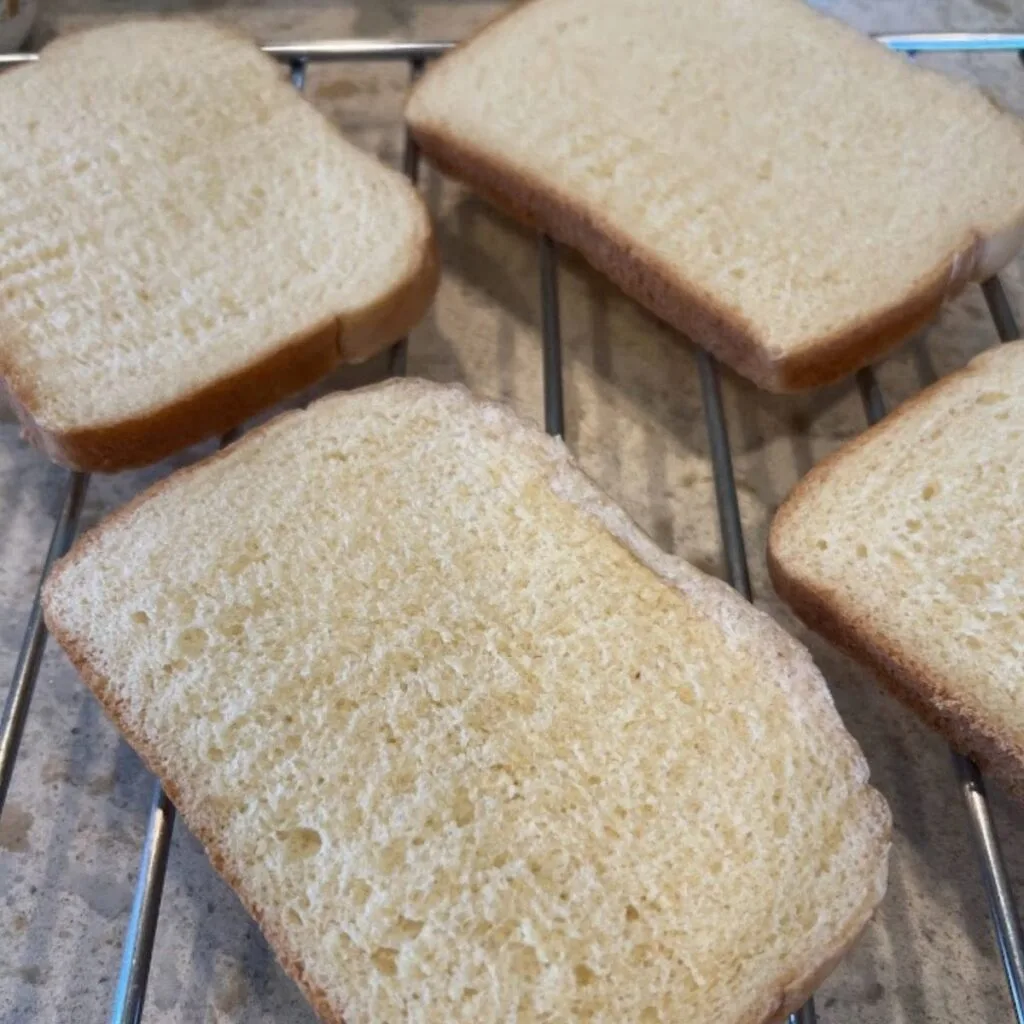
Store the loaf in a paper bag for a crisp crust, or a plastic bag for a softer one. Per USDA food safety guidance, never wrap bread while it's still warm. That traps moisture and grows mold.
Room temperature works for two to three days. Freeze slices for anything longer.
Cleaning and Maintaining Your Bread Maker So It Lasts for Years
Clean the machine after every loaf. Let the pan and paddle cool completely first. Wash them with warm soapy water and a soft sponge.
Never use metal scouring pads. They scratch the nonstick coating, and those scratches flake into your bread later. Avoid submerging the machine base.
Wipe it with a damp cloth instead.
The kneading paddle tends to hide dough residue. Push it off the drive shaft and soak it in warm water for a few minutes. Dry it completely before the next use.
Check the drive shaft for dried flour buildup during the same cleaning pass. A dry towel clears it quickly.
Quick Decision Guide: Match Your Situation to the Right Settings
Here's the whole decision process in one place.
| Your situation | Program | Loaf size | Crust |
|---|---|---|---|
| First loaf ever | Basic | 1 lb | Medium |
| Fluffy sandwich bread | Basic | 2 lb | Light |
| Whole wheat or grainy | Whole Wheat | 2 lb | Medium |
| Crusty artisan loaf | French | 1.5 lb | Dark |
| Baking right now, short on time | Quick | 1 lb | Medium |
| Gluten-free flour blend | Gluten-Free | 1 lb | Medium |
If the dough looks dry after 10 minutes, add liquid a tablespoon at a time. If the loaf keeps climbing past the pan, check the usual overflow reasons before tweaking the recipe.
If you baked a dense loaf, the yeast is old or the flour was packed. If the loaf has sand in the texture, the paddle stayed in during baking.
Frequently Asked Questions
Can I use all-purpose flour instead of bread flour?
Yes, but expect a shorter, softer loaf. All-purpose flour has less protein, so it builds less gluten. Use the same amount, but check the dough ball at the 10-minute mark.
You may need to add a tablespoon of liquid to compensate for the lower absorption.
Why is my bread machine bread too dense?
Old yeast is the most common culprit. Next is too much flour. Measure flour by weight instead of using a measuring cup.
A third cause is skipping the dough ball check, letting the dough stay too dry through the knead cycle.
Can I open the lid during the baking cycle?
Only during kneading. Opening the lid later releases heat and drops steam, which can weaken the rise and deflate the loaf. If you need to peek, do it in the first 10 minutes, then leave the machine alone until the beep.
How long does a bread maker cycle take?
Standard cycles run from 3 to 5 hours. Quick cycles finish in 1.5 to 2.5 hours. Whole wheat and French programs sit at the longer end.
The exact time depends on your machine and the loaf size you select.
Do I need special yeast for a bread maker?
No, but instant yeast or bread machine yeast works best. They mix straight into the dry ingredients without proofing. Active dry yeast works too, but use about 25% more and add it to the liquid before the rest of the ingredients.

Similar Posts