Gluten Free Bread Machine Tips That Actually Work
I know the exact feeling. You set the bread machine, wait a few hours, then pull out a dense, crumbly brick. The truth is, gluten free bread machine tips are the difference between that brick and a soft, sliceable loaf.
Gluten-free dough doesn't behave like regular wheat dough. It's more like a thick batter. Once you understand that, your machine becomes a brilliant tool.
As of 2026, the FDA requires any product labeled gluten-free to stay below 20 parts per million of gluten. Using certified gluten-free flour blends keeps your bakes safe and consistent.
Quick Answer
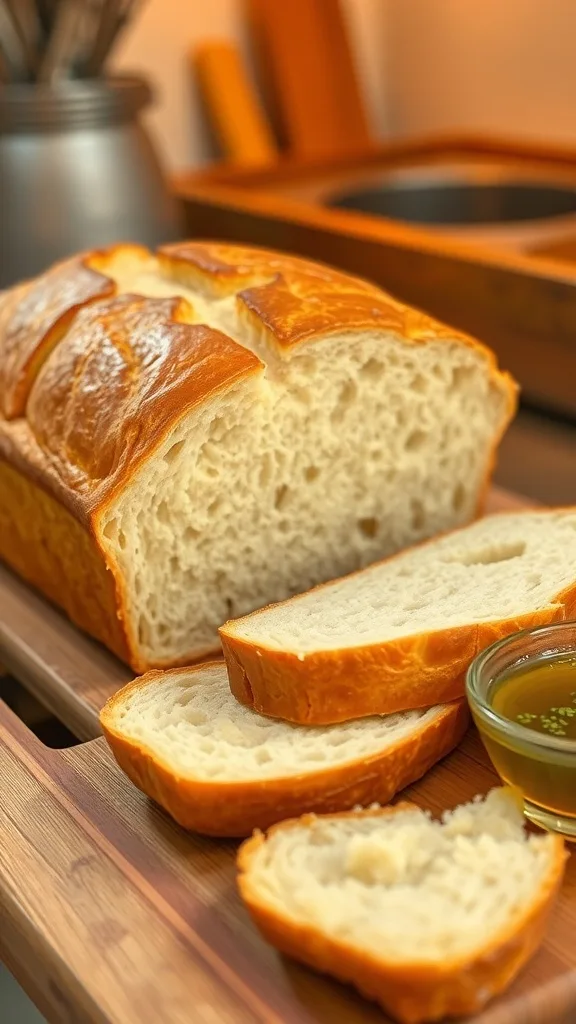
The top gluten free bread machine tips are these: use the gluten-free cycle, weigh your flour, check the dough at ten minutes, and cool the loaf fully before slicing.
You Bought a Bread Machine for Gluten-Free Bread. Now What?
A bread machine takes the guesswork out of gluten-free baking. It mixes, kneads, proofs, and bakes in one container. You just add ingredients, press a button, and walk away.
That's huge when you're juggling a gluten-free diet.
But you can't dump in a regular bread recipe and hope for the best. Gluten-free dough needs a different approach. The hydration is different.
The mixing time is different. So start with a few simple tools.
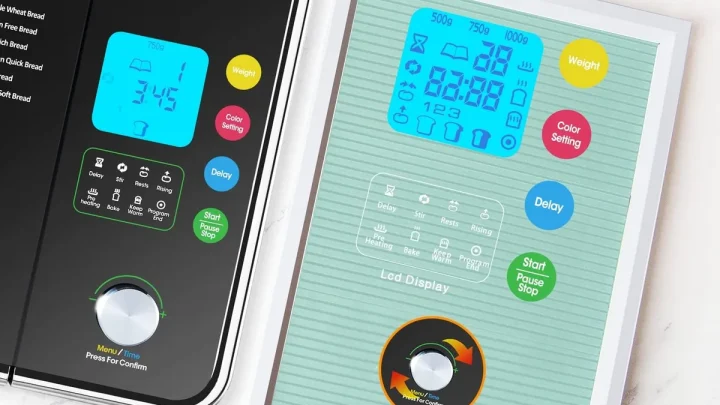
You'll want a digital kitchen scale, a sturdy spatula, and a machine with a gluten-free or quick bread cycle. If your machine doesn't have one, that's fine. You'll just need to watch the dough more closely.
Accept that your first loaf might be ugly. That's normal. Every batch teaches you something.
With the tips below, you'll get to a great loaf faster than you think.
The Core Problem: Gluten-Free Dough Doesn't Behave Like Regular Dough
Gluten is a protein network. When wheat flour meets water, gluten forms elastic strands that trap gas and stretch. That's what gives regular bread its airy crumb and chewy bite.
Gluten-free flours have no gluten. So there's no network to stretch. The dough relies on starches and gums to hold its shape.
That's why gluten-free batter looks wetter and heavier than regular dough. It's closer to thick muffin batter.
Hydration is the real variable
Gluten-free flours soak up liquid slowly. A standard blend might need 1.5 to 2 parts liquid to 1 part flour by weight. But rice flour absorbs differently than sorghum or oat flour.
That's why a recipe that works with one blend can flop with another.
If your dough is too stiff, the bread turns out dense and dry. If it's too loose, the loaf collapses. You're aiming for a thick, spoonable batter that settles into a smooth mound.
If your loaf keeps overflowing, it's usually hydration. A quick look at what makes bread machines overflow can help you pinpoint the issue.
The role of gums and binders
Xanthan gum is the most common binder in gluten-free bread. It replaces gluten's stretchiness. Psyllium husk powder is another option.
It soaks up water and creates a gel-like structure. Both work in bread machines, but they behave differently. Xanthan gum gives a lighter crumb.
Psyllium makes a chewier, more rustic loaf.
Most commercial gluten-free flour blends already contain xanthan gum. If you're using a single flour like brown rice flour, add a binder yourself. Use about 1 teaspoon of xanthan gum per cup of gluten-free flour.
Don't skip it, or your bread will crumble.
The Right Machine Setup: Dedicated vs. Shared, Single vs. Dual Paddle
Your bread machine matters more than your oven. But you don't need a fancy one. You need one that handles gluten-free dough well.
Should you dedicate a machine to gluten-free baking?
If you have celiac disease, yes. A dedicated machine is the safest option. It completely eliminates cross-contact.
Gluten can hide in the paddle, the pan seams, and the heating element. Hot water and soap don't always remove every trace.
If you're just gluten-sensitive, a shared machine can work. Wash the pan, paddle, and all parts in soapy hot water. Then wipe down the inside of the machine.
Some people run a bread cycle with water and vinegar first to clean out lingering crumbs. That's extra work, but it's doable.
Manufacturer manuals often recommend hand washing the pan and paddle. Dishwashers can scratch the nonstick coating. Those scratches trap flour and bacteria.
Hand washing is safer.
Single paddle vs. dual paddle
Dual paddle machines are nice, but not essential. Here's a quick comparison:
| Feature | Single Paddle | Dual Paddle |
|---|---|---|
| Mixing coverage | Good, but dense batter may stick | Better, reaches both ends |
| Loaf shape | Tall with paddle hole on bottom | More even dome |
| Gluten-free performance | Works with careful recipes | Excellent for thick batters |
| Cleaning | Fewer parts | Extra paddle to clean |
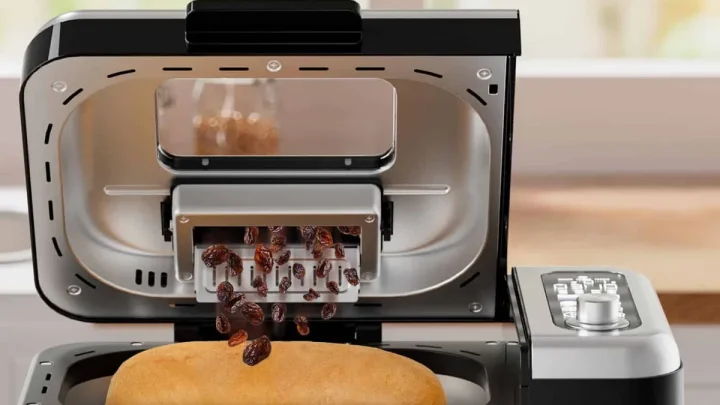
Dense gluten-free batter is stubborn. A single paddle sometimes leaves unmixed flour in the corners. You can help it by scraping the pan once or twice during the first mixing cycle.
With a dual paddle, you usually don't need to scrape as much.
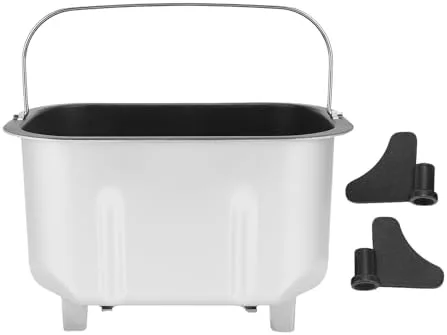
If you already own a single-paddle machine, don't stress. Many people bake fantastic gluten-free bread in basic models. Just pay attention to the dough consistency and adjust slowly.
Ingredients That Make or Break a Gluten-Free Bread Machine Loaf
You can have the best machine in the world, but the wrong ingredients will still sink it. Gluten-free baking is science. Every ingredient has a job.
Choose the right flour blend
Not all gluten-free flour blends are created for bread. Some have a light texture meant for cookies and cakes. Others are heavy, packed with bean flours that taste bitter in bread.
For bread machines, you want an all-purpose gluten-free flour blend that says it works for yeast breads. Brands like Bob's Red Mill, King Arthur Baking, and Cup4Cup all offer blends that handle higher hydration. A good bread blend usually contains rice flour, tapioca starch, and potato starch, plus xanthan gum.
Weigh your flour every single time
A cup of gluten-free flour weighs anywhere between 120 and 150 grams depending on how it's packed. That 30-gram difference changes the hydration of your dough. The result is a sunken loaf or a dry brick.
Use a digital kitchen scale. Set your bowl on it, zero it, and add flour until you hit the gram target. It takes an extra minute and saves you hours of disappointment.
Yeast: instant vs. active dry
Instant yeast is the easiest choice for a bread machine. It dissolves quickly and starts working without proofing. Active dry yeast needs to be dissolved in warm liquid first, usually around 110°F.
Both work, but instant yeast is more forgiving.
The amount matters too. For a standard 1.5-pound loaf, about 2 teaspoons of instant yeast is plenty. Use too much and the bread can collapse.
Use too little and it won't rise.
Don't forget moisture and fat
Gluten-free batters need more liquid than wheat dough. Eggs add moisture and structure. Butter or oil provides tenderness.
A splash of vinegar or lemon juice can strengthen the gum's gel structure. And a little sugar feeds the yeast.
In our research, the most consistent success comes from recipes that use at least two eggs per loaf. Vegan recipes work, but they need extra binders like psyllium or flaxseed gel.
The FDA's gluten-free label rule
If you're relying on store-bought flour, the FDA's gluten-free labeling rule keeps you protected. It requires anything labeled gluten-free to stay below 20 ppm of gluten. That's a good baseline for choosing ingredients.
For whole grains like oats, look for a certified gluten-free label too, because oats are often cross-contaminated.
The Step-by-Step Gluten-Free Bread Machine Process
Now let's put it all together. This is the routine that works across most machines and flour blends.
- Weigh your ingredients. Measure flour, water, and add-ins on a scale. Don't rely on measuring cups.
- Add wet ingredients first. Water, eggs, oil, or vinegar go into the bread pan first.
- Add dry ingredients on top. Flour blend, sugar, salt, and gums go on top of the liquid. This keeps the yeast from activating too early.
- Create a small well for the yeast. Gently tap the flour to make a shallow divot. Place the yeast in that well.
- Insert the pan and select the gluten-free cycle. Choose your crust color. Medium usually works best.
- Check the dough after 10 minutes. Open the lid and look. You want a thick, smooth batter. If it looks too dry, add a spoonful of water. If it looks soupy, add a spoonful of flour.
- Let the machine finish. The gluten-free cycle is usually 1.5 to 2 hours. Resist the urge to open the lid while it bakes.
- Cool completely before slicing. This is critical. A hot gluten-free loaf will crumble into pieces if you cut it too early. Wait at least 20 to 30 minutes, and often longer.
What the dough should look like
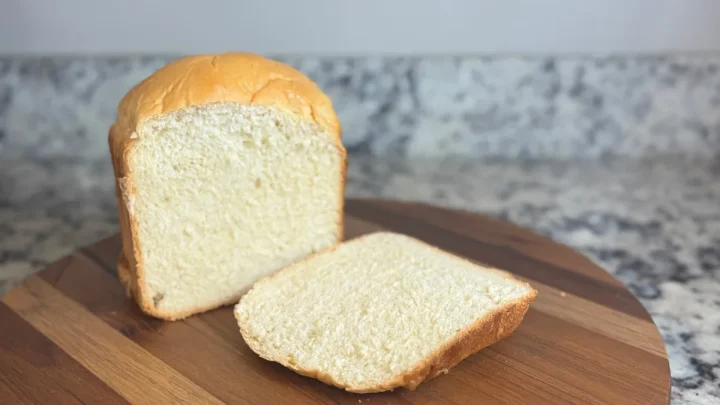
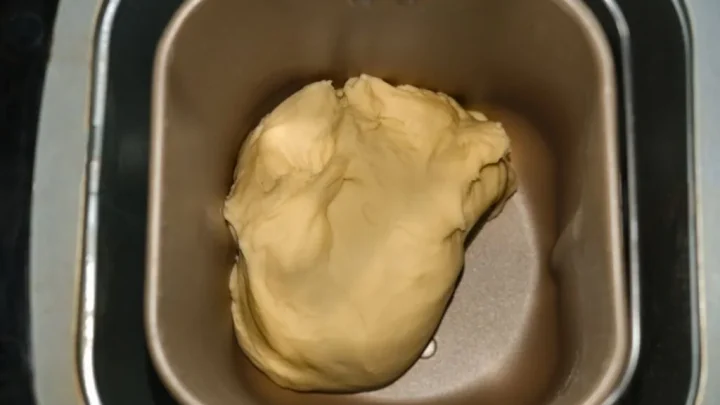
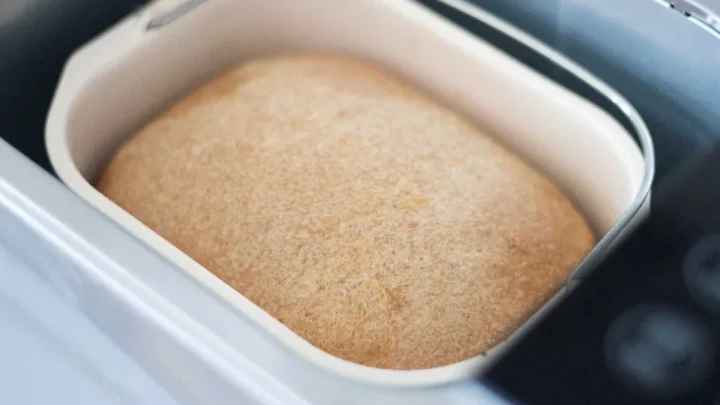
Gluten-free dough in a bread machine should look like a thick batter. It should slowly settle into a smooth mound when you spoon it. It should not hold a stiff peak like wheat dough.
If it looks like cake batter, it's too thin. If it looks like cookie dough, it's too thick. Both are fixable during the first mixing phase.
Troubleshooting by Symptom: A Decision Guide
Even with perfect setup, things go wrong. Here's how to figure out what happened, based on the symptom.
Loaf collapses in the middle
This is the most common complaint. Causes: too much liquid, too little gum, or too much yeast. The dough can't hold its structure as it bakes.
Fix: Reduce the liquid by 2 tablespoons next time. Make sure you're using a blend with xanthan gum. If you're adding your own, don't skimp.
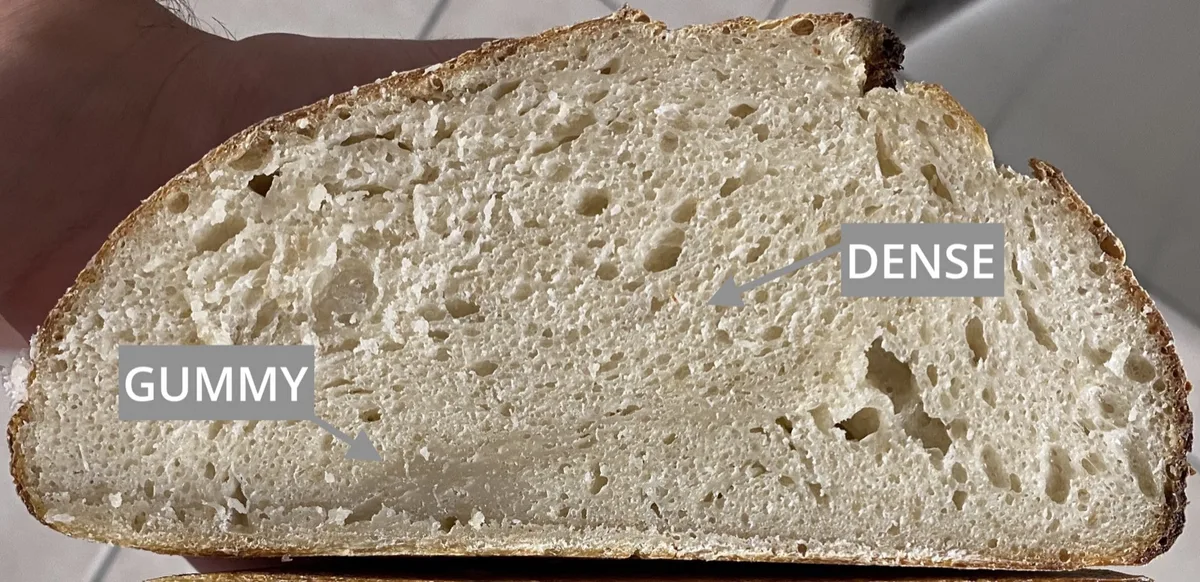
Bread is dense, gummy, or heavy
Causes: not enough liquid, too much flour, or the wrong flour blend. A dense crumb also happens when the dough is under-mixed.
Fix: Increase liquid slightly. Weigh your flour instead of scooping. Check the dough early to make sure it's truly soft.
If the center is gummy, bake a little longer or add 1 to 2 tablespoons of water.
Top is burnt but inside is raw
Causes: the crust color is too dark, or the machine runs too hot. Another culprit is a bread pan sitting too close to the heating element.
Fix: Switch to a light or medium crust. If your machine has no crust setting, place a sheet of aluminum foil loosely over the top of the pan during the second half of baking. You can also try a recipe with more liquid.
Bread never rises
Causes: dead yeast, water too hot, or not enough sugar. Also, if you put the yeast directly on water without a flour barrier, it may activate too early.
Fix: Check the expiration date on your yeast. Use water around 100-110°F. Make a well in the dry flour to protect the yeast until the mixing cycle starts.
Crumbles when sliced
Causes: not enough binder, or the loaf is still warm. Sometimes it's just the flour blend.
Fix: Let the bread cool thoroughly. Add a bit more xanthan gum or psyllium. For a sturdier slice, use a serrated knife and a gentle sawing motion.
Loaf sticks to the pan
Causes: the pan isn't greased enough, or the paddle is stuck in the baked loaf.
Fix: Grease the paddle and the sides of the pan with butter or oil before adding ingredients. After baking, let the loaf rest for 10 minutes in the pan. Then turn it out carefully.
If your loaf is sinking mid-bake, the cause is often too much liquid. Double-check your recipe's water amount and your flour blend's absorbency.
Gluten-Free Flour Blends: Comparative Breakdown
Not all gluten-free flour blends behave the same. Here's what you'll see in common blends.
| Characteristic | All-Purpose GF Blend | Bread-Specific GF Blend |
|---|---|---|
| Typical base | Rice flour, tapioca starch, potato starch | Rice flour, sorghum or millet, more protein |
| Gum included? | Sometimes | Usually yes |
| Best for | Cookies, cakes, quick breads | Yeast breads, bread machines |
| Hydration need | Lower | Higher |
| Texture in bread | Tender, slightly crumbly | Chewier, closer to wheat bread |
If you only have an all-purpose blend, you can still use it in a bread machine. Just add a little more gum and a bit more liquid. If you have a bread-specific blend, follow the package recipe for liquid amounts.
Some people prefer making their own blend. A simple one might use 3 parts white rice flour, 3 parts brown rice flour, 2 parts tapioca starch, and 2 parts potato starch. Add 1 teaspoon of xanthan gum per cup.
This gives you full control over hydration and taste.
Common Mistakes Even Experienced Bakers Make
These mistakes are easy to fix once you know them.
Adding too much flour when checking dough
That 10-minute check is important, but don't over-correct. If you add flour every time the batter looks a little wet, you'll end up with a dense loaf. Add a spoonful, wait a minute, and check again.
Slicing before the loaf has fully cooled
This is the biggest mistake. Gluten-free bread sets as it cools. If you cut into it early, it will crumble.
Wait at least 30 minutes. Many bakers wait an entire hour.
Using the wrong bread pan size
A recipe for a 1.5-pound loaf won't fill a 2-pound pan the same way. The dough may not reach the top, and the bread might be flatter. Stick to the pan size your recipe calls for.
Skipping the dough consistency check
You can't just set and forget with gluten-free dough. The first 10 minutes tell you everything. If the batter is too stiff, you need to know early.
Substituting flours without adjusting liquid
Swapping one brand of flour for another changes the hydration. Always check the package instructions and start with about 10% less liquid, then adjust.
Maintenance and Long-Term Optimization
A bread machine is an investment. Keep it clean, and it'll last for years.
Cleaning the pan, paddle, and machine
After every bake, wash the pan and paddle in warm soapy water. Use a soft cloth. Avoid abrasive pads that scratch the nonstick coating.
Wipe down the inside of the machine with a damp cloth. Make sure no flour or crumbs are stuck near the heating element.
Replacing worn paddles
Nonstick coatings wear out over time. If the paddle starts flaking, replace it immediately. You don't want coating bits in your bread.
Most manufacturers sell replacement paddles and pans online.
Storing gluten-free flours
Gluten-free flours go rancid faster than wheat flour, especially nut-based blends. Store them in the freezer or an airtight container. Brown rice flour can go rancid within a few months at room temperature.
Scaling recipes for different machines
A 1-pound machine needs about 2 cups of flour. A 1.5-pound machine needs about 3 cups. A 2-pound machine needs about 4 cups.
Scale the liquid and binder proportionally. Always weigh, and adjust the ten-minute check based on the batter's look.
Real Scenarios: What a Gluten-Free Bread Machine Actually Looks Like in Practice
Let's look at two real situations you'll recognize.
The beginner's first loaf vs. their tenth loaf
The first loaf is often dense and a little lopsided. The top might cave in slightly. That's because the baker used measuring cups and didn't check the dough early.
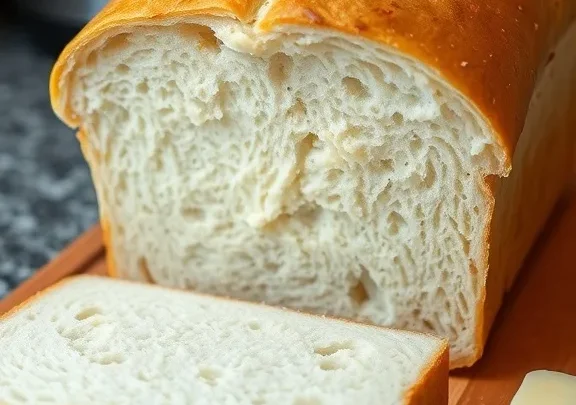
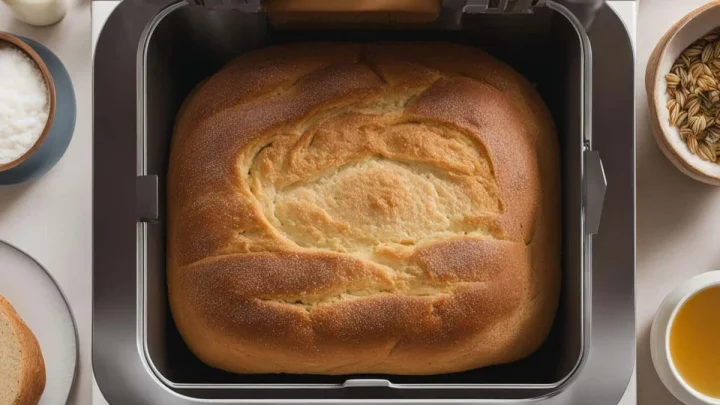
By the tenth loaf, they're using a scale and have learned which flour blend works in their machine. The loaf comes out tall, soft, and sliceable. The texture is consistent.
The difference isn't the machine. It's the process.
A family sharing a machine
Many families keep one bread machine for everyone. They use the same blade and pan for gluten and gluten-free bread. This works only if they clean thoroughly between bakes.
That means washing the pan and paddle by hand each time. It means wiping the interior. And it means accepting a small risk of cross-contact.
For people with mild sensitivity, this is fine. For those with celiac disease, it's not worth it.
Budget check: homemade vs. store-bought
Store-bought gluten-free bread costs anywhere from $5 to $8 per loaf. Homemade gluten-free bread costs roughly $2 to $4 per loaf, depending on the flour blend. A bread machine pays for itself after about 15 to 20 loaves, especially if you buy flour in bulk.
Frequently Asked Questions
Can I use a regular bread machine for gluten-free bread?
Yes. Any bread machine can make gluten-free bread if you use the gluten-free cycle or monitor the dough manually. The machine doesn't care what flour you use.
Just make sure it's clean and free of loose gluten from previous bakes.
Do I need a dedicated gluten-free machine?
Only if you have celiac disease or a severe gluten reaction. A dedicated machine prevents cross-contact. If you're just gluten-sensitive, a shared machine is fine as long as you wash all parts thoroughly after every use.
Why did my bread machine mix my gluten-free loaf into a soup?
That happens when the dough is too wet. The gluten-free cycle usually has a slower mixing speed, but a thin batter won't knead properly. Check the dough after 10 minutes.
If it looks like soup, add 1 to 2 tablespoons of flour and let it mix again.
Can I make gluten-free bread without xanthan gum?
Yes. You can substitute psyllium husk powder, ground flaxseed, or chia seed gel. Each behaves a bit differently.
Use about 1 tablespoon of ground psyllium or 2 tablespoons of ground flaxseed mixed with 3 tablespoons of water per cup of flour.
How long does gluten-free homemade bread last?
Gluten-free bread dries out faster than wheat bread. It's best within 1 to 2 days at room temperature. Store it in a sealed bag or container.
You can also freeze it for up to 3 months. Slice before freezing so you can pull out individual slices.
Final Verdict: Your 5-Step Game Plan for Gluten-Free Bread Machine Success
Here's the short version. Do these five things, and you'll get a good loaf almost every time.
- Weigh everything. Flour, water, yeast. No exceptions.
- Use a flour blend made for bread. It has the right gums and protein balance.
- Pick one recipe and stick with it. Learn how it behaves. Change one variable at a time.
- Watch the dough at 10 minutes. Adjust texture before the machine moves to the next phase.
- Cool completely before slicing. Gluten-free bread needs time to set.
You'll still have a bad loaf now and then. We all do. But these steps turn baking from a guessing game into a routine.
And once the routine clicks, you'll have fresh, safe gluten-free bread whenever you want it.

Similar Posts