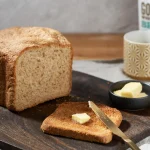
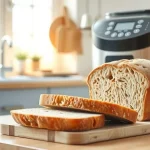
How to Convert a Recipe to Your Bread Machine
If you've ever looked at a hand-me-down bread recipe and wondered how to convert a recipe to a bread machine without turning it into a brick, you're not alone. The process is simpler than most people expect. You just have to make three key adjustments before pressing start.
As of 2026, most machines bake loaves between 1 and 2 pounds, and a standard 1.5-pound loaf needs roughly 3 cups of flour. That matters, because your favorite oven recipe was probably built for a different pan, temperature, and hydration level. Let's walk through the nuts and bolts so your next loaf comes out fluffy and sliceable.
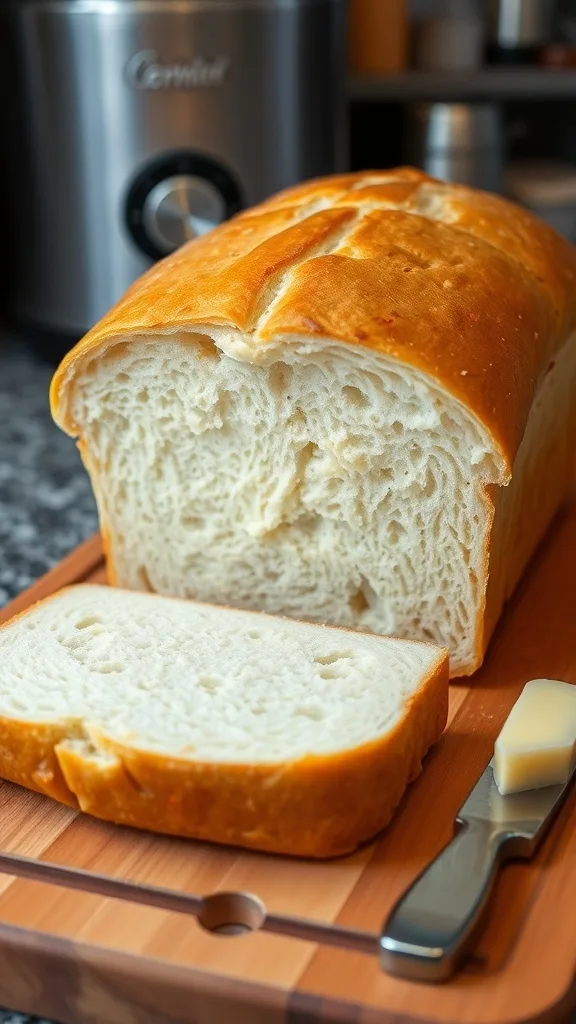
Why You Can't Just Dump Your Oven Recipe in a Bread Machine
A bread machine isn't just a mixing bowl, a proofing basket, and an oven squeezed into one box. It's a sealed, automated chamber with a single kneading paddle and a heating element. That changes how dough absorbs liquid, how gluten develops, and where the crust forms.
Here's what actually differs:
- Machine kneading is faster and more aggressive than hand kneading. It breaks down flour differently and pulls more liquid from the dough.
- There's no steam-injected oven. Bread machine crust bakes dry, so you won't get the same blistered artisan finish.
- The loaf sits in the same position for the whole bake. The bottom gets the most heat, while the top often stays pale.
- The lid traps moisture. That makes the dough take longer to form a crust, which affects rise time.
If you ignore these differences, you'll commonly end up with a dense, stumpy loaf with a burnt bottom and a sunken top.
Quick Answer: The 3 Big Changes Every Recipe Needs
Convert a recipe to a bread machine by making three changes. Add 1-2 tablespoons of liquid per 3 cups of flour. Switch the yeast type to match the cycle.
Layer wet ingredients first, dry on top, yeast away from salt. Then pick the right cycle.
| Element | Oven Method | Bread Machine Method |
|---|---|---|
| Liquid | What the dough feels like by hand | Add 1-2 tbsp extra per 3 cups flour |
| Yeast | Active dry often called for | Instant or active dry, converted to match the cycle |
| Mixing order | Dry into wet, then knead | Wet first, then dry, with yeast isolated |
| Rise time | 1-2 hour proof, maybe longer | Longer overall cycle with fixed timings |
The bread machine controls rise time for you. So you don't need to watch the clock as closely, but you do need to set the right cycle from the start.
First Decision: What Kind of Recipe Are You Converting?
Before you change anything, check what you're working with. The conversion steps differ depending on the type of recipe.
Here's the decision tree:
- Traditional yeast bread. This uses yeast, flour, water or milk, and usually a sweetener. You can bake it in the machine or use the dough-only cycle and bake it in your oven.
- Quick bread or batter bread. This uses baking powder or baking soda and a wet batter, like banana bread. Use the quick bread cycle on your machine, or bake it in a standard loaf pan.
- No-knead bread. This is usually high-hydration with 70% or more water. You'll need to add flour and reduce the water slightly for the machine's paddle to handle it.
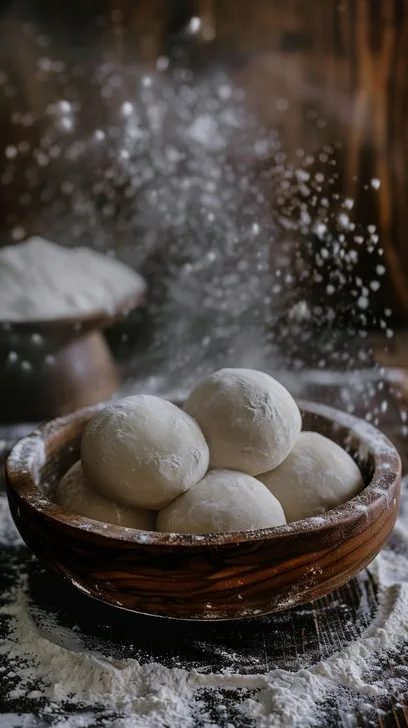
If you're not sure which category you're in, look at the leavening agent. Yeast means a bread cycle. Baking powder or soda means a quick bread cycle.
The Three Variables That Make or Break a Conversion
These three variables cause the most frustration. Get them right, and the rest is easy.
Hydration: Why the Machine Needs More Liquid Than Your Hands Do
Hand kneading lets you feel the dough and adjust as you go. A bread machine can't do that. It has a fixed paddle speed and just mixes whatever you put in the pan.
There's one concept to understand: dough hydration is the weight of water divided by the weight of flour. In a standard oven recipe, that number often lands around 60-65%. For a bread machine, you need it higher.
Start at 65% hydration for an unfamiliar recipe. That usually means adding 1-2 tablespoons of liquid for every 3 cups of flour. The machine's enclosed environment keeps the dough surface from drying out, but the paddle needs a slacker dough to move it smoothly.
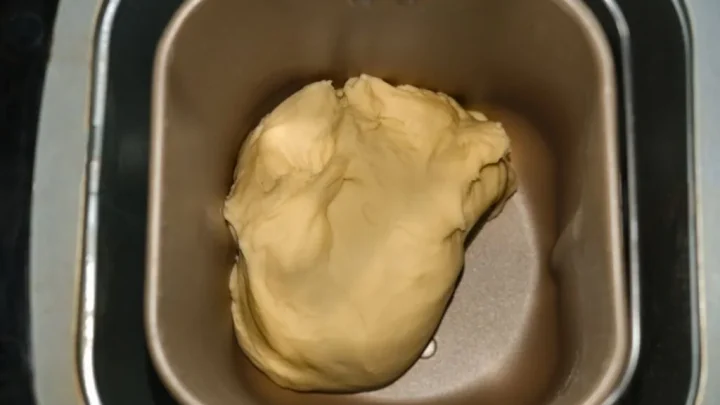
The best visual cue is the dough ball. During the first 5 minutes of kneading, the dough should pull away from the pan walls and form a soft, tacky ball. If it sticks to the walls like wet cement, add flour a spoonful at a time.
If it rolls around as a rigid ball, add water a spoonful at a time.
Yeast: Active Dry, Instant, and Fresh
The yeast type changes how much you need. Active dry yeast must be dissolved in liquid first, or it needs a longer rise. Instant yeast is mixed straight into flour.
Fresh yeast is moist and goes bad quickly.
Use this conversion as a starting point:
| Yeast Type | Amount for 3 cups flour |
|---|---|
| Instant / rapid-rise | 1 teaspoon |
| Active dry | 1 1/4 teaspoons |
| Fresh / cake yeast | 2 1/2 teaspoons |
If your original recipe calls for active dry, just swap it for instant and reduce the amount. The machine's kneading action activates the instant yeast quickly enough.
Ingredient Order and Temperature
Bread machines rely on a set ingredient sequence. Most manufacturers, like Zojirushi and Panasonic, specify wet ingredients first. Then dry ingredients go on top.
Then yeast goes in a separate corner or dispenser.
There's a simple rule: keep salt and yeast away from each other until kneading starts. Salt kills yeast on contact. If your machine has a yeast dispenser, use it.
If not, create a small mound of flour for the yeast.
Water temperature matters too. Aim for 75-85°F for active dry yeast. Above 120°F kills yeast.
If you use a delay timer, keep liquids cool to avoid spoiling perishable ingredients like eggs and milk.
The Step-by-Step Conversion Workflow
This is the practical part. Follow these steps in order, and you'll get a consistent loaf.
Step 1: Measure by Weight, Not Volume
Cups are too imprecise for bread. A cup of flour can weigh anywhere from 120 to 150 grams depending on how you scoop it. Use a digital scale and weigh your ingredients in grams.
If your recipe only has cup measurements, assume 120 grams per cup of all-purpose flour and 130 grams per cup of bread flour. That gets you close enough.
Step 2: Adjust the Flour and Hydration
Weigh your flour and liquid separately. Then scale the recipe to a target hydration of 65%. That gives you a reliable starting point.
During the first kneading cycle, watch the dough ball closely. Adjust with a teaspoon of water or flour until it pulls cleanly from the pan walls.
Step 3: Convert the Yeast Amount
Look at your original yeast type. Convert it to the yeast you have on hand. Use the table in the yeast section above, and cut the amount slightly if your machine has a rapid cycle.
Rapid cycles can't handle large yeast amounts without risking a collapse.
Step 4: Cut or Adjust the Rise Time
Your recipe's proofing schedule won't matter once it's in the machine. The bread machine controls temperature and timing by cycle. Rather than trying to match your old rise time, just pick a cycle with enough total time.
A basic cycle provides roughly 3 hours from start to finish. A whole wheat cycle adds extra kneading and a longer rise. If your dough is rich with butter or eggs, stick with the standard basic cycle.
Step 5: Pick the Right Cycle and Loaf Size
Match your flour amount to the machine's loaf sizes. A 1-pound loaf needs about 2 cups of flour. A 1.5-pound loaf needs 3 cups.
A 2-pound loaf needs 4 cups.
| Loaf Size | Total Flour Needed |
|---|---|
| 1 lb | 2 cups (about 240g) |
| 1.5 lb | 3 cups (about 360g) |
| 2 lb | 4 cups (about 480g) |
Don't go over the machine's maximum capacity. Overfilling the pan is the fastest route to a sticky cleanup disaster.
Step 6: Watch the Dough Ball During Kneading
The first kneading cycle is your only chance to adjust the dough. Open the lid and look. The dough should be soft, slightly tacky, and pulling cleanly away from the sides.
Use a spatula to scrape the corners, but don't interfere with the paddle.
Step 7: Finish, Cool, and Slice
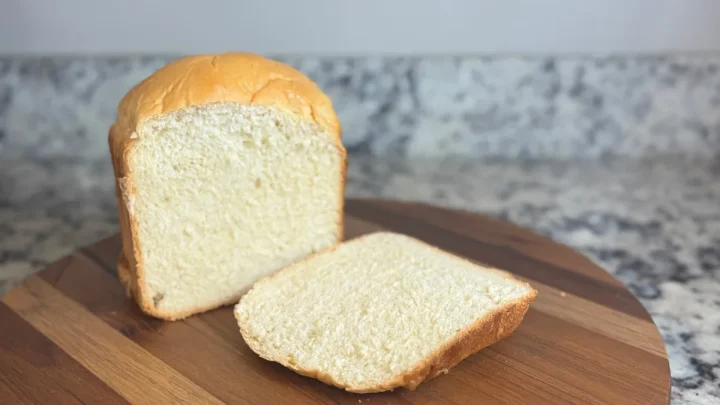
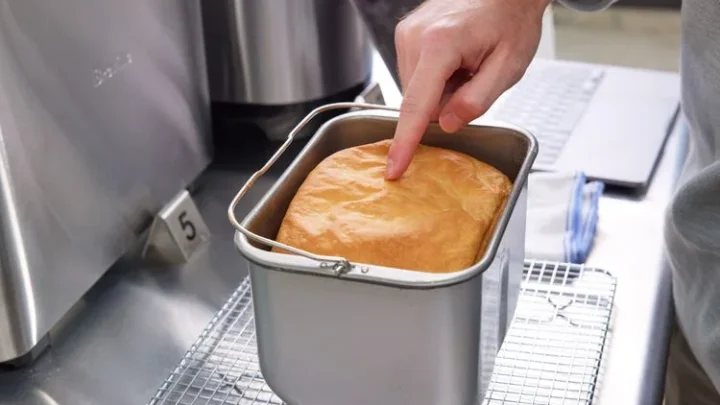
When the cycle ends, remove the pan immediately. Let the loaf sit in the pan for 10 minutes, then turn it out onto a wire rack. Cool for at least 30 minutes before slicing.
A serrated knife works best.
Cutting too early compresses the crumb and makes the bread gummy.
Converting a Yeast Bread Recipe (Bake-In-Machine Method)
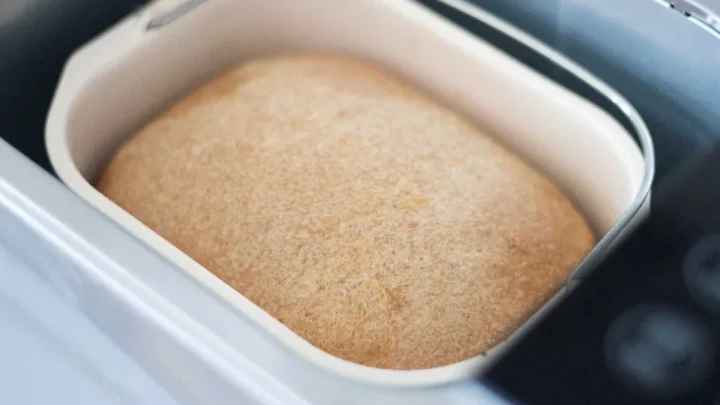
If you want the machine to do everything, choose the cycle that matches your dough. A standard sandwich loaf with butter and milk belongs on the basic or white cycle. A lean, crusty loaf with high whole-grain content belongs on the whole wheat cycle.
| Cycle | Best For | Time Range |
|---|---|---|
| Basic / White | Enriched sandwich bread, soft rolls | 3-4 hours |
| Whole Wheat | High whole-grain recipes | 3.5-4.5 hours |
| Rapid / Quick | Instant yeast recipes, smaller loaves | 1-2 hours |
| French / Artisan | Lean doughs, minimal fat | 3-4 hours |
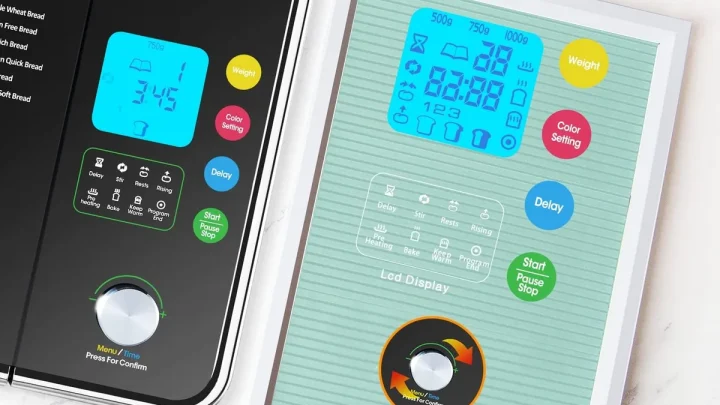
Use the rapid cycle only if your recipe calls for instant yeast. Active dry yeast needs the longer cycle to hydrate and work. Your machine's manual will show you which cycle lets you set the loaf size and crust darkness.
Converting a Recipe to Use the Dough-Only Cycle
Start with the dough-only cycle if you want crisp crusts, artisan shapes, or pizza, and you're new to conversions. The machine handles mixing, kneading, and the first rise. You shape the dough, let it rise again, and bake it in your regular oven.
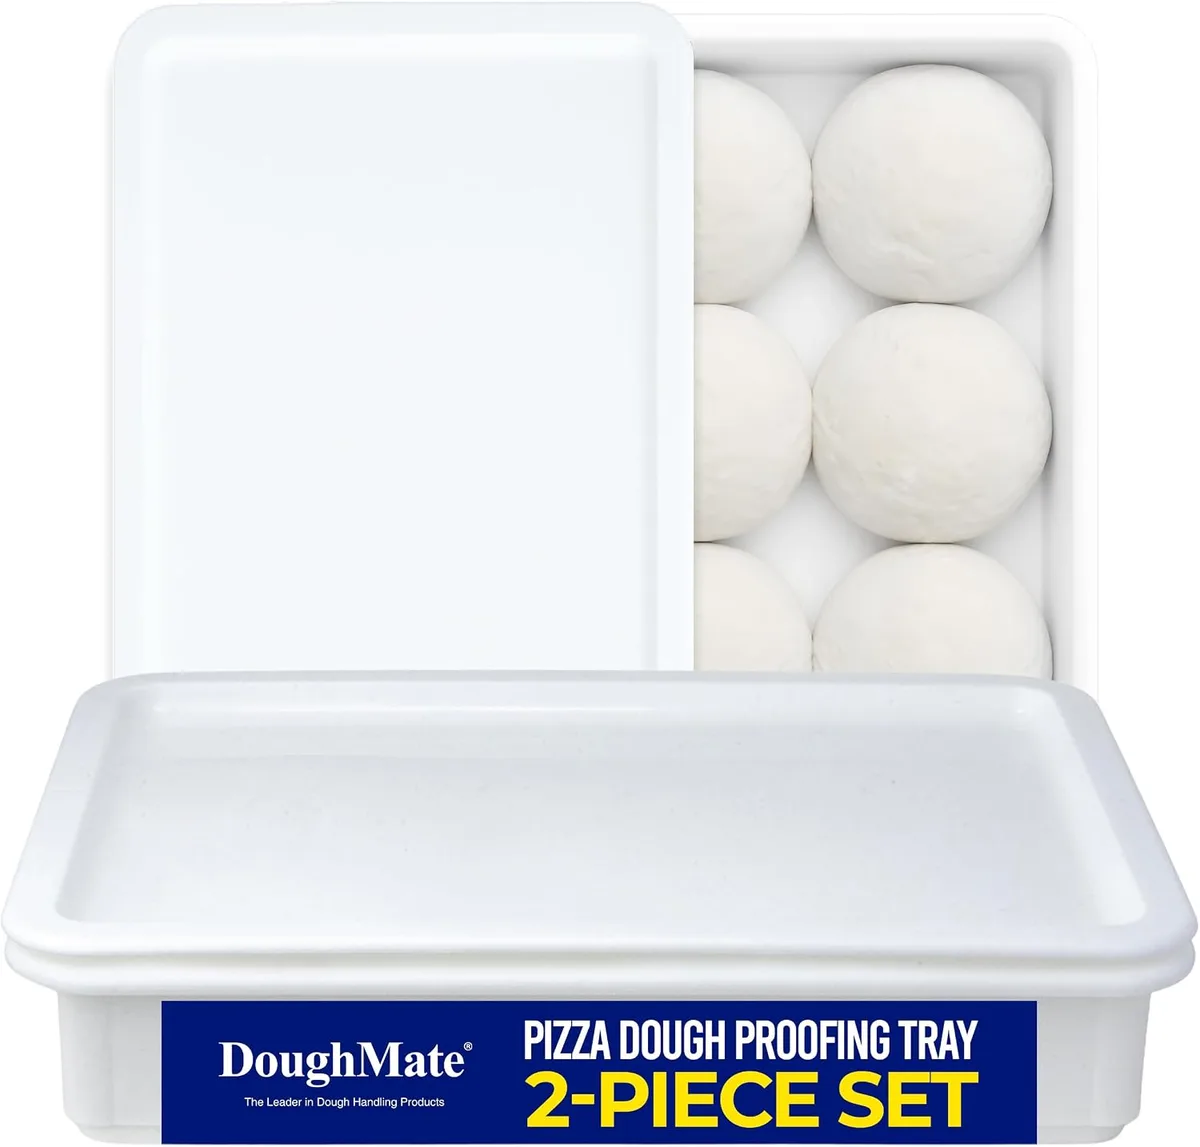
The workflow is simple. Use your converted ingredients and set the dough cycle. When it finishes, turn the dough out onto a floured surface, shape it, and place it on a baking tray or into a loaf pan.
Cover it and let it rise until it doubles, usually 30-60 minutes. Bake at 375°F for rolls and 425°F for a crusty loaf.
This method works best for recipes that need steam or a hot stone. Your home oven gives you more control over the crust, and you avoid the sealed environment that can soften a crust during the bake. If you're converting a high-hydration recipe like ciabatta, this is the route to take.
High-Altitude and Humid Environment Adjustments
Altitude and humidity change how dough behaves. High altitude lowers air pressure, so dough rises faster and can over-proof before the crust sets. Humidity adds moisture to the flour, making the dough sticky.
If you live above 3,000 feet, reduce the yeast by about 25%. You'll also want to shorten the rise time, so check the dough early. Standard advice from Colorado State University Extension suggests using slightly less yeast and more flour at altitude.
As of 2026, most bread machine manuals don't have a dedicated altitude setting, so you adjust the ingredients manually.
In humid climates, cut the liquid by 1-2 tablespoons per 3 cups of flour. The flour itself will already absorb moisture from the air. In a hot kitchen, use colder water.
In a cold kitchen, use warm water that feels like bathwater, about 80°F.
Mistakes to Avoid When Converting Recipes
A few common mistakes cause most failed conversions. Avoid them and your loaf will turn out right.
- Overfilling the pan. Max out at 4 cups of flour for a 2-pound machine. More dough just hits the lid.
- Using active dry yeast on a rapid cycle. It won't dissolve in time. Use instant yeast instead.
- Using a delay timer with eggs or milk. Perishable ingredients sit at room temperature for hours.
- Slicing too early. The crumb needs time to set. Wait at least 30 minutes.
- Ignoring the dough ball. The first 5 minutes of kneading tell you everything. Adjust then.
You'll also want to avoid adding too much whole wheat flour. Whole wheat absorbs more water than white flour. If you swap in whole wheat, add 1-2 tablespoons of extra liquid per cup of whole wheat.
Troubleshooting: What Your Loaf Is Telling You
A failed loaf is still a diagnostic tool. Here's what the symptoms mean.
| Symptom | Likely Cause | Quick Fix |
|---|---|---|
| Dense, short loaf | Too little liquid or yeast | Raise hydration to 65-70% |
| Mushroom top, collapsed center | Over-proofed | Reduce yeast by 25% |
| Gummy, underbaked middle | Sliced too early or cycle too short | Wait longer, use a longer cycle |
| Crust too dark | High sugar or fat | Use a light crust setting |
| Yeast never activated | Salt touched the yeast | Layer ingredients properly |
A dense loaf usually means you need more water. A collapsed top means you used too much yeast or the room was too warm. If the bottom burns, try a light crust setting and check that the paddle is properly seated.
These fixes won't make every loaf perfect on the first try, but they will get you close. Write down what you changed, so the next batch comes out even better.
Frequently Asked Questions
Can I convert any bread recipe for a bread machine?
Most traditional yeast breads convert well. High-hydration no-knead recipes, with 70% water or more, need extra flour and less water. Quick breads with baking powder use a completely different cycle.
My recipe calls for active dry yeast. Should I change it?
You can use active dry yeast if you dissolve it in warm liquid first. Instant yeast is easier because it mixes straight into the dry ingredients. Swap 1 1/4 teaspoons of active dry for 1 teaspoon of instant.
Why does my bread machine loaf come out too dense?
A dense loaf usually means the hydration is too low. Raise the liquid by 1-2 tablespoons per 3 cups of flour. Check that the dough ball pulls cleanly away from the pan walls during kneading.
How do I convert an oven recipe for the dough-only cycle?
Use the same converted ingredients, then set the dough cycle. When it finishes, shape the dough and proof it on a baking tray. Bake at the original recipe's oven temperature.
What's the easiest bread machine bread for a beginner?
A basic white sandwich bread with bread flour, instant yeast, water, butter, and salt. It's forgiving and teaches you how hydration feels. You'll learn the dough ball cue quickly.
Final Verdict: The Golden Rules of Bread Machine Conversion
Converting a recipe comes down to three rules. Increase the liquid. Convert the yeast.
Match the cycle to the recipe. Master those, and you'll get consistent loaves every time.
Measure by weight, not cups. Watch the dough ball during the first 5 minutes of kneading. Write down what you changed, so the next batch gets even closer to perfect.
Bread machines are forgiving once you understand their quirks. The sealed environment changes hydration, and fixed cycles change proofing. But the adjustments are small and manageable.
Start simple. Use the dough-only cycle if you want more control. Then graduate to full machine bakes.
Your family will thank you, and your kitchen will smell incredible.

Similar Posts