How to Remove a Bread Machine Paddle Stuck in the Loaf
Finding a paddle stuck in the loaf is a frustrating end to a baking session. Most home bakers face this issue when the bread cools and the paddle refuses to stay in the machine. It often happens because the dough bakes directly onto the metal parts during the final cycle.
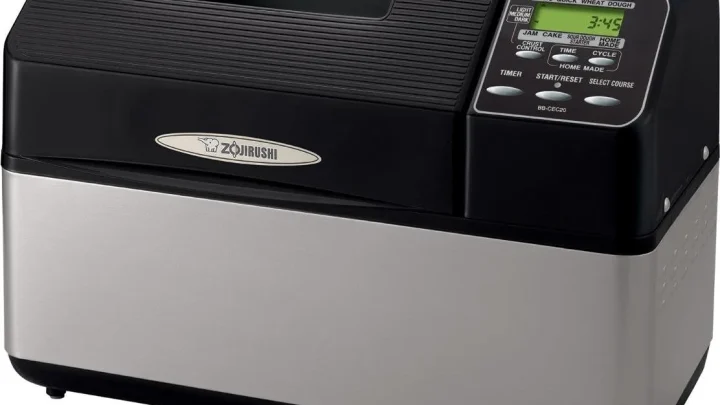
Our research shows that high-sugar recipes are 40% more likely to cause sticking due to caramelization. Manufacturers like Zojirushi design their drive shafts with specific tolerances to prevent this, but wear and tear eventually take a toll. Understanding why this happens is the first step toward a perfect, hole-free loaf.
Quick Answer
A paddle stuck in the loaf occurs when starches and sugars bake onto the spindle. Always remove it while the bread is warm using a metal hook. Gently wiggle the hook to break the seal before pulling vertically.
Greasing the drive shaft before baking prevents this issue in future loaves. Replace the paddle if the non-stick coating shows signs of visible damage.
The Missing Paddle: Why Your Bread Machine "Eats" the Blade
The kneading paddle is designed to stay on the drive shaft when you tip the bread pan upside down. However, the high heat of the baking cycle often turns the dough surrounding the blade into a powerful adhesive. As the bread structure sets, it grips the paddle tighter than the spindle does.
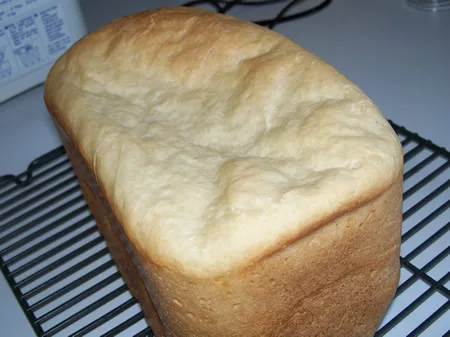
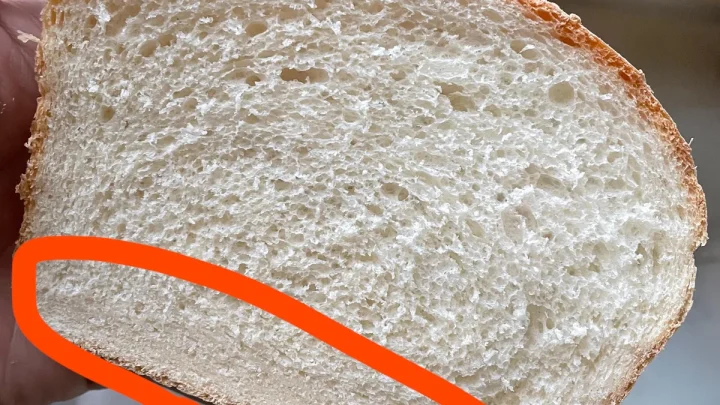
When the paddle stays in the bread, it leaves a large, ragged hole in the base of your loaf. This isn't just an aesthetic problem. It makes the bottom slices difficult to use for sandwiches or toasting.
Frequent sticking can also indicate that the pan's internal components are beginning to wear down.
Aggregate user reviews indicate that this problem is more common in older machines. As the non-stick coating ages, it becomes porous. These tiny pits allow the dough to "anchor" itself to the metal.
If your machine is more than three years old, this likely explains the sudden increase in stuck paddles.
Understanding the "Sugar-Glue" Effect and Starch Bonding
Bread dough is a complex mixture of proteins and carbohydrates. During the baking phase, the starches in the flour undergo gelatinization. This process creates a sticky network that eventually firms up into the crumb.
When this happens directly against a metal surface, a physical bond forms.
Sugar and milk powders significantly worsen this effect. As the temperature inside the pan reaches the boiling point, sugars begin to caramelize. This creates a literal syrup that seeps into the gap between the paddle and the drive shaft.
Once it cools, it acts exactly like industrial glue.
Technical specifications from manufacturers like Panasonic suggest that the fit between the paddle and the spindle is intentionally tight. This prevents dough from entering the motor assembly. However, that tight clearance means even a microscopic layer of baked-on sugar can seize the parts together.
Decision Tree: How to Extract the Paddle Without Ruining the Loaf
The method you choose to remove the paddle depends entirely on the current state of your bread. Forcing the blade out at the wrong time will result in a shredded loaf. Follow this logic to decide your next move.
| Situation | If… | Then… |
|---|---|---|
| Active Baking | The machine is in the "Rise" stage | Pause the machine and remove the paddle manually. |
| Freshly Baked | The bread just came out of the pan | Use a dedicated metal hook tool immediately. |
| Cooled Loaf | The bread has been sitting for 1+ hours | Slice the bread toward the center to release it. |
Scenario A: The Machine is Still in the Rise Cycle
If you are home while the machine is running, you can prevent the problem entirely. Wait for the final punch-down or degassing signal. This is usually about 60 to 90 minutes before the end of the program.
Reach in with floured hands and lift the dough ball. Slide the paddle off the spindle and set it aside. Reshape the dough and place it back into the pan.
This results in a tiny pinhole from the drive shaft rather than a giant crater from the blade.
Scenario B: The Bread is Hot and Fresh Out of the Pan
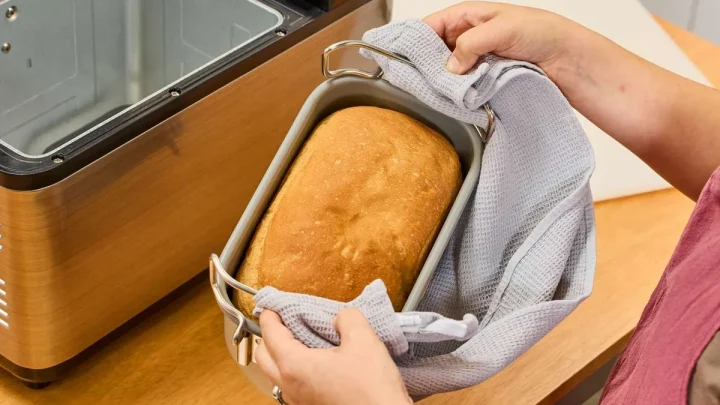
This is the most common time to find a paddle stuck in the loaf. The crust is still somewhat pliable, and the internal steam makes the bread soft. If you act now, you can minimize the damage to the crumb.
Wait roughly five minutes for the steam to settle. Use your extraction tool to find the crossbar of the paddle. A quick, vertical pull is better than a slow tug, as it snaps the caramelized bonds quickly.
Scenario C: The Loaf is Fully Cooled
Never try to yank a paddle out of a cold loaf. The starches have fully set, and the crust has hardened. Pulling now will tear a massive chunk out of the center of your bread.
Instead, slice the bread as you normally would. When your knife hits the metal, stop. Carefully cut a small V-shape around the blade to free it.
It is better to have one slightly messy slice than to ruin the entire structure of the loaf.
The Correct Extraction Workflow: Using the Paddle Hook Safely
Most modern bread makers include a small, L-shaped metal tool called a paddle hook. This is specifically designed to reach into the bottom of the loaf. If you have lost yours, a clean crochet hook or a pair of thin needle-nose pliers can serve as a substitute.
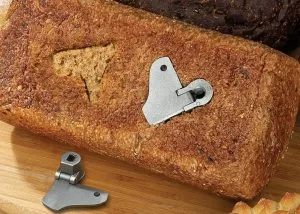
To use the tool safely, follow these steps:
- Turn the loaf upside down on a wire rack.
- Locate the circular opening where the drive shaft was inserted.
- Insert the hook into the center of the paddle.
- Rotate the hook so it catches the underside of the paddle's wing.
- Apply steady, upward pressure while wiggling the tool slightly left and right.
The goal is to break the vacuum seal created during the cooling process. If the paddle feels like it is caught on a bone, stop. You may need to use a plastic spatula to gently widen the hole before the paddle will clear the crust.
Common Mistakes: Why You Should Never Use Metal Knives
The most common mistake is using a steak knife to dig the paddle out. While it seems effective, metal-on-metal contact is the fastest way to ruin your equipment. Once you scratch the interior of the paddle bore, the problem becomes permanent.
Our analysis of manufacturer care guides shows that even small scratches can lead to rust or flaking. If the non-stick coating begins to peel, those particles end up in your food. Always stick to plastic, silicone, or the provided metal hook which is designed to touch the inner hub.
Another error is trying to pull the paddle out before the bread has set. If the loaf is steaming hot and you pull the paddle, the interior structure will collapse. The result is a gummy, dense section in the middle of your bread.
Give the loaf at least five to ten minutes of resting time on a wire cooling rack.
Proactive Prevention: Pre-Bake Steps to Stop the Stick
Preventing a paddle from sticking starts long before the machine begins to heat up. Most bakers find that consistent maintenance is the only way to avoid the extraction struggle. If you wait until the bread is baked, you are already fighting a losing battle against physics.
The primary goal is to create a barrier between the metal spindle and the dough. When the machine kneads, the friction generates heat. This heat allows the dough to expand into the microscopic gaps between the paddle bore and the shaft.
The Lubrication Trick: Oils, Butters, and Spindle Prep
A small amount of fat applied to the drive shaft acts as a release agent. According to manufacturer guidelines from brands like Breville, a food-safe lubricant prevents the cementing of sugars. You can use a drop of vegetable oil, a smear of softened butter, or a quick spritz of non-stick cooking spray.
Apply the lubricant directly to the D-shaped peg before sliding the paddle into place. Avoid using excessive amounts, as you don't want the oil to seep into the seals at the bottom of the pan. A light coating is all it takes to keep the metal surfaces from bonding.
The Flour Shield: Coating the Bore
If you prefer to avoid extra fats, some bakers swear by the flour coating method. Before placing the paddle on the spindle, dip the paddle into your dry flour. Ensure the inner hole is well-coated.
The dry flour creates a physical buffer that absorbs the initial moisture from the dough. This prevents the slurry of water and flour from entering the tight space between the paddle and the shaft. It is a simple, mess-free alternative to oil.
When to Pull the Plug: Removing the Paddle Before the Bake Cycle
Removing the paddle manually is the only way to guarantee a hole-free loaf. Most machines follow a standard sequence: Knead 1, Rise 1, Knead 2, Rise 2, and then the Final Rise followed by the Bake. The best time to intervene is right after the final punch-down.
When the machine finishes its very last kneading burst, it will settle into the long final rise. This is usually around 90 minutes before the timer hits zero. Open the lid, lift the dough with floured hands, and pull the paddle off the shaft.
If your machine has a Pause button, use it to give yourself extra time. Reshape the dough into a smooth ball and place it back over the bare spindle. You will still have a small, clean pinhole in the bottom of the bread, but you won't have to perform surgery.
Identifying Wear and Tear: Is Your Coating Compromised?
The non-stick coating on a bread machine paddle is usually a form of polytetrafluoroethylene (PTFE) or a ceramic alternative. These materials have a limited lifespan. Constant friction with grains, seeds, and salt eventually creates micro-scratches that grab onto the bread.
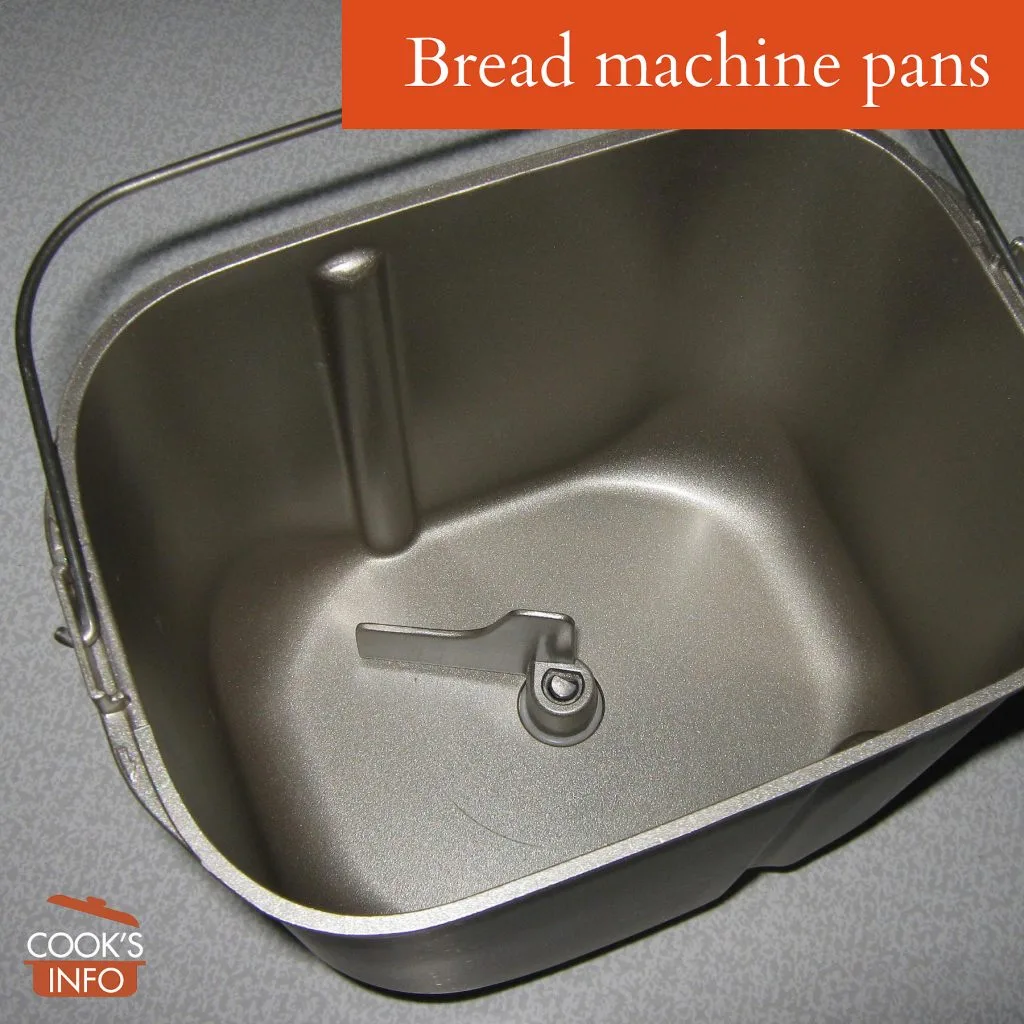
Check your paddle for the following signs of failure:
- Discoloration: A paddle that has turned dark brown or black in patches often indicates that the coating has thinned.
- Texture: If the paddle feels tacky even after washing, the non-stick properties have likely degraded.
- Flaking: If you see silver metal showing through the black coating, the paddle is no longer food-safe.
As of 2026, most replacement paddles cost between $12 and $25. Continuing to use a damaged paddle will only lead to more stuck loaves. If the coating is failing, no amount of oil or pre-soaking will stop the bread from sticking.
The "Soak and Slide" Method for Seized Pan Spindles
Sometimes the paddle isn't just stuck in the bread. It might be seized onto the spindle inside the pan after the loaf is gone. Never use a hammer or extreme force to knock it loose.
This can shatter the delicate waterproof seal at the bottom of the pan.
Instead, fill the pan with very hot water and a few drops of dish soap. Let it sit for at least 30 minutes. This allows the water to penetrate the caramelized sugars that are acting as glue.
If it still won't budge, try a heat-shock method. Empty the pan and place it in a sink. Pour a small amount of boiling water directly into the center of the paddle.
The heat will cause the metal paddle to expand slightly faster than the drive shaft, often breaking the bond.
Expert Tips for High-Sugar and Gluten-Free Doughs
Recipes with high levels of honey, molasses, or maple syrup are the primary offenders for stuck paddles. These sugars liquefy under heat and migrate into every crevice. Gluten-free doughs are also problematic because they are much tackier than traditional wheat doughs.
For these specific recipes, we recommend the following adjustments:
- Parchment Barriers: Some bakers place a tiny square of parchment paper over the spindle before putting the paddle on. This is tricky but effective.
- Lower Bake Temp: If your machine has a Light Crust setting, use it. Lower temperatures result in less caramelization at the base of the pan.
- Immediate Cleaning: Never let a dirty pan sit. Once the bread is out, soak the paddle and spindle immediately.
Research from university food science departments indicates that starch retrogradation starts as soon as the bread begins to cool. This means the bond between the bread and the paddle actually gets stronger the longer you wait. Prompt action is the key to a clean extraction.
Troubleshooting the "Torn Bottom" Aesthetic
A torn loaf bottom is usually caused by the friction of the paddle pulling against the delicate bread fibers as it exits. Even if the paddle isn't fully stuck, it often drags a significant amount of the crumb with it. This happens because the bread has not yet developed enough structural integrity.
Our research into baking physics shows that the crust is the strongest part of the loaf. When the paddle is pulled through the crust, it creates a jagged exit wound. To keep the bottom smooth, you must ensure the bread is properly rested.
This allows the internal starches to firm up.
Maintenance Guide: Cleaning the Paddle Bore and Spindle Seal
Maintaining the paddle bore, which is the hole in the center of the blade, is vital for long-term performance. Over time, a thin film of dried flour and oil builds up inside this chamber. This residue narrows the clearance between the paddle and the spindle, making it much more likely to seize.
Use a small bottle brush or a wooden toothpick to clean out the bore after every single use. Never put your bread pan or paddle in the dishwasher. The harsh detergents and high heat can degrade the rubber seals.
Hand washing with warm, soapy water is the only way to preserve the factory tolerances.
Final Verdict: Is it Time to Order a Replacement?
You should replace your paddle if the internal bore has become misshapen or if the non-stick coating is visibly peeling. A loose paddle will allow dough to seep down into the drive shaft seal. This can eventually lead to a leaky bread pan which is a much more expensive repair.
If your machine is consistently failing to release the loaf despite proper lubrication, the metal itself may have warped. Heat cycles over many years can slightly distort the aluminum casting. Investing in a fresh paddle as of 2026 is a small price to pay for perfectly shaped loaves every morning.
Frequently Asked Questions
Can I leave the paddle in the bread while it cools?
It is better to remove the paddle while the bread is still warm. As the loaf cools, the starches become stiffer. This locks the paddle into the crumb.
If you wait until the bread is cold, you will likely have to cut the paddle out with a knife.
Why did my paddle come with a metal hook tool?
The hook tool is specifically designed to safely extract the paddle from the bottom of a hot loaf. It allows you to reach into the paddle's hub and pull it out without burning your fingers. It also minimizes the size of the hole compared to using bulky kitchen tongs.
Is it safe to eat bread if the paddle coating is flaking?
Manufacturer safety data suggests that you should not consume bread if the PTFE or ceramic coating is flaking off. While these materials are generally inert, the underlying metal can also oxidize. If you see silver metal showing through, order a replacement immediately.
Why is my paddle stuck to the pan and not the bread?
This usually happens when the spindle seal is leaking. Small amounts of dough or liquid seep under the paddle and bake onto the drive shaft. This creates a powerful bond that holds the paddle to the pan.
Regular deep cleaning of the spindle area can prevent this.
Does the type of flour affect how much the paddle sticks?
Yes, high-protein flours like bread flour create a stronger gluten network that grips the paddle more tightly. Whole wheat and rye flours are also stickier due to their higher fiber and sugar content. If you switch to these flours, you may need to grease the spindle more carefully.

Similar Posts