Should You Flour a Proofing Basket? Yes, and Here’s Why
If you've ever shaped a sticky sourdough loaf and looked at a bare rattan basket, you've asked the question: do you flour a proofing basket? The direct answer is yes. But the "what" and "how much" change depending on your dough and your basket.
Get it right, and the loaf drops out clean. Get it wrong, and you're peeling dough off cane with your fingers.
In our research, most standard recipes use 1 to 2 tablespoons of flour per 10-inch banneton. Rice flour is the go-to choice because it doesn't absorb moisture the way wheat flour does. Bakers working with dough above 75% hydration often need more.
That's the default, and we'll walk you through when to adjust.
The Quick Answer: Yes, But the "What" and "How Much" Depend on Your Dough
Yes, you should flour a proofing basket. It keeps dough from sticking to the cane. Use rice flour for the best release.
Adjust the amount based on dough hydration. Bannetons with liners need less flour.
Why Dusting a Banneton Matters: It's Not Just About Sticking
Flour does two jobs. It stops sticking, and it builds a dry barrier between dough and cane. That barrier matters more than you might think.
High-hydration doughs are basically wet sponges. They'll push into every crack and gap. Once that happens, turning out the loaf tears the surface.
Flour also pulls a little moisture from the dough's surface. That creates a slightly firmer skin. A firm skin makes scoring easier and helps the loaf hold its shape in the oven.
It's the difference between a clean ear and a ragged split.
Many bakers think a dusted basket creates a pattern on the crust. That's true. But the real reason is physics.
Dough is sticky. Cane is porous. Flour is the bridge that keeps them apart.
The Core Decision Tree: Pick Your Path Based on Dough and Basket
The amount of flour you need depends on three variables. These are dough hydration, basket lining, and your proofing method. Here's how to think about each one.
High-Hydration Dough (75%+): Flour Generously with Rice Flour
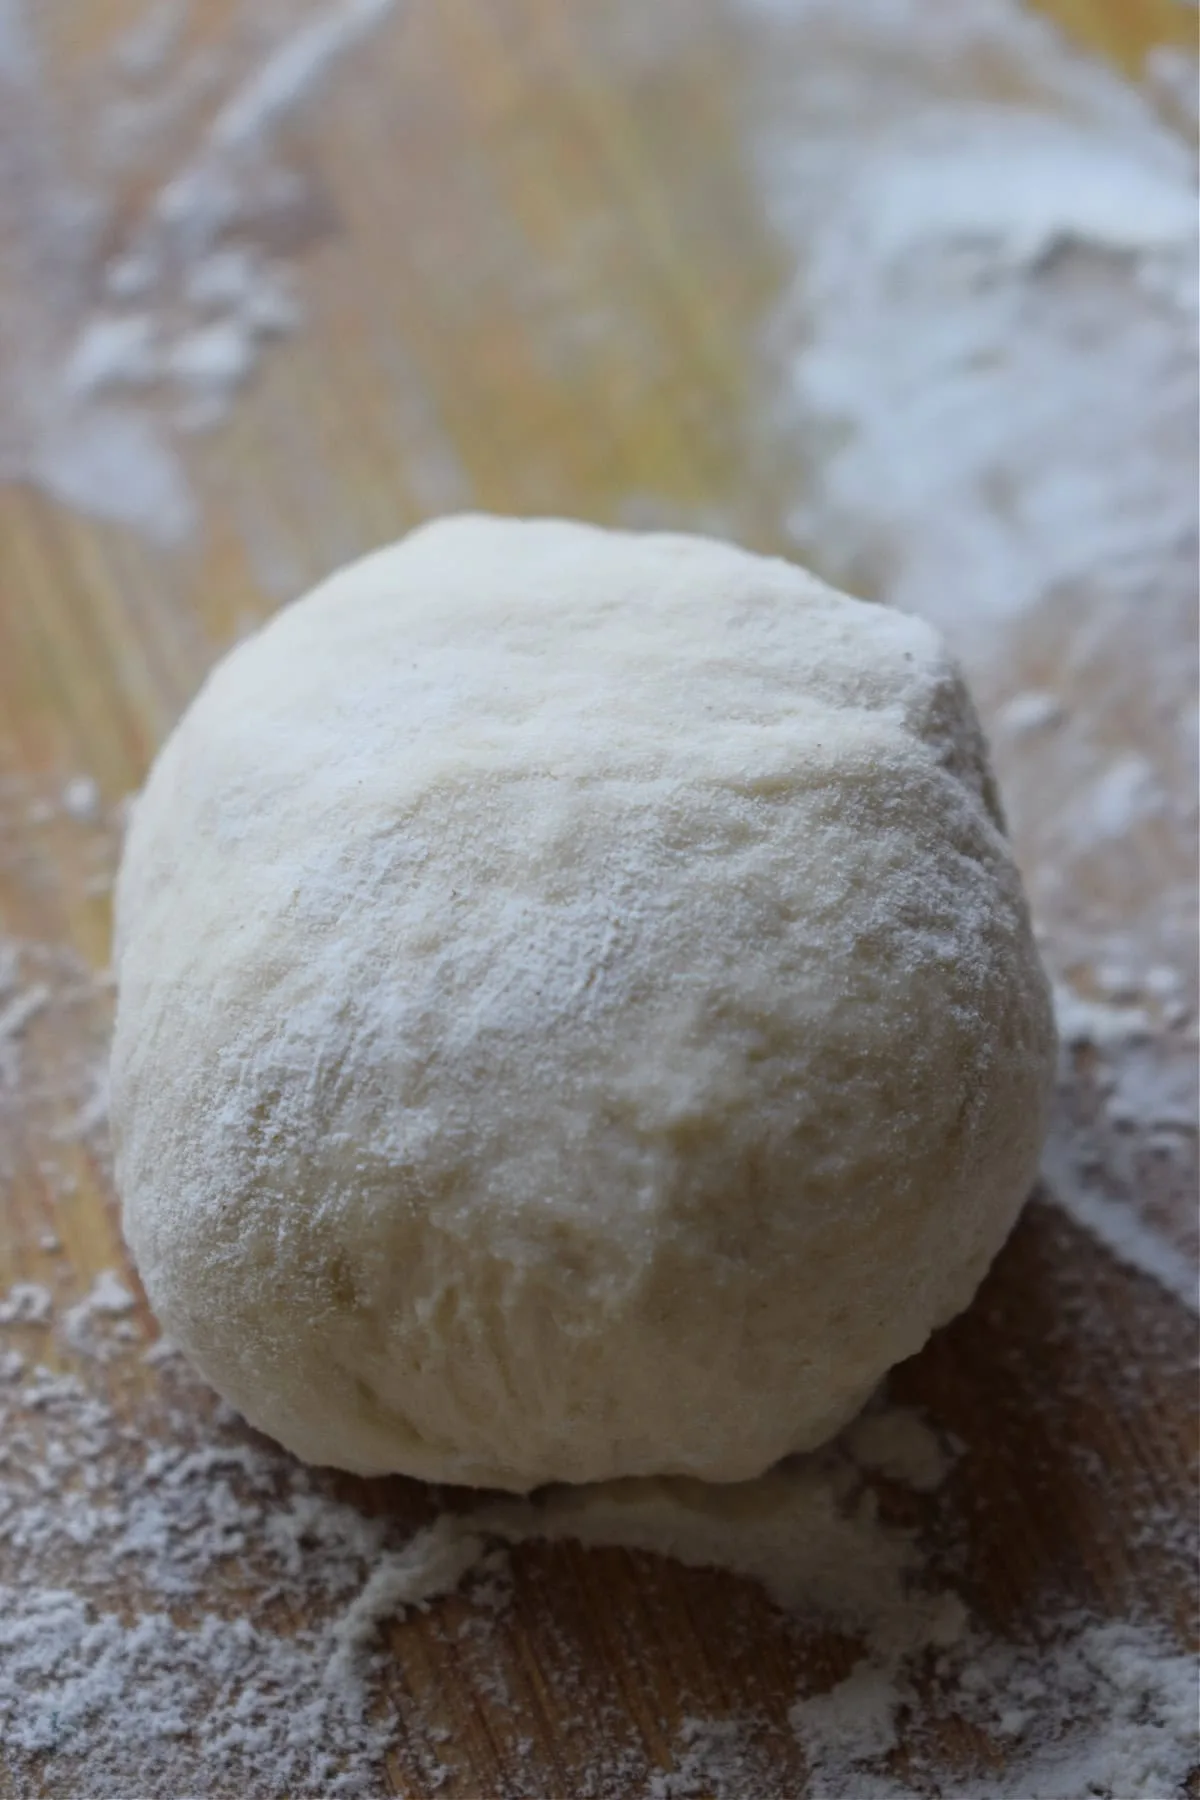
Dough at 75% hydration or higher is very wet. Think sticky, slack, and eager to spread. This dough will grab onto anything.
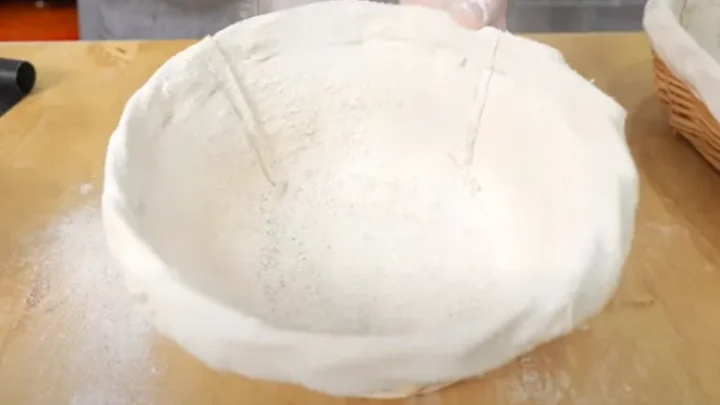
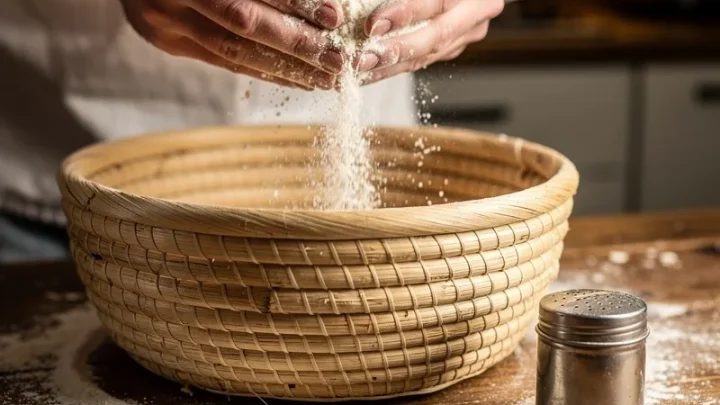
Use a generous coating of rice flour, about 2 tablespoons for a standard basket. Dust the sides as well as the bottom. Some bakers even sift a second layer right before placing the dough.
If you're cold proofing overnight, add a little extra. The fridge air is dry, but the dough still weeps moisture. That extra flour absorbs the surface sweat and keeps the loaf from bonding to the cane.
Low-Hydration Dough (60–70%): Light Dusting or Lined Basket
Stiffer doughs in the 60% to 70% range behave differently. They hold their shape and release more easily. A light dusting of all-purpose flour is usually enough.
Or skip the flour entirely if your basket has a lint-free linen liner.
Lined vs. Unlined Baskets: Adjust Your Method
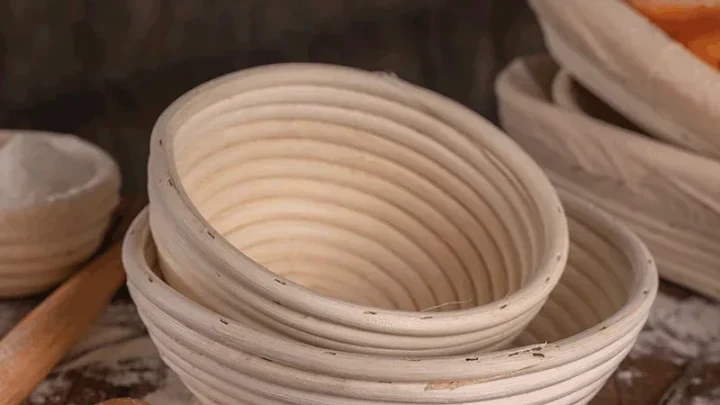
Unlined rattan baskets need real flour. The wood fiber is rough and absorbent. Lined baskets, with their cloth insert, need much less.
A light coat of rice flour on the cloth works fine. Oiled bowls are an entirely different route. They require no flour, but they don't give you the classic banneton rings.
Step-by-Step: How to Flour a Proofing Basket Before Final Proof
Now let's put it into practice. This routine works for most home bakers. Scale the flour amount up or down based on the guidance above.
- Measure out your flour. Start with 1 to 2 tablespoons of rice flour for a 10-inch banneton.
- Use a fine-mesh sieve or a small flour sifter. This helps you get an even, thin coating.
- Dust the bottom of the basket first. Then tilt and rotate the basket to cover the sides.
- Tap out any excess. Too much flour creates thick patches on the baked crust.
- Shape your dough and place it seam-side up in the basket.
- Give the top a final light dusting. This prevents the cover from sticking.
- Cover and proof according to your recipe, whether that's a room-temperature rise or a cold retard.
| Dough Hydration | Flour Type | Amount for 10-Inch Basket |
|---|---|---|
| 60-70% | All-purpose | 1 tablespoon |
| 70-80% | Rice flour | 1 to 2 tablespoons |
| 80%+ | Rice flour | 2 to 3 tablespoons |
That's the whole process. It takes about 30 seconds once you've done it a few times. The best part?
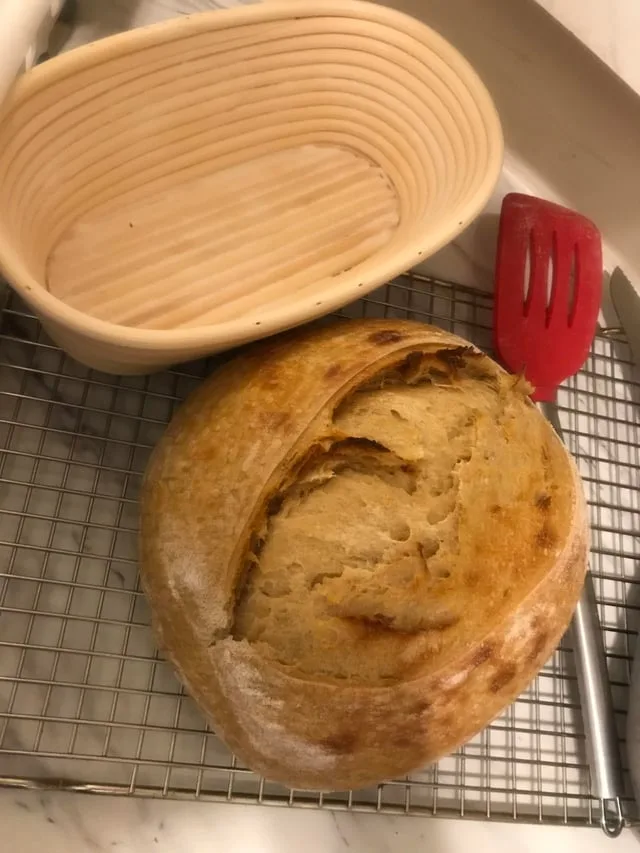
You'll notice the difference at turn-out. The dough slides out in one piece, no pulling or patching required.
The Best Flours for Bannetons: Rice, Rye, Wheat, and Semolina
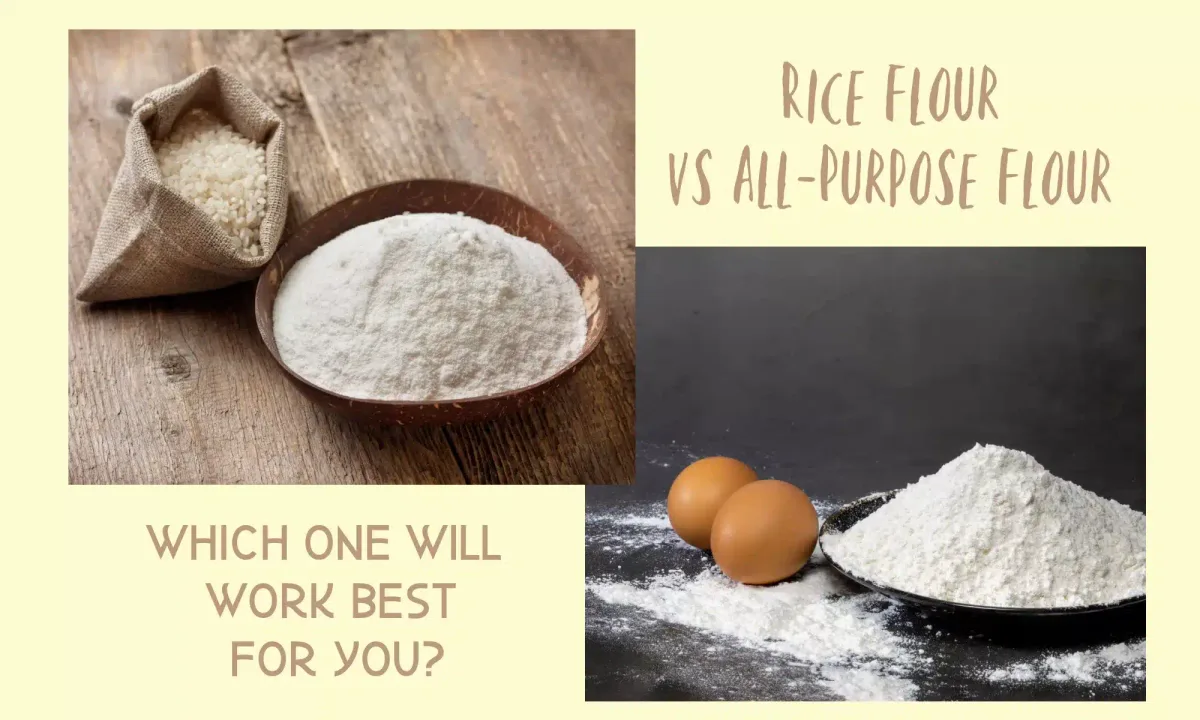
Your choice of flour affects both release and crust texture. Rice flour is the gold standard. It has no gluten, and it absorbs very little moisture.
That means it stays dry on the dough's surface, creating a clean non-stick layer. Use it for anything above 75% hydration.
Rye flour works almost as well. It contains some gluten but less than wheat. It's still a decent option for sticky doughs.
All-purpose flour sticks more easily because the gluten bonds with the wet dough. Save it for low-hydration loaves or baskets with liners.
If you want a crunchy, rustic finish, semolina or cornmeal are solid picks. They leave little golden beads on the crust. But they don't prevent sticking as reliably.
| Flour | Gluten Level | Moisture Absorption | Best For |
|---|---|---|---|
| Rice flour | None | Very low | High-hydration dough |
| Rye flour | Low | Low | Moderate hydration |
| All-purpose | High | Medium | Stiff dough, lined baskets |
| Semolina/cornmeal | None | Medium | Rustic crusts, bench use |
Common Mistakes That Lead to Stuck Dough
Stuck dough rarely happens without a cause. Under-flouring is the most common mistake. A light dusting that leaves bare spots will let the dough bond to the cane.
Another mistake is using wheat flour on wet dough. The flour absorbs water and turns into a glue-like paste.
Pressing the dough into the basket too firmly also creates trouble. It forces dough into the cracks and gaps. Tap out excess flour after dusting so you don't get thick patches.
And if you're cold proofing overnight, add a little more flour. The dough sweats in the fridge, which can wash away the protective layer.
What to Do When It Sticks Anyway: Troubleshooting on the Turn-Out
If your dough won't come out, don't pull it. Pulling tears the surface. Instead, get a thin bench scraper and run it around the inside edge.
That breaks the seal between dough and cane.
Once the edges are free, place your proofing board or the back of a baking sheet over the basket. Flip quickly and steadily. Give it one sharp downward tap on the counter.
The dough should release. If it sticks, let it sit for two or three minutes. Gravity alone often does the job.
If the loaf tears, don't panic. Patch the area with a little water and reshape. Or just bake it as an open-crumb, rustic loaf.
You'll eat it either way.
Alternatives to Flouring: Lined Baskets, Oil, and Couches
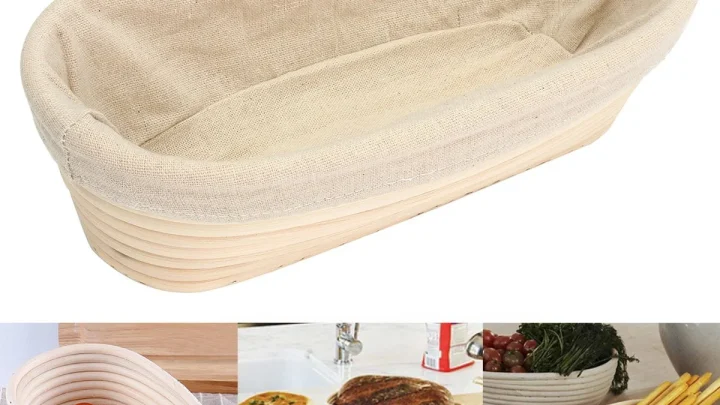
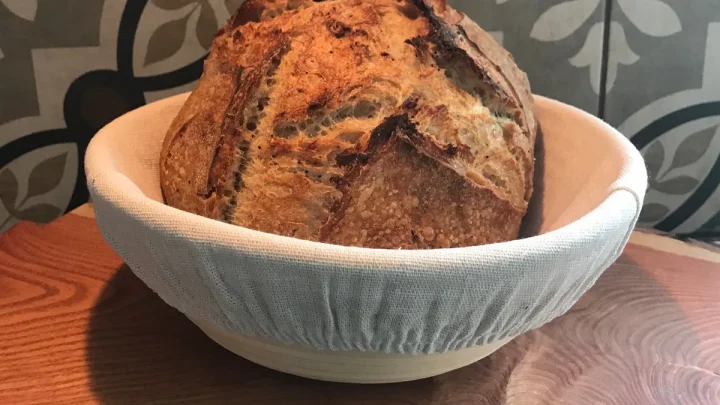
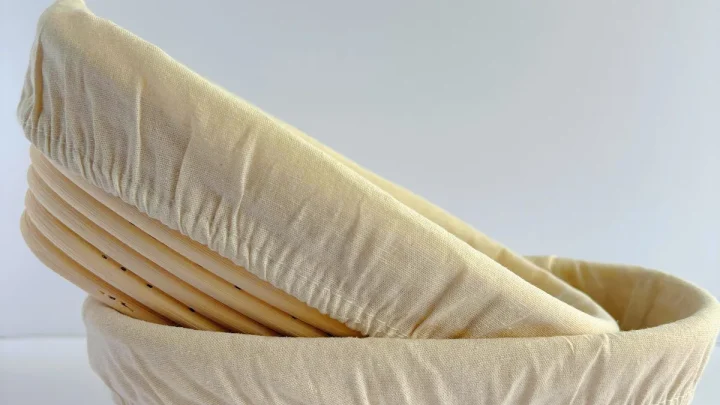
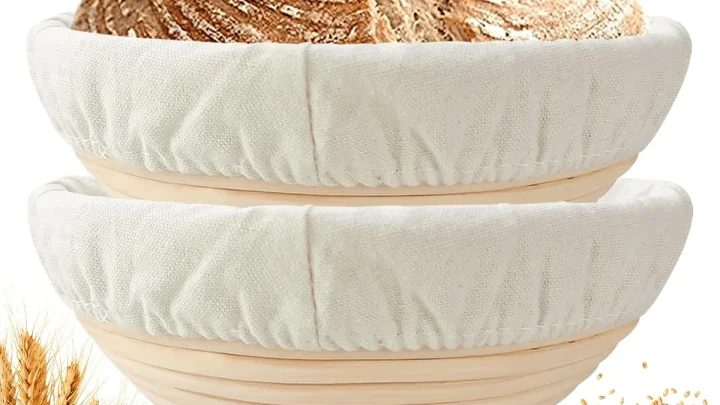
Flouring isn't the only way to keep dough from sticking. A lined banneton has a smooth linen insert that acts like a barrier. You still need a light dusting, but it's much more forgiving.
Oil is another route. Brush the inside of a regular mixing bowl with neutral oil and proof the dough seam-side down. This prevents sticking completely.
But it leaves the loaf smooth and without the classic banneton rings.
A couche is a long linen canvas used for baguettes. It's usually dusted once with flour, then the dough sits in the folds. It works well, but it's designed for free-form loaves rather than round boules.
Each method has its place. Choose based on the shape and crust you want.
Cleaning and Re-Seasoning Your Banneton to Prevent Future Sticking
Your banneton takes a beating with all that flour and moisture. It needs regular care to keep releasing cleanly. After each use, wait for the basket to dry completely.
Then brush out the old flour with a stiff dry brush.
Don't soak your basket in water, and don't use soap. The wood fibers will warp and absorb soap. If dough gets stuck in the crevices, use the edge of a bench scraper to chip it out once dry.
To re-season your basket, give it a light dusting of rice flour after cleaning. Store it in a dry place. This creates a fresh barrier for the next bake.
Some bakers repeat this every time. It only takes a few seconds and makes the next turn-out much smoother.
Frequently Asked Questions
Should I Flour a Proofing Basket with Rice Flour or Regular Flour?
Rice flour is the better choice for most doughs. It's gluten-free and doesn't absorb moisture from the dough. That means it stays put and forms a non-stick barrier.
Regular all-purpose flour works for stiff doughs around 60% hydration. For anything wetter, use rice flour.
How Much Flour Do You Put in a Proofing Basket?
Start with 1 to 2 tablespoons for a standard 10-inch banneton. High-hydration doughs need more, up to 3 tablespoons. Low-hydration doughs need less.
Tap out any extra after dusting. A light, even coat is the goal, not a thick layer.
Can I Use a Proofing Basket Without Flour?
Yes, if the basket has a tight linen liner and your dough is stiff. You'll still want a light dusting to be safe. Without any dusting, the dough can bond to the fabric or the cane.
It's a small step that prevents a messy turn-out.
Why Is My Dough Sticking to the Banneton?
Most often it's under-flouring or using the wrong flour. Wheat flour absorbs moisture and glues to the dough. Pressing the dough into the basket too firmly also causes sticking.
If you cold proof, add extra rice flour to combat surface moisture from the fridge.
Do You Flour a Lined Proofing Basket?
Yes, but use much less. Linen liners create a barrier on their own. A light dusting of rice flour is enough to help the loaf release cleanly.
Skip the flour entirely only if your dough is very stiff and the liner is smooth.
The Bottom Line: Your Decision, Your Dough, Your Rules
Flouring a proofing basket isn't a rigid rule. It's a decision you make based on your dough and your equipment. High-hydration doughs demand rice flour.
Stiff doughs get by with a light dusting of anything. Lined baskets need almost nothing.
The real trick is observation. Watch how your dough behaves after a few bakes. Note which flour works best with your recipe.
Adjust your dusting amount accordingly. Over time, you'll develop your own system.
When in doubt, use rice flour. It's reliable, gluten-free, and hard to overdo. And remember to keep your banneton dry and clean.
University of Minnesota Extension emphasizes that food-safe storage and proper drying prevent mold in baking equipment. That simple habit will keep your basket turning out loaves for years.
Now you know the mechanics. The decision is yours. Pick the flour that fits your dough, dust with confidence, and bake.

Similar Posts