How to Use a Bread Maker for Perfect French Bread
Have you ever loaded a bread machine, pressed French, and gotten a loaf that looks more like a pale brick than a crusty baguette? Learning how to use a bread maker for french bread is mostly about the setup, not the button. The machine does the heavy lifting.
Your job is giving it the right dough, the right settings, and enough patience.
In our research across owner reviews and manufacturer specifications, one variable keeps showing up: hydration. The ideal ratio for machine-made French bread sits around 60 to 65% water to flour. As of 2026, most bread makers with a French setting run a 3.5 to 4 hour cycle.
That long, slow program is what builds the crust. Now let's look at what your machine actually needs from you.
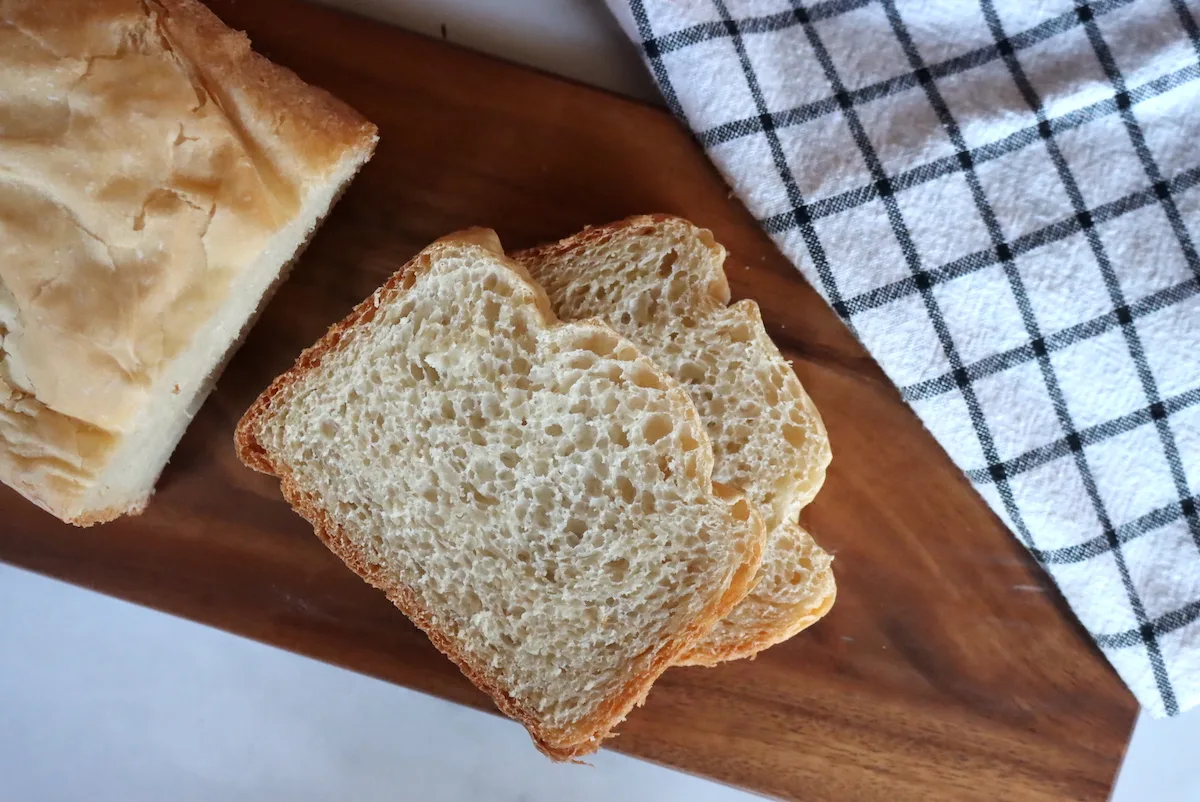
Quick Answer: What French Bread Mode Actually Does
Set the machine to the French bread cycle. The cycle runs longer and bakes hotter than the basic setting. It uses a slightly drier dough to build a crisp crust.
No French button? Use the dough cycle and bake in your oven. That still gives you bakery-style results.
First, Check Your Machine: What You're Working With
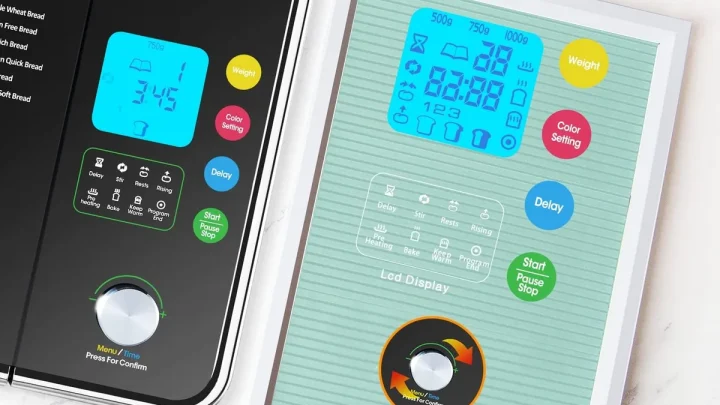
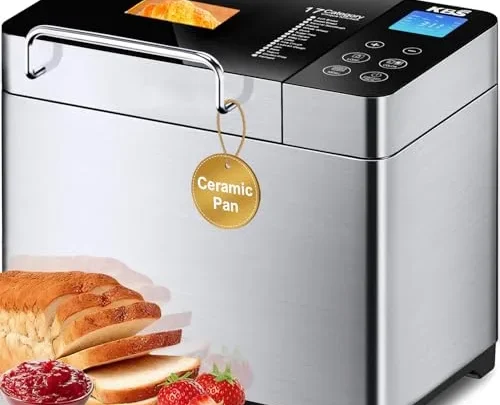
Start with the control panel. Some machines have a dedicated French bread setting. Others only offer basic, whole wheat, and dough programs.
Look for a setting labeled French, or check the manual for a mention of French bread. That cycle usually includes a preheat phase, two kneads, a long rise, and a higher bake temperature.
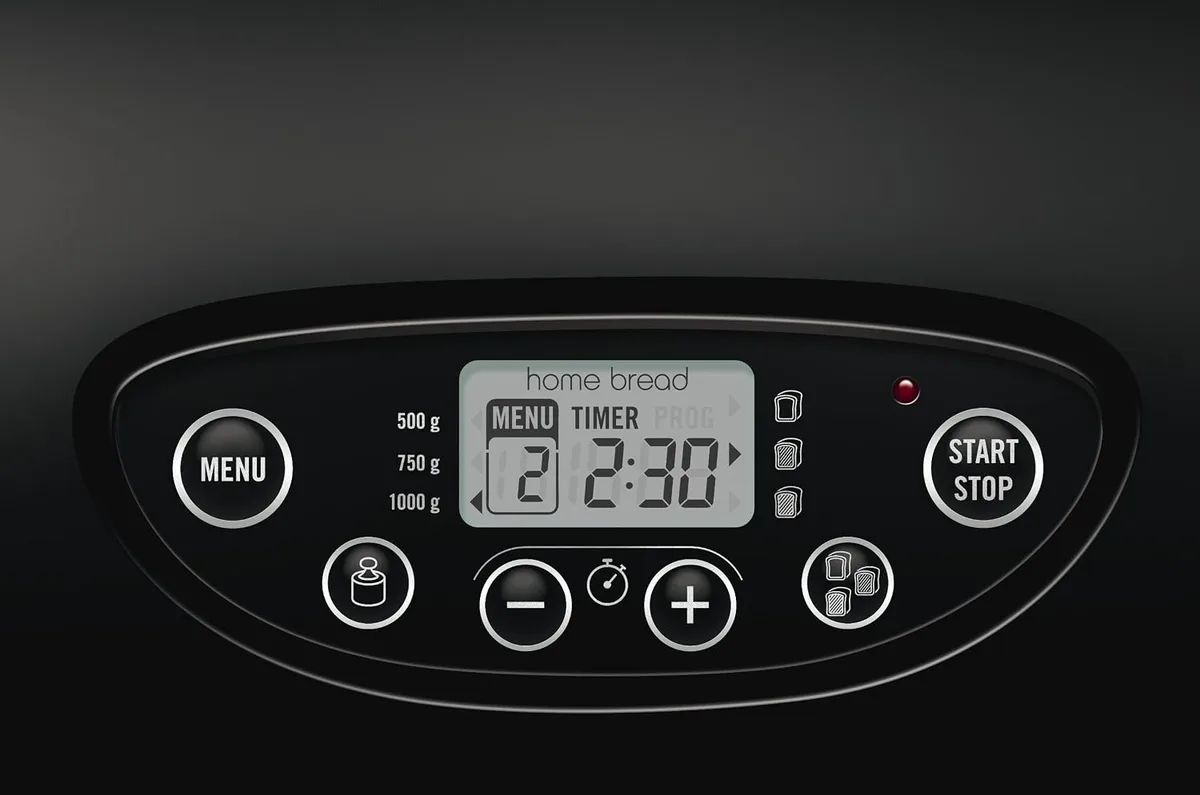
Does your machine have a dedicated French bread setting?
If it does, that's your best path. The program is tuned for a drier dough and a hotter bake, which is exactly what French bread needs. You still need to choose the right loaf size and crust color, though.
No dedicated French setting? Don't panic. Use the basic white cycle if you want a softer crust.
Or use the dough cycle, shape the loaf yourself, and bake it in a regular oven. That route actually produces the closest texture to a real baguette.
Crust control and loaf size: Why they matter here
Most machines let you pick light, medium, or dark crust. For French bread, choose medium or dark. Dark gives a thicker, crunchier shell.
Light will leave you with a pale, sandwich-style crust. Loaf size matters, too. A 1.5-pound loaf needs a slightly different rise and bake time than a 2-pound loaf.
Always match the setting to the amount of dough you're using.
The 65% Hydration Rule: The Key to Crusty French Bread
Hydration is the percentage of water weight compared to flour weight. It's not a gimmick. It is the single biggest factor in crust development.
Bread flour absorbs more water than all-purpose flour, so the ratio has to be right.
For a 1.5-pound loaf, that usually means 3 cups of bread flour and about 1 cup of water. By weight, that lands around 62 to 65% hydration. Weighing your ingredients is more accurate than scooping.
A kitchen scale removes most of the guesswork.
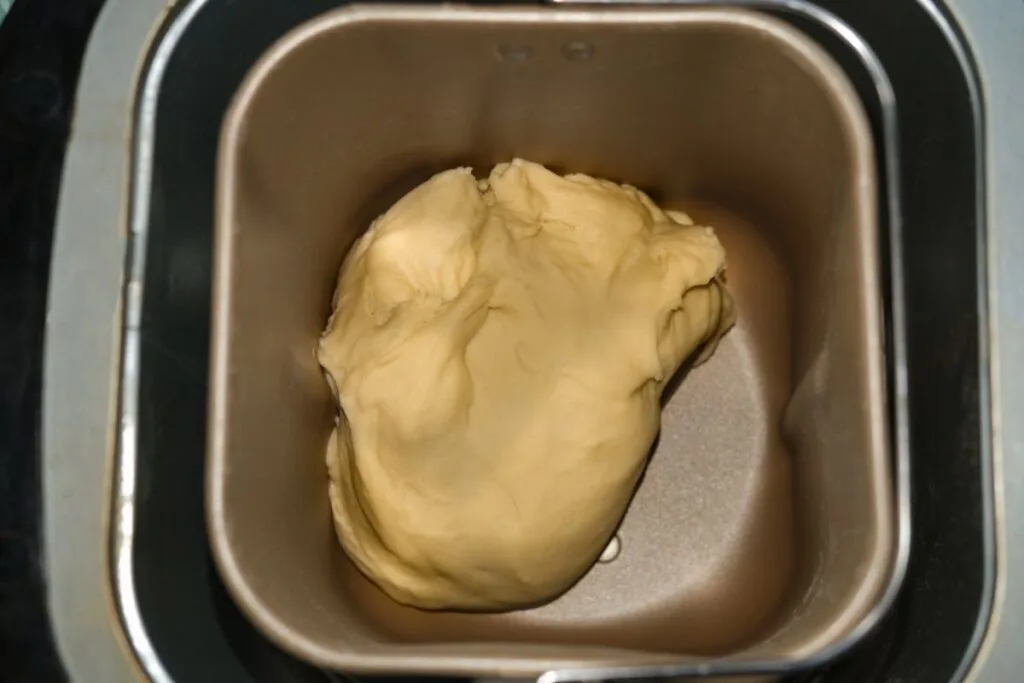
Here's what the dough should tell you during the first knead:
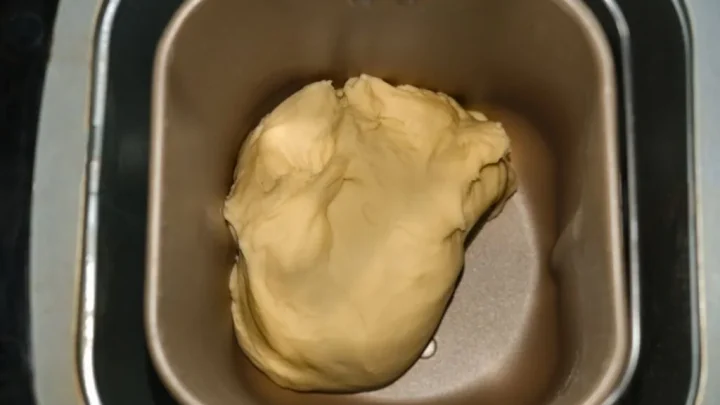
- If it forms a smooth ball and barely touches the sides, you're right where you need to be.
- If it sticks to the sides and never balls up, add flour a tablespoon at a time.
- If it looks shaggy, dry, and crumbly, add water a tablespoon at a time.
That visual check matters more than any recipe. Dough hydration shifts with humidity, flour age, and even the brand of flour you use. The machine can compensate, but it needs a little help from you.
Ingredients Matter More Than the Machine
The fanciest bread maker on the market won't save a bad ingredient setup. French bread is simple, but each ingredient has a job. Here's the lineup for a standard 1.5-pound loaf.
| Ingredient | Amount | Role |
|---|---|---|
| Water | 1 cup (236 ml) | Hydration and gluten development |
| Bread flour | 3 cups (360 g) | Structure and crust |
| Instant yeast | 1.5 teaspoons | Reliable rise without proofing |
| Salt | 1.5 teaspoons | Flavor and gluten strength |
Use bread flour, not all-purpose flour. Its higher protein content, usually 11 to 13%, develops the gluten French bread needs. King Arthur Baking's guides recommend the same threshold for crusty loaves.
Yeast matters too. Instant yeast is the standard for bread machines. It doesn't need to be dissolved first.
Active dry yeast can work, but it should be proofed in warm water before you add it. Skip that step and you'll likely get a shorter rise and a denser crumb.
Salt is just as important. It controls yeast activity and strengthens the gluten network. Keep salt away from the yeast while they sit in the pan.
The machine will mix them soon enough.
Water temperature also plays a role. If your machine has a preheat phase, room-temperature water is fine. If it doesn't, use water around 75 to 80°F.
Hot water can kill the yeast before the knead ever gets going.
Too much yeast or water can make the machine overflow. It's the most common French bread fail we see in owner reviews. Follow the amounts, not your intuition, on the first attempt.
Traditional French bread doesn't need sugar. Save the sugar for sandwich loaves. A lean dough is what gives you that crackly crust and open crumb.
Step-by-Step: Using the French Bread Cycle
Once your ingredients are measured, the process is mostly hands-off. But the order of operations matters more than most people think. Here's how to run the French bread cycle from start to finish.
Step 1: Layer Ingredients Correctly
Order matters. Most machines want liquids first. That stops flour from clumping around the paddle.
Add water first, then salt, then flour, and finally yeast on top. Make a small well in the flour and drop the yeast into it. Do not let the yeast touch the water or salt before the cycle starts.
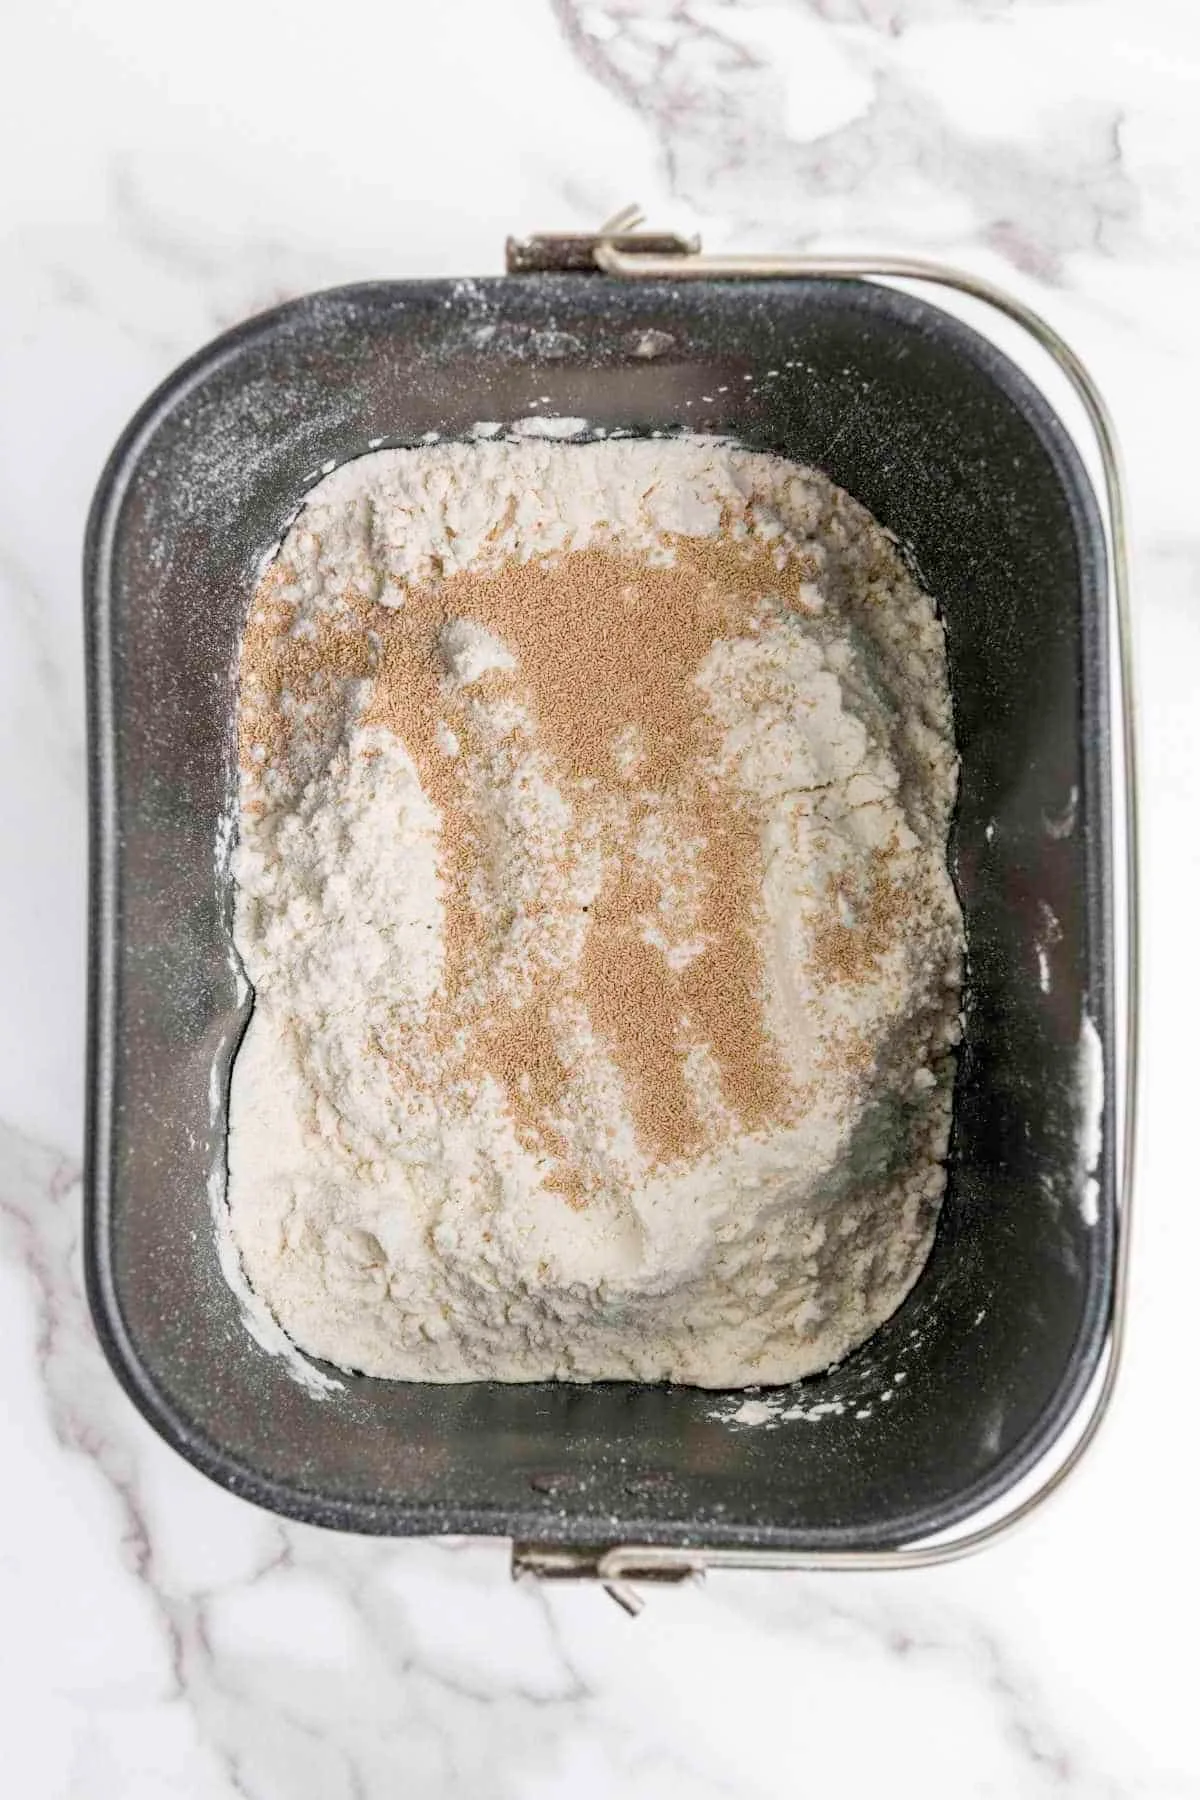
Step 2: Select the Right Settings
Choose the French bread cycle, then set your loaf size and crust color. If you're unsure, medium crust is a safe starting point. Dark gives a thicker, more traditional shell.
Light is better for people who want a softer exterior. Press start and walk away.
Step 3: Watch the Dough During the First Knead
Wait about 5 to 8 minutes, then take a look through the window. Don't open the lid if you can avoid it. The dough should form a smooth ball that pulls cleanly from the side of the pan.
If it looks too dry, add water one tablespoon at a time. If it looks like a thick batter, add flour one tablespoon at a time. Close the lid quickly after each addition.
Step 4: Let the Machine Finish the Job
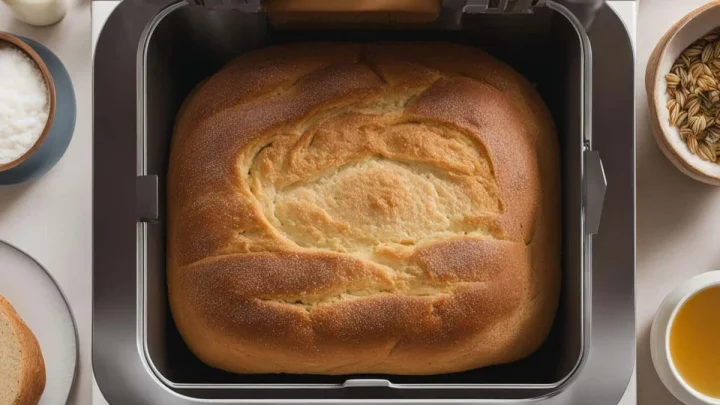
The French bread cycle is long for a reason. It runs through two rises and a high-temperature bake. That process builds flavor and crust.
Don't interrupt it. Don't peek repeatedly. And when the cycle ends, remove the loaf promptly.
The keep-warm setting will soften the crust and create a soggy bottom if you leave the loaf in the pan too long.
Step 5: Cool and Slice Like a Bakery
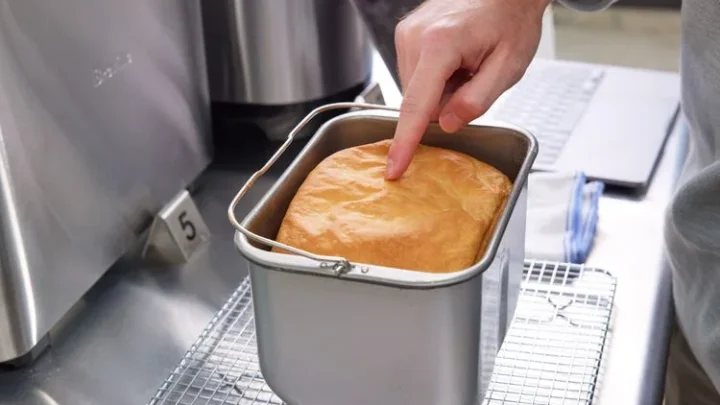
Let the loaf rest in the pan for about 5 minutes. Then shake the pan gently to release the bread. The mixing paddle often leaves a hole in the bottom, so pull it out with a fork if it's still stuck.
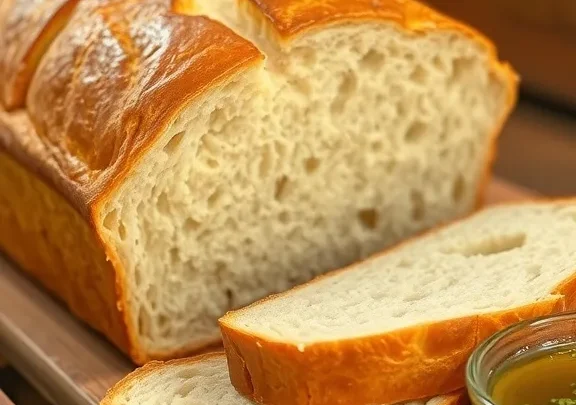
Transfer the loaf to a wire rack and cool for at least 30 minutes, ideally a full hour. Slicing hot bread squishes the crumb. Use a serrated knife and let the loaf do the work.
What to Do If Your Dough Looks Wrong
Even with careful measuring, dough can misbehave. The good news is that most issues are fixable during the first knead. That's why those first few minutes matter so much.
The machine's viewing window is your diagnostic tool. No need to open the lid and lose heat. Just watch through the glass.
Dough too dry or crumbly
If you see a shaggy, cracked ball that never smooths out, the dough needs more water. Add it one tablespoon at a time. Let the machine knead for a full minute between additions.
Stop as soon as the dough forms a smooth, slightly tacky ball.
Dry dough leads to a dense, short loaf. It won't rise well and the crust will be thick but hard. Be patient with the fix.
It's better to add water slowly than to overshoot and end up with batter.
Dough too wet or sticky
If the dough spreads across the pan like thick batter, add flour one tablespoon at a time. Keep an eye on the knead. The dough should pull away from the sides of the pan and gather into a ball.
It can still feel slightly sticky to the touch, but that's normal for French bread.
Too much water causes the loaf to collapse during baking. The structure can't hold the rise. Moisture also affects the crust.
A wet dough traps steam and leaves you with a pale, rubbery exterior.
Dough not rising at all
This one is trickier because you often don't notice until the cycle is nearly done. If the dough sits flat and barely expands after the first rise, check your yeast. Instant yeast should be fresh and stored properly.
Old yeast loses potency fast.
If your machine uses a preheat phase, the yeast gets activated gently. Without that phase, cold water can slow the rise dramatically. Try warmer water next time, around 75 to 80°F.
And double-check that the salt is not clumped directly on top of the yeast at the start.
No French Bread Button? Use the Dough Cycle Instead
A machine without a French setting can still make great French bread. Use the dough cycle and finish the loaf in your regular oven. The machine handles mixing, kneading, and the first rise.
You handle shaping, proofing, and baking.
The dough cycle runs about 1.5 to 2 hours. That's enough to develop gluten and get a solid rise. When it beeps, the dough should be soft, smooth, and roughly doubled in size.
Turn the dough onto a lightly floured surface. Shape it into a baguette, a round boule, or a few smaller rolls. Let it rise on a baking sheet for another 30 to 45 minutes.
Meanwhile, preheat the oven to 450°F with a cast-iron skillet on the bottom rack.
Here's the trick for a crusty exterior: pour a cup of boiling water into the skillet right before you close the oven door. The steam creates the crisp, crackly shell you can't get from the machine's heating element. Bake for 25 to 30 minutes, until the crust is deep golden brown and the loaf sounds hollow when tapped.
| Method | Effort | Crust Quality | Time |
|---|---|---|---|
| French bread cycle | Minimal | Good, slightly softer | 3.5 to 4 hours |
| Dough cycle + oven | Moderate | Excellent, crisper | 2 to 2.5 hours |
This approach also gives you full control over the final proof. You can shape longer baguettes, round loaves, or dinner rolls. The machine does the repetitive work, and you get bakery-level results from your own oven.
Bread Machine French Bread vs Oven-Baked Baguettes
Let's be honest. A bread machine loaf is not a true baguette. That's not a failure, it's just a different outcome.
The machine bakes in a closed pan, which traps steam and softens the crust. A traditional baguette bakes directly on a stone or tray with open air and steam injection.
Here's what you actually get from each method:
| Feature | Bread Machine | Oven-Baked Baguette |
|---|---|---|
| Hands-on time | 10 to 15 minutes | 45 to 60 minutes |
| Crust texture | Chewy, crackly edge | Shatteringly crisp |
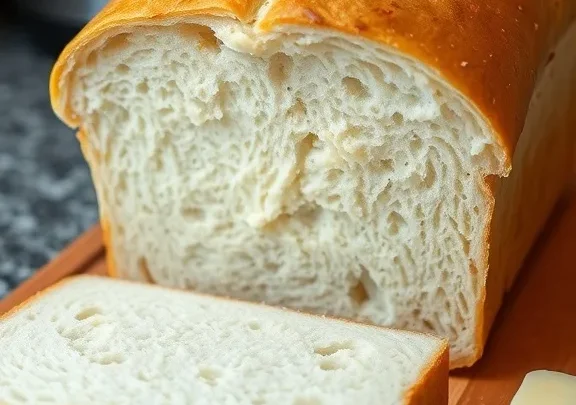
| Crumb structure | Tighter, sandwich-friendly | Open, airy holes |
| Consistency | Very repeatable | Varies by technique |
| Convenience | Set it and forget it | Multiple stages |
The machine version wins on convenience and consistency. It's perfect for weekday sandwiches and toast. The oven-baked version wins on texture and flavor depth.
The longer, hotter bake creates a Maillard reaction that produces that classic toasted, nutty taste.
If you want something in between, split the difference. Use the dough cycle, shape a batard, and bake it in the oven. That's our favorite compromise.
You get most of the crust and flavor with far less work than a fully handmade loaf.
Common Mistakes That Ruin French Bread in a Machine
Most failed French bread loaves trace back to a handful of errors. None of them are dramatic. They're small, repeated mistakes that quietly ruin the result.
- Adding too much water. French bread dough is drier than sandwich dough. More water does not mean a fluffier loaf. It means a collapsed one.
- Using all-purpose flour. It doesn't have enough protein to build a strong gluten network. The loaf comes out short and dense.
- Scooping flour with a measuring cup. That packs in up to 30% extra flour. No recipe can survive that. Weigh your flour or spoon it in gently.
- Letting yeast touch the salt. Salt kills yeast on contact. Layer them separately in the pan.
- Slicing too early. Hot bread compresses the crumb and turns it gummy. That's not a rising problem, it's a patience problem.
- Opening the lid during the bake. Every peek costs heat and disrupts the crust formation.
The overflow problem deserves a special mention. If your bread maker overflows, you're likely using too much yeast or too much water. A quick read about the common causes can help you diagnose the exact issue before the next attempt.
Troubleshooting: Pale Crust, Dense Loaf, and Paddle Hole
These three issues dominate every bread machine forum and review thread. Here's what they mean and how to fix them.
Pale, thin crust
Your crust color setting is too light, or your machine's French cycle runs cooler than most. Switch to the dark setting. If the crust is still pale, the bake temperature may be low.
That's a machine limitation. Try adding a steam pan in the oven method instead.
Another cause is too much hydration. Excess moisture keeps the crust thin and soft. Check your dough during the first knead and keep it on the drier side.
Dense, heavy loaf
This usually means weak gluten development or weak yeast. First, use bread flour and check the protein percentage. Next, verify your yeast is fresh.
Finally, cut back to one round of kneading if your machine has a dual-paddle setting. Over-kneading can actually tear gluten strands and deflate the dough.
A dense loaf can also come from too much salt. Salt tightens gluten and slows yeast activity. Stick to 1.5 teaspoons per 3 cups of flour.
Paddle hole in the bottom
This one is normal. Every single-paddle machine leaves a space where the paddle sits during baking. It's not a defect.
You can minimize it by pulling the loaf out right after the cycle ends and pulling the paddle free while the bread is still warm.
Some bakers shape the dough into a ball before the final rise, so the paddle doesn't get buried as deeply. That helps a bit. But honestly, the paddle hole is just the trade-off you accept for a hands-free loaf.
Loaf sticking to the pan
The non-stick coating usually handles this well. If your pan has scratches or worn spots, the bread will cling. Wash the pan gently with a soft sponge.
Never use metal utensils on it. If the bread still gets stuck, let the pan sit for five minutes before turning it out. The residual heat helps release the loaf.
Frequently Asked Questions
How long does the French bread cycle take?
The French bread cycle runs 3.5 to 4 hours. That includes two kneads, two rises, and a high-temperature bake. The longer time builds a crisper crust and better flavor.
Can I use all-purpose flour instead of bread flour?
You can, but expect a denser loaf. Bread flour has 11 to 13% protein. That extra gluten gives French bread its chew and crust.
Why is my crust pale even on the dark setting?
A pale crust usually means the bake temperature is too low. Some machines simply don't run hot enough. Use the dough cycle and finish the loaf in a 450°F oven for a proper crust.
How do I get a crispier crust from my bread maker?
Pick the dark crust setting and remove the loaf within 5 minutes of the cycle ending. Leaving it in the pan traps steam and softens the shell. For a truly crackly crust, use the dough cycle and finish the loaf in the oven.
Final Decision Guide: Are You Set Up for Success?
Before you start, check your machine for a French cycle. If it has one, use a 1.5-pound setting, pick medium or dark crust, and layer ingredients carefully.
If it doesn't, use the dough cycle and bake in the oven. Keep hydration near 65%. Watch the dough during the first knead and fix it early.
Do that, and you'll get a crusty, bakery-style loaf every time.

Similar Posts