How to Use a Bread Maker for Brioche Like a Pro
If you've ever opened a bread machine manual, stared at the brioche setting, and wondered what it actually does, this guide is for you. Here's how to use a bread maker for brioche without ending up with a sad, dense brick. The good news: you don't need a $300 machine.
You just need to understand how enriched dough behaves.
As of 2026, most mid-range machines come with a dedicated brioche or sweet bread cycle. Manufacturer specifications show these programs run between 2.5 and 3.5 hours. That's longer than a standard white loaf, and it's not just for show.
Brioche is packed with butter and eggs, so the dough needs extra time to build structure.
Quick Answer
How to use a bread maker for brioche comes down to three choices. Pick the brioche cycle if you have it. Use the dough-only cycle if you don't.
Bake in the oven for the best crust. Watch the first knead either way.
Does Your Bread Maker Have a Brioche Setting? Start Here
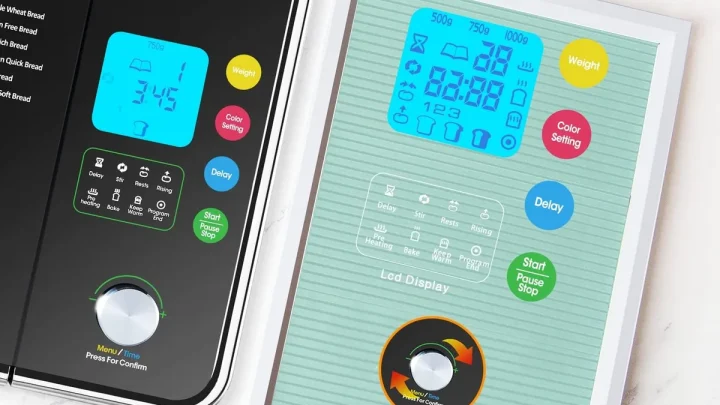
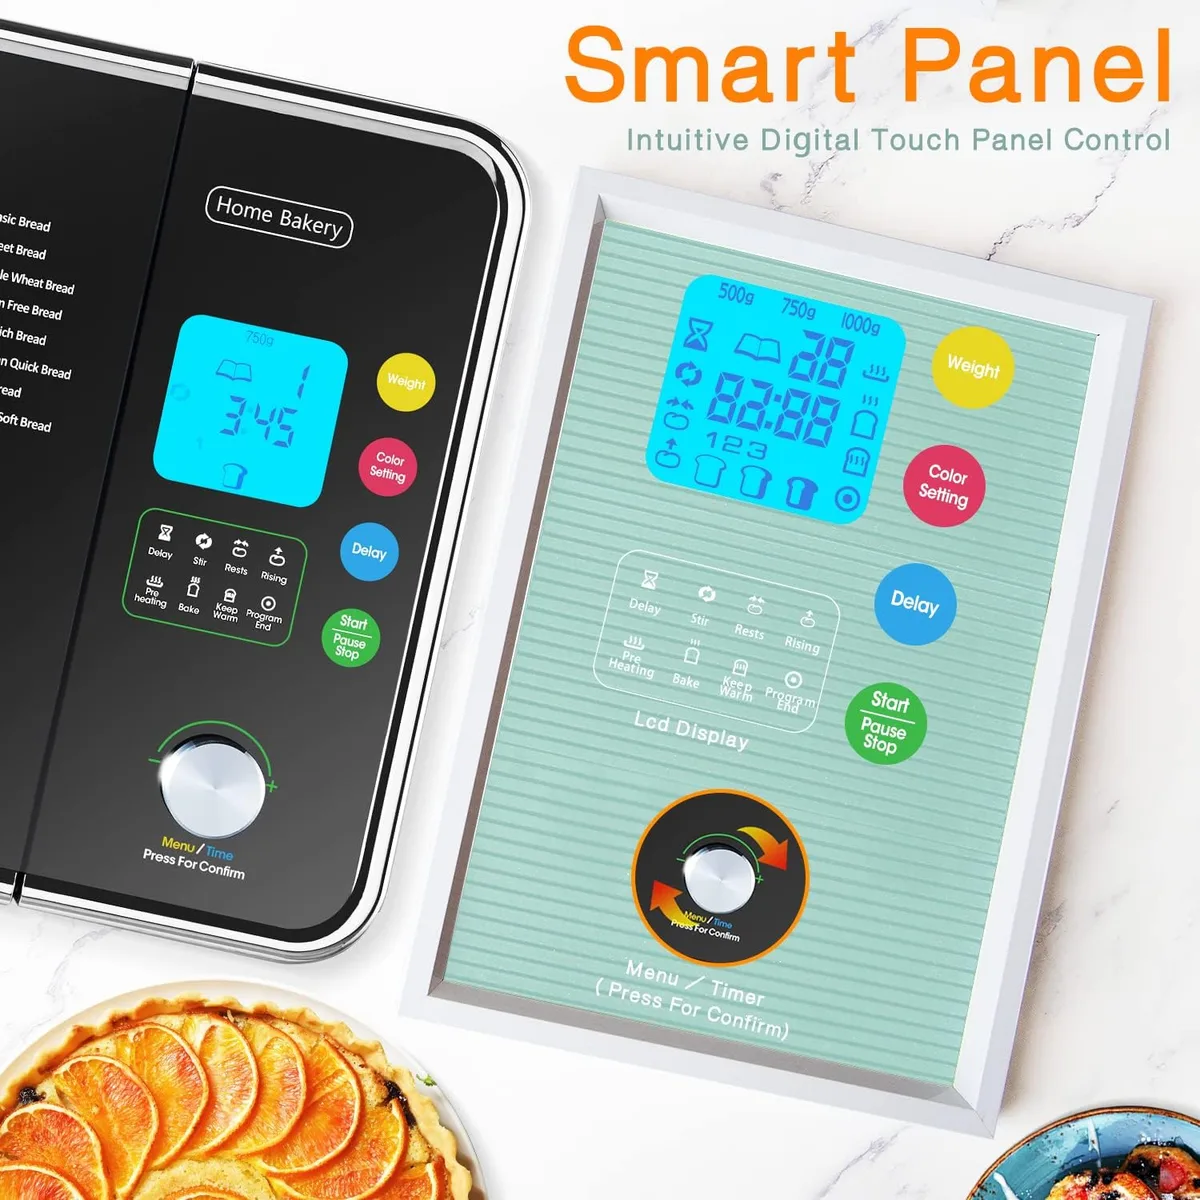
Look at your machine's control panel before you even open the fridge. Some manufacturers label it "Brioche." Others call it "Sweet" or "French." The name matters less than the program's behavior.
The easiest way to know what you're dealing with is to check the manual. Many newer models, especially mid-range ones from Panasonic, Zojirushi, Cuisinart, and Breville, include a dedicated brioche option. Budget machines often skip it.
If yours has one, you can follow the straightforward path in Decision 1. If not, don't panic. Decision 2 works just as well, and honestly, it gives you a prettier loaf.
Here's a quick reference for what your machine might call each program:
| Setting name | What it does | Best for |
|---|---|---|
| Brioche / Sweet / French | Long, gentle knead plus proof and bake in one go | Enriched doughs like brioche |
| Dough / Pasta | Kneads and proofs only, no baking | Shaping by hand and baking in the oven |
| Bake Only | Just the baking phase | Pre-shaped dough you've proofed yourself |
The golden rule is simple. If your machine has a brioche setting, use it. If it doesn't, move straight to the dough-only cycle.
We'll walk through both workflows below.
What Makes Brioche Different From Regular Bread Machine Loaves
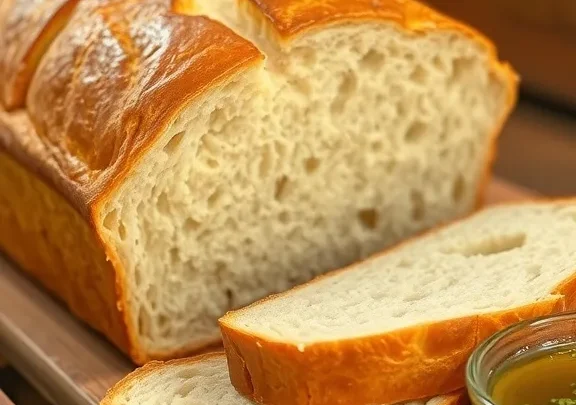
Brioche is an enriched dough, which means it contains fat, sugar, and eggs in significant amounts. Standard white bread is mostly flour, water, yeast, and salt. That lean dough produces a chewy, open crumb.
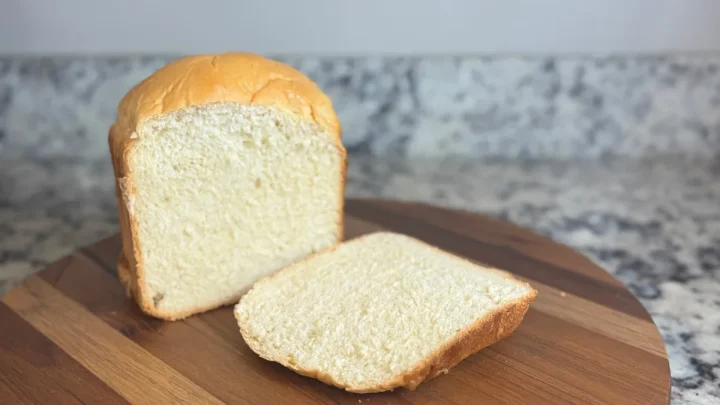
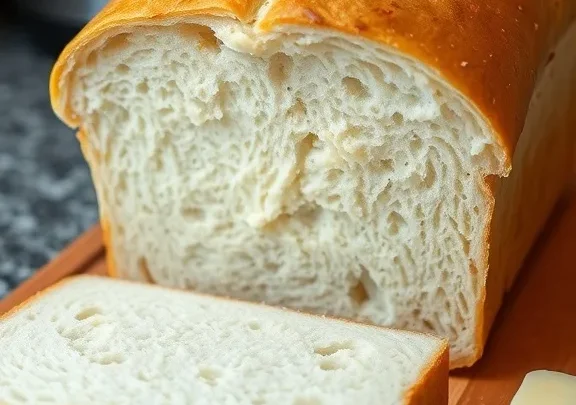
Brioche, by contrast, is tender, slightly sweet, and almost cake-like.
The biggest difference is the butter. Most brioche recipes use 20% to 30% butter by weight of flour. That much fat coats the gluten strands as they form.
It makes the dough silky and forgiving in the mouth, but it also makes it softer and slower to develop structure. This is why a bread machine's regular white bread cycle is usually too aggressive. It kneads harder and bakes hotter than brioche wants.
The eggs matter too. They add moisture, richness, and that golden interior color. They're also perishable.
If you're using a delay timer, this becomes a food-safety issue. The USDA's food safety guidance recommends keeping eggs refrigerated until you're ready to mix them.
The liquid ratio also makes brioche stickier than standard dough. Add too much moisture and you may end up with an overflowing bread maker. That's a common first-time mistake.
How the Dough Should Look During Kneading (and How to Fix It)
This is where most bread machine brioche goes wrong. People assume they can press Start and walk away. With brioche, you need to peek during the first knead, usually around the 5 to 10 minute mark.
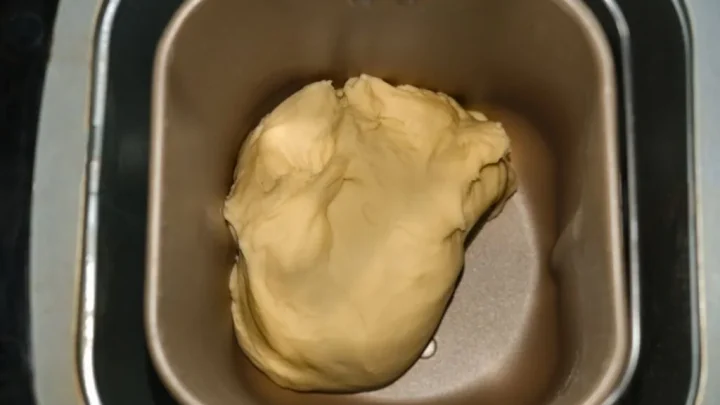
Here's what you're looking for. The dough should slowly gather into a soft, shiny ball around the paddle. It should be tacky, not wet enough to leave a residue on your fingers.
It should also pull away from the sides of the pan most of the way. A little smear at the bottom is normal. A total soup is not.
If the dough looks sticky and clings to the walls, add flour one tablespoon at a time. Give the machine a full minute between additions. Brioche is supposed to be softer than standard bread dough, so resist the urge to over-flour it.
You want it smooth and slightly slack, not firm.
If the dough rolls into a tight, dry ball that barely picks up the paddle, add liquid one tablespoon at a time. Use room-temperature water or an extra beaten egg. Dry dough won't rise properly in a bread machine, and it'll come out heavy.
A quick checklist to keep in mind:
- Dough forms a ball around the paddle by the end of the first knead.
- Dough is shiny and soft, not stiff.
- A slight sticky residue on the bottom of the pan is fine.
- Dough that looks like cake batter needs more flour.
- Dough that won't hug the paddle needs more liquid.
This visual check matters more than any recipe. Once you've seen a good brioche dough come together, you'll be able to repeat it with confidence.
Decision 1: Using the Brioche Cycle — Step by Step
This is the most straightforward route. If your machine has a brioche setting, set it and let the machine handle the whole process. But you still need to prepare the ingredients correctly.
Step 1: Bring everything to room temperature. Butter should be soft, eggs should sit out for about 30 minutes, and milk shouldn't be straight from the fridge. Cold ingredients make brioche dough stiff and harder to knead.
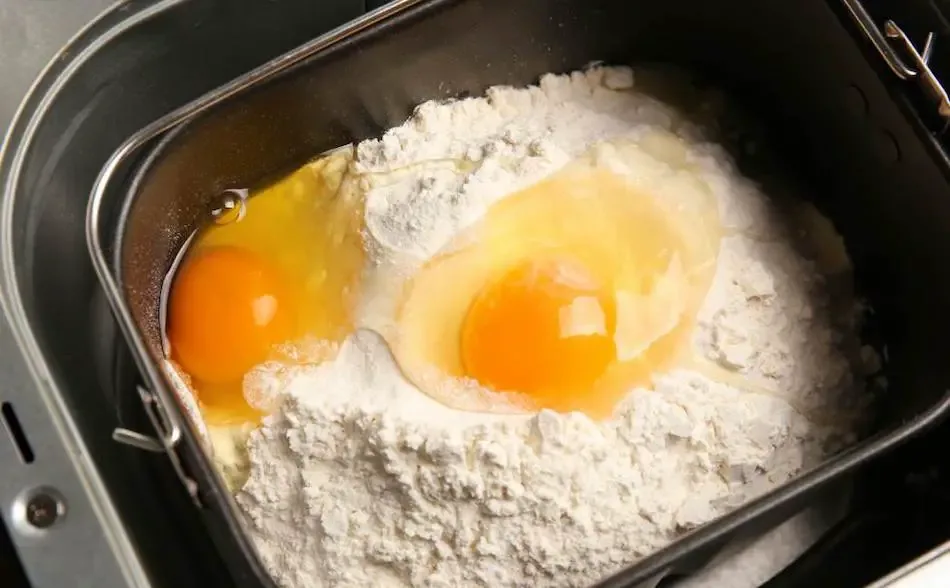
Step 2: Add wet ingredients first. Pour the milk, beaten eggs, and vanilla into the bread pan. This is a standard bread machine rule, and it helps prevent flour from clogging the paddle.
Step 3: Layer the dry ingredients. Add sugar and salt to the liquid, then the flour on top. Smooth the flour into an even layer. Make a small well in the center and add the yeast there.
Keep the yeast away from the salt until mixing begins.
Step 4: Add the butter. Some recipes want butter. Some want it cubed and cold. Read your recipe and follow that instruction.
For most bread machines, softened butter works best because it incorporates quickly.
Step 5: Select the brioche cycle. Choose your crust color. Medium or light is usually a safe bet. Dark can burn the exterior before the crumb finishes baking.
Step 6: Watch the first knead. Open the lid after five minutes and check the dough. Use a silicone spatula to scrape any flour from the corners of the pan. This is normal with brioche, because the high fat content sometimes stops the dry flour from hydrating right away.
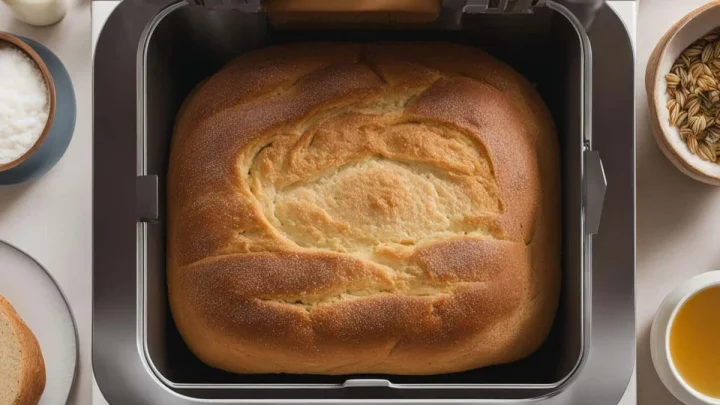
Step 7: Let the machine finish. The cycle will knead, rise, and bake in one go. When the timer ends, remove the pan immediately. Let the loaf rest in the pan for 10 to 15 minutes.
Then shake it out gently and cool it fully on a wire rack.
If your brioche sinks slightly in the middle after baking, don't worry immediately. That's common with enriched doughs and often means it was slightly overproofed. It'll still taste great, especially toasted.
Decision 2: No Brioche Setting? Use the Dough-Only Cycle and Finish in the Oven
This is the workflow I recommend most often. It involves more steps, but it gives you a taller, prettier loaf with a proper golden crust. The bread machine does the heavy lifting, and the oven does the finishing.
You'll use the exact same ingredient order as above. Wet ingredients first, then dry, with the yeast in a well on top. The only difference is you'll select the dough-only cycle, sometimes labeled "Dough" or "Pasta" on the control panel.
The dough-only program typically kneads for 15 to 25 minutes and then lets the dough rise for an hour or more. When it finishes, you'll have a soft, puffy ball of dough, not a baked loaf.
Here are the steps after the machine beeps:
- Turn the dough out onto a lightly floured counter. Brioche is sticky, so flour your hands too.
- Shape it. For a classic loaf, fold the dough into a rectangle, then roll it like a jelly roll. Pinch the seam closed.
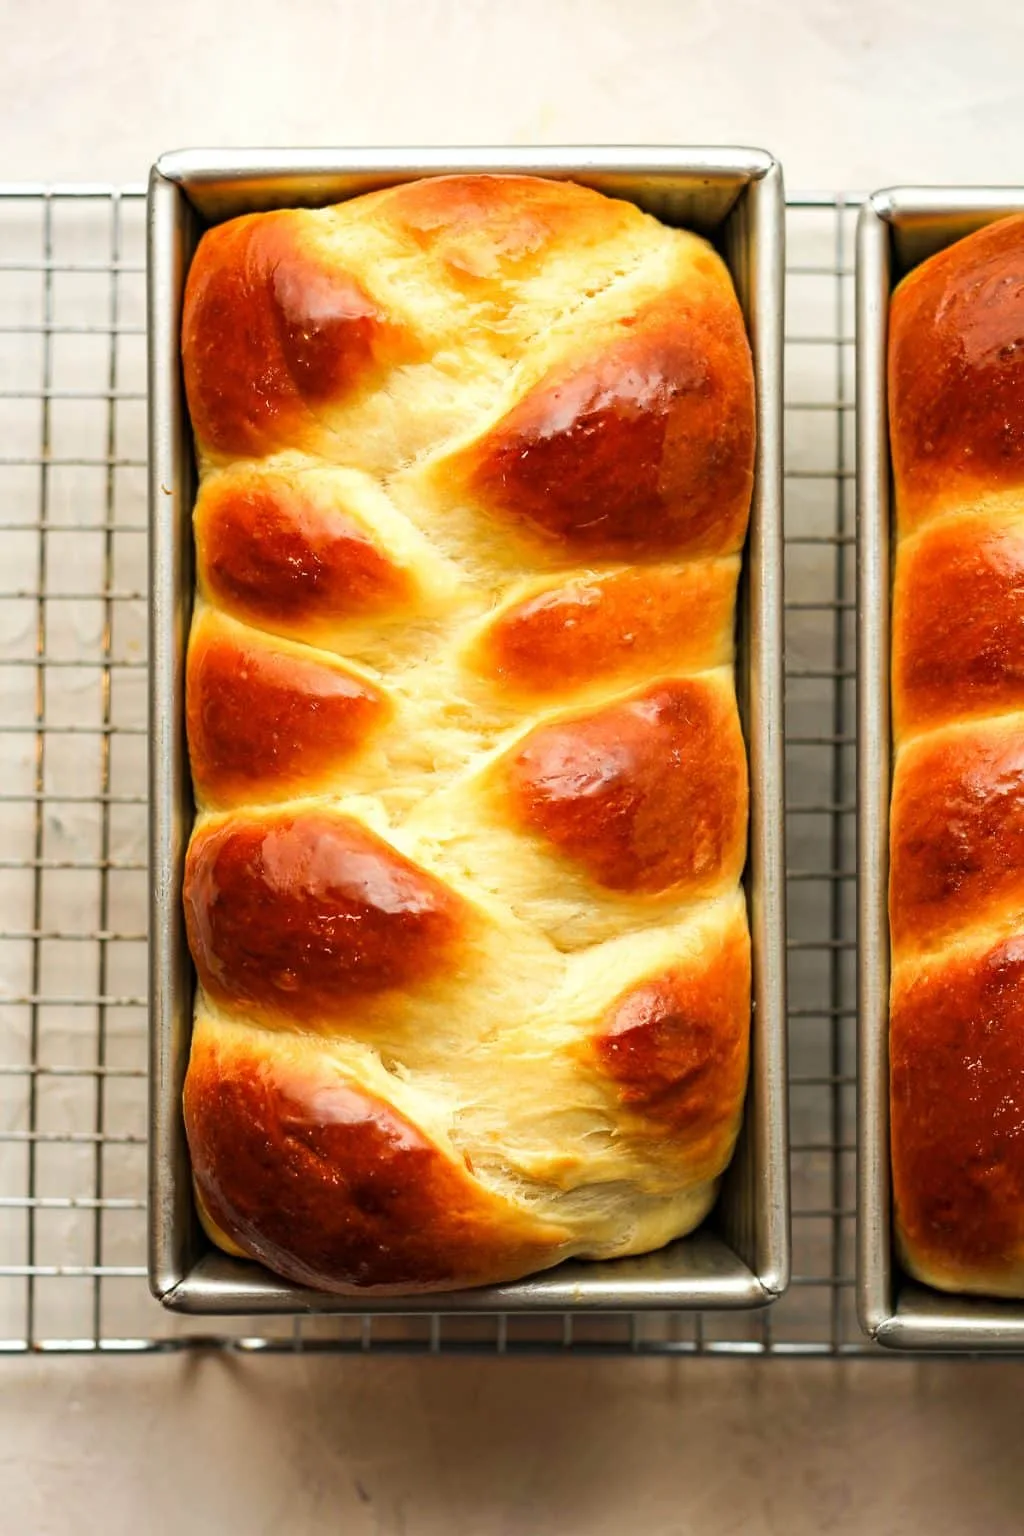
- Put it in a loaf pan. You can use a standard 9×5-inch metal loaf pan or a silicone pan. Butter the pan lightly.
- Let it rise again. Cover loosely with plastic wrap or a damp towel. Let it sit in a warm spot for 60 to 90 minutes, until it's almost doubled.
- Brush with egg wash. Whisk one egg yolk with a teaspoon of water. Brush it gently over the top for a glossy, dark crust.
- Bake. Bake at 350°F for 30 to 40 minutes. The loaf should reach an internal temperature of 190°F to 205°F.
- Cool before slicing. This is the hard part. Let the loaf cool fully on a wire rack, about 1 to 2 hours. Slicing warm brioche squashes it.
This method takes a little longer than the all-in-one brioche cycle. But the extra rise in the loaf pan builds a taller, fluffier crumb. Aggregate reviews from home bakers consistently show that oven-finishing produces better results, especially on machines without a dedicated brioche program.
It also lets you shape the dough into buns or braids. That's perfect for burger brioche buns, French toast slices, or a showy Sunday brunch.
Decision 3: Can You Bake Brioche Using a Standard White Bread Cycle?
Technically yes, but you probably won't love the results. The white bread cycle kneads harder, proofs shorter, and bakes hotter than brioche prefers. That combination tends to produce a loaf with a tough crust and a dense, short crumb.
The problem is fat. Brioche dough is so enriched that it needs a slower, gentler rise. A standard cycle rushes the proof, so the dough doesn't develop the same airy structure.
If your machine only has a basic white setting, use the dough-only cycle instead and finish in the oven. You'll get a better outcome with barely any extra effort.
One workaround exists. You can run the white bread cycle and manually interrupt it. Let the machine knead for the full cycle, then unplug it.
Let the dough rise in the warm machine until it nearly doubles. Then plug it back in and run the bake-only cycle if your machine has one. It's fiddly, but it works in a pinch.
Crust Color, Loaf Size, and Paddle Settings That Matter
Small settings make a bigger difference with brioche than with regular bread. The crust color selector is the easiest one to get right. Choose light or medium.
Dark burns the outside before the rich interior finishes baking.
Loaf size matters too. Brioche is heavier than white bread because of the butter and eggs. If your machine offers a 1-pound, 1.5-pound, and 2-pound setting, pick the smaller size than your pan's maximum.
A 2-pound machine making a 1.5-pound loaf gives the dough room to rise without climbing over the pan.
The paddle angle also affects the finished loaf. A single paddle leaves one hole in the bottom. A dual paddle leaves two.
Neither is a problem, but collapsible paddles are worth mentioning. They drop flat after kneading, which cuts the hole size dramatically. If your machine has one, use it for brioche.
The paddle comes out cleaner and you lose less crumb.
Mistakes to Avoid: Sticky Dough, Collapsed Loaves, and Butter Leaks
Let's talk about the failures, because everyone hits at least one of these on their first brioche attempt. The most common issue is dough that never pulls away from the pan walls. It just stays in a sticky, soupy mass around the paddle.
If that happens, you've got too much liquid for your flour. Add flour one tablespoon at a time during the first knead. Give each addition a full minute to mix before deciding whether you need another.
Don't panic if the dough still looks soft. Brioche is supposed to be slack, just not soupy.
Collapsed loaves are the second biggest complaint. The loaf rises beautifully, then sinks in the middle during baking. That's almost always overproofing.
The dough ran out of structural strength before the crumb set. Shorten the rise next time, or use slightly less yeast. A teaspoon instead of a rounded tablespoon is often enough.
Butter leaks are the sneaky third failure. You open the lid and find melted butter pooling around the paddle. That happens when you add cold cubed butter and the machine churns it before it softens.
The fix is simple. Use room-temperature butter cut into small pieces, and add it partway through the first knead if your recipe allows.
A few more mistakes to skip:
- Opening the lid too often during the rise.
- Using cold eggs straight from the fridge.
- Slicing the loaf while it's still warm.
- Doubling the recipe in a machine that can't handle it.
- Not scraping the pan corners during early kneading.
Delay Timer and Food Safety: When It's OK and When to Skip It
The delay timer is a bread machine blessing, but brioche is a special case. Since the dough contains eggs and milk, leaving them sit in a warm machine for hours before mixing is a risk. The USDA's food safety guidance stresses that perishable ingredients shouldn't stay in the danger zone for more than two hours.
Here's your rule of thumb. Use the delay timer only if the total delay is under 4 hours. A short delay gives you fresh brioche by morning without much risk.
A long delay, say 7 or 8 hours, leaves dairy and eggs sitting too long.
There is also a second risk that has nothing to do with bacteria. A long delay lets yeast start activating in the flour if any moisture reaches it. That can cause a premature rise before proper kneading even begins.
The result is a gummy, uneven crumb.
If you want morning brioche, try the overnight fridge method instead. Run the dough-only cycle in the evening, then shape the loaf and let it rise slowly in the refrigerator. Bake it off in the morning.
You get the convenience, and you lose the food safety worry.
Brioche in the Bread Machine vs. Stand Mixer: Which Should You Use?
This is the classic kitchen showdown. A stand mixer is the traditional tool for brioche. It gives you complete control over kneading speed, dough temperature, and proofing.
A bread machine offers convenience, but it blunts some of that control.
If you already own a bread machine, you've got a solid advantage. The machine handles kneading and proofing at a steady temperature, which is genuinely helpful for enriched doughs. Brioche hates drafts and temperature swings.
A bread machine's sealed chamber solves that problem automatically.
A stand mixer is better for recipes that need lots of butter. You can add the butter slowly, in stages, letting each piece fully incorporate before the next. Some bread machines dump all the butter in at once and struggle to emulsify it properly.
That's why so many experienced bakers prefer the mixer.
But here's the honest take for most people. The bread machine produces excellent brioche with a fraction of the effort. The mixer version requires watching the dough, scraping the bowl, and monitoring the rise for hours.
Unless you're baking brioche weekly, a machine is the smarter choice.
If you're worried about your machine handling a rich dough, start with a slightly leaner recipe. Use 20% butter instead of 30%. The texture will still be tender, and the dough will behave better.
Real Scenario: A First-Time Brioche in a Budget Bread Maker
A typical first attempt goes like this. A home baker with a 1.5-pound Hamilton Beach machine runs the dough-only cycle, shapes the loaf by hand, and does an overnight cold rise in the fridge.
The next morning, they bake at 350°F for 35 minutes until the internal temperature hits 198°F. The crumb is tender, the crust is deep golden, and the whole process takes about 10 minutes of hands-on work. If your machine overflows during a brioche attempt, check our overflow troubleshooting guide before you try again.
Frequently Asked Questions
Why did my brioche collapse in the middle?
Overproofing is the usual cause. The dough rose so long that the gluten weakened before the crumb set. Cut the rise time by 20 minutes or reduce yeast to a scant teaspoon next time.
How long does a brioche cycle take?
Most brioche programs run 2.5 to 3.5 hours. The timer varies by brand and load size. Check your manual for the exact duration.
Can I use active dry yeast instead of bread machine yeast?
Yes, but dissolve it first in warm milk for 5 minutes. Bread machine yeast is instant and swaps in directly. Active dry needs that activation step or it can lag behind the cycle.
Should I use bread flour or all-purpose flour for brioche?
Bread flour with 12% to 14% protein gives better structure. It helps the dough hold the butter and eggs. All-purpose works, but the loaf will be slightly more tender and a bit shorter.
Why is my bread machine brioche dense?
A dense crumb usually means too much flour, not enough liquid, or a weak knead. Check the dough ball during the first mixing stage. Adjust with small additions of flour or water.
Final Decision Guide: A Simple Flowchart for Perfect Brioche
- Does your machine have a brioche cycle? Use it, and watch the first knead.
- No brioche cycle? Run the dough-only program, shape the loaf, rise it, and bake in the oven.
- Only a white bread cycle? Interrupt it, proof manually, then use bake-only if available.
- Always check dough consistency during early kneading. Fix it before you walk away.
- Skip long delay timers with eggs and dairy. Short delays only, or use a cold overnight rise.
- Internal temperature is the final judge: 190°F to 205°F means it's done.

Similar Posts