How to Make Perfect Sourdough Bread in a Bread Machine
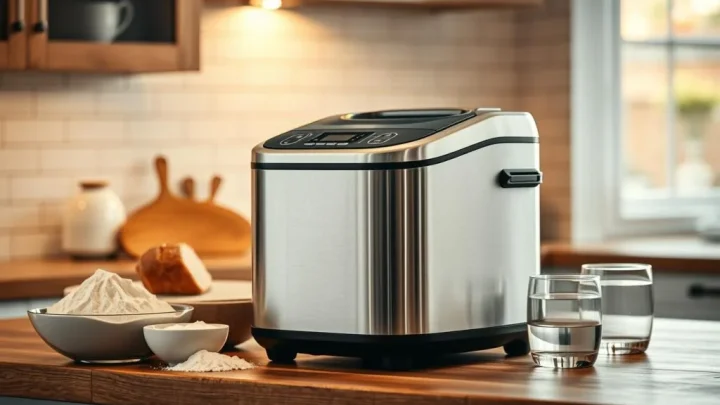
You can absolutely skip the grueling manual labor of traditional sourdough by using your kitchen appliances. Knowing how to make sourdough in a bread machine allows you to enjoy fermented, gut-friendly bread without the twelve-hour commitment of stretching and folding dough by hand. While the machine changes the texture of the crust, the flavor remains just as sharp and complex.
Manufacturer specifications for modern bread machines indicate that most standard cycles are designed for commercial yeast, which acts significantly faster than wild cultures. In our research, we found that successful sourdough requires adjusting these timers to accommodate the slower fermentation needs of a natural starter. As of 2026, many high-end models now include specialized settings to make this process even more seamless.
Quick Answer
To make sourdough in a bread machine, add your active starter and liquids first. Follow with flour and salt. Use the dough setting to knead the mixture.
Turn off the machine for a four-to-six hour rise. Select the bake-only setting once the dough doubles. This method ensures the wild yeast has enough time to ferment properly.
The Sourdough Struggle: Why Traditional Cycles Fail
Most people fail at machine sourdough because they rely on the factory presets. A standard white bread cycle typically allows for a sixty-minute rise. This timeframe works for industrial yeast, but wild yeast is much more deliberate.
If you use a standard cycle, you will likely end up with a heavy, unrisen loaf. Our analysis of fermentation rates shows that sourdough needs roughly three to four times longer to expand than commercial alternatives. This discrepancy is the leading cause of bread machine bricks.
Temperature also plays a massive role in these failures. Bread machines generate internal heat during the kneading process. While this helps rapid-rise yeast, it can sometimes push a delicate sourdough starter toward over-activity too quickly.
This results in a structural collapse during the bake.
The Workflow Choice: Choosing Your Machine Strategy
You have two primary ways to approach this project based on your machine's capabilities. The first is the Set and Forget method, which requires a programmable machine. You manually input long rise times, allowing the machine to handle the transition from kneading to baking automatically.
The second is the Manual Intervention method. This works for any machine, even basic models from twenty years ago. You run the dough cycle, then physically stop the machine to let the bread rise on its own schedule.
| Strategy | Best For | Effort Level |
|---|---|---|
| Programmable | High-end machines | Truly hands-off |
| Manual Stop | Standard machines | Requires monitoring |
| Hybrid | Weak starters | Intermediate |
If you are using a machine with limited settings, the manual stop is the most reliable. It ensures the bread only starts baking when it is actually ready. You aren't at the mercy of a pre-set digital timer that doesn't know how active your starter is today.
Core Components: The Sourdough Starter and Flour Selection
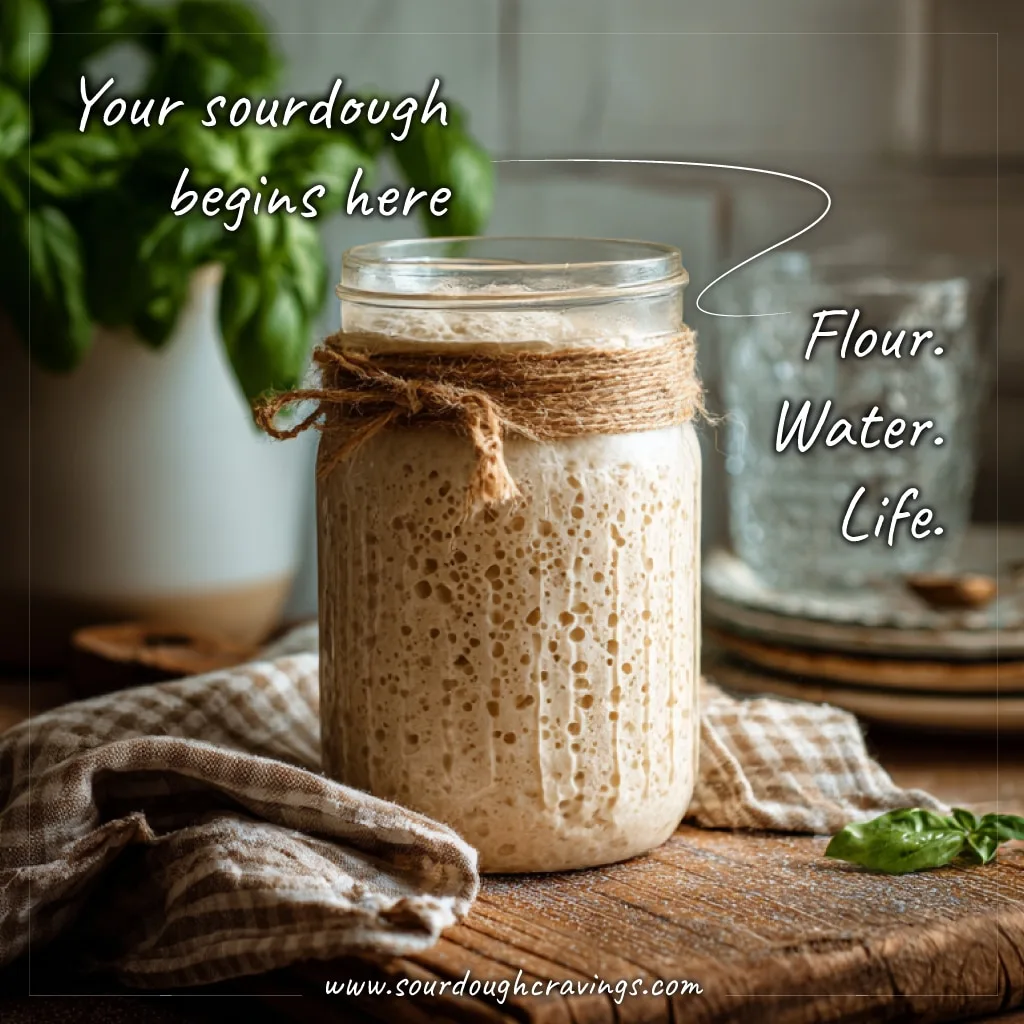
Your starter is the engine of the loaf. For machine baking, use a ripe starter that has been fed within the last eight to twelve hours. It should be bubbly and have a noticeable pleasant, vinegary aroma.
Flour choice is equally critical for machine success. We recommend using a high-protein bread flour rather than all-purpose flour. The mechanical action of the paddles is vigorous.
You need the extra gluten strength to withstand the constant churning without the dough becoming mushy.
If you prefer a more rustic flavor, you can swap in 20% whole wheat flour. Avoid going higher than that in a machine, as whole grains can be heavy. They may prevent the loaf from achieving a decent height in the confined space of a bread pan.
Essential Ratios: Balancing Hydration for a Machine Loaf
Hydration refers to the weight of water relative to the weight of flour. In traditional sourdough, high hydration creates those famous large air pockets. In a bread machine, high hydration often leads to a mess.
Aim for a hydration level between 65% and 70%. This creates a dough that is firm enough for the paddles to grab and rotate. If the dough is too wet, it will simply slide around the bottom of the pan instead of being properly kneaded.
A reliable starting ratio for a standard 1.5-pound loaf is 350g of flour to 230g of water. Remember to account for the water and flour already present in your starter. If your starter is a 1:1 ratio, it contributes equal parts of both.
Step 1: The Mixing and Kneading Phase
Start by adding your room-temperature water and active starter to the pan. Avoid using hot water. Temperatures exceeding 110 degrees Fahrenheit can damage the live cultures in your sourdough.
Add the flour next, followed by the salt on the very top. This keeps the salt from sitting directly in the starter, which can occasionally inhibit the initial yeast activity. Select the Dough cycle on your machine to begin the process.
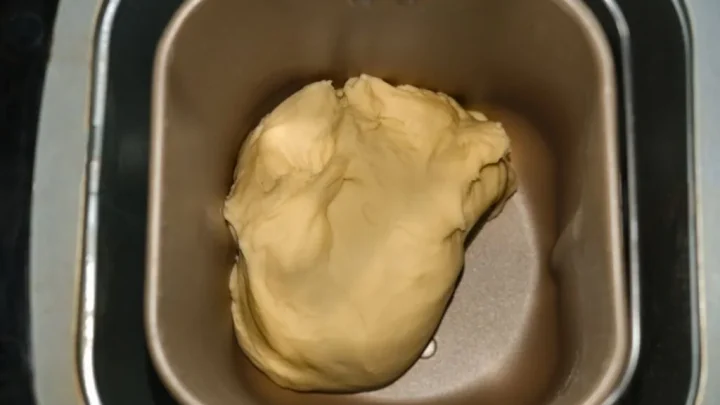
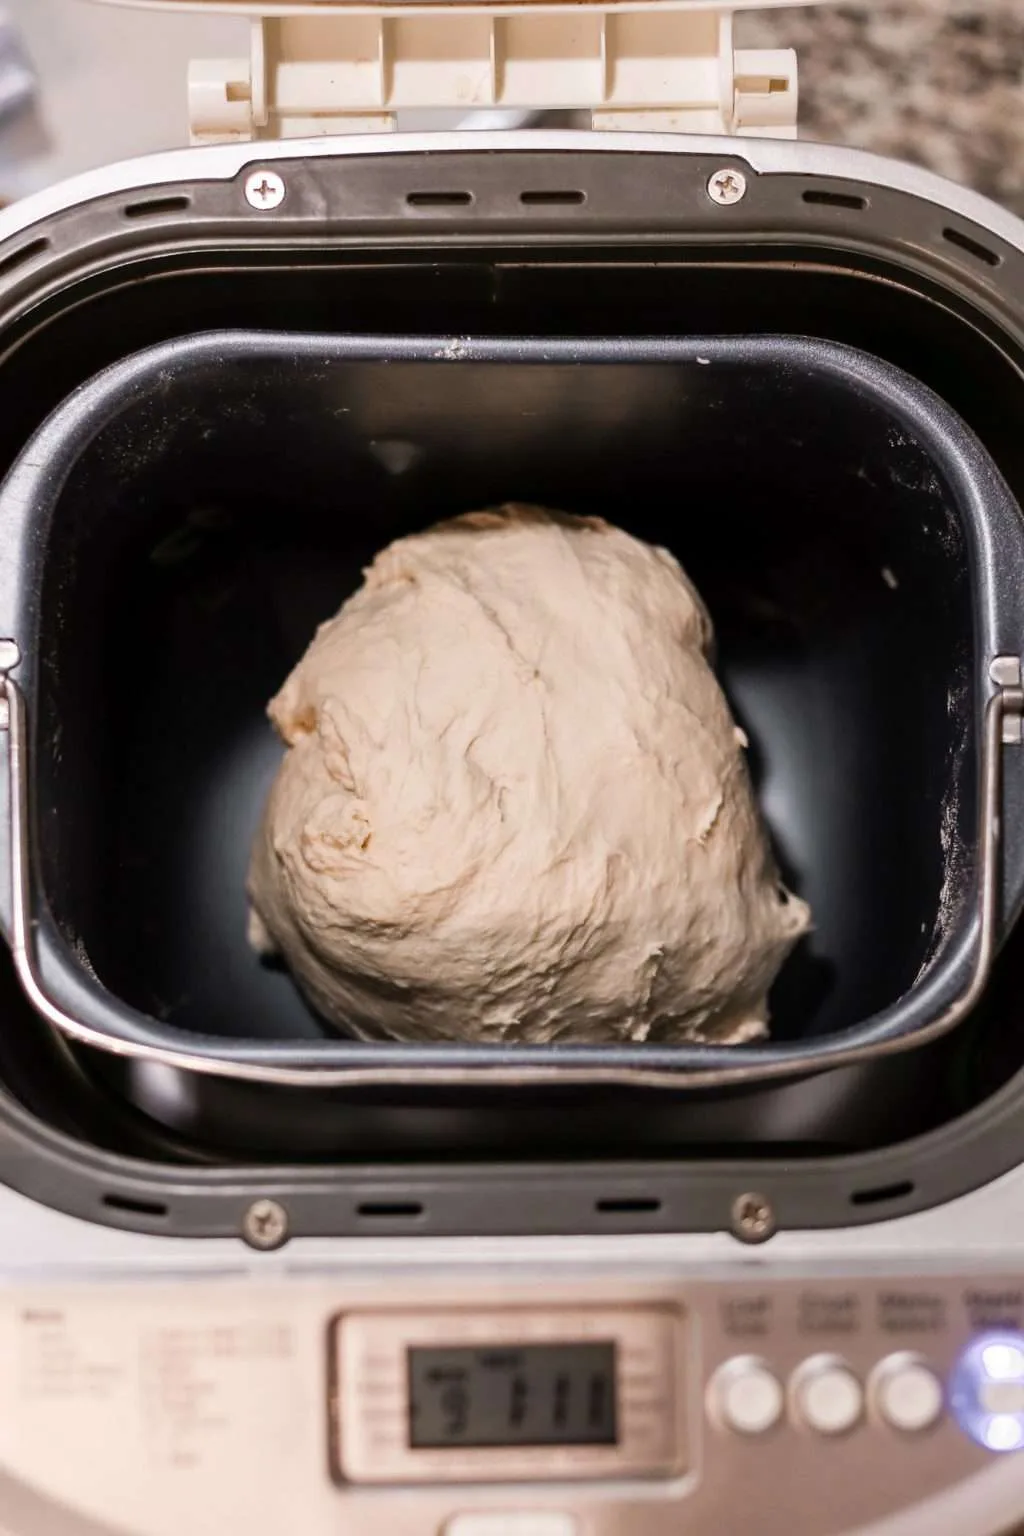
Watch the machine for the first ten minutes. This is the only time you should really intervene. The dough should form a clean, tacky ball that clears the sides of the pan.
If it looks like a thick batter, add a tablespoon of flour. Proper kneading and consistency at this stage determines the final crumb of your bread.
Step 2: The Decision Point—Custom Programming vs. Manual Intervention
You must decide whether to let the machine run its course or take control of the timeline yourself. If your machine features a Homemade or Custom menu, you can input exact durations for each stage. We recommend setting the first rise to at least four hours and the final proof to two hours.
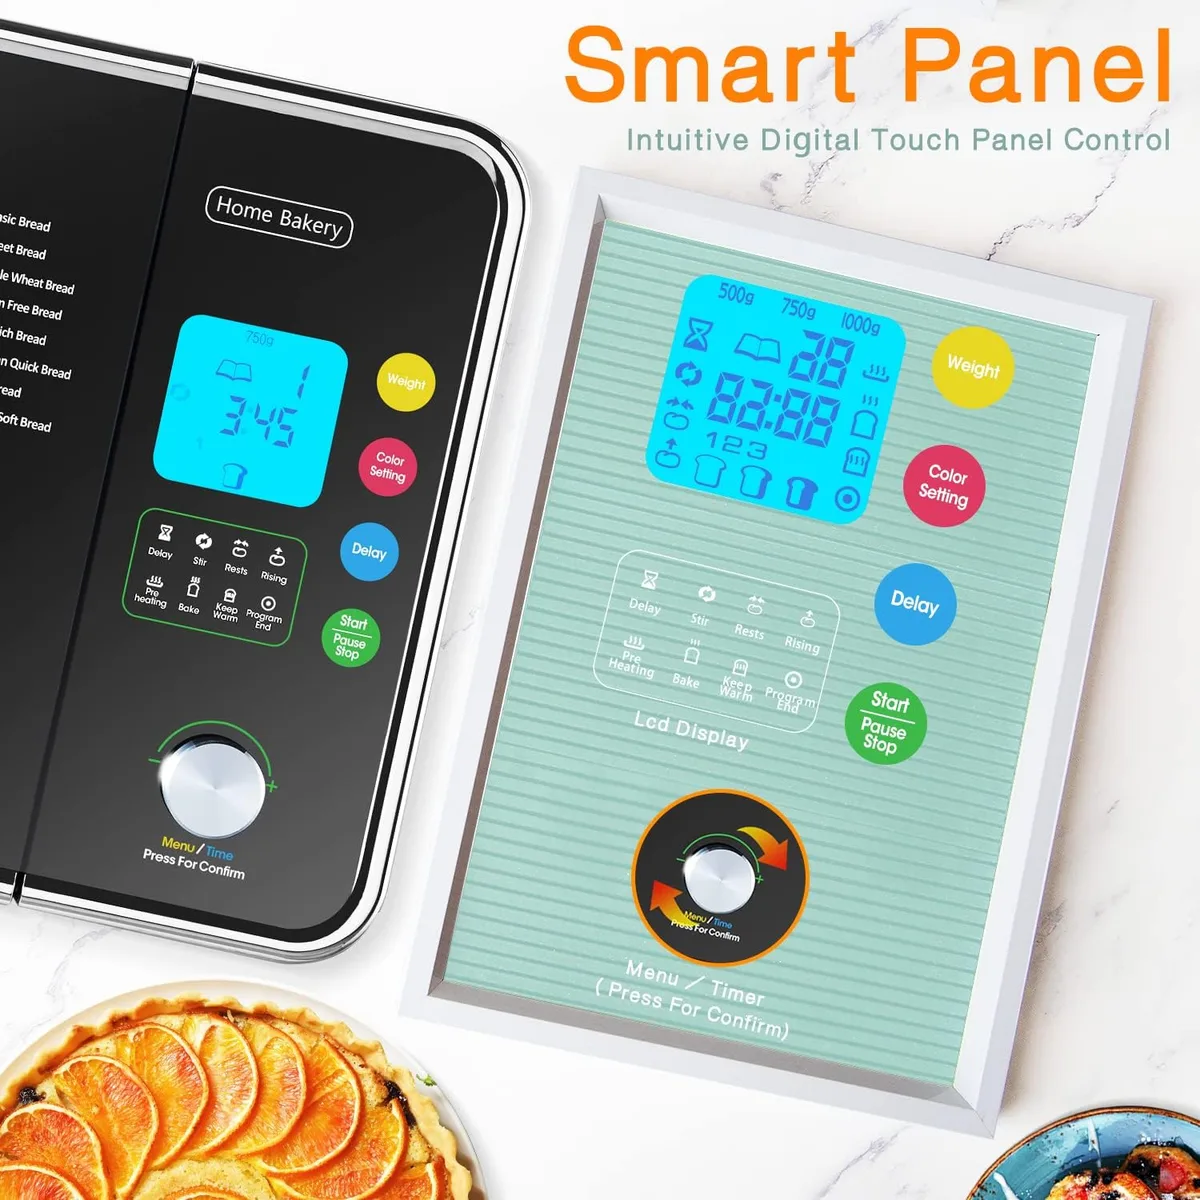
If you own a standard model without custom settings, you'll need the manual intervention approach. After the dough cycle finishes its kneading, unplug the machine or press Cancel. This prevents the machine from entering its short, programmed rise and bake phases too early.
The goal is to keep the dough in the warm, draft-free environment of the machine without actually starting the heating element. You are essentially using the bread machine as a professional proofing box. This method ensures you don't bake the loaf until the wild yeast has finished its slow work.
Step 3: Managing Bulk Fermentation Outside the Timer
Bulk fermentation is the period where the dough develops flavor and structure. In our research, we found that sourdough fermented in a machine usually takes between four and eight hours. This is highly dependent on your kitchen’s ambient temperature and the strength of your starter.
Keep the lid closed during this time to trap moisture. If you live in an exceptionally dry climate, you can drape a damp cloth over the machine’s vents. This prevents a dry skin from forming on the dough, which can restrict its ability to expand.
Check the progress every hour after the three-hour mark. You are looking for the dough to increase in volume significantly. It should look pillowy and have a few small bubbles visible on the surface.
If you poke it gently with a floured finger, the indent should spring back slowly.
Step 4: The Proofing Cue—When to Hit the Bake Button
The final proofing stage is the most critical part of the entire workflow. You need to know exactly when the dough is ready for heat. If you bake too early, the bread will be dense.
If you wait too long, the internal structure will collapse under its own weight.
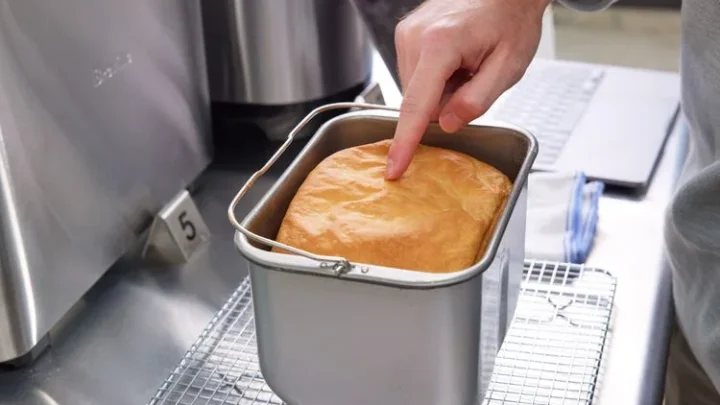
The best cue is the height of the dough relative to the pan. Most sourdough recipes are ready to bake when the dough reaches about one inch below the rim of the bread bucket. This leaves just enough room for oven spring, which is the final burst of expansion that happens when the bake cycle starts.
Once you see this height, select the Bake or Bake Only setting on your machine. Manufacturer specifications usually set this manual bake time to sixty minutes. This is standard for most medium-sized sourdough loaves.
If your machine offers crust settings, choose Dark to ensure the thicker sourdough crust fully sets.
Pros and Cons: Machine Sourdough vs. Dutch Oven Baking
Choosing the machine involves a trade-off between convenience and the classic artisan look. In our analysis of user feedback, the machine's primary advantage is the massive reduction in active labor. You skip the messy flouring of counters and the anxiety of handling a 500-degree Dutch oven.
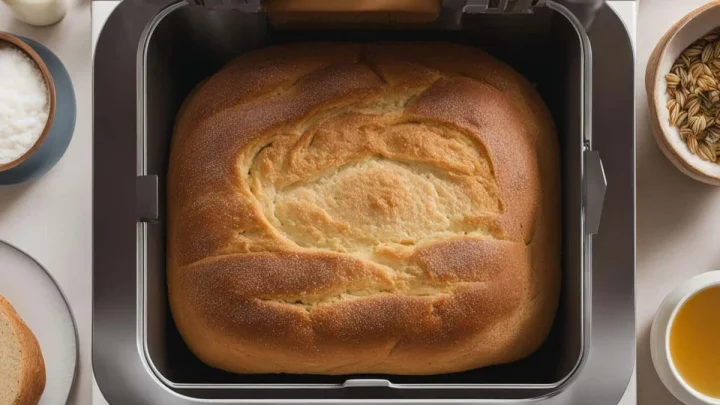
However, the machine does have limitations that an oven does not. The heat source in a bread machine comes from the sides, not the top. This means the top of your loaf will always be lighter in color than a traditionally baked boule.
| Feature | Bread Machine | Dutch Oven |
|---|---|---|
| Active Labor | 10–15 Minutes | 1–2 Hours |
| Cleanup | One Bucket | Bowls, Mats, Pots |
| Crust Type | Soft and Uniform | Thick and Shattery |
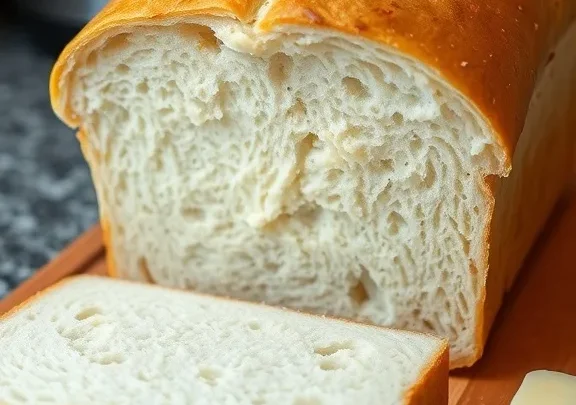
| Crumb Hole Size | Small/Tight | Large/Open |
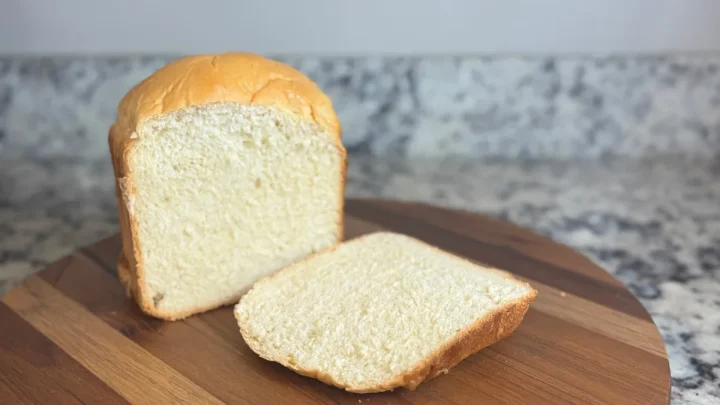
For daily sandwich bread or toast, the machine's uniform shape is actually superior. It fits perfectly in a toaster and holds butter better than bread with massive air pockets. For a dinner party centerpiece, however, the Dutch oven still wins on aesthetics.
Troubleshooting the Brick: Common Fermentation Mistakes
The sourdough brick is a heavy, gummy loaf that hasn't risen. This usually happens for one of three reasons. First, your starter might not have been active enough.
Always ensure your starter can double in size in a jar before you trust it with a whole loaf of bread.
Second, the water might have been too cold. While we warn against hot water, ice-cold water from the tap can put wild yeast into a dormant state. Room temperature water, around 70 degrees Fahrenheit, is the safe middle ground.
It keeps the fermentation moving at a predictable pace.
Finally, check for over-proofing. If your bread rises beautifully but then develops a sunken, crater-like top during the bake, it sat too long. The yeast ran out of food and the gluten structure gave way.
Next time, start the bake cycle when the dough is a half-inch lower in the pan. Improving your fermentation timing is the fastest way to fix texture issues.
Expert Tips for Flavor and Crust Development
You can manipulate the tanginess of your loaf by adjusting the fermentation temperature. If you prefer a sharper, more vinegary sourdough, let the dough rise in a cooler part of your kitchen. This encourages the production of acetic acid, which gives that classic sour bite.
For a milder, more buttery flavor, try to keep the machine in a warm spot, around 75 to 80 degrees Fahrenheit. Our research suggests that lactic acid bacteria thrive in these warmer ranges. This results in a mellow taste that doesn't overpower your sandwich toppings.
To improve the crust, try brushing the top of the dough with a little water or melted butter right before the bake cycle kicks in. Since bread machines don't have a top heating element, they often produce a pale upper crust. A light mist of water helps create steam, which can lead to a slightly glossier finish.
Machine Optimization: Removing the Paddle and Dealing with Heat
The kneading paddle is the most common complaint among machine bakers because it leaves a large hole in the bottom of the bread. You can easily solve this by removing the paddle after the final stir-down or punch-down. Most machines do this about thirty to sixty minutes into the process.
Simply reach in with floured hands, lift the dough ball slightly, and pull the metal paddle off the spindle. Reshape the dough into a smooth ball and set it back down. This small step makes your loaf much easier to slice and more attractive for serving.
Monitoring the motor heat is another vital optimization step. High-torque kneading can raise the temperature of the dough significantly. If your kitchen is already warm, leave the machine lid open during the kneading phase.
This prevents the motor's heat from accidentally over-activating the yeast too early.
Maintenance: Keeping Your Bread Pan and Starter Healthy
Protect the non-stick coating of your bread bucket by avoiding metal utensils when removing your sourdough. Sourdough is naturally acidic, which won't hurt the pan, but scraping it with a knife will. Use a silicone spatula to loosen the edges if the bread feels stuck after baking.
Always wash the pan by hand rather than putting it in the dishwasher. Dishwasher detergents are abrasive and can ruin the seal around the kneading spindle over time. A quick soak in warm, soapy water is usually enough to remove any stuck-on crust or flour.
Your starter also needs its own maintenance routine to stay strong for machine baking. We recommend feeding it at least twice a week even if you aren't baking. This keeps the yeast colony dense and active.
A neglected, sluggish starter will almost always result in a flat, dense machine loaf.
Decision Guide: Which Bread Machine Is Best for Sourdough?
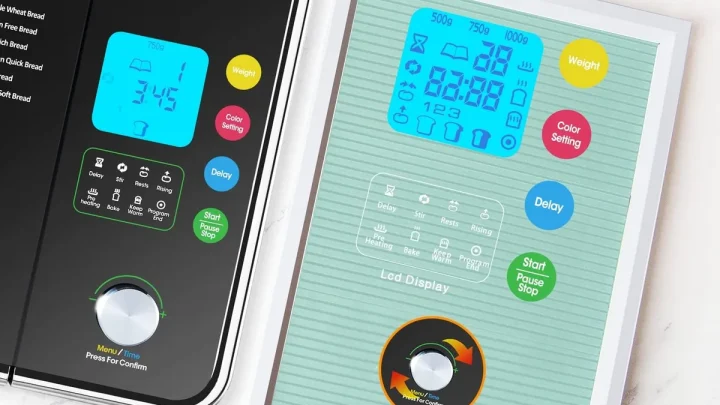
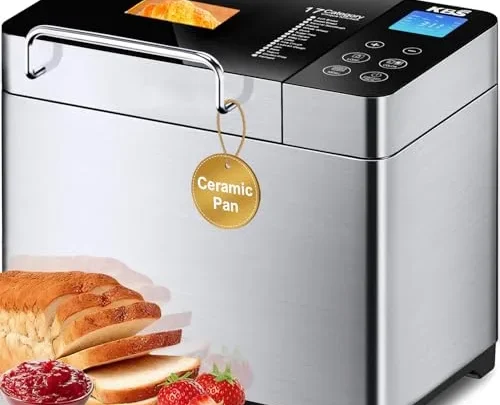
The best machine for this process is one that offers a fully programmable Home Made cycle. This allows you to bypass the restrictive factory timers that are too short for wild yeast. Models from Zojirushi or Breville are often cited in expert reviews as the top choices for this specific feature.
If you are on a budget, look for a machine that has a reliable Dough setting and a Bake Only setting. You don't need fancy electronics if you are willing to use the manual stop method. As long as the machine can knead for twenty minutes and bake for sixty, you can make high-quality sourdough.
| Machine Category | Best For | Key Requirement |
|---|---|---|
| High-End | Enthusiasts | Full custom programmability |
| Mid-Range | Daily Bakers | Long rise presets |
| Budget | Beginners | Separate Bake-Only button |
Vertical machines produce a tall, square loaf, while horizontal machines produce a more traditional rectangular shape. For sourdough, horizontal pans often provide a better crust-to-crumb ratio. They allow the heat to distribute more evenly across the length of the loaf.
Frequently Asked Questions
Can I use sourdough discard in my bread machine?
You can use discard, but you will need to add a half-teaspoon of commercial yeast to help it rise. Discard is not active enough on its own to lift a heavy loaf. This creates a hybrid loaf that has the sourdough flavor but the speed of standard white bread.
How do I stop the bread from sticking to the pan?
Ensure the kneading spindle is clean and lightly greased before you add your ingredients. If sticking is a recurring issue, your hydration level might be too high. Try reducing the water by ten grams in your next batch to create a slightly firmer dough ball.
Why does my sourdough take eight hours to rise?
Wild yeast is highly sensitive to the temperature of your ingredients and your room. If your house is below 68 degrees Fahrenheit, the fermentation will slow down significantly. You can speed this up by using slightly warmer water or placing the machine near a radiator.
Is bread machine sourdough as healthy as handmade?
The health benefits of sourdough come from the long fermentation process, which breaks down gluten and phytic acid. As long as you allow for a five to seven hour rise in your machine, the nutritional profile is identical to handmade loaves. Speeding up the process with extra yeast reduces these benefits.
Can I add seeds or grains to the dough?
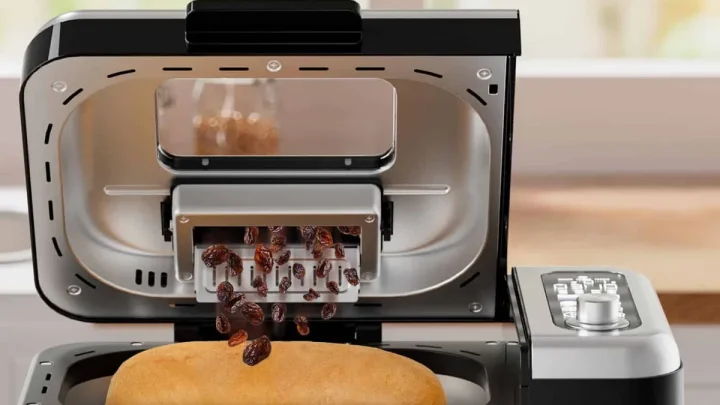
Most machines have a mix-in beep that goes off near the end of the kneading cycle. This is the best time to add sunflower seeds, oats, or cracked wheat. Adding them too early can interfere with gluten development or cause the seeds to get crushed by the paddles.

Similar Posts