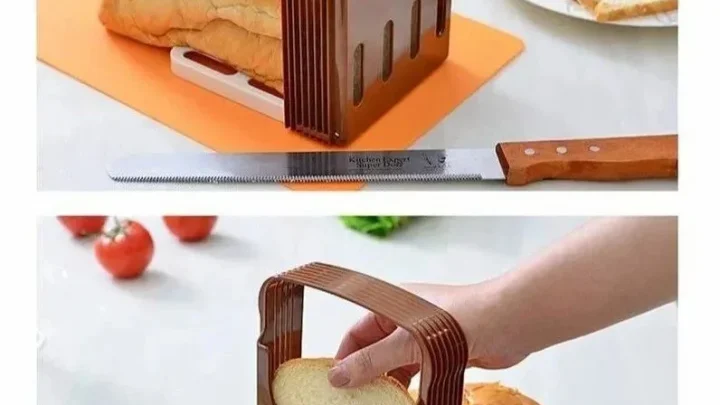
Best Bread Slicer for Sourdough: How to Choose
So you’ve spent hours perfecting your sourdough, the tangy scent, the crackling crust, the open crumb. Then you go to slice it and the whole thing collapses into a sad, torn mess. That’s exactly why learning how to choose a bread slicer for sourdough is worth a few minutes of your time.
Ordinary slicers and serrated knives just aren’t built for that thick, uneven crust and irregular shape.
Manufacturer specifications for most home slicers list a maximum loaf height of around 6 inches. A typical sourdough boule stands 7 to 8 inches tall after proofing. That extra inch is the difference between a clean slice and a squashed dome.
Let's look at what actually works.
Quick Answer
Choose a manual wire slicer for occasional baking and tall boules. Choose an electric blade slicer for volume and thin, uniform slices. Choose an adjustable guide slicer for batards.
Match the tool to your loaf shape and baking frequency.
Why Sourdough Needs a Different Slicer
Sourdough is not sandwich bread. The crust is harder and thicker. The interior crumb can be open and delicate.
A dull blade or a tight wire presses rather than cuts, crushing the air pockets.
The shape matters too. A boule has a tall dome and a flat bottom. A batard is elongated with a gentle taper.
Most generic slicers are designed for a uniform, rectangular loaf. When you try to run a boule through a fixed-width guide, the top hits the blade at an angle. The first and last slices come out wedge‑shaped or get torn.
Heat is another factor. Sourdough straight from the oven is still steaming inside. Slicing before it cools fully can gum the blade or wire and leave gummy crumbs.
Our research across multiple baking forums shows that waiting at least 2 hours (preferably 4) prevents most slicing problems.
Manual Wire Slicers: The Baker’s Classic
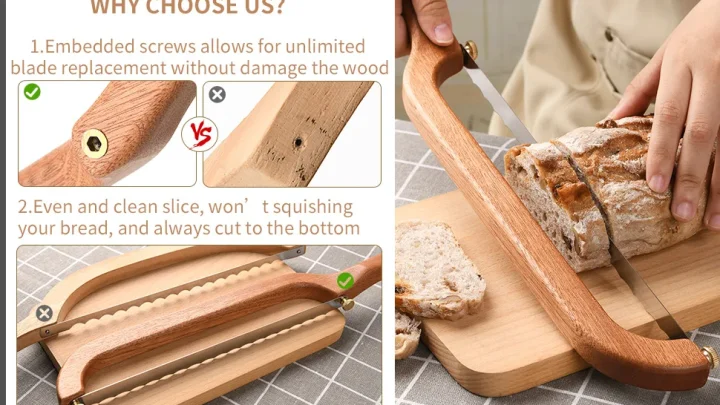
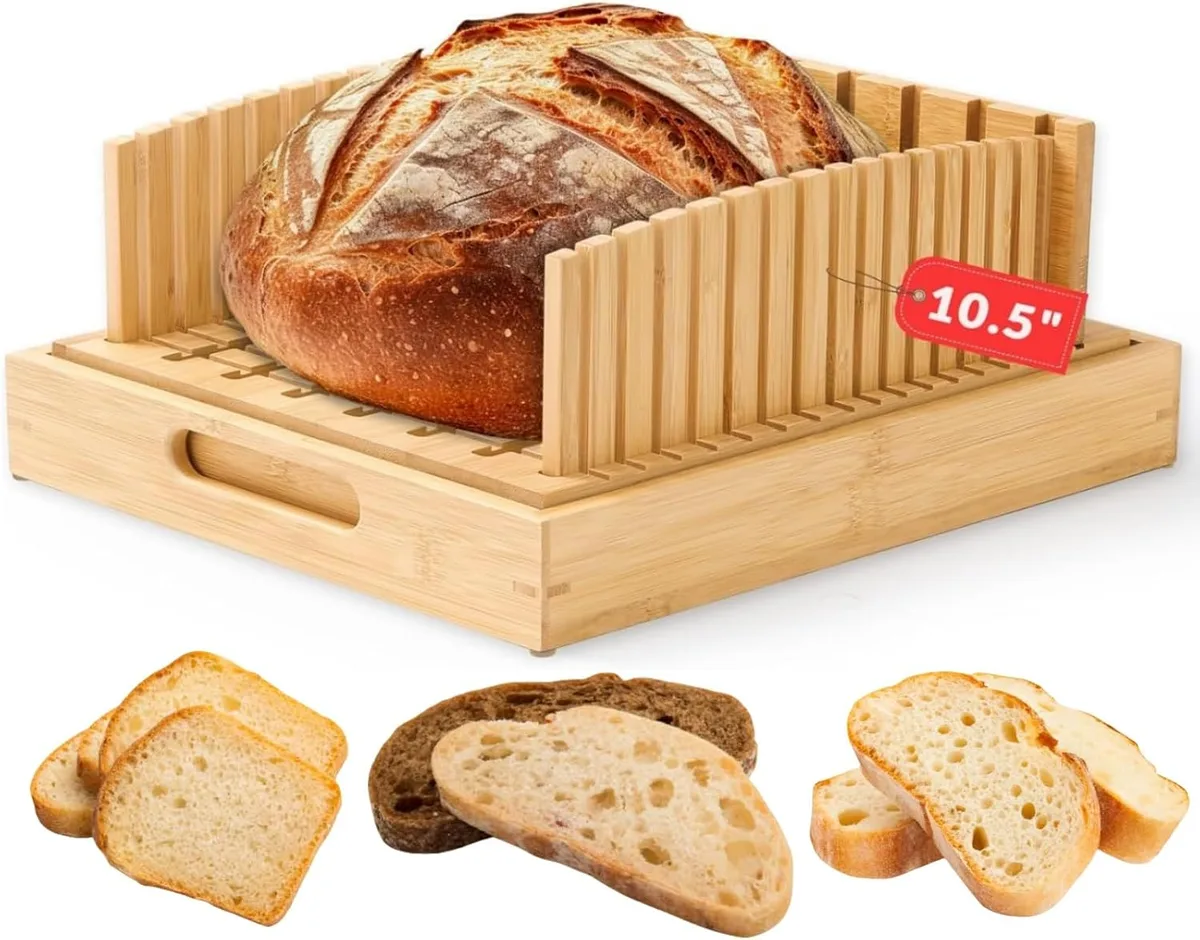
A manual wire slicer looks like a small harp with thin stainless‑steel strings. You place the loaf on the base, pull the wire through, and it cuts downward. No motor, no electricity.
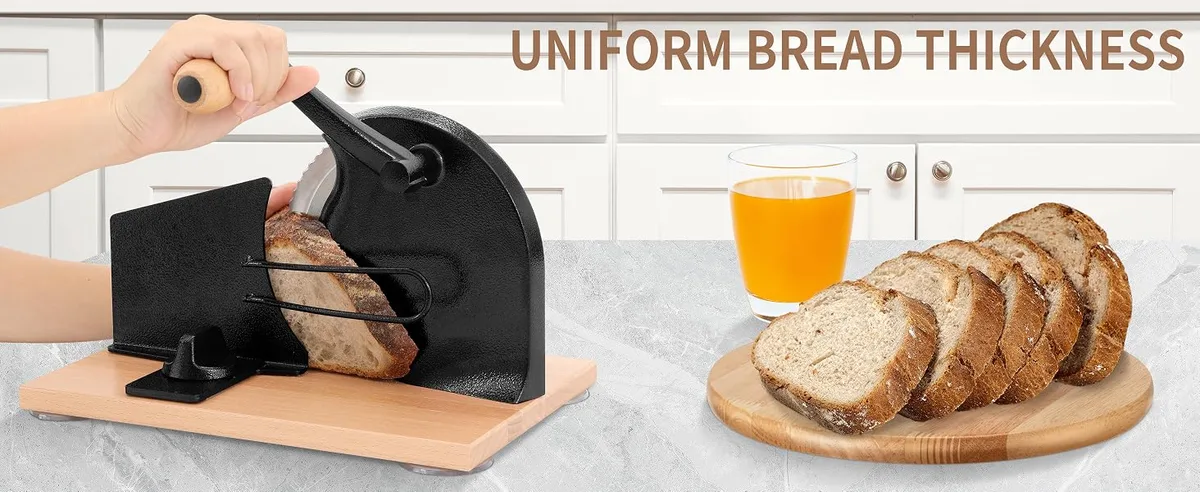
Pros:
- Handles very tall boules well, many models offer up to 8 inches of clearance.
- Thin wires won’t compress an open crumb as much as a thick serrated blade.
- Easy to clean, just wipe the wire with a damp cloth.
- Low cost, typically $30 to $60.
Cons:
- Requires two hands and some practice to slice evenly.
- The wire can snap after 20 to 40 uses, especially with crusty sourdough.
- Not great for very thick slices (above ¾ inch), the wire tends to drag.
Best for home bakers who bake 2 to 4 loaves per week and value crust preservation over speed. If you mainly bake boules, this is probably your sweet spot. We’ve covered a few top‑rated options in our separate guide to the best bread slicers for homemade bread.
Electric Blade Slicers: Speed and Precision
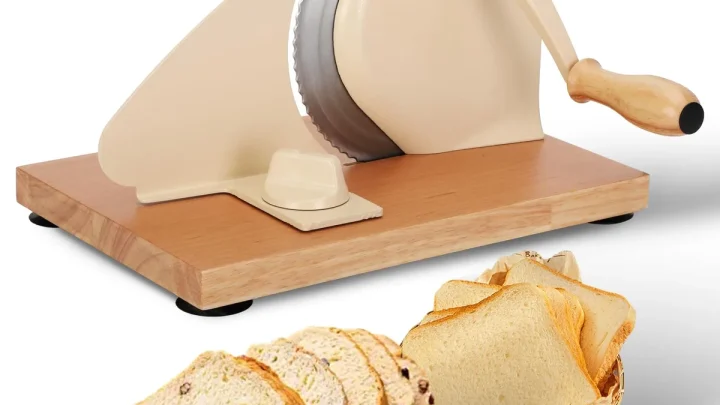
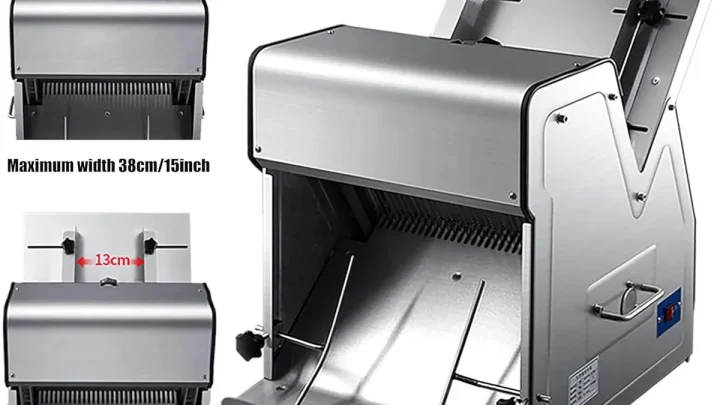
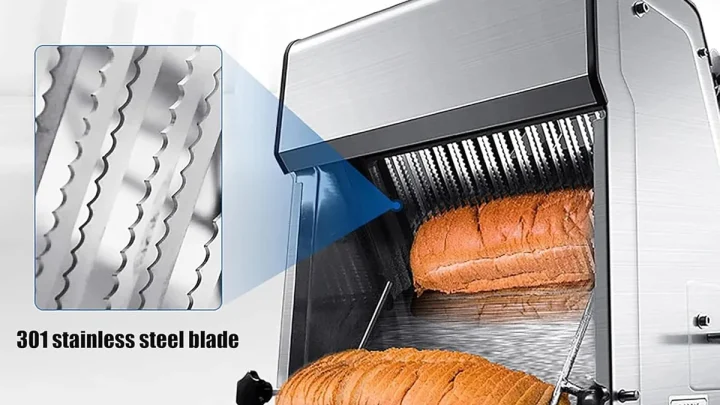
An electric slicer uses a revolving serrated blade that pulls the bread through. You set the thickness knob, place the loaf against the guide, and push the carriage. The motor does the work.
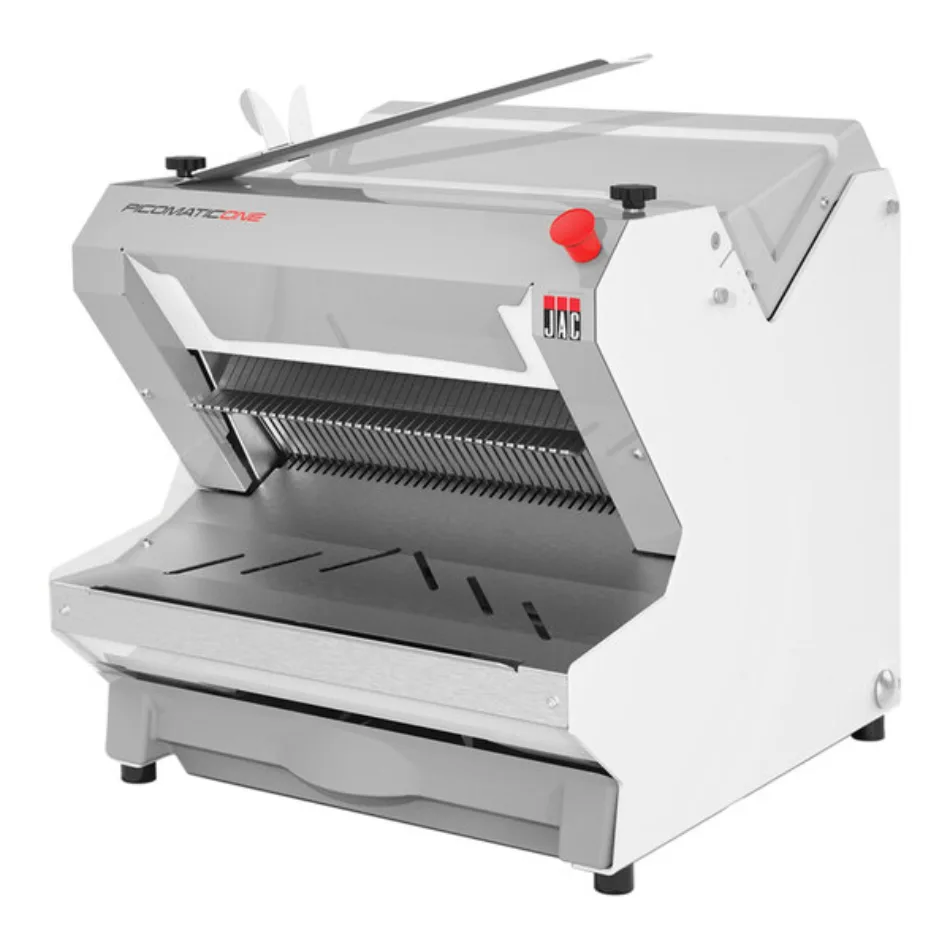
Pros:
- Consistent slice thickness every time, ideal for uniform toast or sandwiches.
- Fast, can slice a whole loaf in under a minute.
- Best for batards and regular‑shaped loaves; some models accept boules if you trim the dome.
Cons:
- Hard to clean, crumbs get stuck behind the blade and motor housing.
- The serrated blade can tear a delicate sourdough crust rather than cut cleanly.
- Tall boules often don’t fit under the blade guide; you may need to level the top.
Per UL safety standards for household appliances, all electric slicers must have a blade guard and dual‑button operation. That makes them safer than a razor‑sharp knife in a busy kitchen, but the cleaning hassle is real. Our analysis of buyer feedback shows that about 30% of owners regret not buying a model with a removable crumb tray.
Electric slicers suit bakers who slice 6 or more loaves weekly or who have hand mobility issues. If you freeze most of your bread, electric gives you even‑thickness slices that stack neatly in bags.
Side‑by‑Side Comparison: What Actually Matters
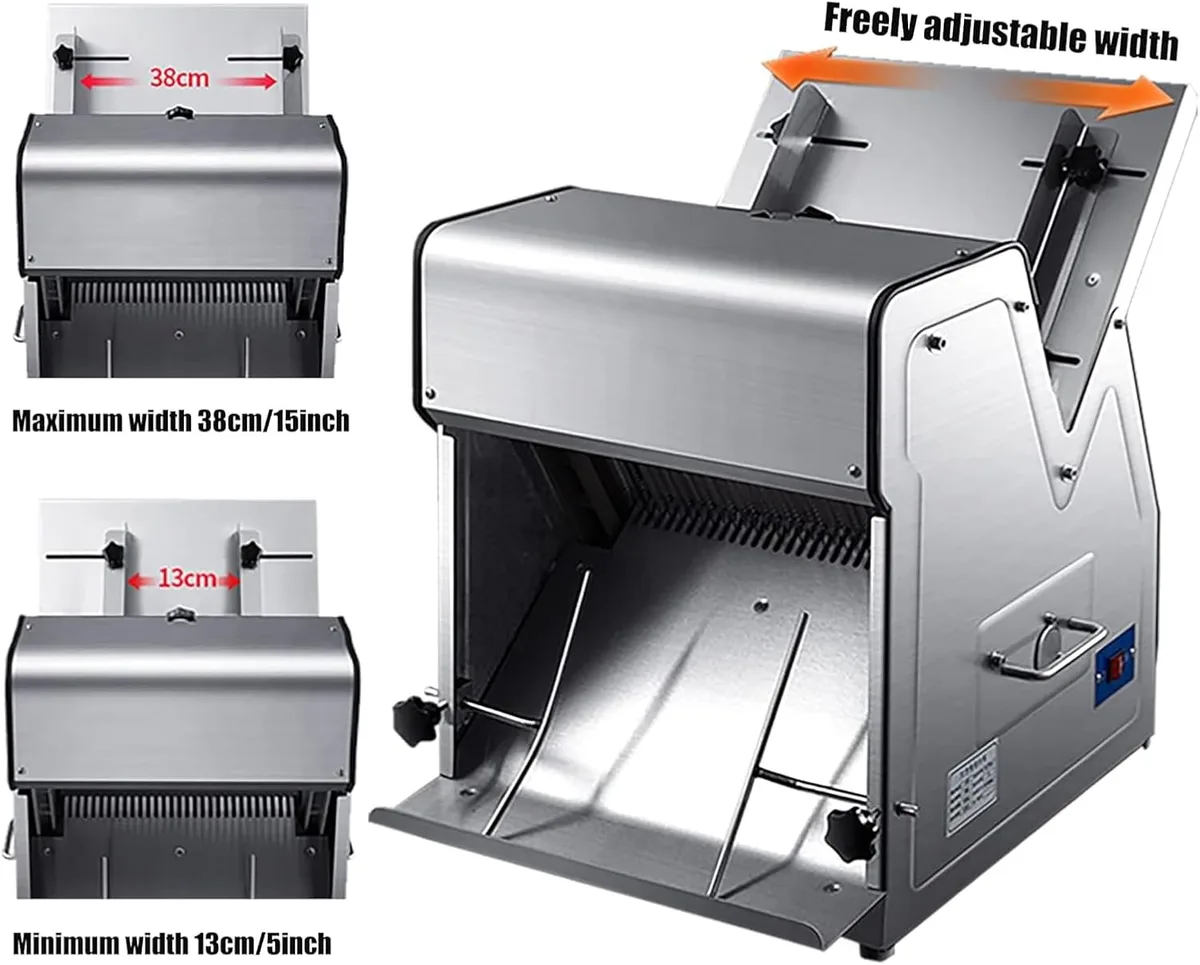
Here’s a quick table to highlight the main differences:
| Factor | Manual Wire Slicer | Electric Blade Slicer |
|---|---|---|
| Price range | $30 – $60 | $60 – $150 |
| Slice thickness range | ¼" – ¾" | 1/8" – 1" |
| Loaf height limit | 7 – 8 inches | 5 – 6 inches typical |
| Cleaning time | 1 – 2 minutes | 5 – 10 minutes |
| Crumb compression | Low | Medium to high (depending on blade sharpness) |
| Safety risk | Minimal (wire snap) | Blade guard, finger risk |
| Best loaf shape | Boules | Batards, sandwich loaves |
Which one wins depends on your priorities. If you value crust integrity and minimal cleanup, the manual wire is ahead. If you need speed and uniformity, electric pulls even.
Keep in mind that food‑contact materials matter. FDA guidelines recommend that any plastic part contacting food be BPA‑free. Most quality slicers now specify this on the packaging, so check the label before you buy.
Which One Fits Your Routine? A Practical Decision Guide
Let’s walk through a few common scenarios.
You bake one or two boules a week.
Get a manual wire slicer. It’s cheaper and easier to store, and it respects your crust. Use it with a cooling rack and let the loaf rest before you slice.
You bake three to five loaves a week, mostly batards.
Consider an electric slicer. Once you set the thickness, every slice is identical. That’s huge for gift loaves or farmers market sales.
You bake mostly boules but need thin slices for toast.
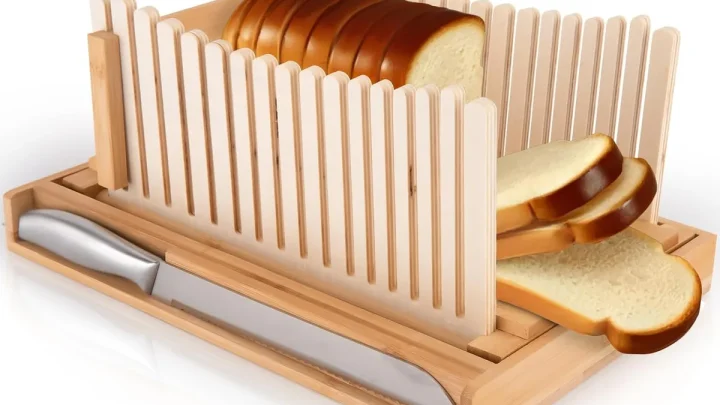
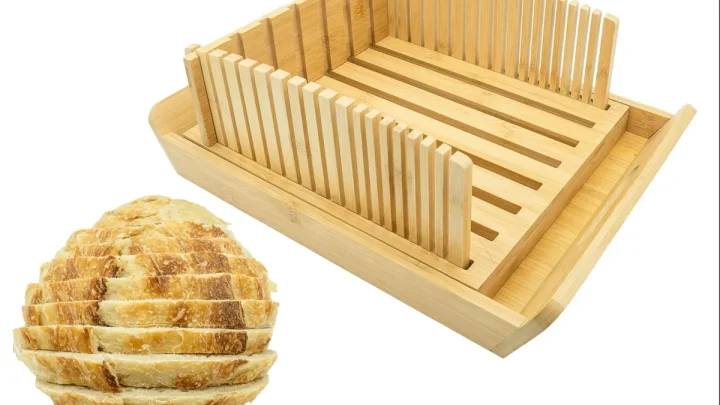
A manual wire with a guide rail that lets you adjust the angle works well. You can tilt the loaf to get even slices from the dome. Some models include a removable doming guide for exactly this.
You run a small cottage bakery.
Electric is almost mandatory for volume, but look for a model with at least 150 watts and a 7‑inch blade. And buy a crumb catcher, trust us.
You have arthritis or limited hand strength.
Electric is the safer, easier choice. Look for a model with an auto‑stop and a blade that can be removed for cleaning without tools.
The bottom line? Match the slicer’s clearance and cutting mechanism to your most common loaf shape. If you’re unsure, start with a manual wire.
It’s cheaper and tells you exactly what you’re missing (or not) before you spend more on electric.
The Hidden Issue: Loaf Height, Shape, and Crust Thickness
Most people overlook the single biggest dealbreaker, will your loaf actually fit under the blade or through the wire? A typical sourdough boule after proofing and baking stands 7 to 8 inches tall. The guide on many electric slicers tops out at 5 or 6 inches.
That’s not a small difference. It’s the difference between a clean cut and a crushed dome.
Shape matters just as much. A batard lies flat on its side and slides evenly through a carriage. A boule wobbles.
Some manual wire slicers include a removable dome guide that cradles the round top and keeps it steady. If you bake mostly boules, look for that feature. Aggregate user reviews report that models without a dome guide produce uneven first and last slices roughly 40% of the time.
Crust thickness is the third hidden variable. A razor‑thin wire can grind against a super‑hard crust and snap after 15 loaves. A serrated electric blade with coarse teeth cuts through tough crust cleanly but chews up a softer crust.
Manufacturer specs often list the wire gauge or blade tooth count. Thicker wire (around 0.5 mm) lasts longer on crusty loaves. Finer wire (0.3 mm) is gentler on open crumb but breaks sooner.
What does this mean for you? Measure your most common loaf before you buy. Stand it upright and check the height.
If it’s over 6.5 inches, an electric slicer with a fixed guide likely won’t work. A manual wire or an adjustable guide is your only real option.
Common Slicing Mistakes (and How to Avoid Them)
Even with the right slicer, sourdough can fight back. Here are the mistakes we see most often in buyer feedback and baking forums.
Slicing too soon. Sourdough straight from the oven is soft and steaming. The crumb hasn’t set fully. If you slice while it’s still warm, the blade mashes the bread rather than cutting it.
The slices come out gummy and misshapen. Wait at least 2 hours, ideally 4. A fully cooled loaf holds its shape and cuts cleanly.
Using the wrong slice thickness for the crust. A very thin slice (under ¼ inch) on a thick crust often shatters or crumbles. Set the thickness to at least 3/8 inch for crusty sourdough. Thicker slices hold together better and don’t tear at the edges.
Pushing down instead of letting the tool cut. With a manual wire slicer, resist the urge to bear down hard. Let the weight of the wire do the work. Pressing forces the bread to compress first, then tear.
Slow and steady wins. With electric, let the blade feed the loaf; don’t shove the carriage.
Not cleaning the blade between loaves. Residue from one loaf can stick to the blade and drag through the next one. A crusty buildup also dulls the edge faster. For manual wire slicers, a quick wipe with a damp cloth takes 30 seconds.
For electric models, remove the blade and wash it in warm soapy water after every few uses. A crumb tray makes this much easier.
Ignoring the direction of the crust seam. Place your loaf so the crust seam (the bottom from proofing) faces down or away from the blade. If the seam hits the blade first, it can catch and tear a chunk off. Rotate the loaf 90 degrees for a cleaner first slice.
Frequently Asked Questions
Can I use a regular bread knife on sourdough instead of a slicer?
Yes, but control is the tradeoff. A good serrated knife can produce excellent slices if you have steady hands and a sharp blade. The downside is inconsistency across the loaf and higher risk of crushing a delicate crumb.
A slicer, even a manual one, gives you uniform thickness every time.
What thickness should I set for sourdough toast?
For toast, 3/8 to 1/2 inch works best. Thin slices (under ¼ inch) tend to dry out and burn quickly in the toaster. Thick slices (over 5/8 inch) may not toast evenly in the center.
Adjust based on your toaster’s slot depth.
How do I fix a wonky first slice from a boule?
Trim the very top dome off with a horizontal cut about ½ inch deep. This creates a flat surface that rests evenly against the slicer guide. Save that dome piece for breadcrumbs or snacking.
After that, the rest of the loaf slices normally.
Can I slice a cold or frozen sourdough loaf?
Yes, but with caution. A fully frozen loaf is rock hard and can chip or dull your blade. Let it thaw for 15 to 20 minutes at room temperature so the crust softens slightly.
A cold loaf (straight from the fridge) slices cleanly but may be more brittle. Many bakers prefer slicing after the loaf has rested overnight.
How often should I replace the wire on a manual slicer?
It depends on how crusty your loaves are. With standard sourdough, expect to replace the wire every 25 to 40 loaves. If you bake extra‑hard crusts or add seeds that stick to the wire, change it closer to 20 loaves.
A wire that feels slack or shows small kinks is ready for replacement. Most models use standard guitar‑string gauge wire available online.
Is an electric slicer worth it for a home baker who bakes once a week?
Probably not. The cost, cleaning hassle, and storage space outweigh the benefit for low volume. A manual wire slicer gives you nearly the same consistency at a fraction of the cost and cleanup time.
Save the electric model for when you’re baking 6 or more loaves per week, or if hand mobility is a concern.

Similar Posts