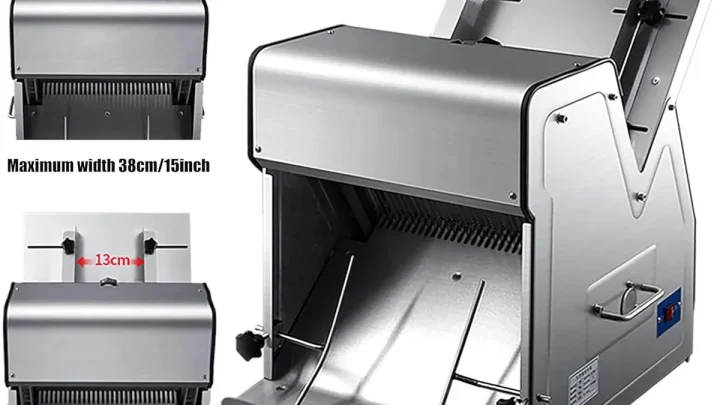
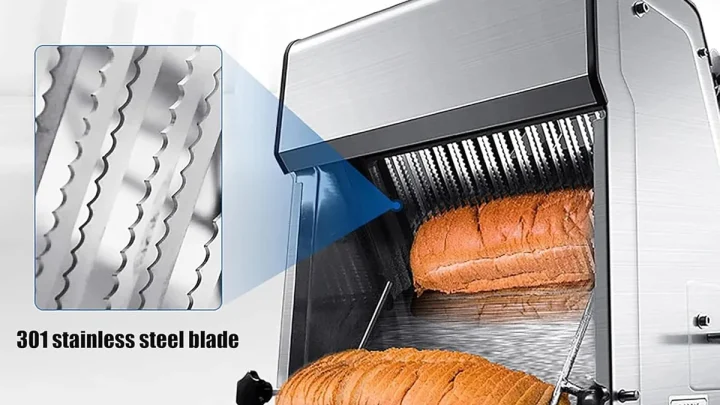
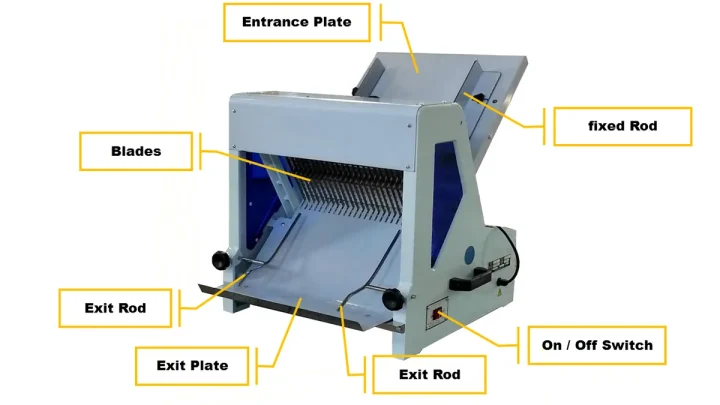
The Right Way to Use a Bread Slicer for Even Slices
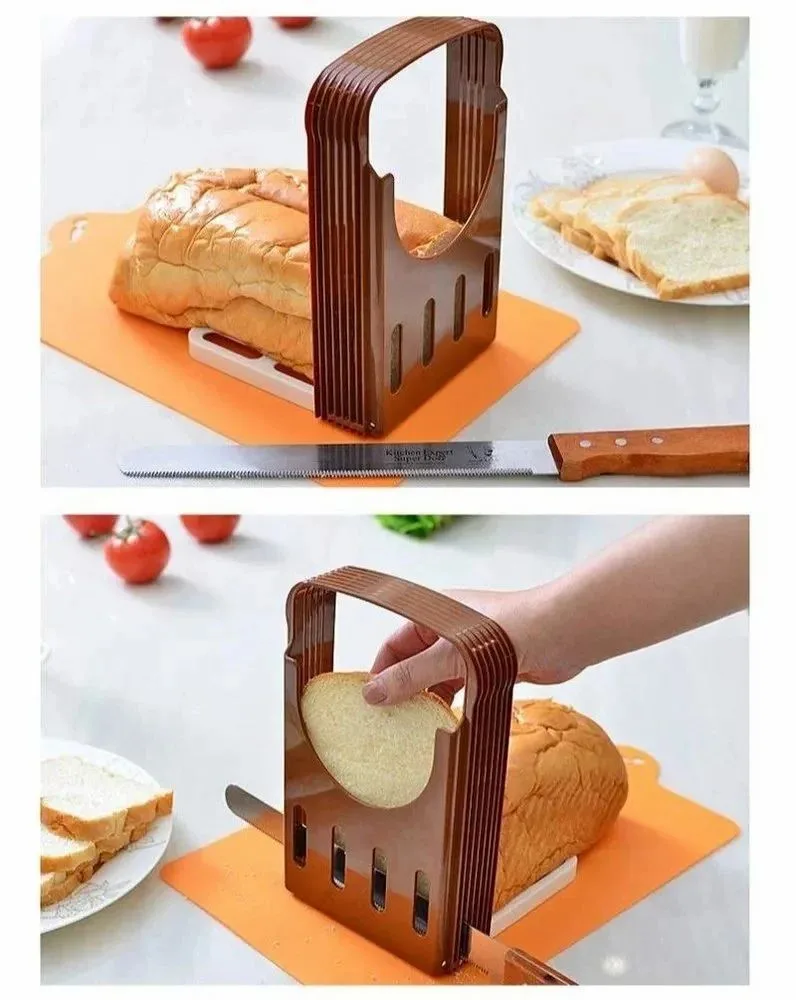
If you've ever ended up with a stack of bread slices ranging from paper-thin to doorstop-thick, you've probably wondered how to use a bread slicer for even slices. The good news is that with the right technique and a little visual know-how, you can get resturant-quality uniformity every time.
Most manual slicers offer thickness settings from ¼ inch up to 1 inch, letting you dial in the exact slice for toast, sandwiches, or croutons. According to manufacturer specs, consistent slice thickness isn't just about looks. It helps bread toast evenly and makes sandwiches stack better.
Let's walk through the process step by step.
Quick Answer
Set your thickness dial to your desired setting. Place a fully cooled loaf centered in the cradle with the cut end facing you. Lower the guide or pusher gently.
Use a gentle sawing motion, never press straight down. Remove each slice and check for evenness. Repeat for the rest of the loaf.
That's the core technique in five short steps.
Why a Bread Slicer Beats Freehand Slicing
Freehand slicing takes practice. Even experienced bakers end up with wedges when the loaf domes or the crust is hard. A bread slicer solves that by giving you a physical guide.
The loaf sits in a fixed cradle, and the blade or wire follows a predetermined path.
Many home bakers report that after two or three uses, the slicer produces near-identical slices every time. That consistency matters if you're batch-baking for the freezer or selling at a market. It also reduces waste, no more trimming uneven ends.
Another hidden benefit is safety. A long serrated knife can slip, especially on a domed loaf. A slicer keeps your hands away from the cutting edge.
This is especially valuable for anyone with reduced hand strength or arthritis.
Of course, a slicer takes up counter space. But many fold flat or store in a drawer. For anyone who bakes more than once a week, the trade-off is worth it.
The Parts That Matter: What You're Working With

Not all bread slicers are the same. Knowing the parts helps you use them correctly. Here is a quick breakdown of the three common types.
| Type | Key Parts | Best For |
|---|---|---|
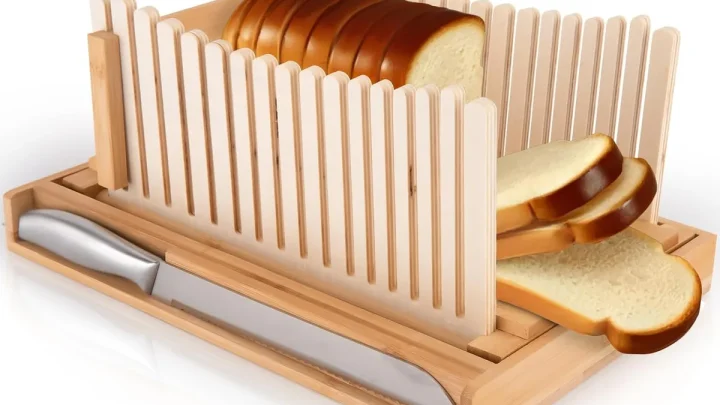
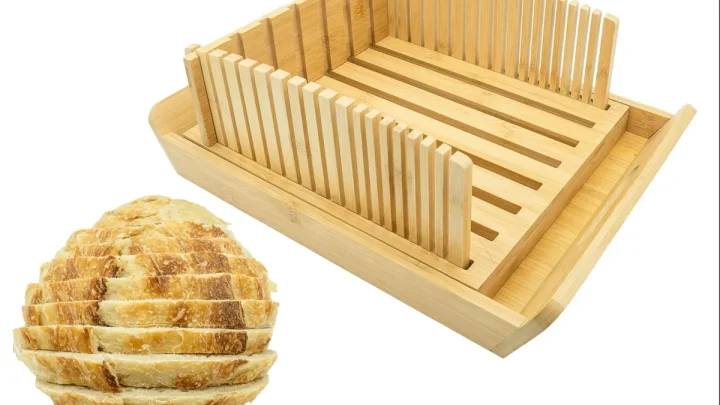
| Manual guide slicer | Adjustable thickness dial, metal guide arms, serrated knife slot | Sandwich loaves, standard boules |
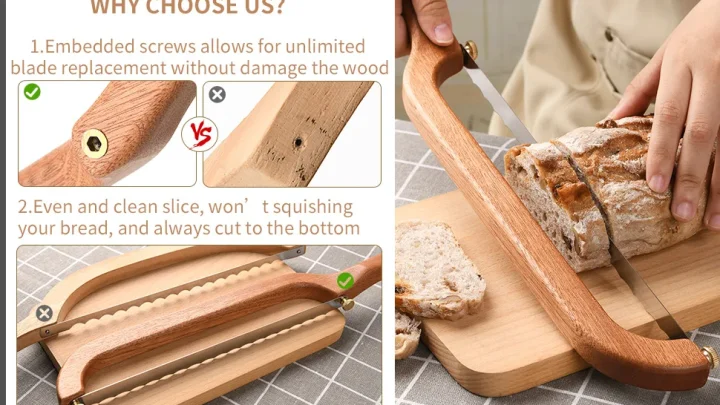
| Wire cutter | Fixed wire frame, bread cradle, hinged or sliding wire | Artisan loaves, soft crusts |
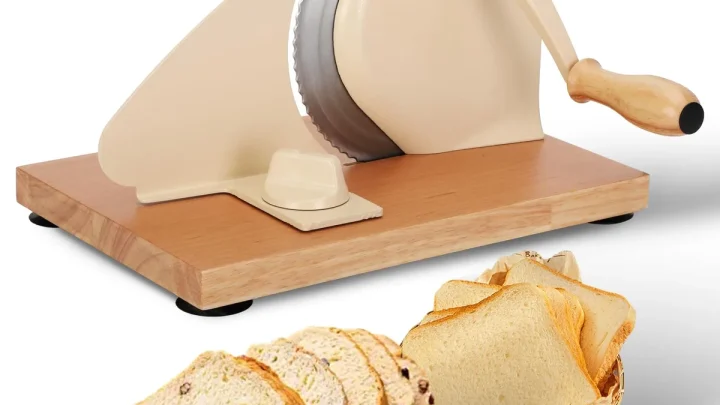
| Crank slicer | Rotating blade, hand crank, thickness dial, crumb tray | High volume, dense bread |
The manual guide slicer is the most common home model. It works with your own serrated bread knife. The wire cutter uses thin stainless steel wires that slice through crust without crushing.
The crank slicer is moterized but still hand-powered, you turn the crank to push the loaf past a spinning blade.
Each type relies on the same principle: the bread stays still while the cutting element moves, or the bread moves along a fixed track. The visual cue you need to watch is the alignment of the loaf against the guide. If the loaf tilts, the slice tilts.
Step-by-Step: How to Set Up and Use a Bread Slicer
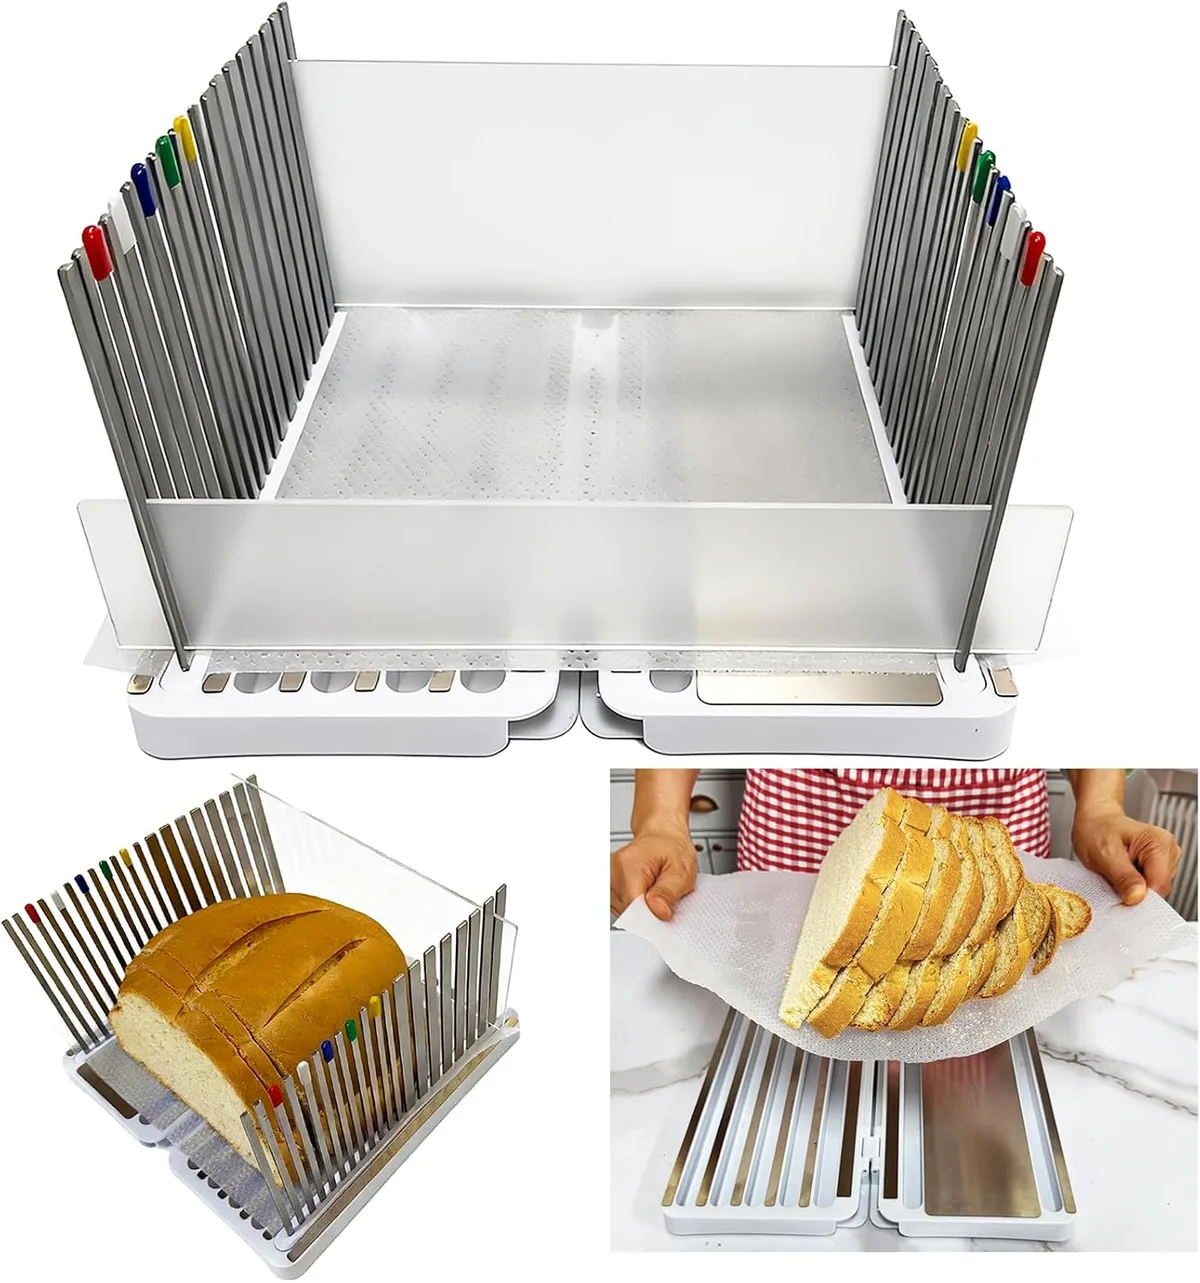
Follow these steps for even slices every time.
1. Let the loaf cool completely.
Hot or warm bread compresses easily. Per USDA food safety guidelines, baked goods should cool to internal temperature below 100°F before slicing to prevent moisture issues. Rushing this step is the top cause of squished slices.
2. Set your thickness.
Turn the dial to your desired setting. For sandwich bread, ½ inch works well. For toast, ¾ inch.
For croutons, ¼ inch. The number should click into place.
3. Center the loaf.
Place the bread in the cradle with the cut end facing you. The loaf should sit flat. If the top domes, turn the loaf so the dome is upward, the guide will accommodate it.
4. Engage the guide or pusher.
Lower the guide arms or pusher so they rest on top of the loaf. They should hold the bread in place without pressing too hard. You want stability, not compresion.
5. Use a sawing motion.
If you are using a manual guide slicer, hold the knife at a slight angle and pull back and forth. Do not push straight down, that crushes the crumb. Let the serrations do the work.
For wire cutters, close the handle in one smooth, steady motion.
6. Check your first slice.
Lift the guide and remove the slice. Look at it from the side. It should be even top to bottom.
If one side is thicker, adjust the loaf's position slightly before the next slice.
7. Repeat for the rest of the loaf.
After each slice, repositon the loaf against the stop. The sliced surface becomes your new guide. Keep the cut side flat against the guide for the most consistent result.
How to Spot and Fix Common Slicing Mistakes
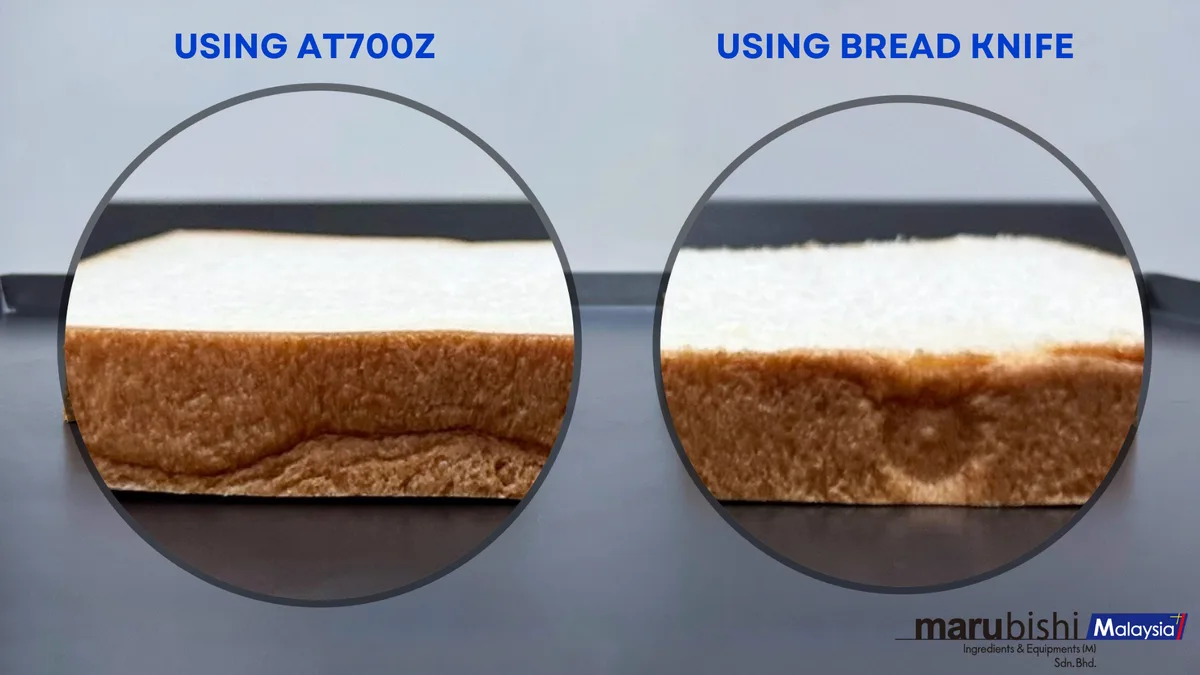
Even with a slicer, things can go wrong. Here are the most frequent problems and how to correct them.
The first slice is too thin or jagged.
This happens when the loaf is not flush against the stop. Always start with the cut face flat against the guide. If the loaf is fresh, the first slice may be irregular anyway, just set it aside for breadcrumbs.
Bread squishes under the guide or pusher.
You are applying too much downward pressure. The guide should rest gently on the loaf. If the bread is very soft (like brioche or fresh white bread), chill it for 15 minutes in the fridge first.
This firms the crumb without hardening the crust.
Slices come out wedge-shaped.
The loaf is tilted in the cradle. Check that the bottom of the loaf is flat against the base. If your loaf has a rounded bottom, trim a thin slice off the bottom to create a flat surface.
This one trick stabilizes everything.
Crust crumbles or tears.
A dull blade causes crust to shatter. Serrated knives lose their edge over time. As a general rule, replace your bread knife every two to three years for best results.
For wire cutters, check that the wires are not bent or rusty.
The slicer slides on the counter.
Many slicers have non-slip feet. If yours does not, place a damp paper towel or silcone mat underneath. A stable slicer is essential for safe, accurate cuts.
Pro Tips for Perfect Even Slices Every Time
Once you have the basics down, a few advanced techniques take your results from good to professional.
Use the offset second-slice trick.
After you cut the first slice, flip it over and place it back against the cut face of the loaf. This offsets the angle slightly and corrects any tilt. It sounds odd, but it works.
The second slice comes out straighter than the first.
Stabilize tall or round loaves.
A tall artisan boule can wobble in a standard cradle. Slice off a thin piece from the bottom to create a flat base. The loaf will sit level, and every slice after that stays even.
Bakers call this "squaring the round."
Flip the bread for better balance.
If your loaf has a pronounced dome, place it upside down in the cradle. The flat bottom becomes the top, and the dome nests into the guide. This gives you more contact surface and less wobble.
Match your knife to the bread.
For manual guide slicers, a 10-inch serrated knife is the sweet spot. Shorter knives require more sawing strokes. Longer knives can hit the back of the cradle.
For wire cutters, make sure the wire tension is tight, loose wires produce wavy cuts.
Maintenance and Safety
A bread slicer is a simple tool, but it needs occasional care to stay safe and effective.
Clean after every use.
Crumb trays fill fast. Empty them before they overflow. For guide slicers, wipe the metal arms with a dry cloth.
For wire cutters, rinse the wires under warm water and dry immediately. Never soak the frame, water trapped in joints leads to rust.
Check for loose parts.
The thickness dial and guide arms can loosen over time. Tighten them with a screwdriver if they wobble. A loose guide produces uneven slices.
Replace worn blades and wires.
Stainless steel wires eventually fatigue. If you see fraying or rust spots, replace them. The same goes for the serrated knife you use with a guide slicer, dull knives crush more than they cut.
Store safely.
Keep the slicer out of reach of children. Many models have folding blades or sharp wires. A dedicated drawer or high cabinet is ideal.
If you store it flat, cover the blade area with a piece of cardboard.
General safety rules:
- Never slice frozen bread, it can crack metal blades and wires.
- Keep fingers clear of the cutting path at all times.
- Use the guide or pusher for every slice. Raching past it defeats the purpose.
Frequently Asked Questions
Can you use a bread slicer for soft sandwich bread?
Yes, but chill the loaf in the fridge for 15 minutes first. Soft bread compresses easily, and cold fresher holds its shape through the cut. Use a gentle sawing motion and minimal pressure.
How thick should I set it for toast vs. sandwiches?
For toast, set it to ¾ inch, thicker slices hold up better in the toaster. For sandwiches, ½ inch gives you a sturdy but not overwhelming base. For snacks or dipping bread, try ¼ inch.
Why are my slices still uneven even with the slicer?
The most likely cause is a tilted loaf. Check that the bottom of the bread sits flat on the cradle base. If your loaf has a rounded bottom, trim a thin slice off to level it.
Also check that the guide arms sit evenly on top.
Can I slice a whole boule in a manual slicer?
It depends on the boule size. Most manual slicers handle loaves up to 6 inches tall and 8 inches wde. For larger rounds, you may need to half the loaf first or use a wire cutter model with a wder frame.
How do I clean stuck dough off the wires?
Let the dough dry completely, then brush it off with a stiff pastry brush. If residue remains, wipe the wires with a damp cloth and dry immediately. Never use abrasive scrubbers, they scratch stainless steel and create rust points.

Similar Posts