How to Use a Bread Slicer Like a Pro
You slide a fresh loaf onto the counter and reach for your bread knife, only to watch the heel come out twice as thick as the middle. Again. That is the exact problem a bread slicer solves.
If you want to know how to use a bread slicer properly, the good news is it is not complicated. You just need to understand a few visual cues and mechanical basics.
Manufacturer spec sheets show that even a basic manual model produces slices within a millimeter of your chosen thickness, every time. That consistency matters when you are building a sandwich or stacking French toast for a crowd. Once you get the feel for it, you will wonder why you ever fought with a wobbling loaf.
Quick Answer
A bread slicer uses a slotted frame and a blade to cut uniform slices. Place the loaf against the backstop. Align it with the cutting slot.
Push the handle or blade through in one smooth motion. Catch the slice with your free hand. Repeat.
Why a Bread Slicer Actually Changes Your Morning Toast
Think about the last time you cut a fresh-baked sourdough freehand. The crust cracks. The crumb compresses.
Suddenly your toast has a thick dome on one end and a thin heel on the other. That inconsistency drives up waste. Thick slices steal from the loaf count.
Thin ones burn before the center warms.
A slicer forces every cut to the same thickness. That means your morning toast browns evenly. Your lunch sandwich stack sits flat.
Your bread stays fresher because you can cut exactly what you need and leave the rest whole.
Aggregate user reviews on manual models note that even a $30 wooden guide cuts slicing time in half once you get the rhythm down. The crumb tray collects the mess so your counter stays clean. That small convenience adds up when you bake twice a week.
If you bake often, a [good bread slicer](https://starbreadbakery.org/best-bread-slicer-for-homemad e-bread/) makes the whole process smoother.
The Parts You' ll See an d Touch Every Time
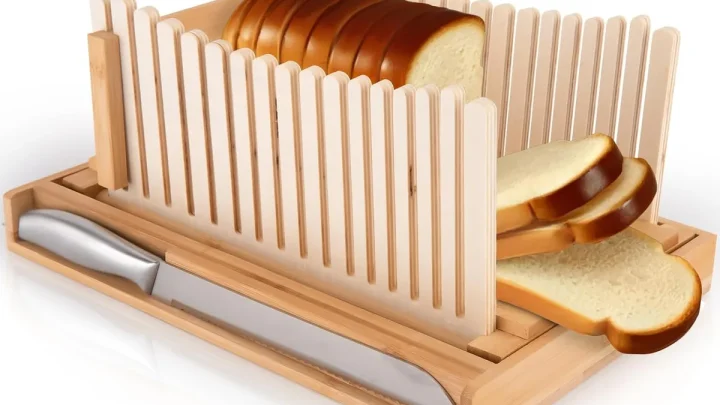
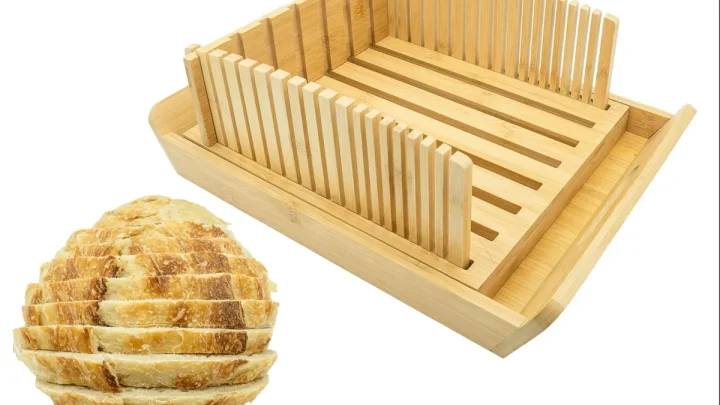
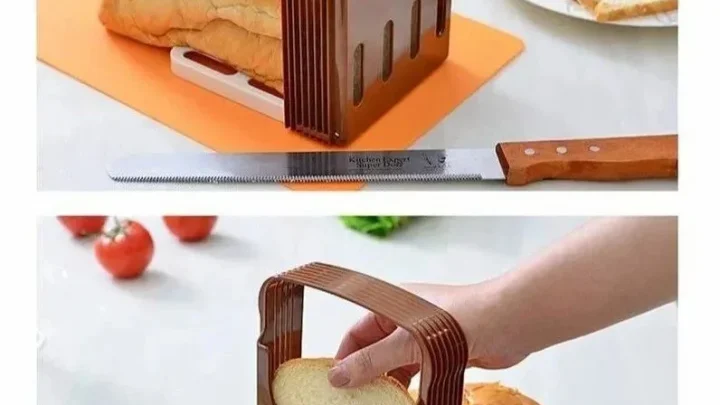
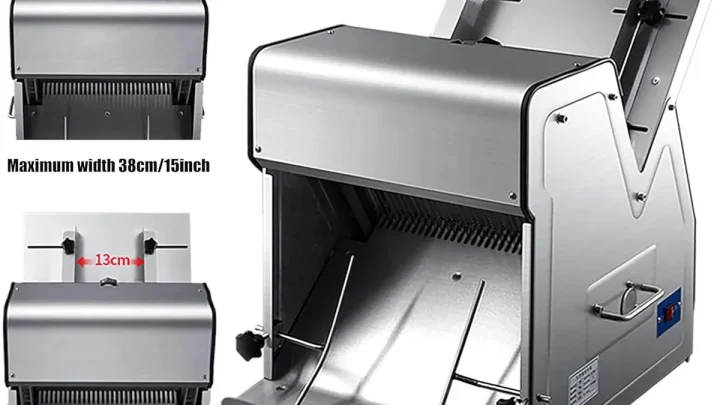
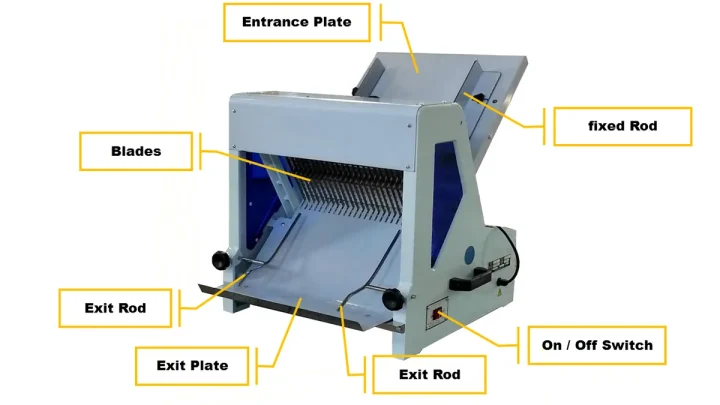
Let s break down what is actually in front of you. A manual bread slicer has four main pieces: the base, the backstop, the cutting guide, and the blade assembly.
Imge sourc e:Web (Bing)/ snapk lik.com (Web iage (fair-use with sourc e credit))
The ** base ** is the flat platform that sits on your counter. Look for non-slip feet. They keep the unit from sliding when you push through a tough crust.
The ** backstop ** is the metal or plastic bar at the end of the base. You push your loaf against it to keep it squar e. If it is adjustable, you can shift it forward to hold a short loaf or back for a baguette.
The ** cutting guides ** are the adjustable rails that define slice thickness. Most models have a knob or slider that moves them in 1/4-inch incr ements. A common range is 6 mm to 25 mm (about 1/4 inch to 1 inch).
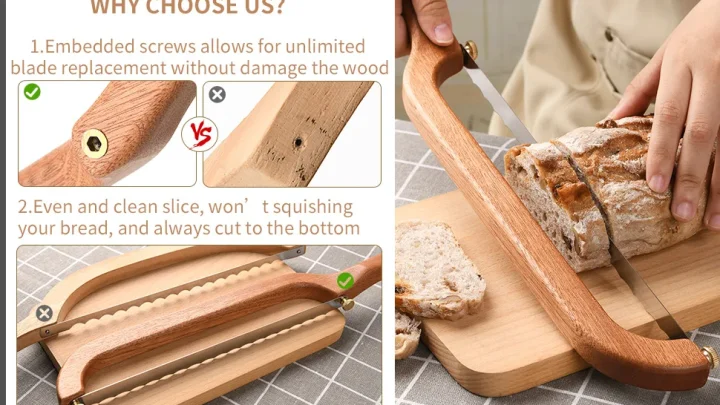
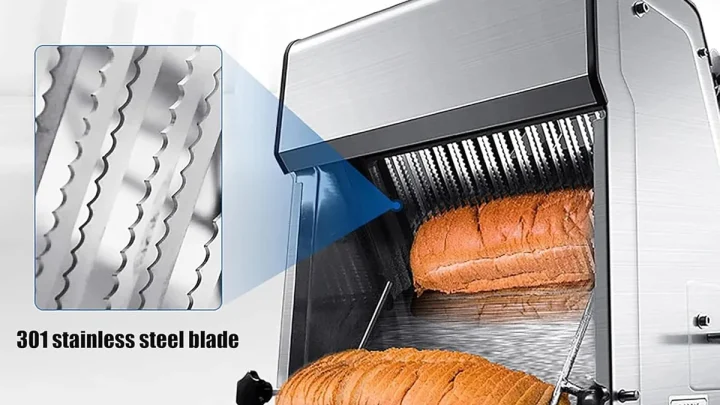
The ** blade assembly ** is either a single serrated blade on a pivoting arm (manual) or a reciprocal blade in an electric unit. Manual blades are usually stainless steel with coarse serrations to grip crust without tearing. Dull blades are dangerous because you force them.
Sharp ones cut clean with minimal effort.
Some electric models add a ** finger guard ** and a ** start/stop button **. The guard is mandatory. If it is absent, do not use the machine until you replace it.
Getting the Loaf Ready: Position, Angle, and That Backstop
Before you make the first cut, the loaf has to be in the right spot. This is where most beginners go wrong. They plop it in the middle and hope.
First, trim the heel. Pop off the end crumb by hand or with a knife about half an inch from the end. That flat surface lets the loaf sit flush against the backstop.
Without it, the loaf tilts and your first few slices angle off.
Imge sourc e: Bing (Web (fair-use with sourc e credit))
Now set the slice thickness. For sanwiches, most people dial in 1/2 inch (12 mm). For tost, 3/4 inch (18 mm).
Adjust the cutting guides so the opening matches that width. Check by sliding a dollar bill through. It should fit snug.
Place the loaf against the backstop with the cut side touching. The blade should line up right above the intended slice spot. You want the loaf centered under the blade, not shifted left.
If your guides are symmetrical, this is automatic. If not, shift the loaf so the blade passes through the center of the slice, not the edge of the crust.
If you are slicing a round ** boule **, you need an extra step. Set the loaf on its side, not on the bottom. That flats out the dome and gives you a stable surface.
The first few slices will be uneven. That is fine. Flip the boule after three or four slices to keep it from wobbing.
The Actual Motion: Push, Don t Force – Watch the Blade
Here is where the visual cue matters most. The blade should ** glide **, not ** jerk **. If you feel pressure, you are using the wrong angle or the blade is dull.

Imag e sourc e: Bing (Web (fair-us e with sourc e credit))
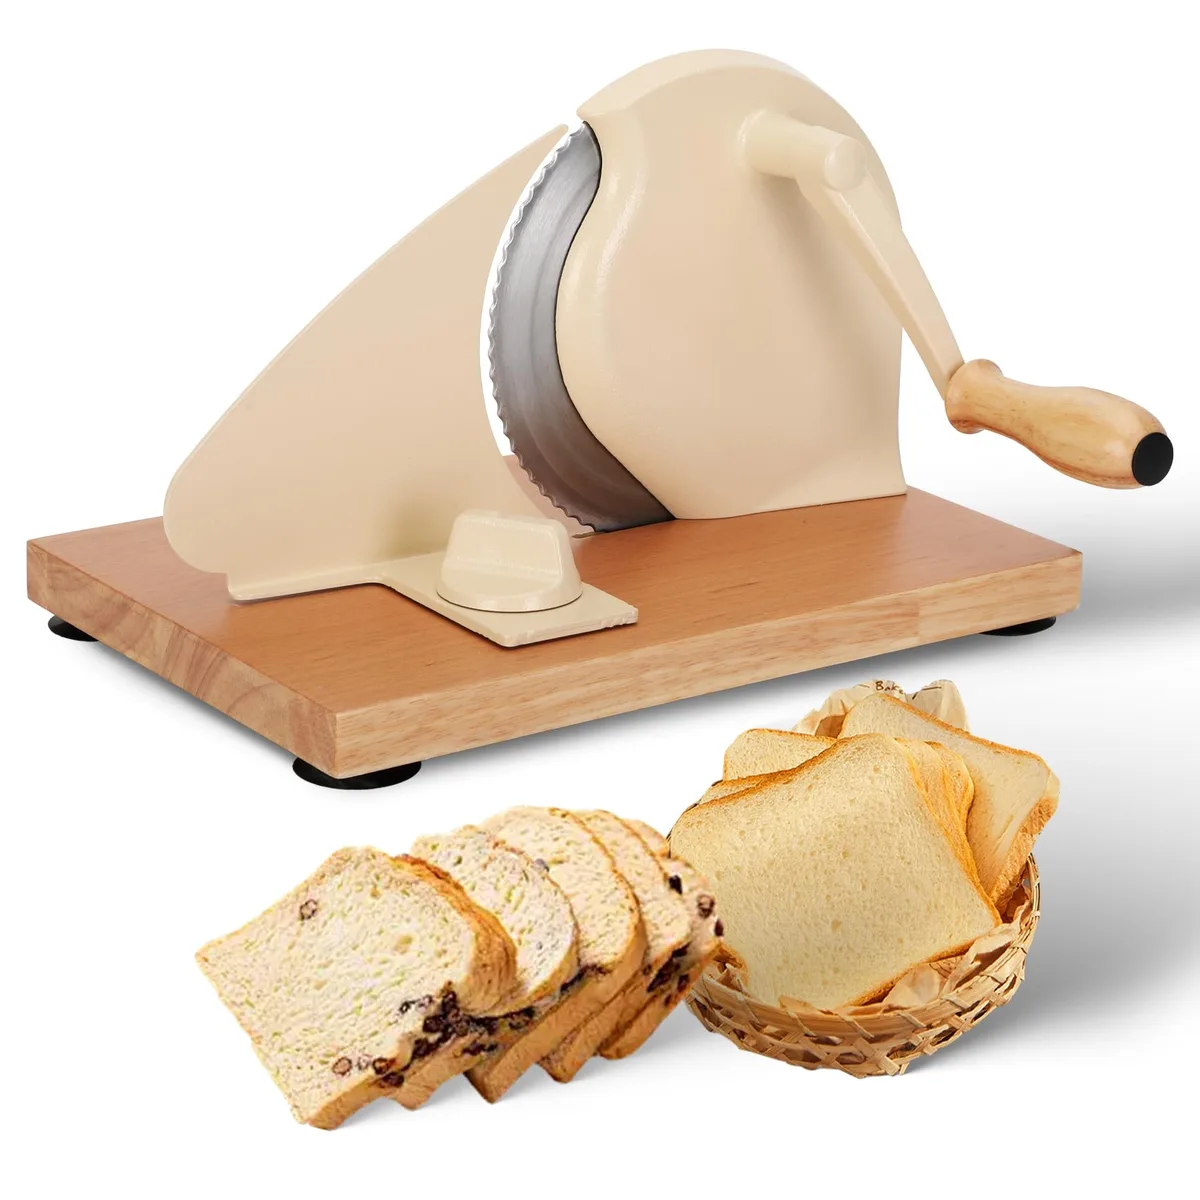
For a ** manual slicer **, grip the handle with your dominant hand. Your non-dominant hand holds the loaf steady, but keep fingers on top. Don t wrap them around the front.
Slice in a smooth, sweeping arc. Do not stop midway. A pause lets the crust grab the blade and shred the cut.
The blade should align with the cutting slot. Push through until it hits the bottom of the slot. Retract in one motion.
Let the slice fall onto the crumb tray or catch it with your non-dominant hand. Never reach under the blade.
For an ** electric slicer **, the process is simpler. Place the loaf against the backstop. Pull the start lever or press the button.
The blade moves automatically. Use the pusher (a plastic block) to advance the loaf. Keep your fingers clear of the opening.
The sound should be a steady hum, not a struggle. If the motor labours, the blade is probably dull or the slice is too thick.
One common mistake: sliding the loaf sideways while cutting. The guides keep it square, but if you push at an angle, the blade hits the crust edge and chips. Every push should be straight toward the blade.
When the Loaf Fight s Back: Boules, Baguettes, and Soft Bread
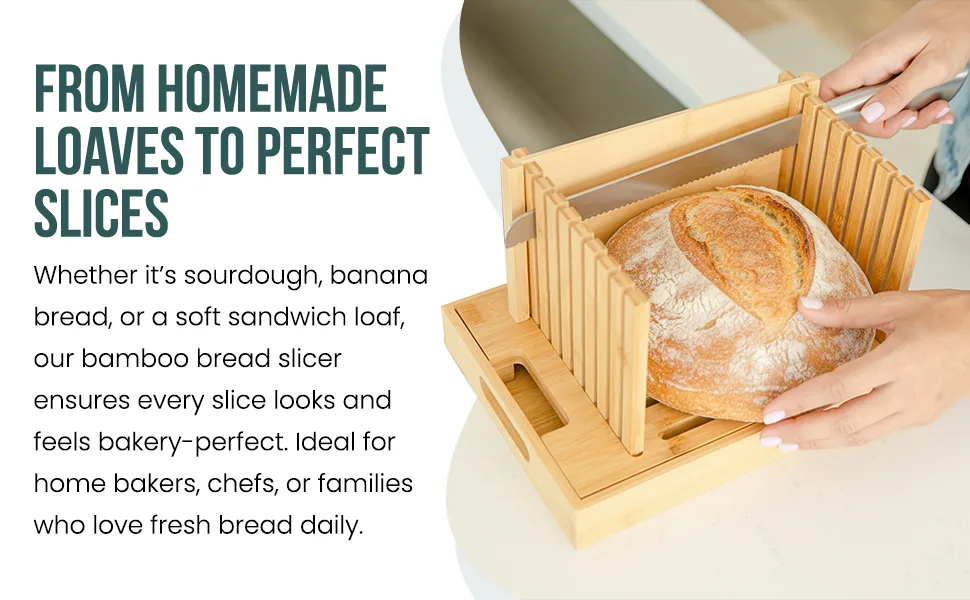
Not every loaf behaves the same. A sandwich loaf is forgiving. An artisan sourdough with a rock-hard crust is not.
That is when technique matters.
Imag e sourc e: Bing (Web (fair-use with sourc e credit))
For a ** hard-crust boule **, let the loaf sit out uncovered for a few hours or overnight. Dry crust is brittle. A slightly stale crust slices cleaner than fresh.
The blade cuts through without shredding the inside.
For a ** baguette **, length is the problem. Most slicers can not take a full baguette. Cut the baguette in half crosswise first.
Then slice each half normally. Position the cut side against the backstop.
For ** soft bread ** like brioche or milk bread, the crumb compreses easily. Chill the loaf in the fridge for 20 minutes before slicing. The cold stiffens the structure so the blade cuts through without squashing.
After slicing, let the slices come to room temperature before using.
One more tip: if your blade sticks on seeds or oats, wipe it with a damp cloth between loaves. Buildup grain residu changes the blade s bite and creates ragged edges.
Three Things to Check Befor e You Start (Safety You Can See)
Before the blade touches the loaf, run a quick visual inspection. It takes fifteen seconds and stops most accidents cold.
** First, check the blade guard. ** On electric models, the guard must sit flus h over the blade opening. If it is cracked or missing, do not use the machine. Manual slicers have a blade stop or a locking pin.
Make sure it is engaged before you reach under the blade.
** Second, confirm the non-slip feet are clean. ** A slicer that slides on the counter is dangerous. Wipe the feet with a damp cloth if they fe el greasy. Place the unit on a dry, flat surface.
If your counter is glossy tile, put a silicone mat under the base.
** Third, inspect the blade for chips or rust. ** Run a cloth along the edge. A chipped blade catches and tears. Rust weakens the metal and can flake into the bread.
Sharpen or replace any blade with visible damage. As of 2026, most manual replacement blades cost under $15 and swap in under a minute.
One more visual cue: the slice thickness guides should lock into place. If they wobble, the cut will wander. Tighten the adjustment knob until the guides are firm.
Loose guides cause wonky slices and increase the risk of pinched fingers.
After the Slice s: Cleaning and Blade Car e (Visual Clues)
When you finish slicing, look at the crumb tray first. A pile of fine dust means the blade is dull. Sharp blades produce ribbons of crust, not powder.
That dust is your sign to sharpen or replace.
** Manual blades ** should be wiped down immediately. Dough residue dries hard and is tough to remove later. Use a damp cloth, not a soaking wet one.
Never submerge a wooden slicer. Water warps the frame and ruins the fit. Dry the blade thoroughly to prevent rust.
** Electrik blades ** require unplugging first. Remove the crumb tray and tap it over the bin. Brush loose crumbs from the blade housing with a dry pastry brush.
Most manufacturers recommend wiping the blade with a cloth dampened with white vinegar. It cuts grease without leaving resdue.
Check the backstop and guide rails for buildups. Stale crumbs stuck in the groovs can misalign the next loaf. A toothpick works well for tight spots.
Do this every third use and the slicer stays accurate.
Lubrication is not needed on manual models. Electric units sometimes have a guide rod that benefits from food-grade silicone spray once a year. Check your model s manual before oiling anything.
Frequently Asked Questions
How do I know what slice thickness to choose?
Start with 1/2 inch (12 mm) for most sandwiches and toast. That thickness gives you a sturdy slice that holds fillings without falling apart. For thin bread like baguette slices, use 1/4 inch (6 mm).
For Texas toast or extra-thick french toast, go up to 3/4 inch (18 mm).
Can I freeze bread right after slicing?
Yes, and that is one of the best reasons to own a slicer. Let the slices cool completely first. Stack them with a sheet of parchment paper between every two slices.
Seal in a freezer bag and press out the air. Frozen slices thaw in about two minutes at room temperature.
Why does my bread keep sliding around?
The loaf is not flush against the backstop. Trim the heel flat. If the loaf is round, set it on its side.
Some slicers let you adjust the backstop forward. Push it tight against the bread. A damp paper towel under the base helps on slick counters.
How often should I replace the blade?
Replace the blade when you see rust, chips, or when slices start tearing instead of cutting clean. For home use, that is roughly every 200 loaves or once a year. If you bake weekly, plan a new blade every 12 months.
A dull blade is more dangerous than a sharp one.
Can I use a bread slicer for other foods?
Most manual slicers are designed only for bread. The slot width and blade angle do not work well for meat or cheese. Electric deli slicers are built for that.
Stick to bread and your blade will last longer.
Why do my slices come out uneven?
Three possible causes. First, the loaf is not centered under the blade. Reposition it.
Second, the guides are loose. Tighten the adjustment knob. Third, the blade is dull.
Replace it. One of these fixes solves the problem nine times out of ten.

Similar Posts