How to Slice Sourdough Perfectly with a Bread Slicer
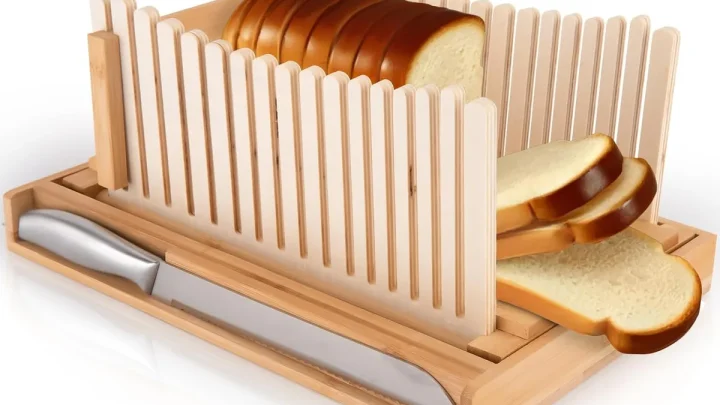
You pull a beautiful sourdough batard out of the oven, wait for it to cool, then watch it squish flat the moment the knife touches the crust. That's maddening, and it's also totally fixable. Learning how to use a bread slicer for sourdough turns a crusty, awkward lump into clean, uniform slices.
The trick is matching the guide to the loaf, not fighting against it.
As of 2026, most manual guides let you set slice thickness from 5 mm to 20 mm. That range covers delicate sandwich bread and thick toast. The process isn't complicated, but it has rules.
Follow them, and you'll stop crushing the airy crumb you worked so hard to create.
Quick Answer
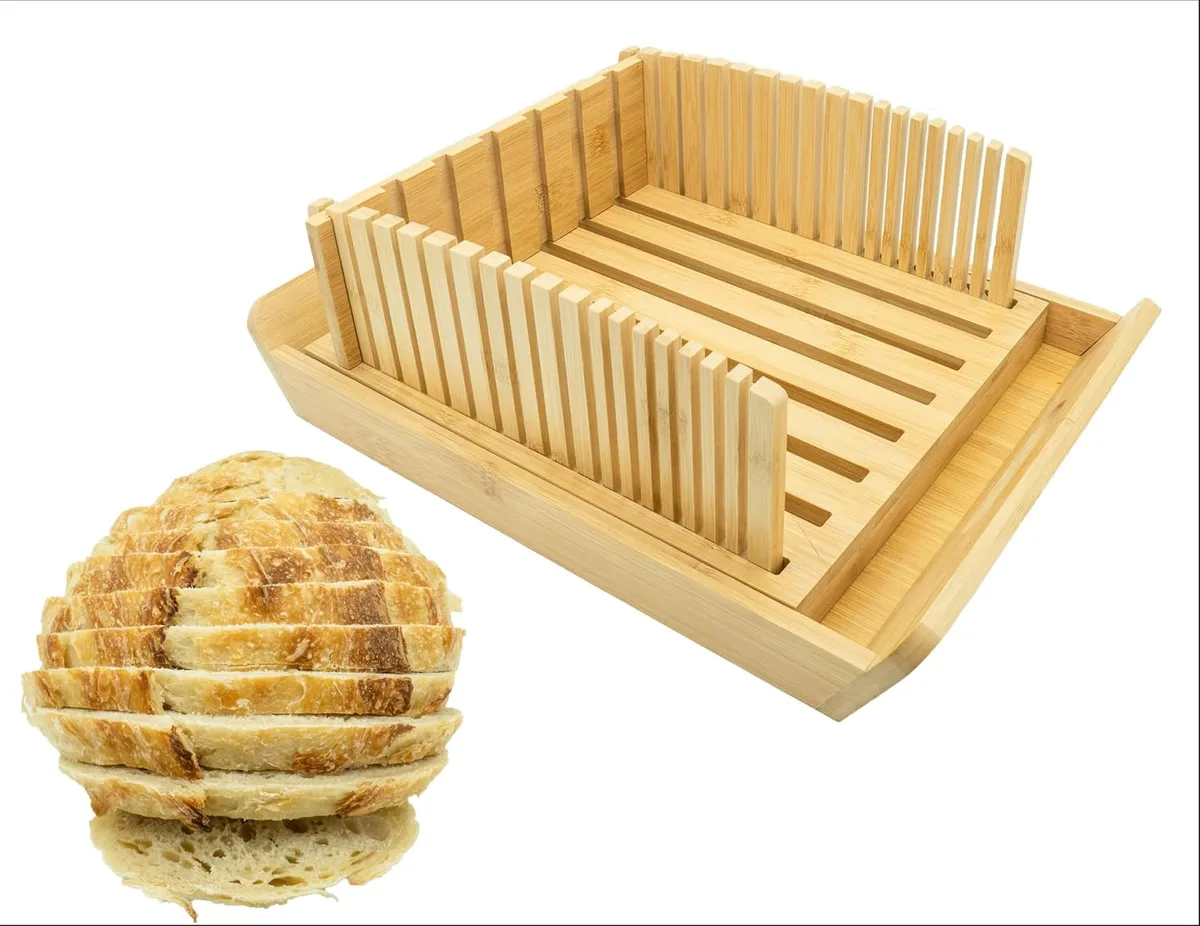
Use a bread slicer for sourdough after cooling the loaf completely. Set the guide to the thickness you want. Saw slowly with a long serrated knife.
Keep your off-hand on the crown, not near the blade. Let the blade do the work.
Why Your Sourdough Deserves a Proper Slicing Guide
Regular sandwich bread has a tight, uniform crumb. Sourdough is a different animal. You get a thick, brittle shell and an interior filled with irregular pockets.
Slicing freehand with a dull blade collapses those fragile pockets. A bread slicer stops that before it starts.
What Makes Sourdough Different From Regular Bread
High hydration is the main reason. Many sourdough recipes run 70 to 80 percent water, which creates a damp, open structure. That structure is delicate.
Even a few seconds of downward pressure can turn an airy crumb into something dense and gummy. The guide's rails keep the knife at a fixed angle, so the blade can't wander or twist as it travels.
The Goal: Uneven Slices Are Not Your Fault Unless You Skip This
Have you ever ended up with a thick heel and paper-thin middle slices? Freehand slicing lets the blade wander. A guide prevents that because every pass follows the same rails.
The outcome is repeatable thickness from the first slice to the last. That consistency matters for even toasting and for sandwiches that don't fall apart. If you're still choosing a slicer, you can check our notes on the best options for home bakers before buying.
The Right Setup: Gear, Knife, and Loaf Readiness
Before you make the first cut, set yourself up properly. You need a stable base, a long serrated knife, and a fully cooled loaf. Skipping any of these three changes how cleanly the blade passes through the crust.
Choosing the Right Serrated Knife (10" vs. 12")
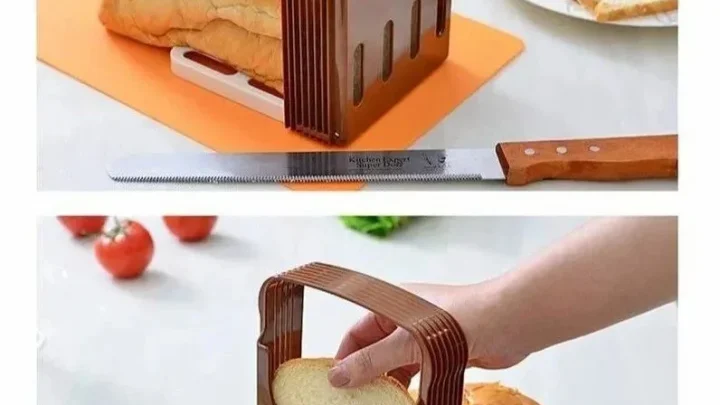
A small utility knife won't do. Sourdough needs a bread knife with coarse serrations. Look for a blade at least 10 inches long.
A 12-inch blade is better because it stays level across the whole width of a batard. Fine-toothed blades catch on hard crust, so keep the teeth bold and widely spaced.
Setting the Slice Thickness and Guard Height
Most guides have a dial or a fixed pin. Standard settings run from 5 mm for thin sandwich slices up to 20 mm for thick plank toast. Start at 15 mm for an everyday sourdough sandwich.
If the loaf barely fits under the guard, check the crumb tray height and adjust the platform before you start.
The Golden Rule: Let That Loaf Cool Completely
Bread continues to cook as it cools. The crumb needs at least 3 to 4 hours to set, and overnight is better. Slicing warm sourdough drags a blade through steam-softened dough.
The result is sticky, gummy slices that cling to the rails. Professional bakers follow the same timing, and King Arthur Baking notes the same rule.
Step-by-Step: Slicing a Batard (and Taming a Boule)
Here's the short version of the workflow:
- Cool and set the loaf.
- Dial in the slice thickness.
- Trim one heel slice.
- Fit the loaf seam-side down.
- Saw with long, slow strokes.
Positioning the Loaf Seam-Side Down
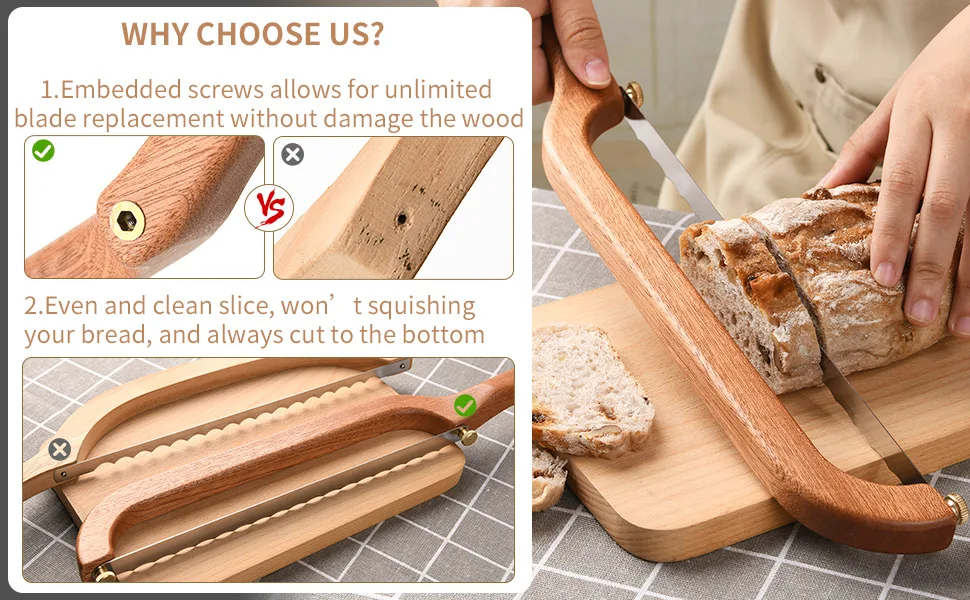
Place the loaf so the flattest side, where the seam sits, faces down. That gives you a stable base and keeps the crown from rolling. If one end tapers sharply, trim a thin heel slice first.
This creates a flat face for the next slice to rest against.
The Sawing Motion That Protects the Crumb
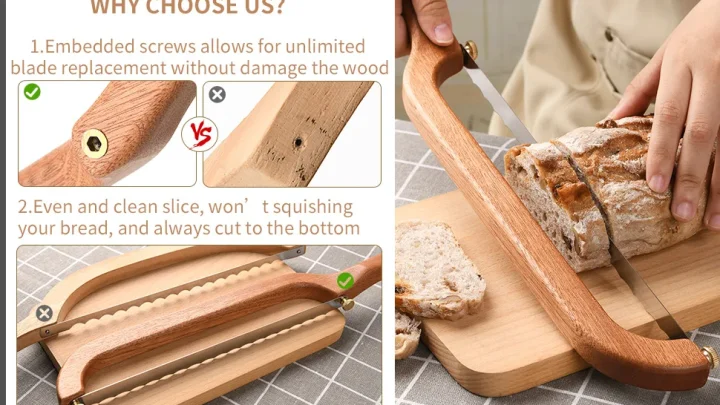
Don't push down. Draw the knife back and forth in a slow sawing motion. Let the serrations find the crust.
The blade should move through the bread under its own weight. Apply the lightest pressure with your off-hand on top of the loaf to keep it still.
Adjusting for Thick Toast, Thin Sandwiches, and Heels
Set 12 to 15 mm for sandwiches. Use 20 mm for toast or French toast. Drop to 8 mm when you want thin pressed sandwiches or crostini.
The heel benefits from a slightly thicker setting, too, since the crust needs more structure.
How to Handle a Tall Boule When It Doesn't Fit
If a round boule won't fit under the guard, don't force it. Slice it in half first, then place the cut face down. The flat surface stabilizes the loaf and lowers its height.
Some guides come with a cradle that tilts the boule, which is another good option.
Common Slicing Mistakes and How to Spot Them Visually
The signs of a poor slice show up right away. The bread either squashes, cracks, or smears. Here's how to read those clues and fix the cause.
Crushed or Squished Crumb: The Pressure Problem
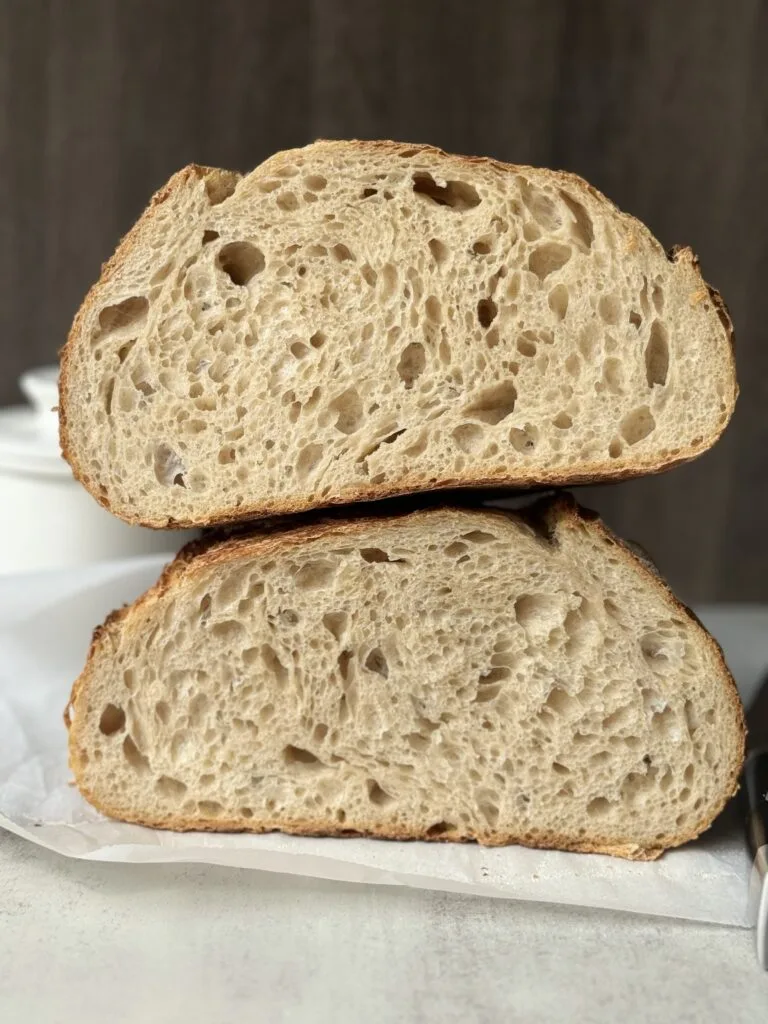
A dense slice with closed cells means you pressed straight down. The guide can't help if you're forcing the blade. Slow down and use long, gentle strokes.
Let the knife's serrations do the cutting, not your arm.
Shattered Crust and Jagged Shards: The Blade Issue
If the crust splinters into sharp pieces, your knife is too dull or too fine-toothed. Sourdough needs aggressive serration. Coarse teeth bite into the hard shell instead of skating across it.
Replace the blade when the tips feel rounded.
Why Under-Cooled Bread Turns Gummy on the Rails
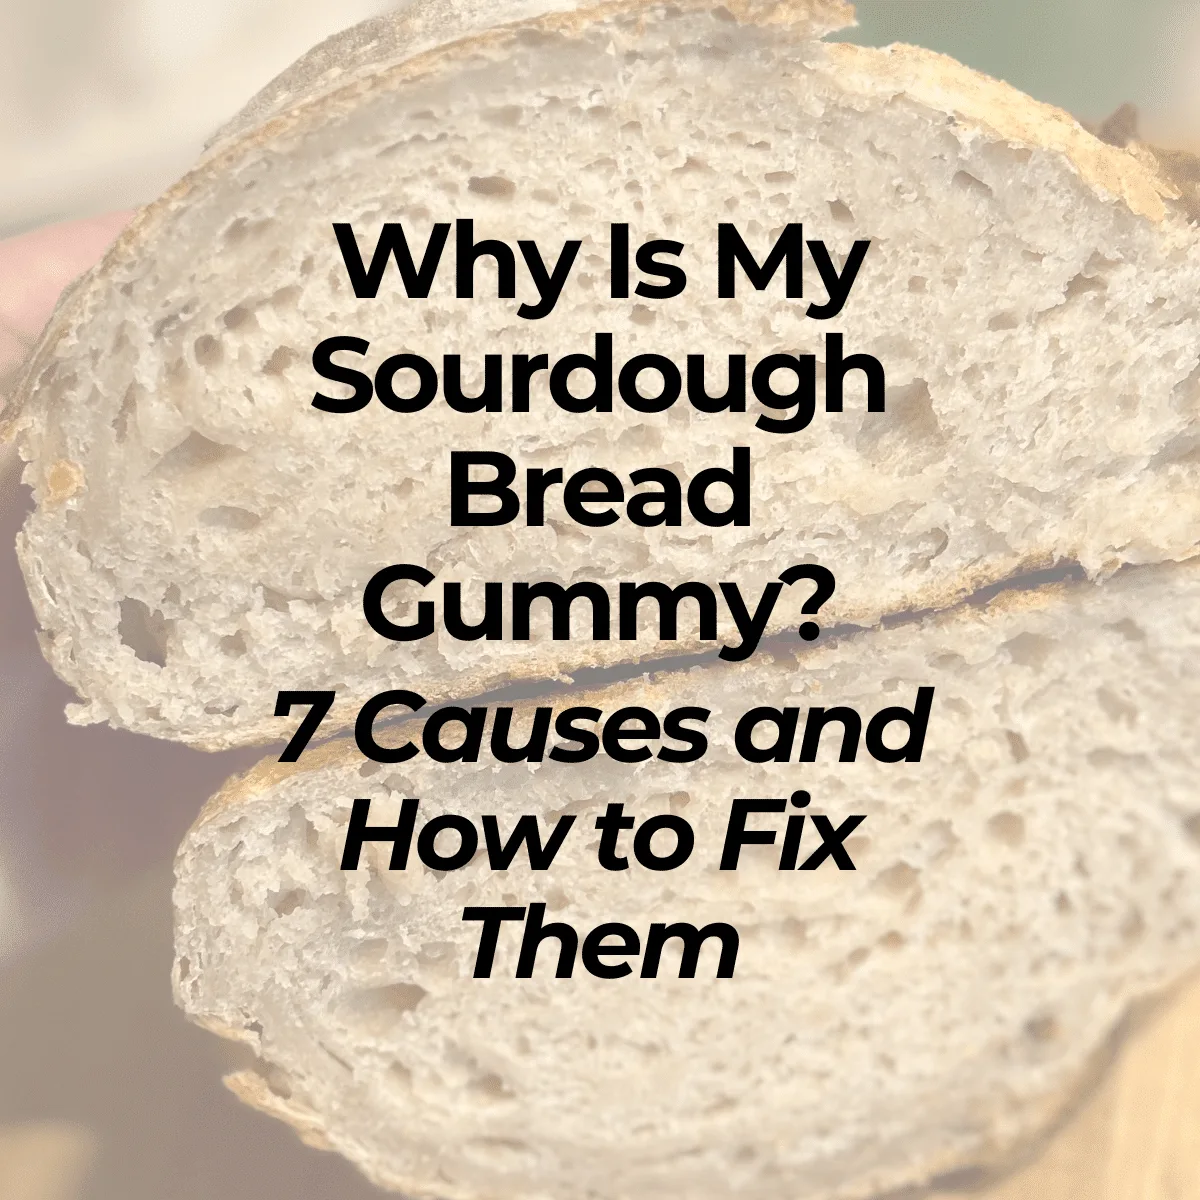
Steam condenses on the knife when the crumb is still warm. That moisture turns the dough sticky, and it clings to the guide rails. You also compress the interior cells, closing the open crumb you want.
Wait until the loaf is fully cool, often 4 hours or more. Look at the cut face. If the cells look smeared and pale instead of open and glossy, the bread went to the guide too early.
Manual Guide vs. Freehand vs. Electric Slicer: Which One Actually Works?
If you bake once or twice a week, the manual guide is usually the sweet spot. It's cheap, small, and takes 30 seconds to set up. Freehand slicing works, but only when your knife is sharp and your hands are steady.
An electric slicer is a different tool for a different job.
What a Manual Guide Does Better Than Your Knife Alone
The guide locks in a vertical blade angle and a consistent gap. That's the whole secret. You can get the same result freehand with practice, but the guide makes it automatic.
For a soft, delicate crumb, that repeatability is worth more than any knife technique.
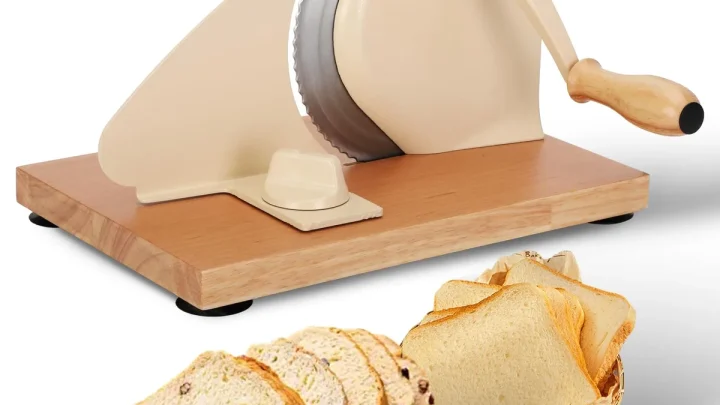
When an Electric Slicer Is Overkill (and When It's Not)
Electric slicers shine for deli-thin cuts and big batches. If you're selling toast or slicing five loaves at once, the motorized blade earns its counter space. For one or two home loaves a week, it's a chore to clean.
The manual guide is faster and easier.
A Quick Comparison for Home Bakers
| Method | Best For | Slice Control | Setup |
|---|---|---|---|
| Manual guide | 1–2 loaves per week | Consistent and repeatable | About 30 seconds |
| Freehand knife | Odd shapes and spur-of-the-moment slices | Depends on your skill | Instant |
| Electric slicer | High volume and paper-thin cuts | Very high, but needs dialing in | Cleaning takes longer |
If you're still weighing the trade-offs between guide styles, our comparison of slicer styles covers the options in more detail.
Expert Tips for Open Crumb, Thick Toast, and Gifting Loaves
Getting clean slices from a wet, open crumb starts before the knife does. Chill the cooled loaf in the fridge for 15 minutes. That firms up the crumb without ruining the texture.
Aggregate reviews from artisan bakers consistently confirm this trick.
For thick toast, set the guide to 20 mm. For French toast or strata, 15 mm works better. If you're slicing for gifting, drop to 10 mm so each piece looks delicate and even.
A quick thickness reference helps you match the cut to the recipe.
Keeping the guide clean matters more than most bakers think. Crumbs trapped in the rails will throw off the blade angle. Use a dry pastry brush after each loaf, then wipe the blade with a damp cloth.
Never soak wooden guides. Water warps the rails and ruins alignment. Those small habits extend the life of both the slicer and your knife.
For broader guidance on choosing the right model, our bread slicer recommendations cover the features that hold up over time.
Frequently Asked Questions About Sourdough Slicing
Can I Slice Warm Sourdough in a Bread Slicer?
No. Slicing warm sourdough compresses the crumb and leaves gummy streaks. Wait at least 3 to 4 hours after baking.
Overnight is even better because the interior fully sets. You'll notice the difference immediately in the clean cut face.
How Do I Prevent the Loaf from Shifting Mid-Cut?
Place the loaf seam-side down on the tray. Trim a thin heel slice first to create a flat anchor. Hold the crown gently with your off-hand, keeping fingers well behind the blade path.
That contact keeps everything stable.
Do I Need a Bread Slicer If I Have a Good Knife?
No, but it makes a big difference. A sharp serrated knife can work, but your hand controls the angle. The guide locks in a vertical cut every time.
For consistent sandwich slices and even toast, the slicer wins. We compared knife-only slicing against guide-assisted cuts in our earlier guide.
How Do I Slice a Tall Boule That Doesn't Fit?
Slice the boule in half first so the flat cut face can rest on the tray. This lowers the loaf enough to clear the guard. A cradle attachment also helps if your guide includes one.
For round loaves, this is the most reliable method.
Why Does My Crumb Stick to the Blade?
Two causes are common. The bread was under-cooled and still steamy, or the knife's serrations are too fine. Let the loaf cool completely.
Switch to a coarser-toothed blade if sticking continues. Both fixes resolve the problem quickly.
Final Verdict: Is a Bread Slicing Guide Worth It for Sourdough?
Yes, for most home bakers. A guide costs less than a good bread knife and solves the biggest problems with artisan sourdough: uneven thickness, crushed crumb, and messy heels. It also makes slicing safer because your fingers stay out of the blade path.
That's a real win.
Who should buy one? Anyone baking more than one sourdough loaf per week. You'll get consistent results without fuss.
Who should skip it? If you rarely bake and always slice freehand, you can manage. But for regular sourdough bakers, the guide earns its counter space.
One final note. A bread slicer won't fix a dull knife or a loaf that's still warm. Use a proper coarse serrated blade and respect the cooling time.
Do that, and every slice will look like it came from a bakery case. The bottom line is simple: the right technique plus a simple guide turns frustrating, squashed bread into perfect slabs every time.

Similar Posts