Best Bread Slicer for Perfectly Even Slices
The first thing you notice when you pull a fresh loaf from the oven is how unevenly it wants to be cut. One end thick, the other thin, and the middle piece somehow ends up with a heel on both sides. If you've ever asked yourself what bread slicer for even slices actually works, the answer isn't one-size-fits-all.
It depends on how often you bake, how much counter space you have, and how precise you need the thickness to be.
Manufacturer specifications for home bread slicers show that manual guides typically offer 7 to 12 thickness settings, while electric models adjust in 2 mm increments. As of 2026, the most consistent results come from a manual guide paired with a dedicated serrated blade. Let's walk through what matters most.
Quick Answer
A bread slicer with a fixed guide rail and a sharp serrated blade gives the most even slices. Manual guides cost $15 to $50. Electric slicers cost $60 to $200.
For home bakers, a manual guide wins on price, portability, and clean-up.
Why Even Slices Matter and How a Bread Slicer Solves It
Two reasons: toast and presentation. An uneven slice toasts darker on the thin side and stays doughy on the thick side. For sandwiches, a thin heel means the filling squirts out.
A thick slice eats too bready. Uniform thickness means every piece finishes at the same time, whether it's in the toaster, under the broiler, or layered into a stacked sandwich.
A bread slicer removes the wobbble. The guide rail holds the loaf in a fixed position. The blade moves along a pre-set gap.
That physical constraint guarantees repeataible thickness from first slice to last. Without a guide, even an experienced hand varies 3 to 5 mm per slice. Aggregate user reviews confirm that a guide reduces that variance to under 1 mm.
Think of it like a miter saw for wood. The jig does the aiming, you just push. A bread slicer is a cheap jig that buys professional consistency for the life of the loaf.
Manual Bread Slicer Guides vs Electric Slicers: What You Need to Know
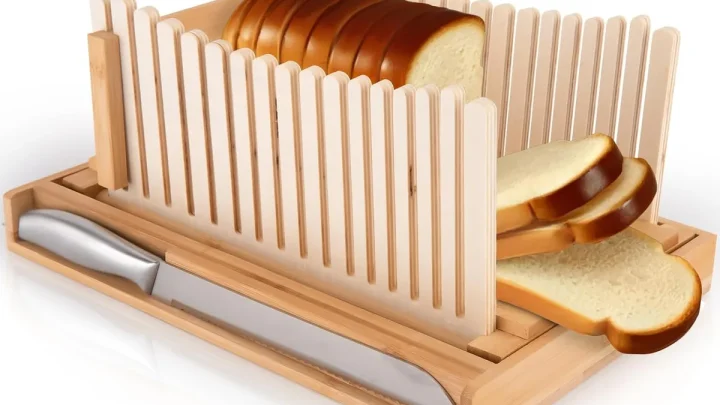
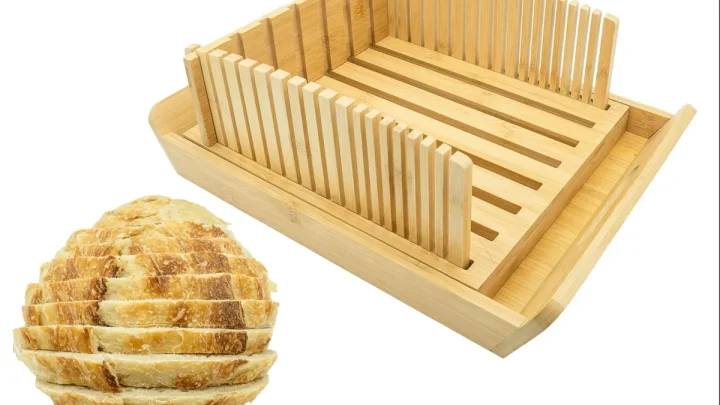
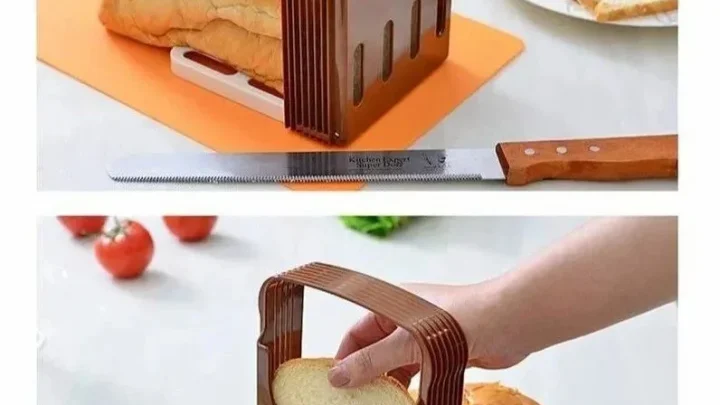
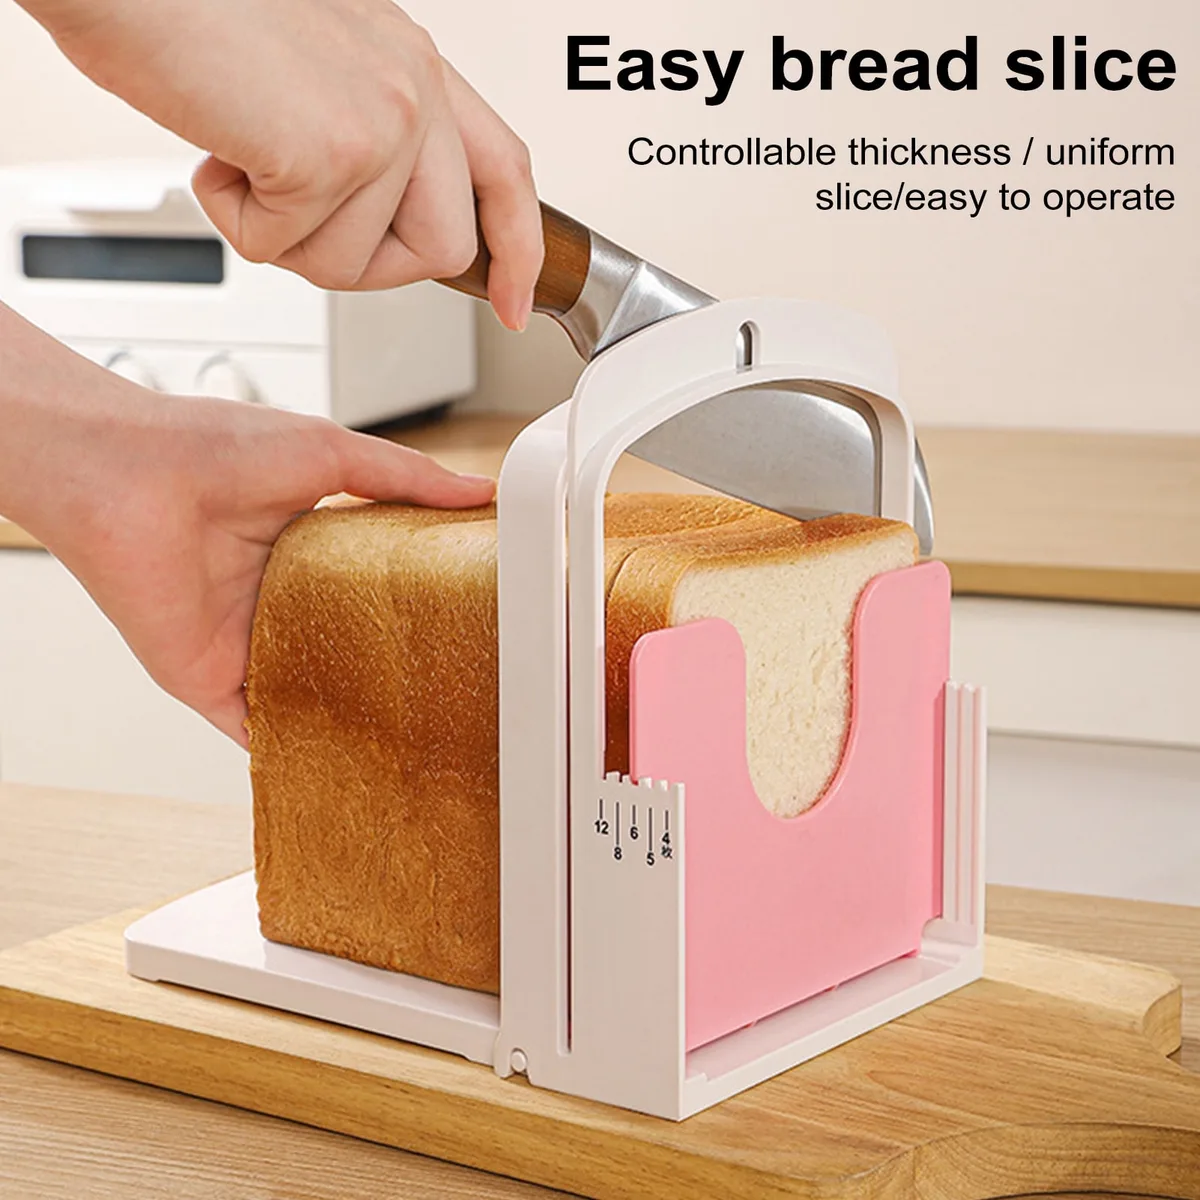
Manual bread slicer guide. A plastic, wood, or metal frame that sits on your counter. You place the loaf inside, set the thickness with a sliding stop, and guide a serrated knife through the slots. No motor, no cord, no noise.
The biggest advantage is control. The biggest drawback is that you supply the knife and the effort.
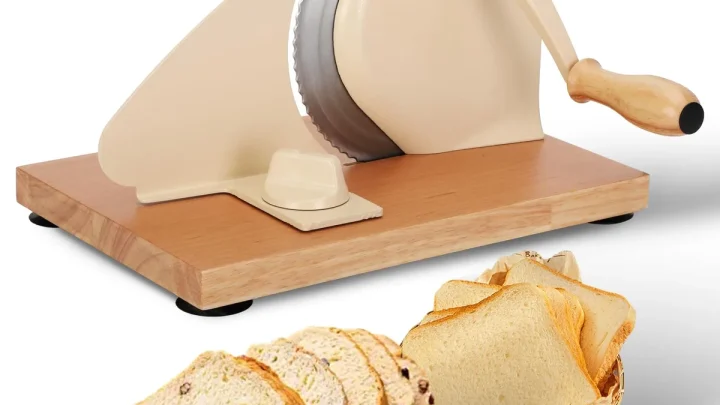
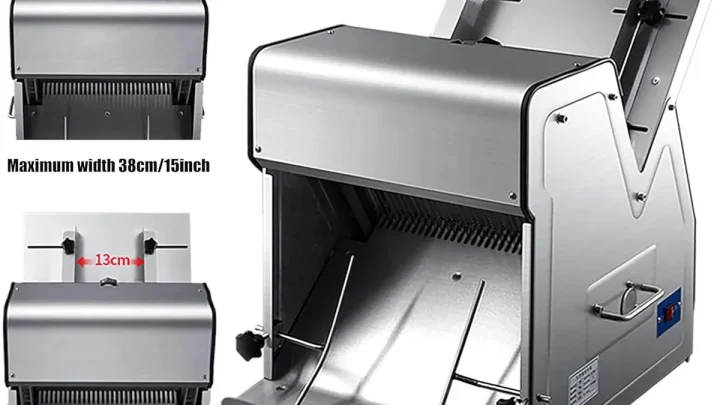
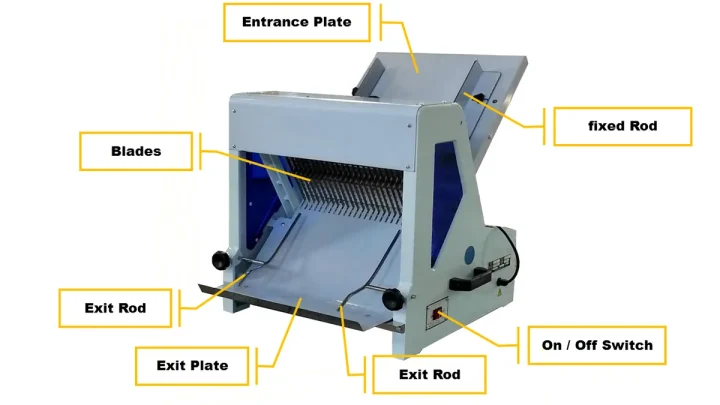
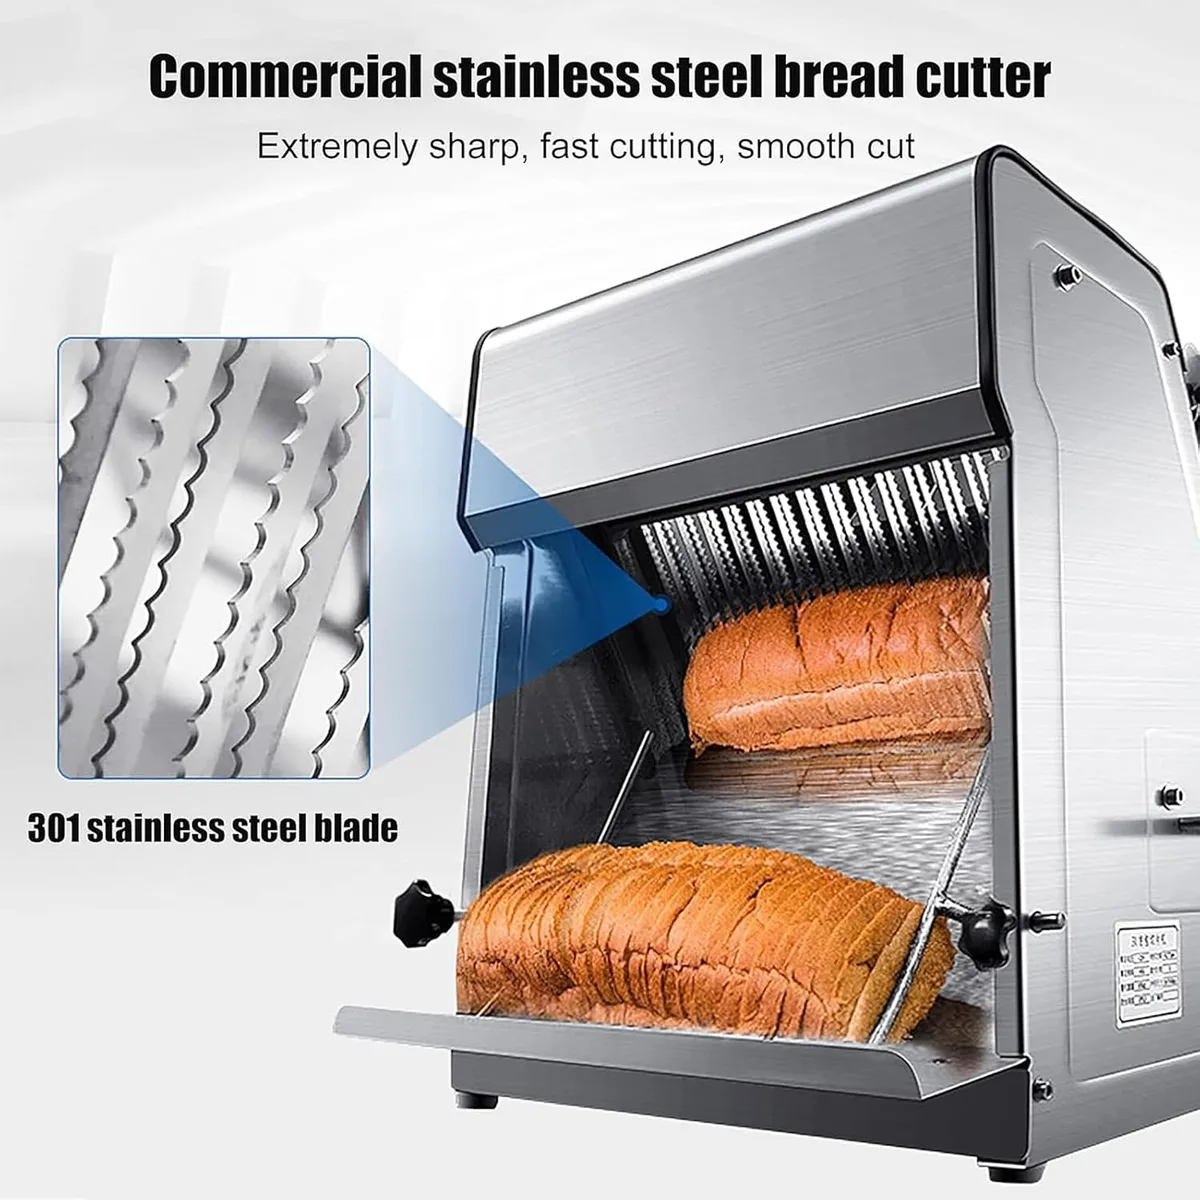
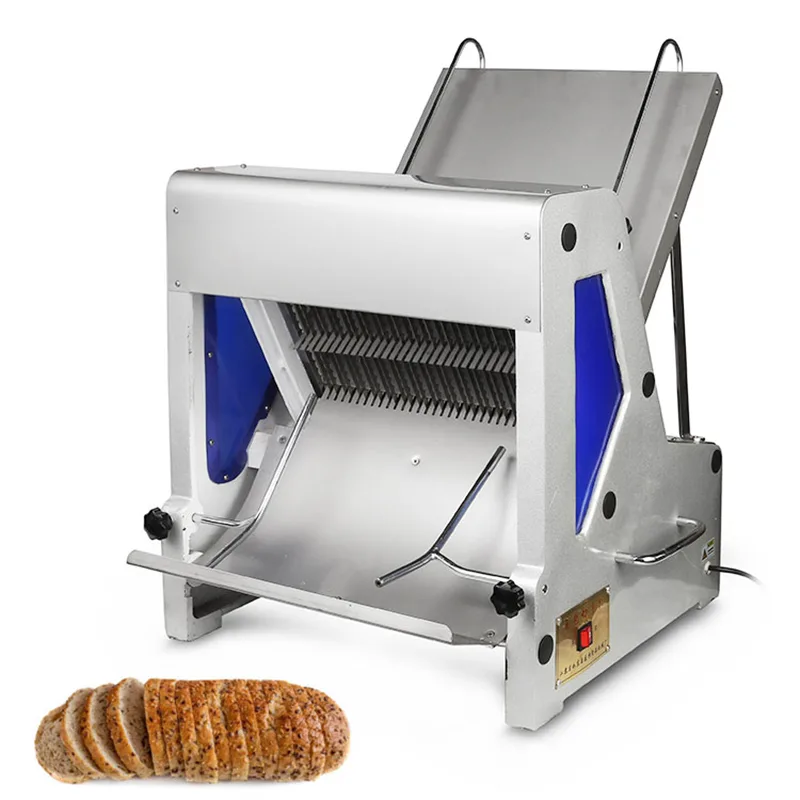
Electric bread slicer. A countertop machine with a spinning blade. You load the loaf on a carriage, slide it forward, and the blade cuts automatically. They cut faster at 10 to 30 slices per minute and require less arm strength.
But they're bulky at 40 to 60 cm deep, loud, and harder to clean. The blade guard can also limit how small a loaf you can fit.
Thickness range. Manual guides typically offer 6 to 12 settings from about 6 mm up to 24 mm. Electric models often go from 3 mm to 25 mm in finer steps. For toast, 12 to 16 mm is the sweet spot.
Sandwiches usually work at 10 to 14 mm. Both types cover these ranges.
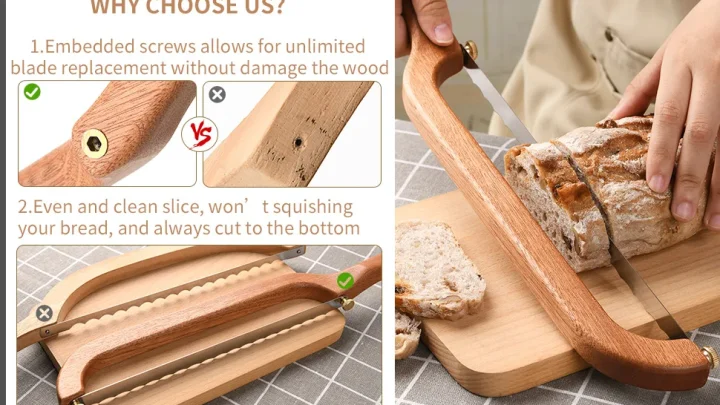
Blade quality. The knife you use with a manual guide matters more than the frame. A good 25 cm serrated bread knife with a stiff blade gives cleaner cuts than most machine blades. Electric blades are usually stainless steel serrated, but they can't be sharpened by hand easily.
Replacement blades cost $15 to $30.
Cleanup. Manual guides can go in the dishwasher if they're plastic or metal. Electric models need manual cleaning around the blade. Both produce crumbs, but manual frames have a crumb tray that empties in seconds.
Electric slicers have a catch drawer that needs emptying after every few loaves.
Head-to-Head Comparison: Thickness, Speed, Cleanup, and Cost
| Factor | Manual Guide | Electric Slicer | |—|—| | Thickness settings | 6 to 12 notches (6 to 24 mm) | 10 to 15 increments (3 to 25 mm) | | Consistency across slices | High (with good knife) | Very high (machine controlled) | | Speed | ~1 slice every 5 seconds | ~1 slice every 2 seconds | | Noise level | Silent | 60 to 80 dB | | Cleanup time | 2 minutes (detach, rinse) | 10 minutes (blade guard, motor housing) | | Counter space | ~30×15 cm | ~45×30 cm | | Price range | $15 to $50 | $60 to $200 | | Best for | Artisan loaves, small batches | High volume, soft sandwitch bread |
The electric slicer wins on speed and hands-free operation. The manual guide wins on price, portability, and ease of cleaning. Which one you choose depends entirely on your kitchen's physical limits and how many loaves you cut per week.
Which Slicer Fits Your Kitchen? (Use Cases and Best For)
Home baker who bakes 1 to 2 loaves per week. Get a manual slicer guide. It stores in a drawer, costs under $40, and works perfectly with a good serrated knife. Our research shows that high-quality manual guides from brands like OXO and Wilton consistently produce even slices when paired with a stiff blade.
You don't need electricity or counter space. For a deeper look at specific models, check out our roundup of top-rated options for homemade loaves.
Sandwich shop or frequent entertainer. Get an electric slicer. When you need to cut six loaves quickly for a party, manual gets tiring. An electric slicer with a carriage feed keeps speed up and fatigue down.
Just be prepared to clean it after every session.
Bakery or high-volume home baker. Get a commercial electric slicer. These cost $300 to $800 but cut dozens of loaves per hour without overheating. They have metal gears and replacible blades.
They're overkill for a typical kitchen but necessary if you sell bread or feed a large family.
Person with arthritis or hand fatigue. Electric slicer is the clear winner. Manual slicing requires a sawing motion that aggravates wrist strain. Electric does all the work.
Look for a model with nonslip feet and a blade guard per UL safety certifications for household appliances.
Five Common Mistakes That Ruin Even Slices (and How to Avoid Them)
1. Using a dull bread knife with a manual guide. The guide is only as good as the blade. A dull knife squishes the loaf instead of slicing cleanly.
You end up with compressed slices that vary in thickness. Sharpen or replace your serrated knife every 6 to 12 months, or at the first sign of drag.
2. Ignoring the crumb tray. Bread crumbs build up under the guide or inside the electric slicer. If they're not emptyed, they jam the blade movement.
For electric models, crumbs can also get into the motor housing and cause overheating. Clean the tray after every loaf.
3. Slicing a warm loaf too early. Bread that's still warm compresses under the blade. The interior crumb smushes and the slice comes out uneven.
Let your bread cool completely for at least 2 hours before slicing. Patience pays in perfect slices.
4. Using the wrong thickness for the bread type. A thick slice on a fragile brioche tears apart. A thin slice on a crusty sourdough shatters the crust.
Match the setting to the bread. Use 10 to 12 mm for soft bread, 12 to 16 mm for standard sandwitch, and 16 to 20 mm for hearty artisan loaves.
5. Forgetting to adjust the guide for the next loaf. If you switch from a boule to a sandwitch loaf without resetting the thickness, you get suddenly thick or thin slices. Make it a habit.
Set the guide before you put the bread in, not after.
Frequently Asked Questions
How thick should I set my bread slicer for toast?
Set it between 12 and 16 mm. That range gives slices thick enough to hold butter without tearing, yet thin enough to toast evenly. Most manual guides mark this as a medium setting.
If you prefer a darker, crunchier toast, go thinner around 10 mm.
Can I slice a warm loaf with a bread slicer?
You can, but you shouldn't. Warm bread compresses under the blade. The crumb sticks together and yields uneven, squished slices.
Let the loaf cool completely for at least two hours. Room temperature bread cuts cleanly and holds its shape.
Do electric slicers work for crusty artisan bread?
They can, but you need a model with a powerful motor of 150 W or higher. Cheaper electric slicers stall on dense sourdough or thick rye crust. A manual guide with a sharp serrated knife handles crusty bread more reliably and gives better control near the heel.
How do I clean a bread slicer guide?
Detach any removable parts like the crumb tray and thickness stop. Wash them in warm soapy water or run them through the dishwasher if the manufacturer says it's safe. Wipe the frame with a damp cloth.
Dry everything fully before storing to prevent rust on metal components.
Is a bread slicer worth it if I only bake once a month?
Yes, if you value even slices and less waste. A $20 manual guide takes up drawer space and guarantees consistent results every time. Without one, you'll end up with uneven pieces that toast differently and leave awkward ends for sandwiches.
Final Verdict: The Best Bread Slicer for Even Slices
For most home bakers, a manual guide is the right call. It's affordable, portable, and easy to clean. Pair it with a quality 25 cm serrated knife and you'll get slices within 1 mm of each other from first slice to last.
That's better consistency than many electric models deliver at three times the price.
Choose an electric slicer if you cut more than four loaves a week or if hand fatigue is a concern. Expect to spend $80 or more for a model with a reliable motor and metal gearing. Clean it after every use and replace the blade annually.
No matter which you pick, the key to even slices is the same. Let the bread cool. Use a sharp blade.
Set the thickness before you start. Follow those steps and every slice will look like it came from a bakery display.

Similar Posts