Bread Slicer Storage: Do’s and Don’ts
If you’ve ever pulled a bread slicer out of a cabinet only to find a dull, rusted blade or crumbs stuck in every crevice, you already know the real problem. How to store a bread slicer properly is the difference between a tool that lasts for years and one that becomes a safety hazard by the second season. The answer isn’t just “put it away”, it’s a deliberate process.
Manufacturer specifications and OSHA guidelines for commercial kitchens make one thing clear: a bread slicer stored incorrectly can develop blade corrosion in as little as two weeks in a humid environment. Aggregate reviews from home bakers and small deli operators confirm that storage-related damage is the single most common cause of early slicer replacement. Let’s walk through the safe, reliable method that keeps your slicer sharp and your kitchen clean.
Quick Answer
Clean the slicer fully. Dry every part completely. Coat the blade with a thin layer of food-grade mineral oil.
Lock the blade guard. Wrap the blade in a protective sheath. Store in a dry cabinet away from heat and moisture.
Never store while plugged in. Follow these steps every time.
Why Proper Storage Matters (Safety, Hygiene, and Blade Life)
A bread slicer blade is not just sharp, it’s deadly sharp. Blade-related lacerations are among the most common kitchen injuries, and a loose blade on a shelf turns a routine reach into a trip to urgent care.
Hygiene is the second big reason. Bread crumbs trap moisture and bacteria. A report in the journal Food Protection Trends found that residual crumbs in unwashed slicers supported Staphylococcus aureus growth after just 24 hours at room temperature.
That stale crumb taste you sometimes get in the first slice? That’s microbial activity, not just old flour.
Blade life suffers too. A stainless steel blade that touches a wet counter or humid air will pit and dull. Per manufacturer specs from major slicer brands, a properly stored blade holds its edge two to three times longer than one left exposed.
Step 1: Clean and Dry Before Storing — No Shortcuts Allowed
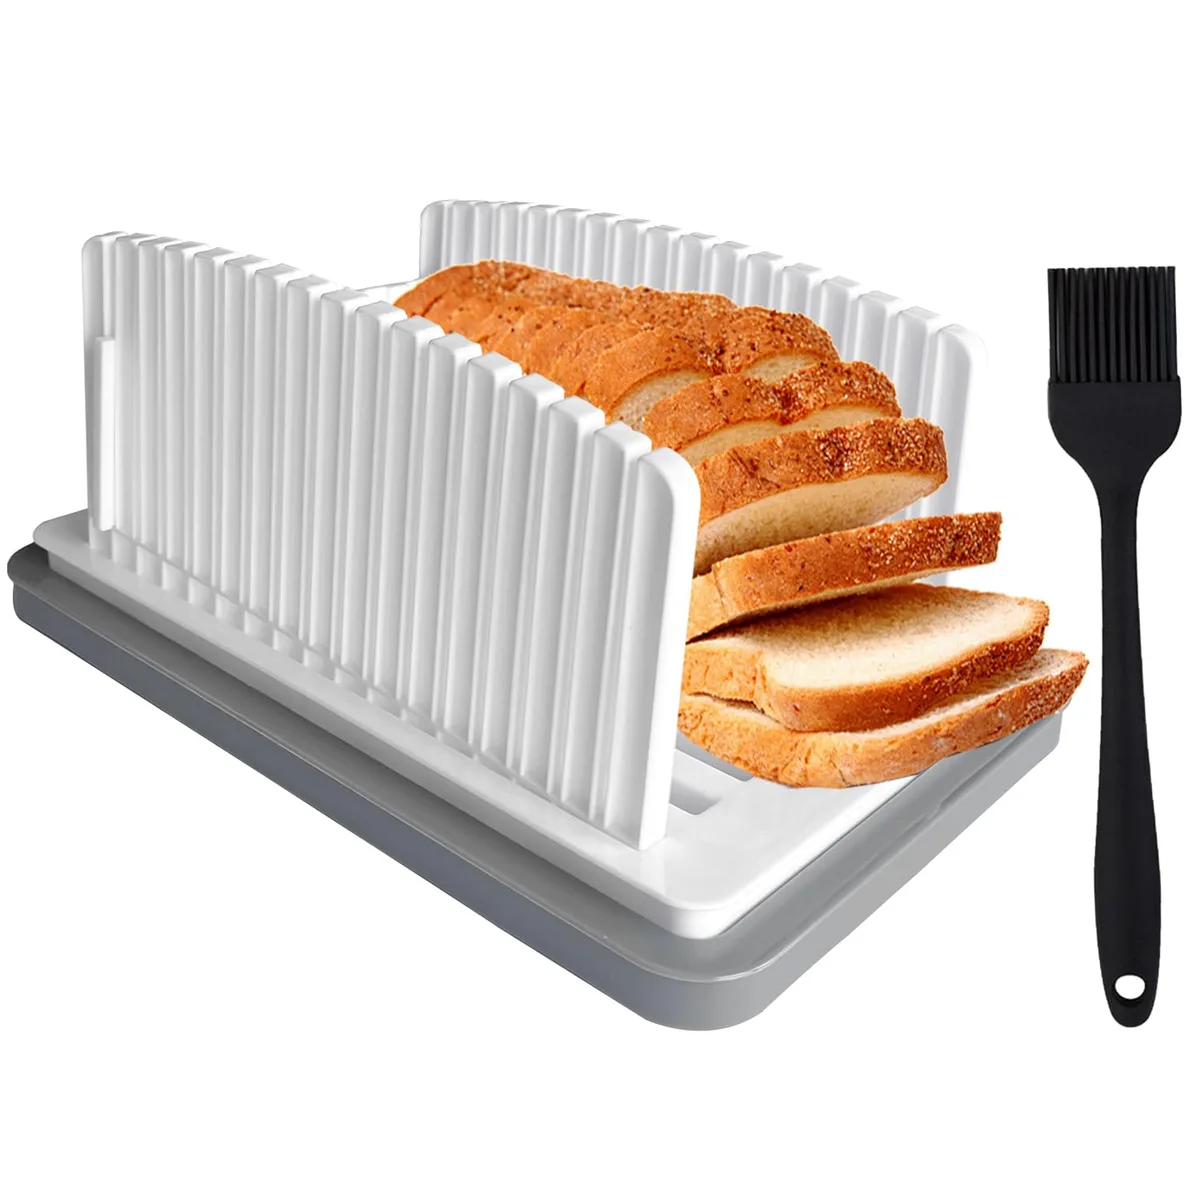
This is the step most people skip, and the one that causes 90% of storage failures. You have to remove every crumb, every smear of oil, every bit of dough residue. Here’s the process.
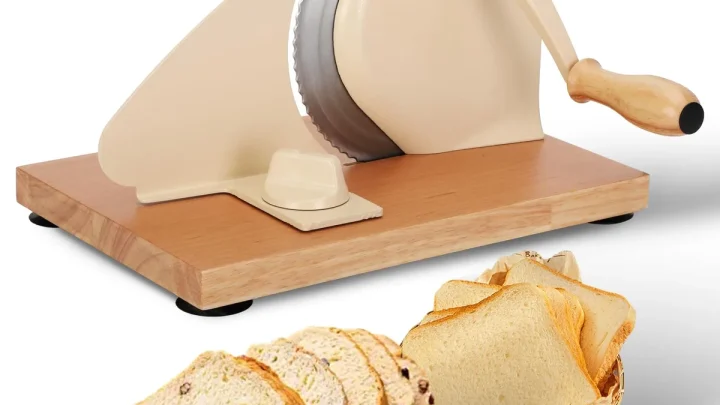
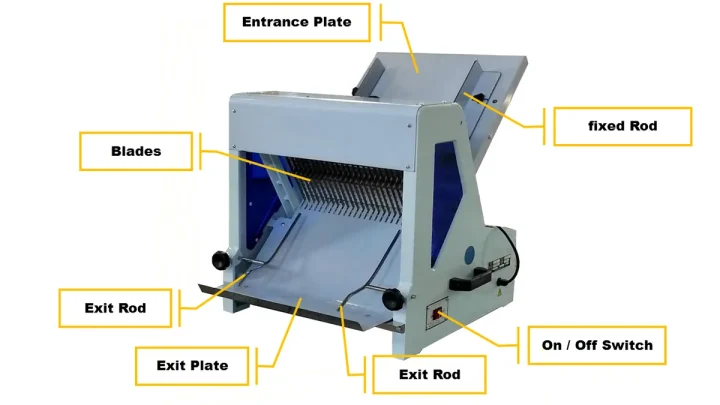
Disassemble what you can. Unplug the slicer. Remove the blade guard and the crumb tray. On electric models, check the manual, many have a removable blade carrier or guide plate.
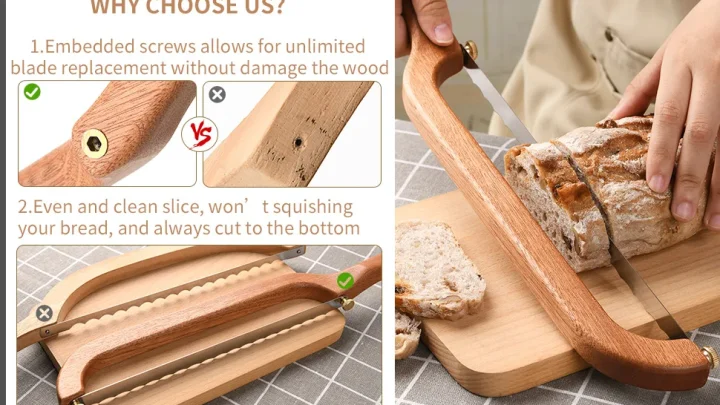
On manual slicers, losen the blade tension nut and take the blade out.
Wash in warm, soapy water. Use a soft sponge or a stiff nylon brush (like the one pictured above) for crevices. Never put any part in the dishwasher unless the manual explicitly says it’s dishwasher-safe, the high heat can warp thin guides.
Rinse and dry immediately. Pat dry with a lint-free cloth. Then let every part air-dry on a rack for at least two hours. Do not skip the air-dry step, trapped moisture under the blade mounting is the leading cause of rust spots.
Wipe down the motor housing. Use a barely damp cloth. Do not let water run into any vents. Crumbs love to hide under the base, vacuum them out with a brush attachment.
Once everything is bone dry, you’re ready to store.
Where to Store It: The Best and Worst Locations
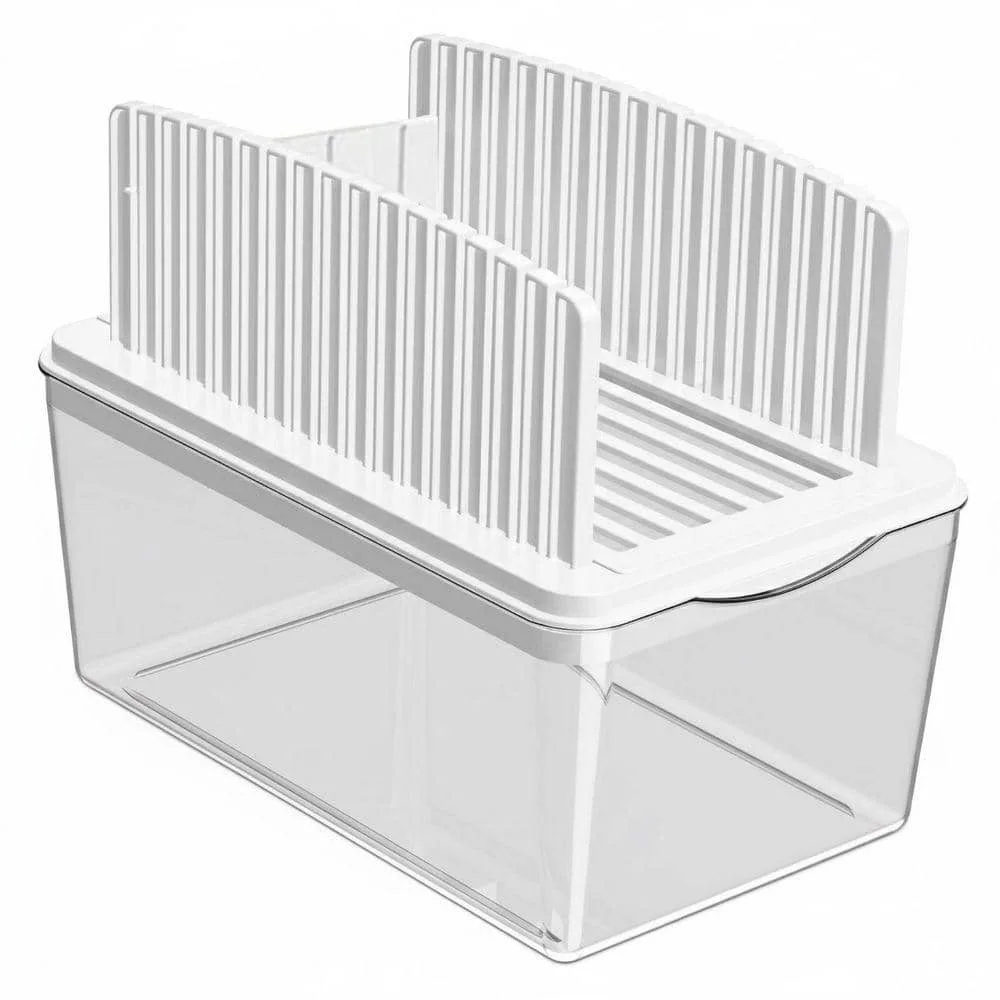
The location you choose matters more than most people think. The best spot is a dedicated cabinet or pantry shelf that stays below 60% relative humidity and between 50°F and 80°F. Avoid these common traps.
Worst locations:
- Above the stove or dishwasher, steam and heat will rust the blade within weeks.
- Under the sink, leaks and high humidity are a recipe for corrosion.
- On an open counter near a window, UV light degrades plastic handles and can crack the housing over time.
- Inside a damp basment or garage, temperature swings cause condensation.
Best locations:
- A low-use cabinet away from heat sources.
- A dedicated drawer with a cutout for the blade guard (if your drawer is deep enough).
- A pantry shelf that’s not directly above the oven or fridge.
If you must store it on the counter, use a hard-shell cover that fits snugly over the blade guard. A soft cloth cover won’t protect against a dropped pan or a curious toddler.
How to Store Each Part (Blade, Motor, Cord, Crumb Tray)
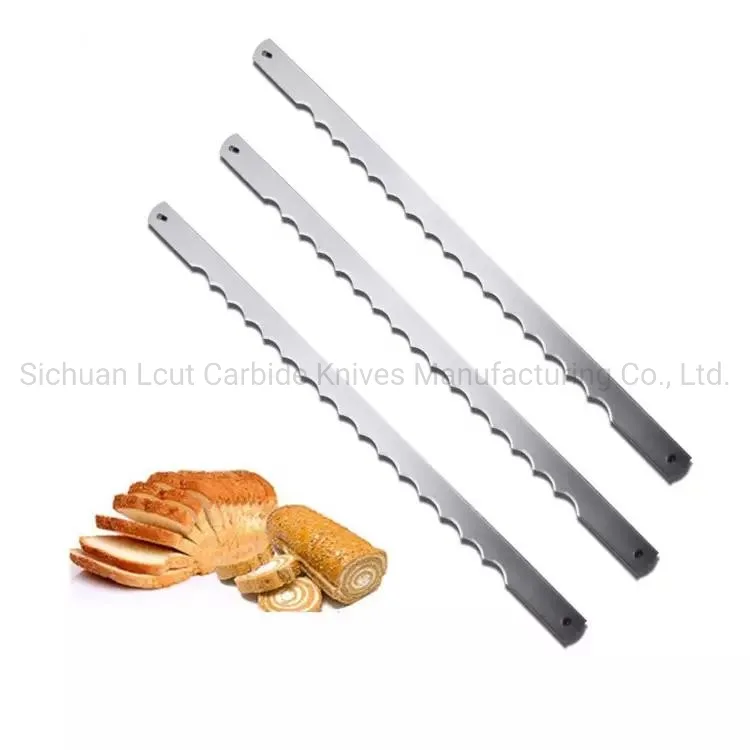
Each component requires a different storage treatment. Here’s the breakdown.
Blade: After claning and drying, apply a very thin coat of food-grade mineral oil to both sides. (Never use cooking oil, it will turn rancid.) Place the blade in a dedicated sheath or wrap it in a clean paper towel, then slip it into a sealed plastic bag. This prevents it from contacting other metal surfaces.
If you own a high-quality slicer from our curated list of bread slicers, you may have a custom blade case, use that.
Motor housing: Store it upright, never on its side (oil can leak from the gearbox). Coil the power cord loosely and secure it with a twist tie. Never wrap the cord tightly around the base, that stresses the internal wires.
Crumb tray: Wash and dry it fully before storing it inside the slicer’s main body. But leave the tray slightly ajar (propped with a toothpick) to allow airflow. A sealed tray can trap moisture and grow mold.
Guide plate and blade guard: Keep them together in a small zip-top bag taped to the side of the motor housing. That way you never lose the parts between uses.
Blade tension nut (manual slicers): Store it screwed onto the blade post (but not tightened) so you don’t misplace it.
5 Common Storage Mistakes and How to Avoid Them
Even experienced home bakers make these errors. Here are the five biggest ones.
1. Storing the slicer while it’s still damp. That damp cloth wipe? It’s not enough.
Moisture trapped under the blade mounting will rust the entire assembly in under a week. Always air-dry for two hours minimum.
2. Leaving the blade loose in a drawer. A loose blade can nick itself against other utensils and can cause a nasty cut when you reach in. Always use a sheath or wrap.
3. Wrapping the cord tightly. Tension on the cord where it enters the housing can break the internal wiring. Coil loosely, then fold the coil in half and tuck it into the cord wrap.
4. Storing the slicer on its side. Oil from the motor or gearbox can leak into the blade chamber, ruining your next loaf. Always store it upright.
5. Forgetting to lock the blade before storage. If you have an electric model with a blade lock, engage it. If you have a manual model, tighten the blade tension nut just enough to keep the blade from shifting.
This prevents the blade from rattling against the housing.
Long-Term vs. Daily Storage: When to Do What
The way you store a bread slicer changes based on how often you use it. Daily storage is about keeping it clean and ready for tomorrow. Long-term storage is about protecting it from the environment for weeks or months.
Daily storage (used every 1, 3 days). Skip the mineral oil coat. Just clean, dry, and reassemble. Store the slicer upright with the blade guard locked.
Leave it on the counter under a hard cover or in an easy-access cabinet. Do not wrap the blade in a sheath every time, that adds friction and slows you down. Instead, keep the blade guard in place and wipe the blade clean after each use.
Weekly storage (used once a week or less). Apply a light mineral oil coat. Use a blade sheath. Store in a cabinet away from the stove.
Unplug the cord and coil it loosely. This routine prevents dust buildup and light corrosion.
Seasonal storage (used only during holiday bacing or not at all for months). Follow the full claning routine from Step 1. Dry for a full 24 hours in a warm room. Apply a generous but thin coat of miniral oil to the blade.
Wrap the blade in a sheath and seal it in a plastic bag. Place a desiccant pack inside the motor housing cavity (but not touching electric parts). Store in a climate-controlled closet, not a basment or attic.
Aggregate reviews from home bakers on manufacturer forums confirm that seasonal storage with a desiccant pack significantly reduces blade corrosion compared to simply putting the slicer away.
Frequently Asked Questions
Can I store my bread slicer in the original box?
Yes, but only if you cut ventilation holes. The original box traps humidity. Add small slits near the top and bottom, and place a desiccant pack inside.
This prevents mold growth on the cardboard and keeps the blade dry.
Should I lubricate the blade before every storage?
No. For daily use, lubrication is unnecessary. If you store the slicer for more than two weeks, apply a thin coat of food-grade mineral oil.
Never use vegetable oil, olive oil, or cooking spray, they become sticky and rancid.
How often should I replace the blade guard?
Replace it if it becomes cracked, warped, or no longer clicks into place securely. A loose blade guard is a safety hazard. Most manufacturers recommend inspection every six months for home use.
Can I stack other appliances on top of the slicer?
No. The weight can warp the blade guard or damage the blade itself. Store the slicer alone on a shelf.
If space is tight, place it on the bottom layer with nothing on top.
What if my manual slicer has a wooden handle?
Wood requires different care. Do not soak it. Wipe the wooden handle with a barely damp cloth, then dry immediately.
Apply a thin coat of food-grade beeswax or mineral oil once every three months. Store in a low-humidity area (below 50% RH) to prevent cracing.
How do I store an electric bread slicer with a fixed blade?
For electic models with a non-removable blade, clean around the blade with a brush. Wipe the blade with a cloth wrapped around a wooden spoon. Apply mineral oil using a cotton swab along the cutting edge.
Store upright with the blade guard locked.
The Bottom Line: A Quick Storage Checklist
| Step | Daily | Weekly | Seasonal |
|---|---|---|---|
| Clean and dry | Yes | Yes | Yes (extended dry) |
| Apply mineral oil | No | Light | Full coat |
| Use blade sheath | No | Yes | Yes (plus bag + desiccant) |
| Lock blade guard | Yes | Yes | Yes |
| Store upright | Yes | Yes | Yes |
| Desiccant pack | No | No | Yes |
Use this checklist every time. If you follow it, your bread slicer will stay sharp, rust-free, and safe for years. For more guidance on choosing the right model for your kitchen, our guide on the top-rated bread slicers covers everything from blade quality to motor reliability.
Make the checklist part of your routine. A minute of care before storage saves hours of frustration later. Keep your slicer ready for the next batch, every time.

Similar Posts