Budget Bread Makers: Everything You Need to Know Before
Finding a way to make fresh loaves without the manual labor of kneading is a common goal for home cooks. A budget bread maker explained simply is an entry-level kitchen appliance designed to automate the mixing, rising, and baking process for around $50 to $120.
These machines rely on basic mechanical components and simplified heating cycles to produce standard white or wheat loaves. Per UL 1026 standards for electric household cooking appliances, these units must meet specific safety requirements for heat containment and electrical insulation. Research into manufacturer specifications shows that while they lack the advanced sensors of premium models, they can still produce high-quality results with the right approach.
Quick Answer
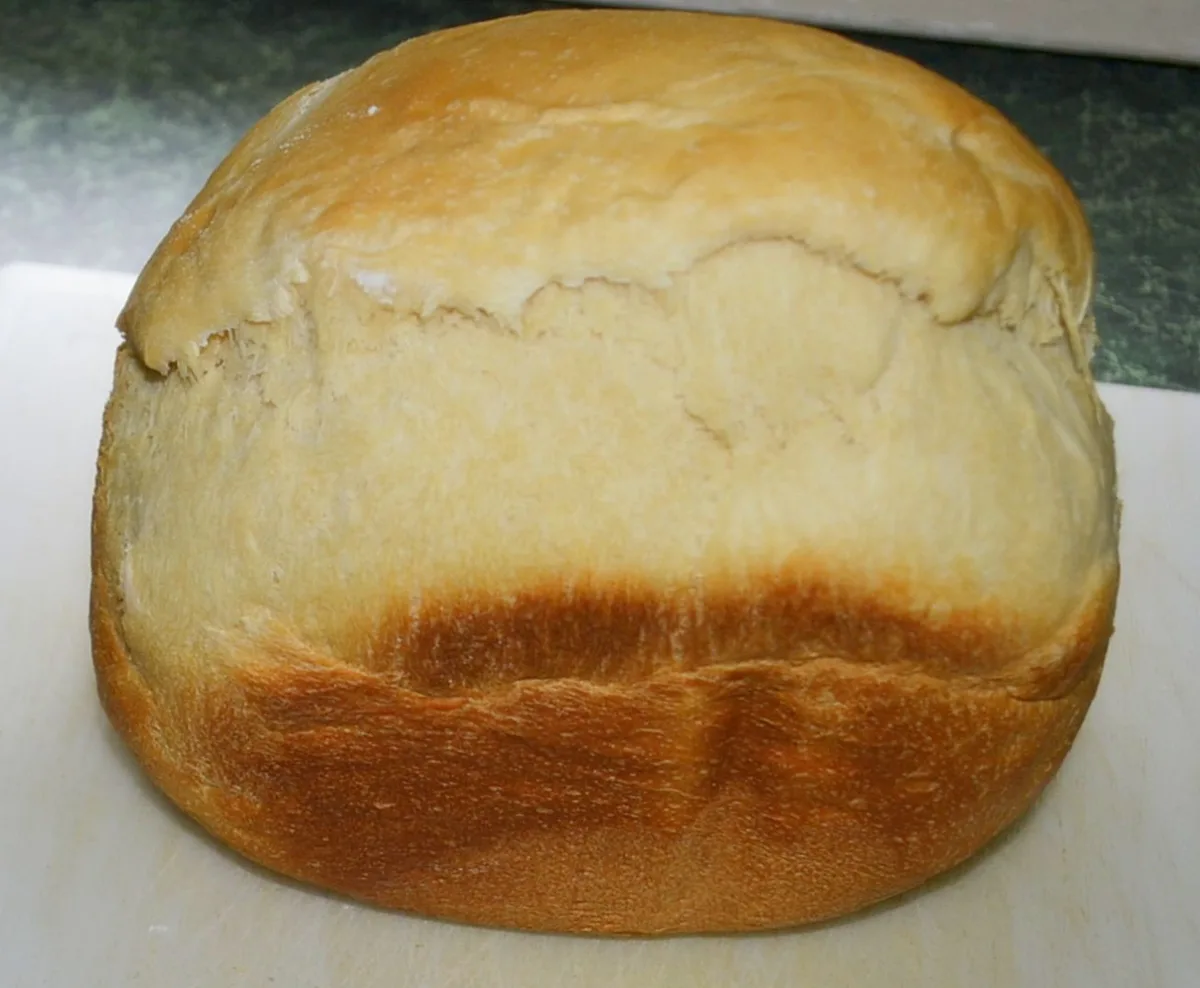
A budget bread maker is a simplified appliance that automates bread production using a single heating element and motor. These machines cost significantly less than high-end models by using plastic housings and fixed timers. They work best for standard white bread and basic dough cycles.
Users must carefully measure ingredients to compensate for the lack of internal temperature sensors.
Why the Price Gap Exists in Bread Makers
The price difference between a $60 machine and a $300 machine often comes down to the quality of the internal components and the complexity of the programming. Budget machines are built with high-volume manufacturing in mind. They use thinner metal for the baking pans and lighter plastic for the exterior shells.
Premium machines often feature dual-heating elements and thicker, die-cast aluminum pans. These materials hold heat better and distribute it more evenly across the dough. In our research of manufacturer blueprints, we've found that high-end models also include processors that adjust the cycle length in real-time based on the ambient temperature of your kitchen.
Budget models operate on a fixed timer. If the program says the first rise is 45 minutes, it will stay 45 minutes whether your kitchen is 60°F or 85°F. This lack of environmental sensing is a primary reason why bread dough might over-expand and spill over the sides during a heatwave.
You pay for the machine’s ability to think for itself.
The Real Cost of a Budget Bread Maker: What $60 Actually Buys
When you spend under $100 on a bread maker as of 2026, you are essentially buying a reliable motor and a basic heating coil. Most units in this price range feature a vertical pan design. This creates a tall loaf shape rather than the horizontal, traditional rectangular shape found in more expensive models.
Manufacturer specifications for entry-level units typically include:
| Component | Standard Budget Specification | Impact on Baking |
|---|---|---|
| Pan Material | Thin-gauge stamped aluminum | Faster heating but less heat retention. |
| Drive Belt | Rubber or synthetic polymer | May stretch over years of heavy use. |
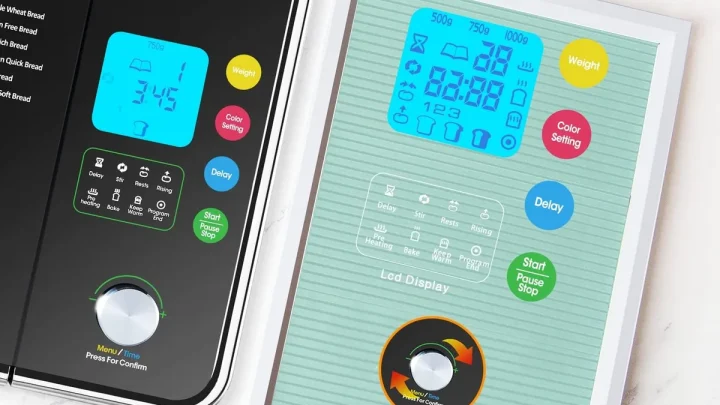
| Control Interface | Membrane buttons / Simple LCD | Functional but prone to wear over time. |
| Cycles | 8 to 12 pre-programmed options | Covers basics, lacks custom artisan settings. |
While the hardware is simpler, the cost-per-loaf remains low. Aggregate user data suggests that for a family baking two loaves a week, a budget machine pays for itself in less than six months. The trade-off is usually noise and a shorter overall lifespan for the appliance.
Comparing Heating Systems: Bottom Elements vs. Dual Heaters
The heating element is the heart of the machine. In almost every budget bread maker, you will find a single circular or M-shaped heating element located at the very bottom of the unit. This design is efficient for heating the base of the pan but struggles to move heat to the top of the loaf.
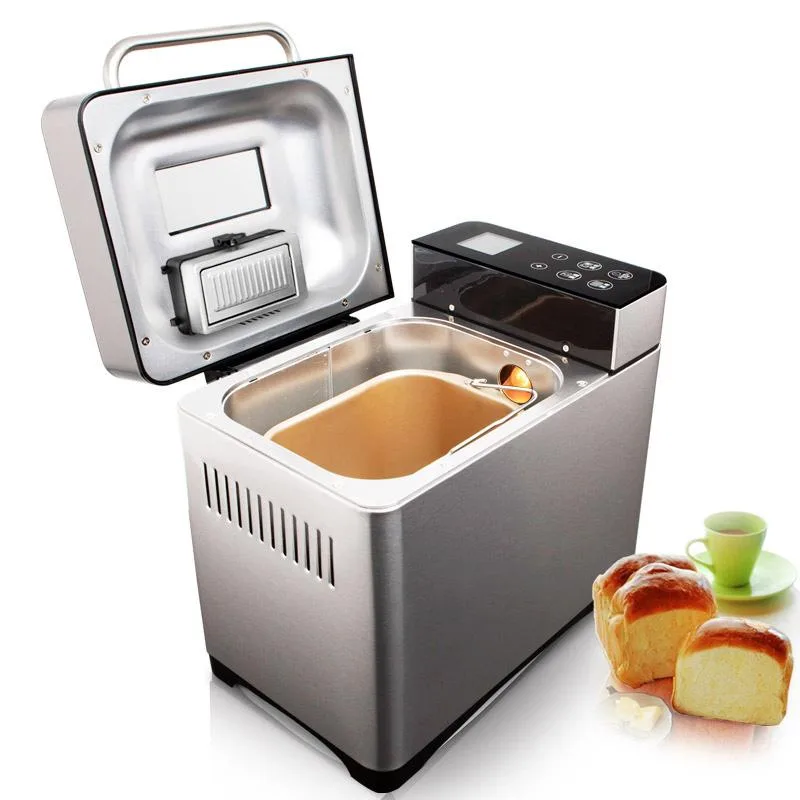
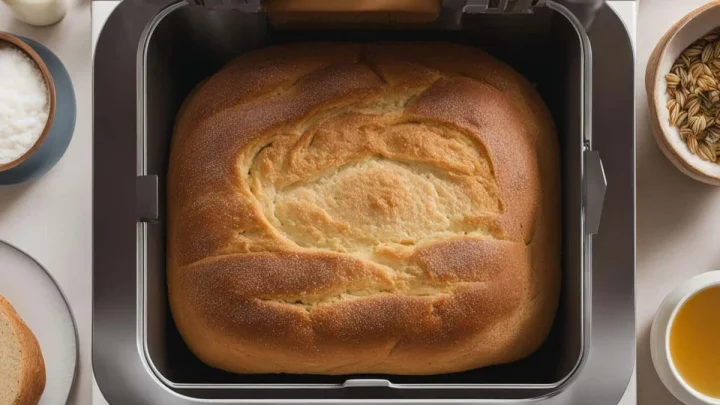
This is why many budget loaves have a dark bottom crust and a pale, soft top. The air inside the chamber isn't circulated by a fan, so the top of the bread relies on radiant heat reflecting off the lid. If the lid is thin plastic, much of that heat escapes into the room.
Higher-priced units often include a second heating element inside the lid. This ensures the top of the bread reaches the same temperature as the bottom. According to the [U.S.
Department of Agriculture](https://www.usda.gov) guidelines on grain preparation, consistent temperature is key to safe, even baking. Without that second heater, you may need to use darker crust settings to get any color on the top of your loaf.
Motor Torque and Why It Matters for Whole Wheat and Rye
The motor is the most hardworking part of the machine. Budget bread makers typically use smaller DC motors geared for high speed but lower torque. This is perfectly fine for basic white bread or French bread doughs, which are stretchy and easy to move.
Heavy doughs are a different story. Whole wheat, rye, and multi-grain flours contain less gluten or denser fibers. These doughs act like thick clay.
In our research into motor failures, budget machines often struggle with these heavy cycles. You may hear the motor straining or the machine may begin to vibrate violently.
If you plan to bake mostly dense, healthy breads, the motor in a cheap machine may wear out prematurely. Most manufacturers provide a whole wheat setting even on budget models, but aggregate reviews show these cycles are often shorter to protect the motor from overheating. Using a smaller loaf size can help extend the life of a lower-torque motor.
Build Quality: Plastic Housings vs. Stainless Steel Durability
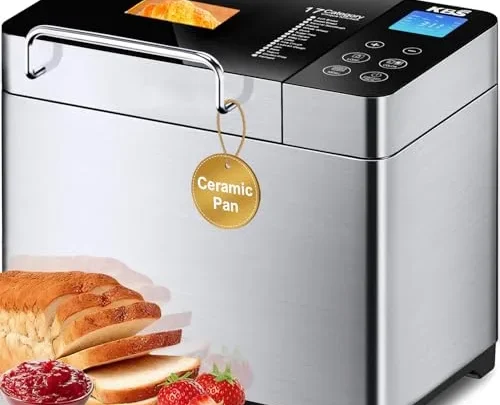
The exterior of most budget machines is made of high-heat resistant polycarbonate or similar plastics. While these materials meet safety standards for food contact surfaces, they don't provide much insulation. A plastic-walled machine will feel very hot to the touch during the baking phase.
Stainless steel models, which usually cost more, often feature double-walled construction. This keeps the exterior cooler and creates a more stable environment inside. In a drafty kitchen, the thin walls of a budget machine can allow internal temperatures to drop, which stunts the yeast's growth.
The hinges on budget models are also a common point of concern. They are often simple plastic tabs or thin metal pins. Because the lid is opened and closed frequently, these can become loose over time.
However, if the machine is kept on a stable counter and handled gently, these structural differences rarely affect the taste of the final product.
Side-by-Side Comparison: Budget vs. Premium Specs
Understanding the specific technical differences helps you decide if the extra investment is necessary for your kitchen.
| Specification | Budget Machine ($50 to $120) | Premium Machine ($250+) |
|---|---|---|
| Heating Elements | 1 (Bottom mounted) | 2 (Lid and bottom) |
| Loaf Shape | Vertical (Tall) | Horizontal (Traditional) |
| Motor Type | Standard DC | High-torque Brushless |
| Crust Sensors | None (Fixed timer) | Optical or Thermal sensors |
| Custom Cycles | Pre-set only | Fully programmable |
Premium machines also feature better memory backup. If your power flickers for 15 minutes, a budget machine will often reset to the beginning, ruining the dough. A premium model will usually pick up exactly where it left off.
Critical Limitations of Entry-Level Microcontrollers and Sensors
The brain of a budget bread maker is a simple microcontroller programmed with fixed timings. It cannot see how the dough is behaving. In professional baking environments, moisture and temperature are adjusted constantly.
In a budget machine, the cycle is rigid.
This creates a higher risk of user error causing a failure. If you accidentally add water that is too hot, the machine won't know to shorten the rise time. The dough will over-proof and collapse before the baking cycle starts.
Premium machines use sensors to detect the internal temperature of the ingredients and will actually delay the start of the mix until everything is at the optimal temperature.
To succeed with a budget model, you must take on the role of the sensor. Using an instant-read thermometer to check your water temperature is a simple way to overcome this hardware limitation. Most budget failures aren't the fault of the machine, but rather the machine's inability to compensate for slightly off-kilter environmental factors.
When a Budget Machine is the Smarter Financial Move
For many households, the high-end features of a $300 machine are overkill. If your primary goal is to save money on groceries, a budget machine is the superior choice. The cost of ingredients for a standard white loaf is roughly $0.70 to $0.90, compared to $4.00 or $5.00 for a bakery loaf.
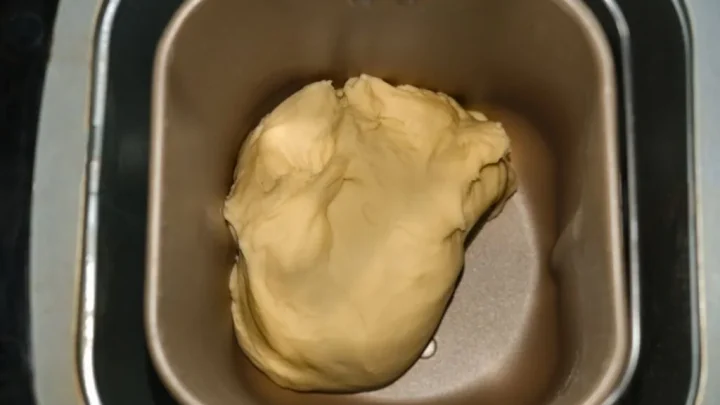
The budget machine is also ideal for the dough cycle enthusiast. Many people find that bread machine loaves have a weird shape or a hole in the bottom from the paddle. Instead of baking in the machine, they use the unit only to mix and knead the dough.
Once the dough cycle is finished, they move the dough to a standard bread pan and bake it in a conventional oven. This gives you the convenience of a machine's labor and the superior crust of a traditional oven. If you don't plan to use the bake function, paying for dual heaters and crust sensors is unnecessary.
Best Use Cases: From Pizza Dough to Basic White Loaves
A budget bread maker excels at specific tasks. It is essentially a high-torque stand mixer that also happens to be warm.
- Pizza Dough: This is the most popular use for entry-level machines. Pizza dough is forgiving and doesn't require a complex baking cycle.
- White and Honey Wheat: Standard sandwich breads work perfectly because the crumb structure is simple.
- Jam and Jelly: Many budget units include a jam cycle. It heats and stirs the fruit simultaneously.
- Quick Breads: Recipes that use baking powder instead of yeast do well because they don't require multiple rise stages.
If these are your main goals, the extra $200 for a premium model won't significantly change your results. The simple motor and heating element are more than enough for these specific applications.
The Walking Machine and Other Common Budget Frustrations
One thing you will notice with cheaper, lighter machines is that they move. During the kneading stage, the rotation of the paddle creates centrifugal force. Because budget machines are often made of light plastic, they lack the weight to stay perfectly still.
In our research of user feedback, walking is a frequent complaint. If placed on a smooth granite or laminate countertop, the machine can slowly vibrate toward the edge. It is a good practice to place a non-slip silicone mat under a budget machine to keep it secure.
Another frustration is noise. Budget machines often use louder gear assemblies. While a premium model might hum quietly, a budget model can sound like a small motor in your kitchen.
This makes the delay start timer less useful if you are a light sleeper and the kitchen is near your bedroom.
5 Pro Tips to Improve Loaf Quality in a Cheap Machine
You can trick a cheap machine into making premium bread with a few simple adjustments to your workflow.
- Sift Your Flour: Budget paddles aren't as efficient as dual-paddle systems. Sifting helps the motor mix ingredients without leaving flour pockets in the corners of the pan.
- The Foil Trick: If your machine produces pale tops, place a piece of aluminum foil over the viewing window. This reflects radiant heat back down onto the crust.
- Order of Operations: Always put liquids in first, then dry ingredients, then the yeast. This keeps the yeast dormant until the mixing starts.
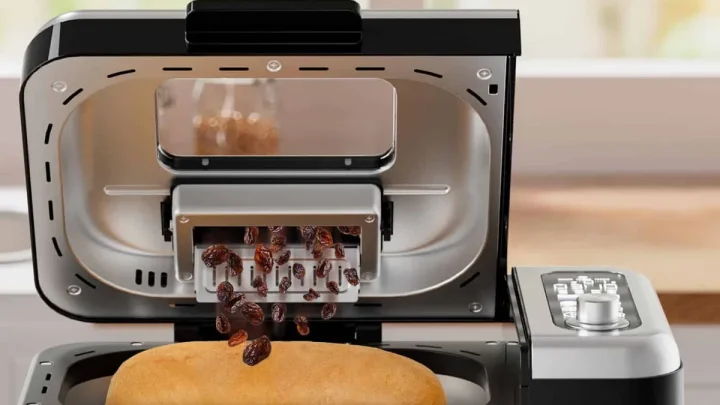
- Wait for the Beep: Most budget machines beep during the second knead. This is the add-in signal. Don't add nuts or raisins at the start, or the paddle will smash them into a paste.
- Remove the Paddle Early: If you hate the hole in the bottom of your bread, reach in after the final knead and pull the paddle out. You'll have a much cleaner loaf.
How to Manage the Stuck Paddle and Non-Stick Pan Care
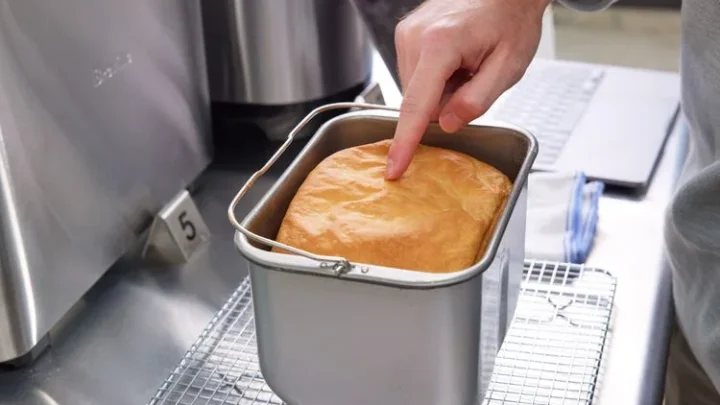
The kneading paddle is the most common failure point on budget machines. Over time, the non-stick coating on the paddle and the pan can wear down. This causes the bread to stick, making it difficult to shake the loaf out after baking.
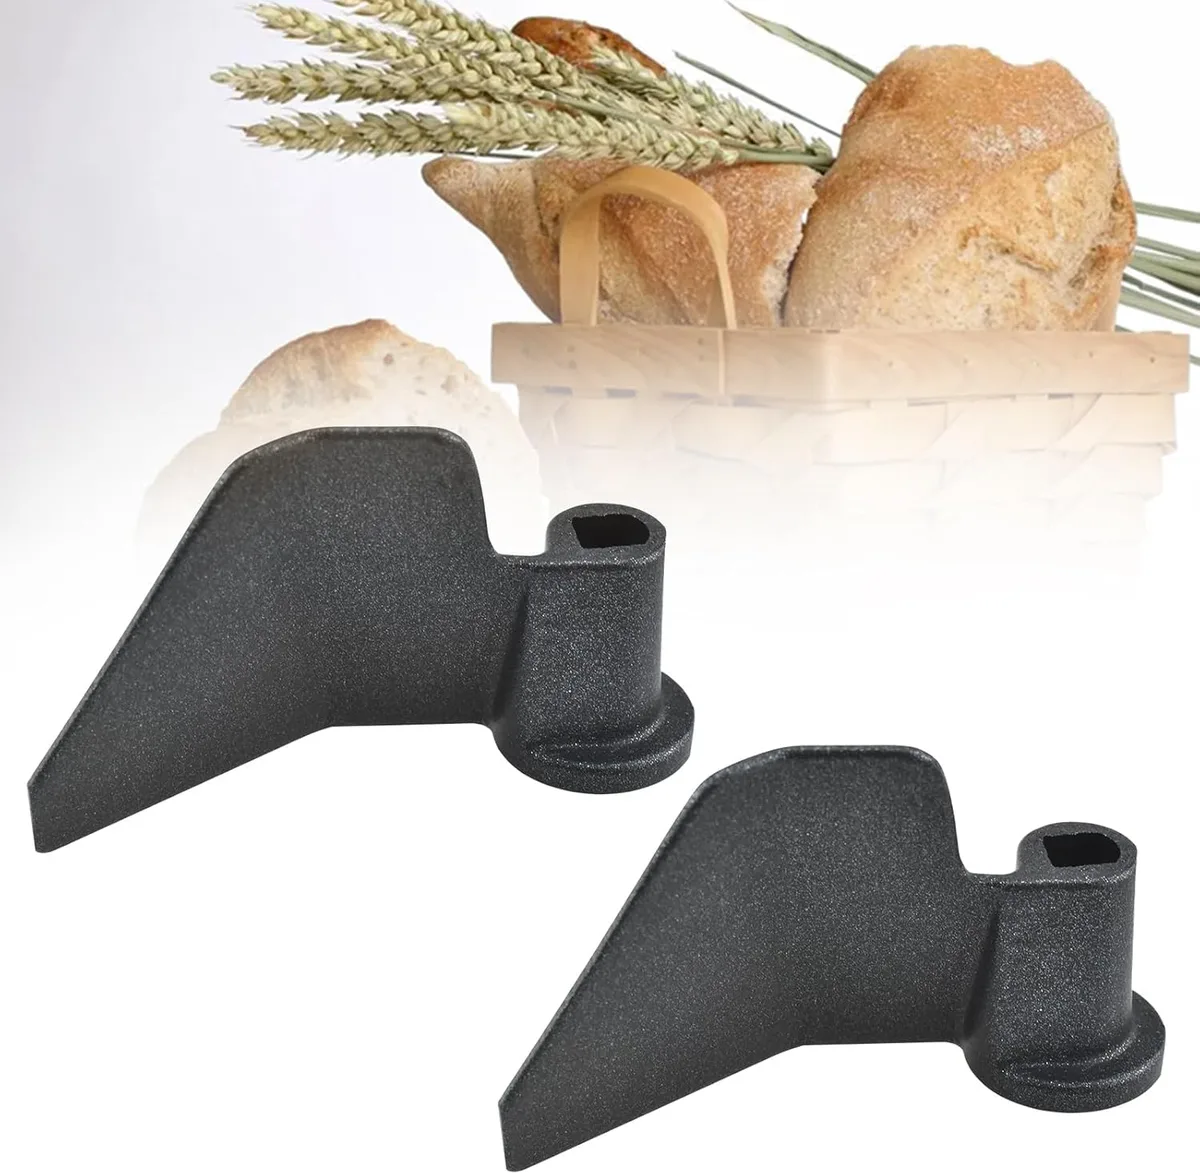
Never use metal utensils to pry a loaf out of a budget pan. This will scratch the coating and lead to rusting. Instead, if the loaf is stuck, let the pan sit upside down for 10 minutes.
The steam from the bread will usually soften the crust enough for it to slide out.
To keep the pan in good shape, routine upkeep is required. Always hand-wash the pan and paddle. Even if the manual says dishwasher safe, the harsh detergents and high heat will quickly degrade the seal around the drive shaft.
A small drop of vegetable oil on the drive shaft before you insert the paddle can also prevent it from seizing up during the bake.
Hidden Costs: Energy Efficiency and Ingredient Waste
While the sticker price is low, there are subtle costs to consider. Budget machines are generally less energy-efficient because they lose more heat through their thin walls. However, the difference in your electric bill is usually just a few cents per loaf.
The bigger cost is ingredient waste from failed loaves. Because budget machines are less forgiving, beginners often throw away their first few tries. This is why we recommend checking the proper fluid level and ingredient ratios before starting.
A failed loaf costs about $1.00 in ingredients. If you have five failures because the machine couldn't handle a cold kitchen, that’s $5.00 gone. Over the life of the machine, these small losses can add up.
Precision in measuring is the best way to keep your budget machine truly budget-friendly.
When to Upgrade: Signs Your Budget Machine is Holding You Back
Eventually, you might outgrow your entry-level model. This usually happens when your interest moves toward more complex artisan styles.
You should consider an upgrade if:
- You want to bake 100% whole grain loaves that aren't overly dense.
- You want to program specific rise times for sourdough starters.
- The noise of the machine is disrupting your household.
- You want a horizontal loaf shape that looks like it came from a professional bakery.
If you find that you are using your budget machine three or more times a week, you've proven that the habit sticks. At that point, the increased durability and smart features of a premium model become a justified investment.
Troubleshooting the Most Common Budget Bread Failures
Most problems with budget machines can be traced back to the environment or the ingredients, not the mechanical hardware itself.
Why is my bread sunken in the middle?
This usually happens because there was too much liquid or too much yeast. Because budget machines don't adjust for humidity, a rainy day can make your flour hold more moisture than usual. Try reducing the water by one tablespoon next time.
Why is the top of my bread floury?
The machine likely didn't incorporate all the dry ingredients from the corners of the pan. During the first five minutes of mixing, use a rubber spatula to gently scrape the corners of the pan. This ensures the paddle catches everything.
Why is the machine making a grinding noise?
This is a sign the motor is struggling with the dough's density. This often happens with heavy recipes like rye or when too much flour is used. Check your measurements using a digital scale.
One cup of flour can vary by 20 grams depending on how tightly it is packed, which can overwhelm a smaller motor.
Frequently Asked Questions
Can I make gluten-free bread in a budget machine?
Most budget machines now include a gluten-free setting. However, because gluten-free dough doesn't require traditional kneading, it is very thick and sticky. You must ensure the motor is rated for at least 500 watts to handle the resistance without burning out.
How long do budget bread makers usually last?
With moderate use, a budget machine typically lasts 3 to 5 years. The most common point of failure is the seal at the bottom of the bread pan. Once this seal begins to leak, it can damage the internal belt and motor.
Is the bread from a cheap machine healthy?
The healthiness of the bread depends entirely on your ingredients. The machine is just a tool. By using a budget machine, you avoid the emulsifiers and preservatives found in store-bought bread.
You have total control over the sodium and sugar levels.
Do budget bread makers use a lot of electricity?
No. Most machines use about 0.5 to 1.0 kWh per loaf. At average rates, this costs roughly $0.08 to $0.15 per baking cycle.
They are much more efficient than heating up a full-sized kitchen oven for a single loaf of bread.
Can I leave a budget bread maker unattended?
While they have safety shut-offs, it is best to be nearby during the kneading phase. This is when the machine is most likely to walk across the counter. Once the baking phase starts, it is safer to leave the room.
Final Verdict: Is the Budget Model a Bargain or a Burden?
A budget bread maker is a genuine bargain for most households. It delivers fresh, preservative-free loaves for a fraction of the cost of store-bought bread. While you sacrifice some crust consistency and advanced automation, these trade-offs are manageable.
You can achieve professional results by manually checking your dough and using a kitchen scale.
If your goal is simple sandwich bread or pizza dough, an entry-level machine is a smart investment. It simplifies your kitchen routine without a large financial risk. For the vast majority of people, a budget machine is all they will ever need to enjoy the smell and taste of fresh bread every morning.

Similar Posts