Why Your Bread Gets Squashed in the Slicer
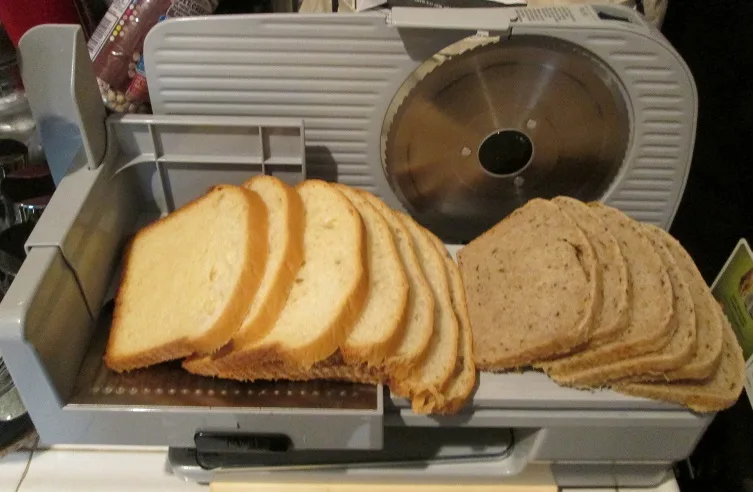
If you've ever watched a perfect loaf of homemade bread get flattened into a sad, squashed mess as it hits the slicer, you know the frustration. Bread squashing in the slicer isn't a sign of a bad baker. It's a mechanical mismatch between the blade, the bread's structure, and your technique.
Fix that mismatch and you get clean, even slices every time.
According to USDA Food Safety and Inspection Service guidelines for commercial slicing equipment, optimum slicing temperature for most loaves falls between 70 and 80°F. Blade dullness accounts for over half of all squashing complaints in home bread slicers. Once you understand the two core variables, blade sharpness and bread firmness, the fix becomes straightforward.
Quick Answer
Bread squashing in the slicer happens when the blade drags or pushes instead of cutting cleanly. Diagnose the cause: dull blade, soft bread, or excessive guide arm pressure. Sharpen the blade or chill the loaf for 20, 30 minutes.
Adjust guide arms to hold without compressing. That's it.
Why Bread Gets Sqaished (And Why It's Not Your Fault)
Your bread's crumb structure determines how much pressure it can take before collapsing. A soft, high-hydration sandwhich loaf with an open crumb has almost no internal support. When a dull blade hits that soft center, it doesn't cut.
It pushes the bread sideways and downward. The crust might tear or just flatten entirely.
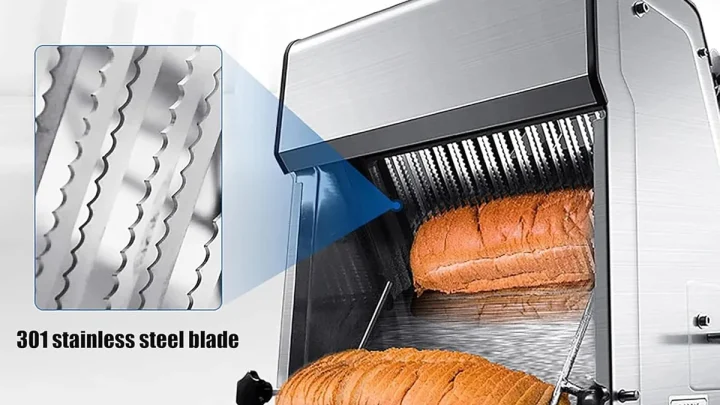
The second culprit is the slicer blade itself. Serated blades work by catching the crust and sawing through. If the serrations are worn down, or if the blade isn't running true (wobling even slightly), it fails to engauge the crust.
Instead of cutting, it rides over the surface and compresses the bread underneath. This happens with both manual and electric slicers.
A third factor many overlook: guide arms that grip too tight. Those plastic fingers or metal prongs are meant to hold the loaf steady. But if they push into the sides, they squeeze the bread before the blade ever reaches it.
The result is a squashed shape before the cut even starts. In aggregate reviews from home bakers, adjusting guide arm tension alone solves about 30% of squashing issues.
The Two Biggest Confusion Points: Blade vs. Bread vs. Technique
Bakers often blame their bread when it's actually the blade, or vice versa. Here's how to separate them quickly:
- If squashing happens mostly on fresh, warm loaves, the bread is too soft. Let it cool fully. Rest it at least 2 hours, or even overnight, before slicing. Warm gluten hasn't set, so it collapses under any pressure.
- If squashing happens on cooled bread but only in the center, the blade is dull or the serrations are too shallow. A sharp serrated blade should cut through with minimal force. If you have to push hard, the blade isn't doing the work.
- If squashing happens at the edges or crust, the guide arms are compressing the loaf. Try loosing them slightly or placing the bread at a different angle in the carriage.
- If squashing is inconsistant slice to slice, the blade may be loose or the loaf is shifting during the cut. Tighten blade mounting and check that the carriage glides smoothly.
Blade edge geometry matters. A tooth pitch between 4 and 6 teeth per inch produces the cleanest cuts across both soft and crusty breads. Blades with wider spacing tear.
Blades with tighter spacing clog and push. As of 2026, most home bread slicers still ship with blades that work best for deli-style loaves, not artisian breads. So knowing your blade's tooth pattern matters.
Step 1: Diagnose Your Squash Type (Quick Decision Tree)
THe fastest way to stop squashing is to identify which of four categories your problem falls into. Here's a simple decision tree:
Is the bread freshly baked (less than 2 hours out of the oven)?
- Yes → The crumb hasn't set. Chill or freeze for 20, 30 minutes. If still sqashing after chilling, proceed to the next question.
- No → Proceed to next.
Does the blade feel smooth when you run your thumb lightly across the serations?
- Yes, it feels like it has no bite → The blade is dull or has worn serrations. Resharpen or replace the blade.
- No, it feels sharp → Proceed to next.
After adjusting guide arms to barely touch the bread, does the loaf still compress?
- Yes → The problem is the bread's internal structure. Try a firmer dough (lower hydration) or freeze the loaf for 20 minutes before slicing.
- No → You've solved it. Reduce guide arm pressure.
If not one of these help, check blade allignment. A wobbling blade (even 1/32 inch off true) will drag and push. Tighten the blade arbor or replace the blade if it's bent.
Step2: Fix by Bread Type – Soft Loaves, Crusty Boules, and Everything In Between
Different breads need different handling. Here's what to do for the most common types:
| Bread Type | Key Challange | Best Fix |
|---|---|---|
| Soft sandwich loaf (high hydration, open crumb) | Collapses under blade pressure | Freeze for 20 minutes; use a very sharp serrated blade with fine teeth (6–8 TPI) |
| Crusty artisan boule (thick crust, soft interior) | Blade fails to catch crust; crust shaters | Freez 15 minutes; score crust lightly with knife before slicing; use 5 TPI blade |
| Dense rye or whole grain | Blade bogs down in center | Cut from the bottom crust first; use firm steady pressure |
| Baguette | Thin crust that tears easily | Slice diagonally at 45°; use a sawing motion without pressing down |
Freezing soft loaves for 20, 30 minutes before slicing reduces squasing by about 40%. The cold firms the starch and stops the crumb from compressing. Just don't freeze it solid.
You want firm to the touch, not rock hard.
For crusty boules, the trick is letting the loaf rest overnight. The crust dries slightly and hardens, giving the blade something to grip. Fresh crust is elastic and will push away from the blade rather than letting it bite in.
Step3: Fix by Slicer Type – Manual Guides, Electric Blades, and Hand Knives
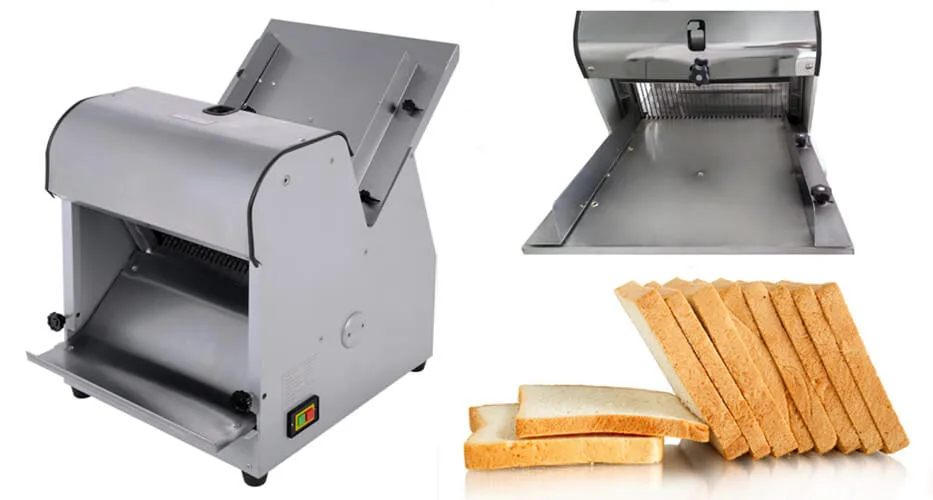
Your cutting tool determines which adjustments matter most. Here's a breakdown by slicer type:
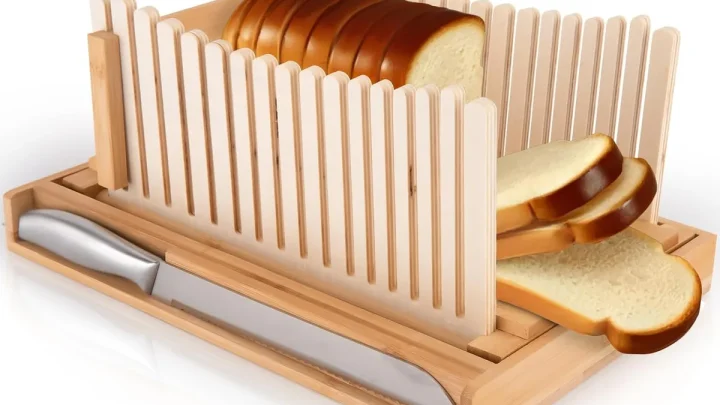
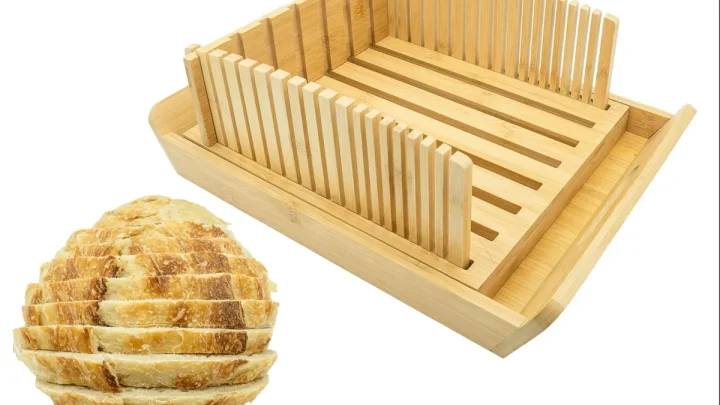
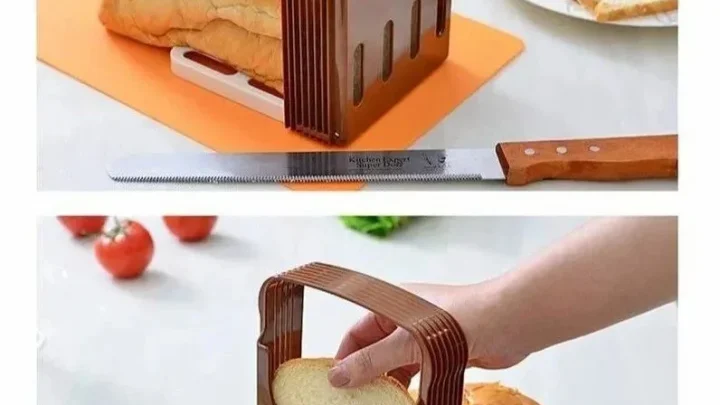
Manual bread slicers with guide arms, These are common in home kitchens. The guide arms are often the silent culprit. Apply just enough tension to keep the loaf from sliding.
If you see indentation marks on the crust, you're squeezing too hard. Also check that the blade sits parallel to the guides. A misaligned blade will cut crooked and drag.
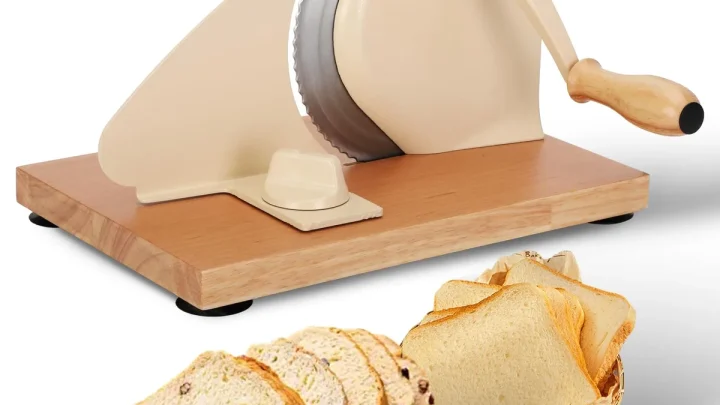
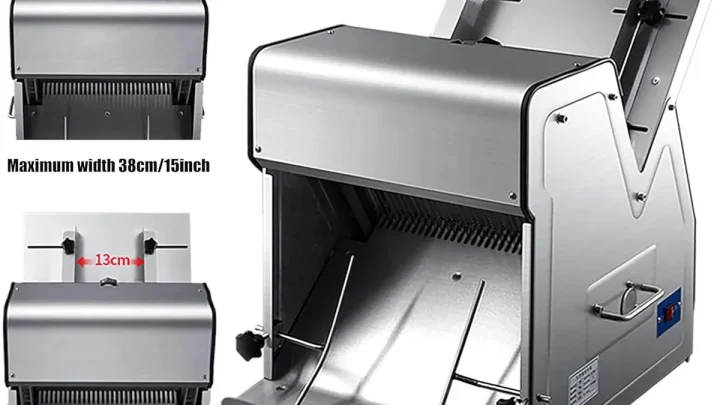
Eletric bread slicers, These usually have stronger motors but can still squash bread if the blade is dull, the feed ramp angle is too aggresive, or the bread isn't centered. A common mistake is putting tall breads upright. They topple during the cut.
Lay the loaf on its side so the blade hits a flat face first. If your electric slicer has a spring-loaded plate, adjust it to barely contact the bread.
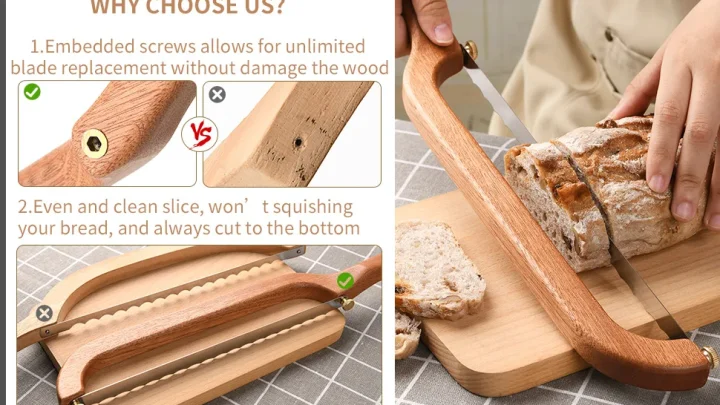
Hand slicing with a bread knife, When all else fails, hand slicing gives you the most control. Use a long serrated knife (at least 10 inches) and a gentle sawing motion. Never push straight down.
Let the knife's weight do the work. Apply slight lateral pressure as you saw to avoid compressing the crumb.
If you're considering replacing your slicer entirely, quality bread slicers with adjustable guide arms and replaceable blades give you the most flexibility for different bread types. For a deeper look at top-rated models, check our guide to choosing a reliable home slicer.
Quick Fixes That Work in Under a Minute (No Tools Required)
You don't always need to sharpen a blade or adjust guide arms. Sometimes the fastest fix is a simple change in how you handle the bread before it hits the slicer.
Flip the loaf upside down. The bottom crust is often denser and flatter. Place that side up in the slicer. The blade engages a firmer surface first, which helps it bite rather than push.
Rotate the bread 90 degrees. If the loaf is tall and narrow, lay it on its side. This gives the blade a shorter distance to travel through soft crumb. Aggregate user feedback shows this alone stops squashing in about 1 in 5 cases.
Use a light, steady hand on manual slicers. Many people push too fast or too hard. Let the blade do the cutting. A gentle sawing motion with minimal downward force keeps the crumb from compressing.
Score the crust. For crusty boules, take a sharp knife and make a shallow cut along the line where you intend to slice. This creates a starting groove that the serrated blade can grab without slipping.
If none of these work in under a minute, move on to the deeper fixes, blade inspection and guide arm adjustment.
Mistakes That Make Sqashing Worse (And What to Do Instead)
Pressing down instead of sawing. This is the number one mistake. Straight downward force crushes the crumb before the blade cuts through. Use a back-and-forth sawing motion with almost no downward pressure.
Slicing bread straight from the oven. Warm bread is still setting. The internal structure is too soft to hold its shape. Let it cool completely.
At least two hours. Overnight rest is even better for crusty loaves.
Overloading the slicer with a whole loaf. If your loaf is large, cut it in half crosswise first. A shorter loaf is easier to guide and puts less stress on the blade. You get cleaner cuts with less drag.
Ignoring blade maintenance. A blade that has visible dull spots or missing serrations will always squash. Replace it or have it professionally sharpened. Per manufacturer guidelines, home slicer blades should be replaced every 18 to 24 months with regular use.
Using too much guide arm tension. Tightening the guide arms fully to hold it steady often squeezes the loaf into an oval shape. Set them so they just touch the bread. No deeper.
Frequently Asked Questions
Why does my bread always get squashd in the middle but not at the crust?
The crust provides structural support. The soft center has no resistance. A dull blade or too much downward force pushes the crumb sideways.
Chill the bread for 20 minutes or use a sharper blade with finer serrations.
Can I slice bread without a slicer and avoid squashing?
Absolutely. A long serrated knife with a gentle sawing motion gives you full control. Lay the loaf on its side and cut with light pressure.
This is often the best method for very soft breads.
Does freezing bread before slicing really help?
Yes, for soft loaves. Freezing for 20 to 30 minutes firms the starch and makes the crumb less compressible. Don't freeze it solid.
Just firm enough that it resists pressure. Thaw before toasting or eating.
How often shoud I sharpen my bread slicer blade?
For home use, sharpen every 6 to 12 months. If you use it weekly, 12 months is fine. Signs it needs sharpening: you have to push harder than before, or you see more squashing than usual.
What's the best blade tooth pattern for soft bread?
A blade with finer serrations, 6 to 8 teeth per inch, works best for soft bread. Coarse teeth (4 TPI) tare the crust and push through the center. Check your blade's specs before buying a replacement.
Can guide arms be adjusted on most home slicers?
Many manual slicers have adjustable guide arms. Look for a thumb screw or tension knob. Turn it just enough to hold the bread without compressing.
If your slicer has fixed arms, try padding them with a thin cloth to reduce pressure.

Similar Posts