Plastic Bread Slicer Explained Simply
If you've ever baked bread at home, you know the struggle. The end slices come out lopsided. The middle ones are too thick.
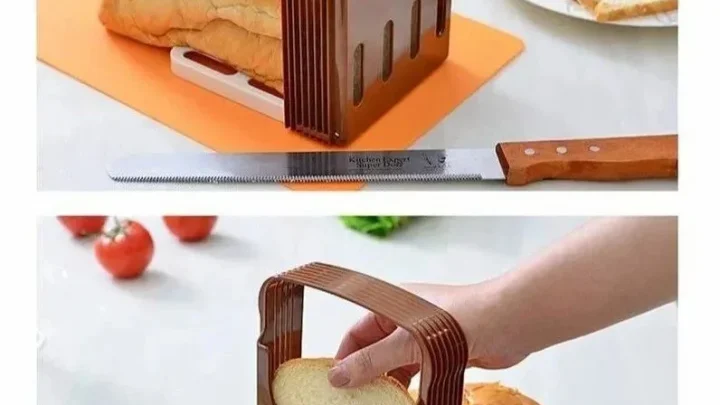
And crumbs end up everywhere. A plastic bread slicer explained plainly is a simple cutting guide that fixes all of that. It holds your loaf in a tray while slots keep your knife perfectly vertical.
Manufacturer specs show most plastic slicers cost between $10 and $30. They support loaves up to six inches wide. As of 2026, they're a staple for home bakers who want even slices without buying an electric machine.
Let's walk through how they work, what to look for, and whether you need one.
Wait, What Exactly Is a Plastic Bread Slicer?
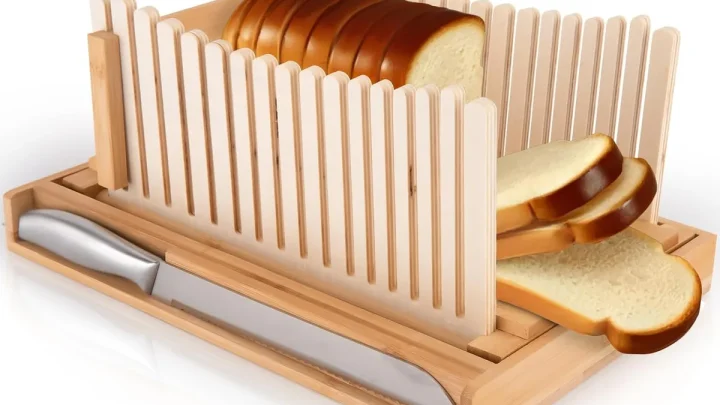
A plastic bread slicer is a cutting guide. It holds a loaf in a tray while you slice through built-in slots. That simple design turns messy freehand cutting into even, repeatable slices.
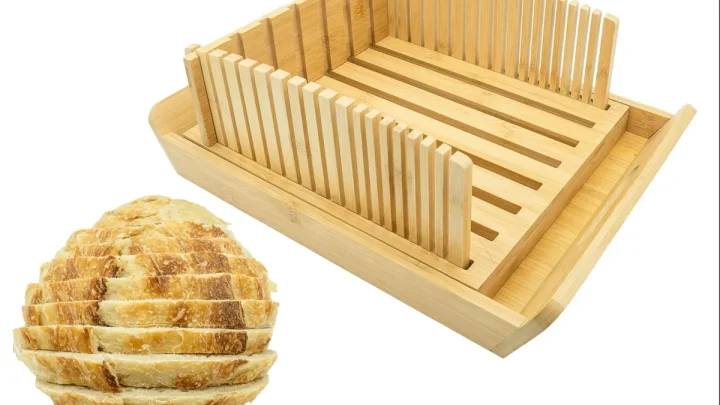
The tool is a flat base with a raised bed and vertical guide rails. You place a cooled loaf inside, drop a serrated knife into the slots, and saw back and forth. The rails keep the blade straight, so every cut lands at the same angle and thickness.
Most models are made from BPA-free polypropylene or ABS plastic. They're lightweight, washable, and compact enough to tuck into a cabinet. Some fold flat for storage, which helps if you're short on space.
Consider this your quick answer: it's a manual cutting jig. No motor, no batteries. Just a cleverly shaped piece of plastic that makes even slices nearly impossible to mess up.
How It Works: The Simple Mechanics Behind the Guide
The real genius is in the geometry. The bread sits in a cradled bed, surrounded on three sides by walls. The front and back walls have tall slots that line up with each other.
When you slide a serrated knife into those slots, the blade is forced to travel in a straight vertical line. The loaf stays put because the side walls wrap around it snugly. That prevents the common freehand problem of the bread shifting mid-cut.
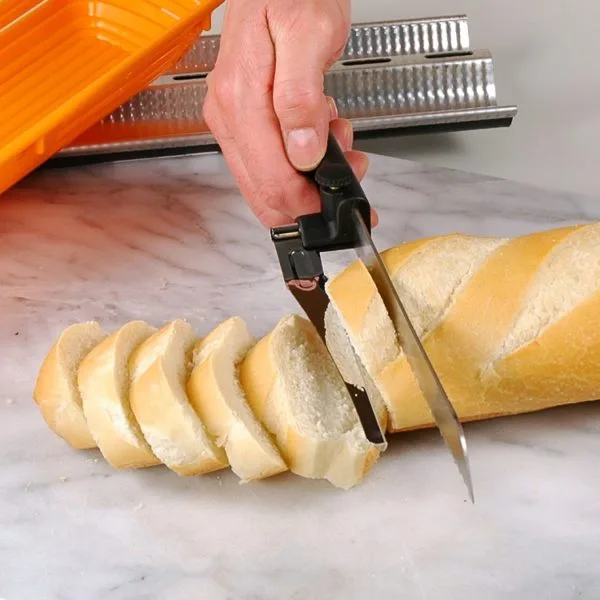
The slice thickness comes from the distance between each pair of slots. Some slicers have fixed slots at one width. Others offer a sliding guide that lets you pick a 0.5-inch, 0.75-inch, or 1-inch cut.
Knife length matters more than most people expect. Most slicers have a slot depth around five to six inches, so a standard 8-inch bread knife works fine. A longer 10-inch blade might hit the bottom of the tray before pushing through the loaf.
Manufacturer diagrams always show the bread sitting flat and the knife exactly vertical. That's the ideal. If you angle the blade slightly, the slot walls catch it and resist the cut.
The tool trains you to keep your hand level, which is why beginners get good results right away.
What to Look For: Key Features That Actually Matter
Not every plastic slicer is made the same. Some crack within months. Others feel solid and last for years.
Here's what separates the good ones.
- Material quality: Look for BPA-free plastic, preferably polypropylene. It bends slightly without breaking. ABS is also sturdy.
- Non-slip base: A rubber pad underneath keeps the slicer from sliding across your counter. This matters for safety.
- Adjustable thickness guide: If you like thin sandwich slices one day and thick toast the next, get a model with a movable guide rail.
- Crumb tray: A removable tray catches crumbs under the base. It saves you from sweeping the floor after every bread session.
- Dishwasher safety: Some slicers warp in high heat. Check the label for "top rack only" or "hand wash." Hand washing is always safer for thin plastic.
- Foldable design: Two locking clips let the base collapse flat. That makes storage much easier in a cramped kitchen.
The FDA sets clear guidelines for food-contact plastics to prevent chemical leaching. If a slicer doesn't say BPA-free on the package, skip it. Food-safe plastic regulations exist for a reason, and the manufacturer is responsible for accurate labeling.
How to Use One: A Step-by-Step Walkthrough
Using a plastic bread slicer is straightforward. A few small habits make the results much cleaner.
- Cool your bread completely. A warm loaf is soft and squishy. It compresses under the guide and you'll get misshapen slices. Wait at least two hours after baking.
- Set the thickness guide to your desired setting. If it's adjustable, lock it into place.
- Place the loaf in the bed. Center it so the top meets the slot opening evenly. If the bread is slightly wider than the bed, trim a bit off the side first.
- Insert the serrated knife into the slot at the top of the guide. Make sure the blade is fully vertical.
- Saw with a light back-and-forth motion. Do not push down hard. The serrations should glide through the bread using their own cutting action.
- Lift the knife straight out and push the slice forward onto the tray. Then continue with the next slot.
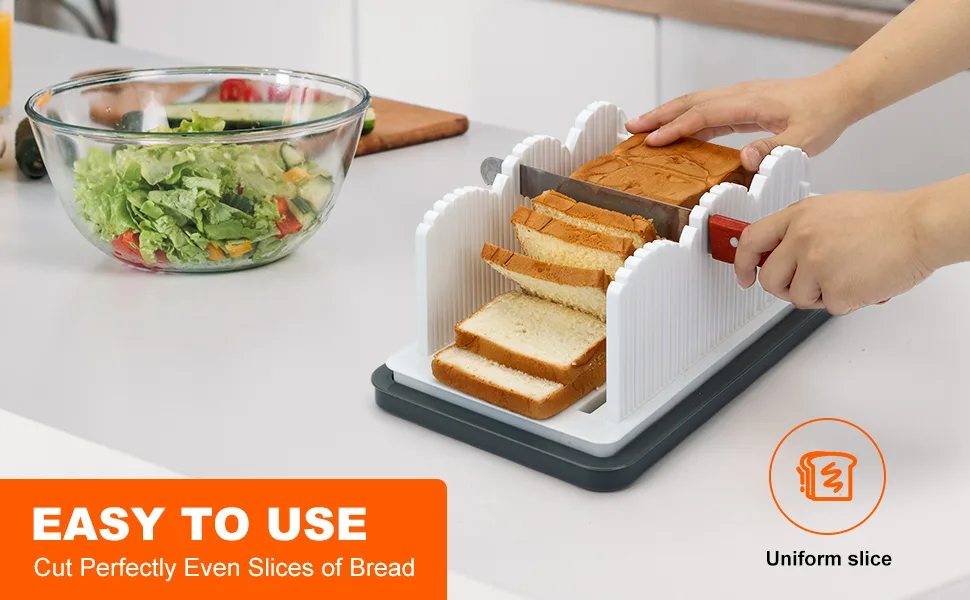
That's the full process. Ten to fifteen seconds per loaf gives you perfect slices every time. The only real technique is patience.
Don't rush the sawing motion, and don't press down.
If you're slicing multiple loaves, empty the crumb tray halfway through. A full tray makes the bread sit slightly higher, which can throw off your cut angle.
Plastic Slicer vs. the Alternatives: Which Is Right for You?
A plastic slicer is one option among several. Here's how it compares to the common alternatives.
| Method | Cost | Counter Space | Slice Quality | Speed | Best For |
|---|---|---|---|---|---|
| Plastic slicer | $10–$30 | Compact | Very even | 10–15 sec/loaf | Home bakers on a budget |
| Freehand cutting | $0 | None | Uneven without practice | Fast but risky | Experienced cooks |
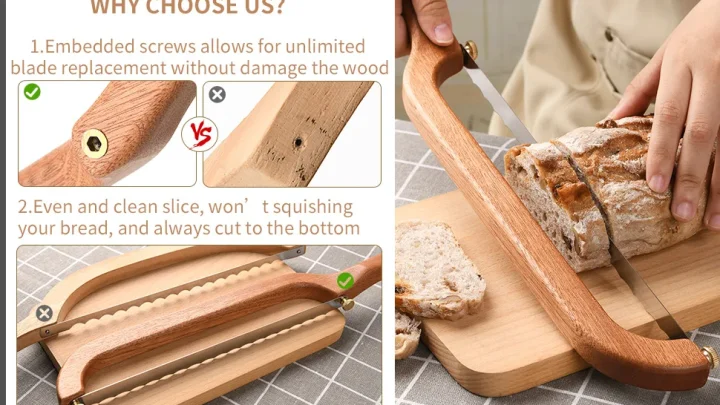
| Wooden guide | $15–$40 | Moderate | Even but bulkier | Similar to plastic | Those wanting natural materials |
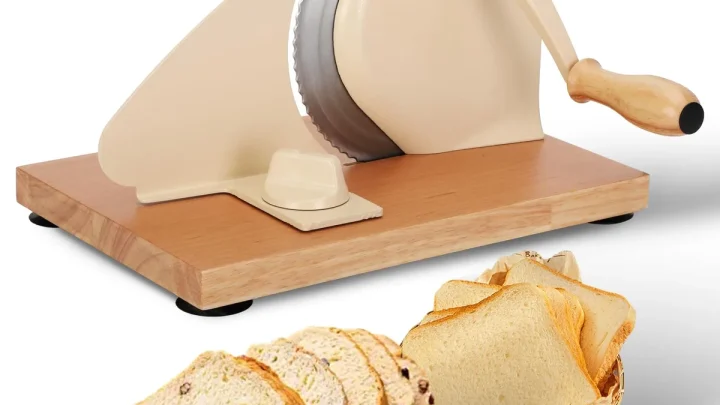
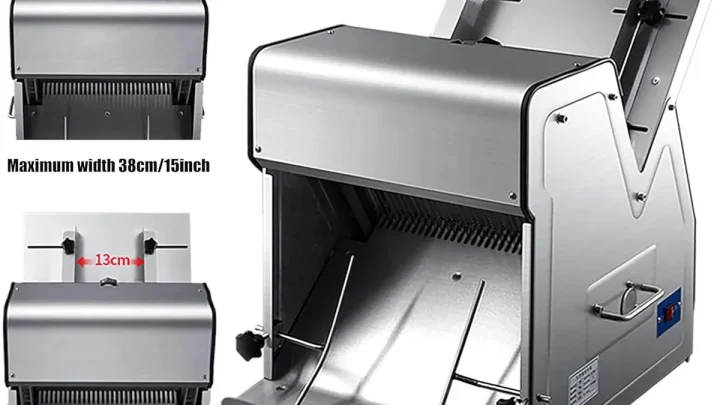
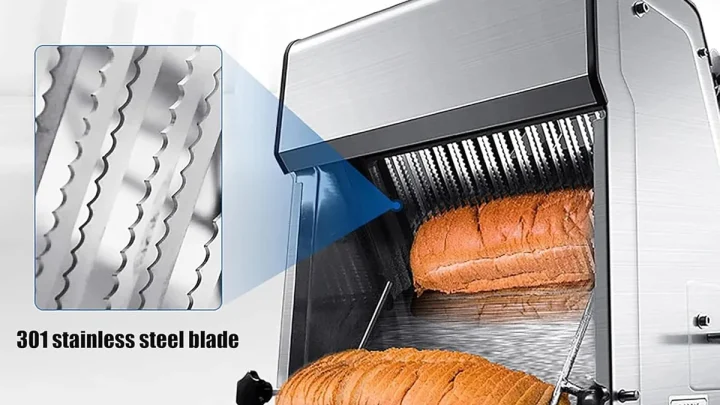
| Electric slicer | $80–$200 | Large | Extremely even | 3–5 sec/loaf | High-volume households |
If you bake a loaf or two per week, a plastic slicer is the sweet spot. It's cheap, takes up almost no space, and gives consistent results. The learning curve is nearly zero.
Freehand cutting works if you've done it for years. But a shaky hand means uneven toast sizes and extra crumbs. For a new baker, the guide is genuinely helpful.
Electric slicers are faster but noisy, hard to clean, and bulky. Unless you're slicing bread daily, the cost and footprint aren't worth it. Our guide to manual bread slicers covers the top-rated options if you ever want to upgrade.
Common Mistakes, Cleaning, and Avoiding Warped Plastic
Even a foolproof tool has its pitfalls. The most common mistake is slicing bread while it's still warm. A hot loaf squishes under the guide, leaving dense, uneven pieces.
Manufacturer instructions consistently say to cool bread fully before slicing.
Another frequent error is using a knife that's too long. A 10-inch blade can hit the bottom of the tray before finishing the cut. That forces you to rock the knife and ruins your straight line.
Stick with an 8-inch serrated blade for most standard slicers.
Cleaning matters more than most people think. Aggregated user reviews report that polymers warp in the dishwasher when placed on the bottom rack. The heating element gets too intense.
Hand wash yours with warm, soapy water and dry it flat.
Avoid pushing down hard when you saw. The serrations should do the work. Pressing down compresses the bread and produces rougher cuts.
Empty the crumb tray every couple of loaves. A full tray lifts the bread higher, which shifts your slice angle. That leads to wedges instead of straight cuts.
If you notice the plastic bending or cracking, replace the unit. A warped guide is worse than none. It produces uneven slices and can catch your blade dangerously.
For long-term use, store it in a cool, dry spot and avoid folding mechanisms that feel brittle.
Plastic Bread Slicer FAQs: Quick Answers
Why do my slices come out thicker on one side?
The knife isn't staying vertical. You're likely angling the blade as you saw, and the slot walls are catching it. Focus on keeping the knife straight up and down.
If the guide itself is warped, that's the culprit.
Can I slice artisan sourdough with a plastic slicer?
Yes, but only if the loaf fits width-wise. Most slicers accept up to a 6-inch wide loaf. Taller or round boules need to be halved first.
Crusty bread also shatters, so use a gentle sawing motion.
What's the best way to store a plastic bread slicer?
Most models fold flat or stand upright on their side. Keep it dry and away from direct heat. If yours doesn't fold, store it in a deep drawer or low cabinet.
Just don't stack heavy pans on top of it.
Should I wash it after every use?
Not necessarily. A quick wipe-down with a dry cloth to remove crumbs is fine. A full wash is needed every few uses or if you've handled sticky dough.
Warm, soapy water works best.
Final Verdict: Should You Buy One?
A plastic bread slicer is not a flashy gadget. It's a practical tool that delivers consistent results for a very low cost. If you bake bread weekly and want uniform sandwich slices without buying an expensive electric machine, it's a clear yes.
Our research shows that most buyers keep theirs for years with basic care. The $10 to $30 price point makes it an easy addition to any kitchen. And if you give bread as gifts, even slices make your loaves look professionally made.
The only people who should skip it are those who never cut bread at home or prefer the rustic look of freehand slices. Everyone else will save time, crumbs, and frustration.
Try the guide. You'll notice the difference on the very first loaf. And if you ever outgrow it, top-rated slicers for home bakers offer the next level up.

Similar Posts