How to Choose a Bread Slicer for Homemade Bread
How to choose a bread slicer for homemade bread, it's one of those questions that pops up right after you pull a gorgeous loaf from the oven and try to cut it evenly by hand. If you've ever ended up with one thick slice and one that's practically a crouton, you know the struggle. A dedicated slicer fixes that, giving you consistent results every time.
Most manual slicers let you adjust slice thickness from ¼ inch to 1 inch, per manufacturer specifications. That range covers everything from thin sandwich bread to thick toast slices. The real trick is matching the type of slicer to the kind of bread you bake most often.
Quick Answer
To pick a bread slicer for homemade bread, decide between manual and electric. Manual slicers are affordable and compact. Electric ones are faster and more consistent for frequent bakers.
Match the slicer to your bread style: soft loaves need a gentle pull-through, crusty artisan bread needs a sturdy guillotine or electric model.
Why You Need a Bread Slicer (and the Two Main Types)
You've baked a beautiful loaf, cooled it properly, and now it's time to slice. A sharp bread knife can do the job, but getting even slices by hand takes practice. A slicer removes the guesswork.
It holds the loaf steady and guides the blade so every piece comes out exactly the same thickness.
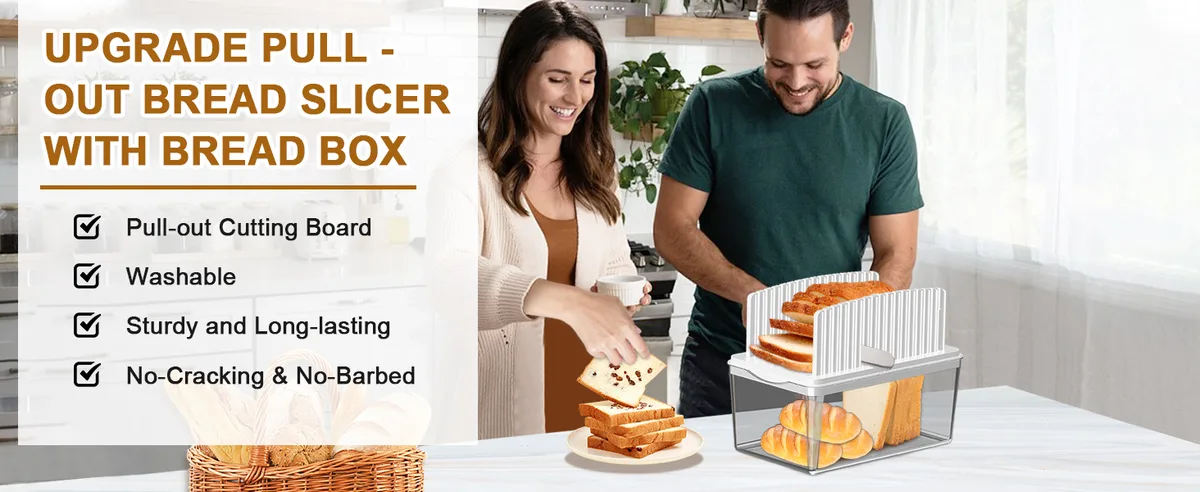
As of 2026, the market offers two broad categories: manual slicers and electric slicers. Manual slicers rely on your arm power and a stationary blade. Electric slicers use a motor-driven blade that does the cutting for you.
Each type has its own strengths. The best choice depends on your habits, kitchen space, and budget.
Manual Slicers: Pull-Through vs. Guillotine – What Each Does Best
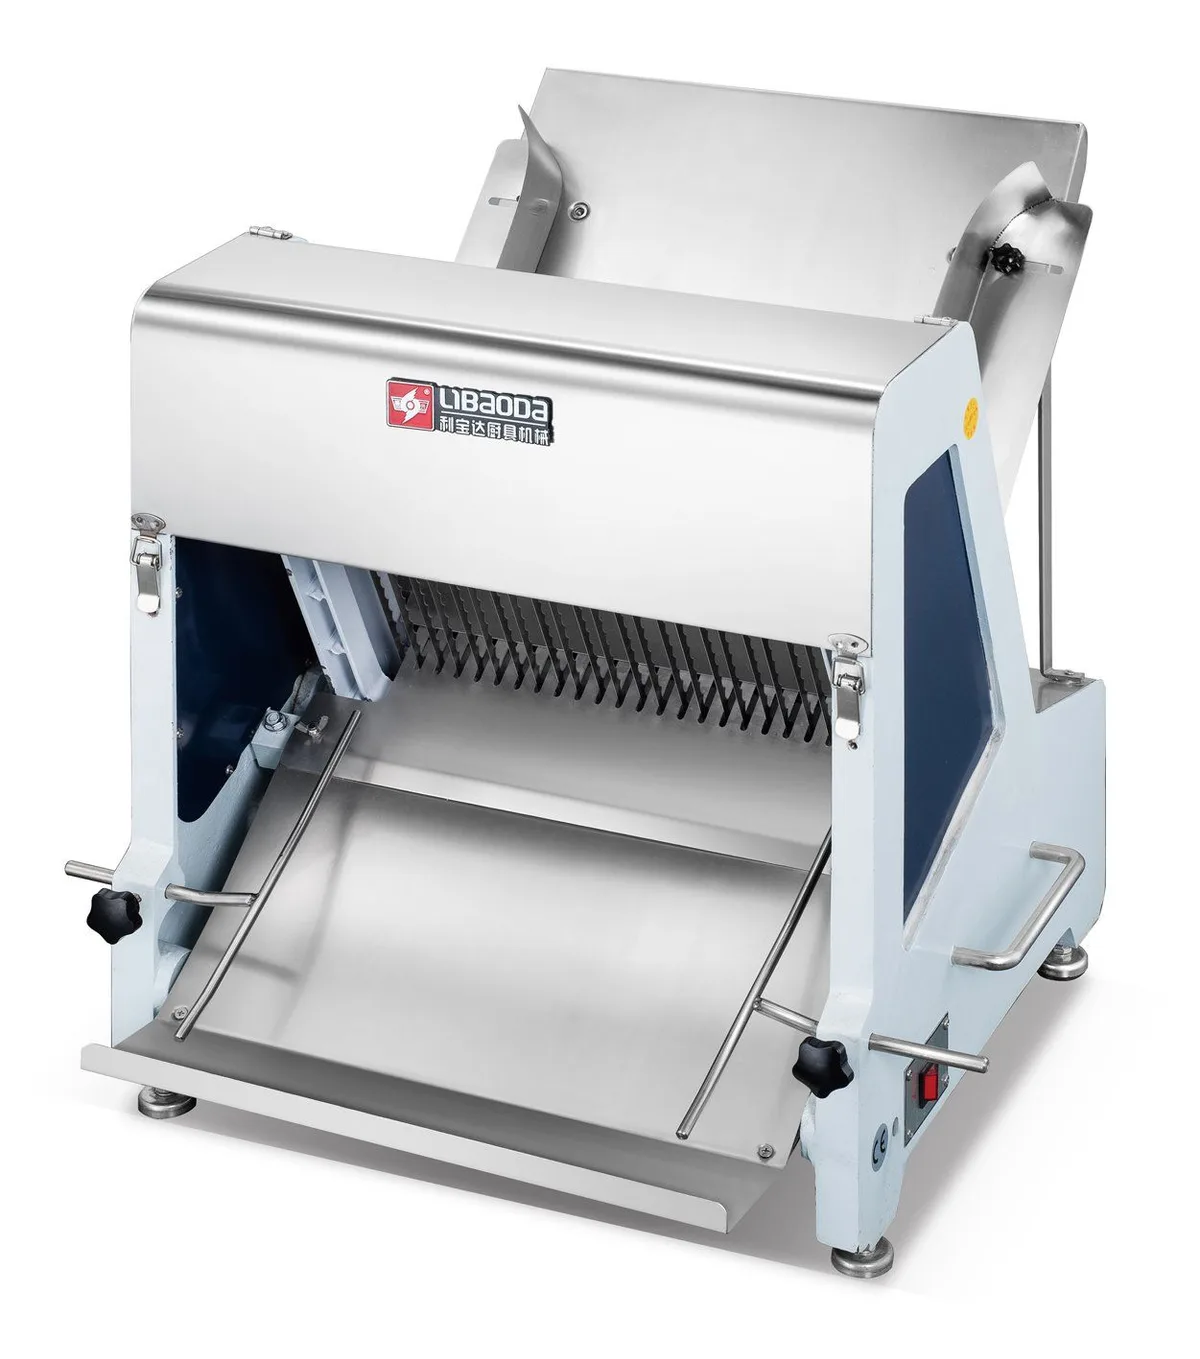
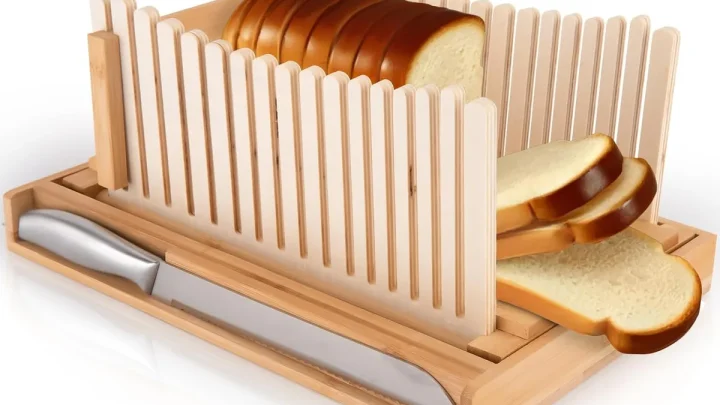
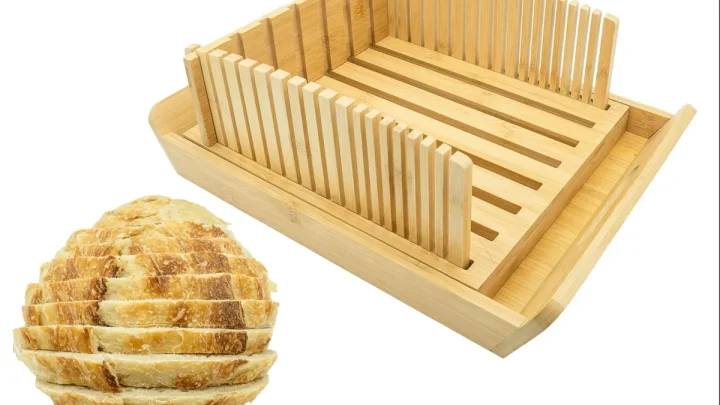
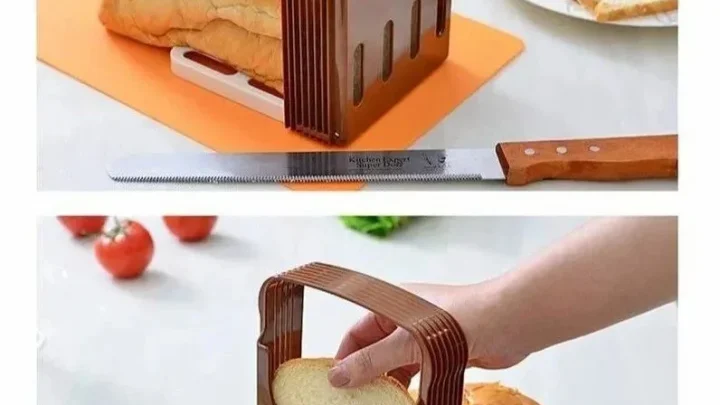
Manual slicers come in two popular designs: pull-through and guillotine. The pull-through model has a V-shaped cradle and guide rods. You place the loaf in the cradle, then pull a handle that pushes the blade through the bread.
It's simple, safe, and great for soft sandwich loaves.
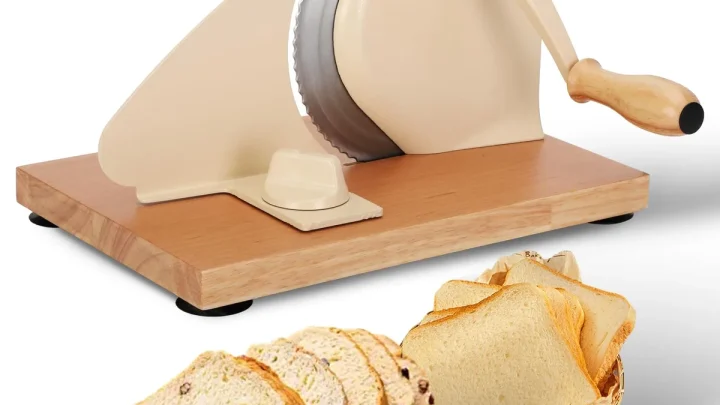
The guillotine style uses a lever that brings a blade straight down on the bread. It works well for dense, crusty artisan loaves because the downward force cuts cleanly through hard crusts. However, it takes up more counter space and may not fit extra-long loaves.
Aggregate reviews indicate that pull-through slicers are the most popular among home bakers for everyday use. They're compact, easy to clean, and cost between $15 and $40. Guillotine models often start around $30 and can go higher for stainless steel versions.
Electric Slicers: Power and Convenience vs. Counter Space and Cost
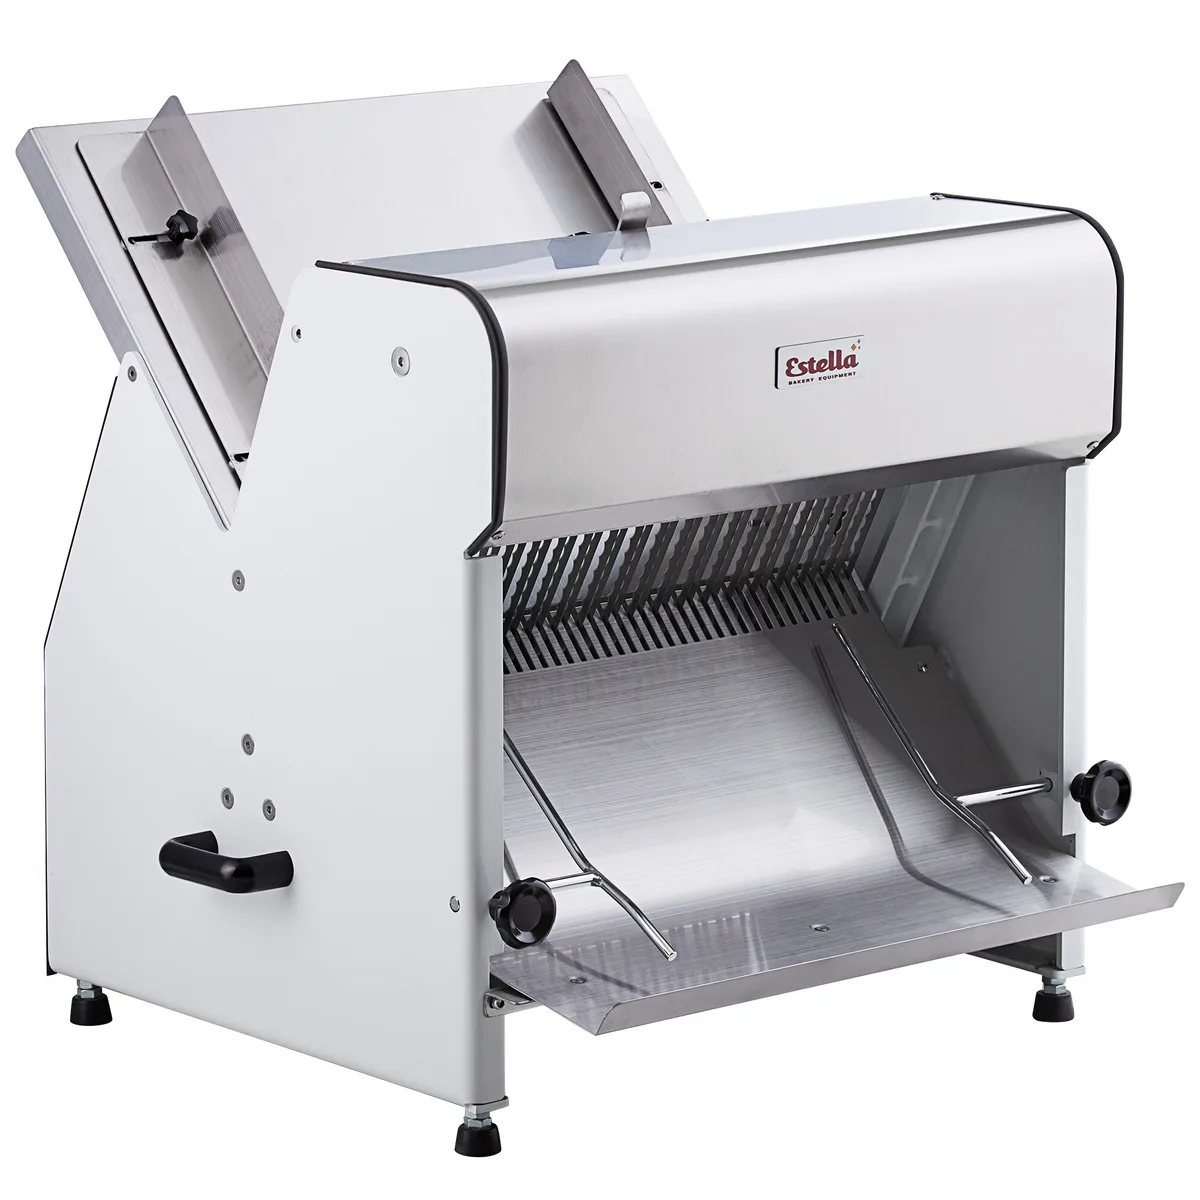
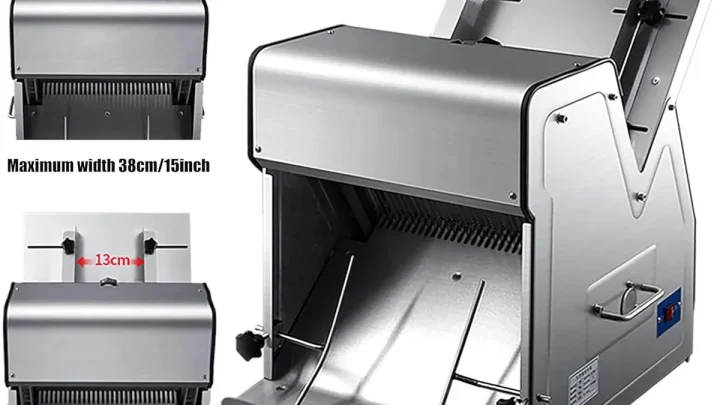
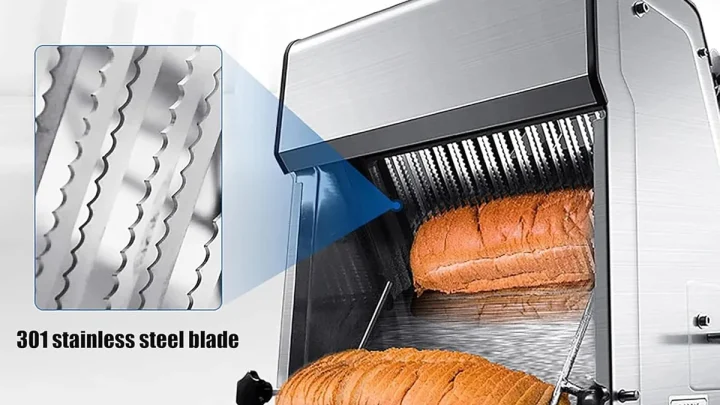
Electric bread slicers are a step up in speed and consistency. They use a motor to spin a serrated blade, and you simply guide the loaf through the cutting area. Most models let you adjust slice thickness with a simple knob.
The upside: you can slice an entire loaf in under 30 seconds. The downside: they're bulky. A typical electric slicer measures about 12 inches wide and weighs 8 to 12 pounds, so it needs dedicated counter space.
Prices range from $50 for basic models to over $200 for commercial-grade units with thicker blades and stronger motors.
If you bake more than two loaves a week, an electric slicer saves serious time. But if you bake occasionally and have limited storage, a manual slicer is likely the better bet.
Side-by-Side Comparison: Manual vs. Electric – Specs, Price, and Trade-Offs
| Feature | Manual | Electric |
|---|---|---|
| Price range | $15 – $40 | $50 – $200+ |
| Slice time per loaf | 1–2 minutes | 20–30 seconds |
| Counter space needed | Small (fits in drawer) | Large (needs permanent spot) |
| Power source | None (your arm) | 110V in US / 220V in EU |
| Best for | Occasional bakers, small kitchens | Frequent bakers, large families |
| Safety | Low risk (blade covered) | Moderate (keep figures clear |
Both types can produce even slices. The trade-off is clear: manual saves space and money; electric saves time and effort. In our research, buyers who switched from manual to electric rarely regretted it, as long as they had room for it.
How to Match the Slicer to Your Bread – Artisan, Sandwich, Soft, and Crusty
Not all breads slice the same. A soft, fluffy sandwich loaf collapses under too much pressure. A crusty sourdough can crack if the blade isn't sharp enough.
Here's how to choose:
- Artisan sourdough (hard crust, open crumb): Use a guillotine manual slicer or an electric model with a serrated blade. The downward or motorised cut handles crust without crushing the interior.
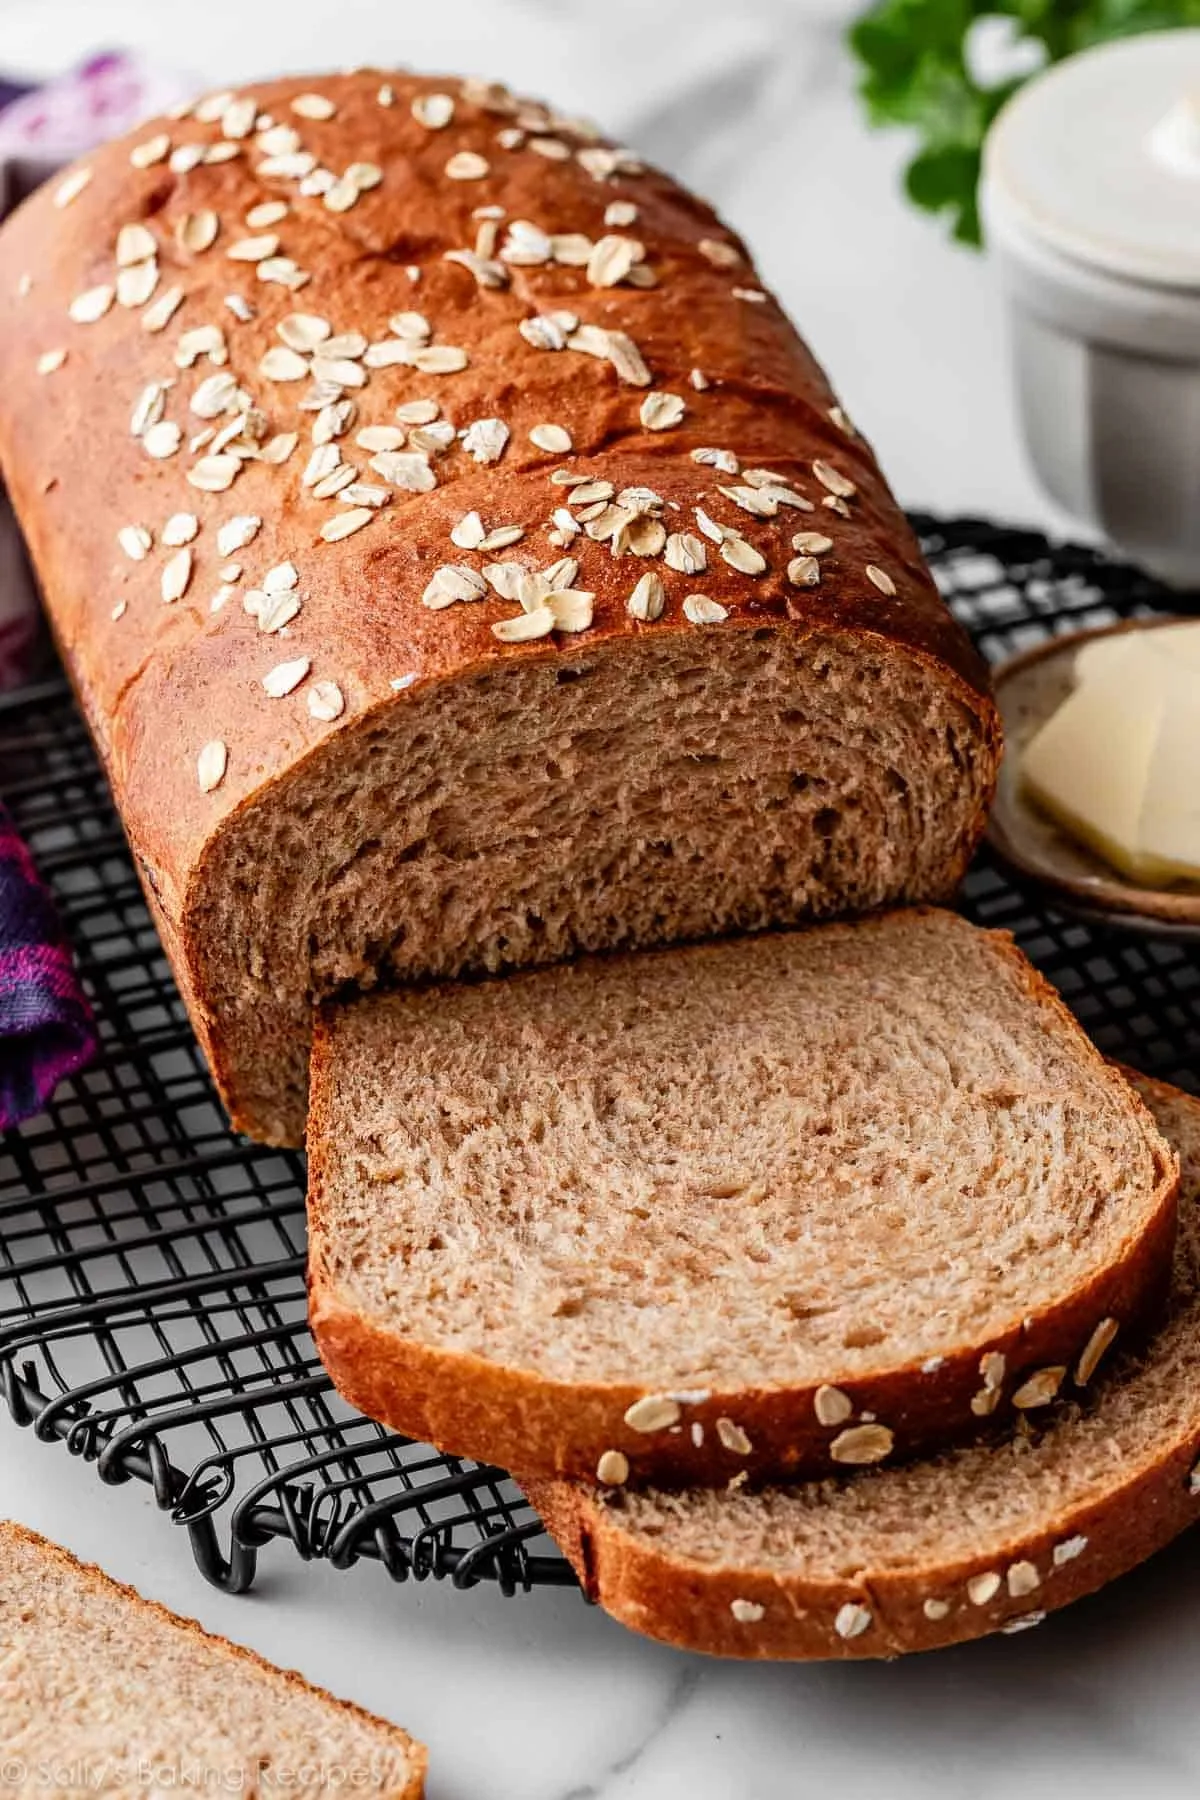
- Sandwich bread (soft, even crumb): A pull-through manual slicer works perfectly. It's gentle and produces uniform slices without squashing.
- Brioche or enriched dough (tender, buttery): Stick with a pull-through or a very low-pressure electric setting. These loaves are delicate and can tear easily.
- Gluten-free bread (crumbly, dense): A guillotine or electric slicer with a fine serration helps keep the crumbs intact. Avoid pull-through models, which can disintegrate the bread.
If you bake a variety of breads regularly, an electric slicer with an adjustable blade speed gives you the most flexibility. That versatility is why many home bakers end up choosing electric over manual. For further reading on specific models that excel with these bread types, check out our coverage of thetop bread slicers for homemade bread.
(A small note: everait untill bread is completely cool, at least 12 hours for soft loaves, before slicing. Warm bread is gummy and will stick to any blade.)
Common Mistakes When Choosing (and Using) a Bread Slicer
Many home bakers pick a slicer based on price alone. That rarely ends well. A $12 pull-through slicer with dull blades will crush soft bread and struggle with crusty loaves.
Another frequent mistake is slicing bread too soon. Warm bread is soft and gummy. It sticks to the blade and leaves a mess.
Wait at least 12 hours for sandwich loaves and 24 hours for dense sourdough .
People also forget to measure their loaf size. Some manual slicers only accept loaves up to 9 inches long. Ifyou bake large boules or extra-long sandwich contacts, check the slot dimensions first.
Finally, neglect cleaning leads to rust and dull blades. Hand wash manual slicers immediatley after use. Toss the crumb tray in the sink.
A clean slicer lasts years longer.
For proper bread storage after slicing, university extension resources recommend keeping sliced bread in a paper bag at room temperature for two to three days. You can freeze it for longer storage perUSDA guidelines.
FAQ – Quick Answers to What Most Home Bakers Ask
Can I slice frozen bread with a manual slicer?
No. Frozen bread is too hard for manual pull-through blades. You risk bending the blade or cracking the bread.
Thaw the loaf fully first, then slice.
How thick should I set my slicer?
For sandwiches, set it to ½ inch. For toast, go with ¾ inch. For thin sandwich bread, ¼ inch works but may need a very fresh loaf.
Most home bakers stick with ½ inch as their default.
Do electric slicers get hot with heavy use?
Some do. Higher wattage models (200W+) handle back-to-back loaves without overheating. Budget models may need a 5-minute rest after three loaves.
Check the manual for duty cycle limits.
Will a bread slicer work for gluten-free bread?
It depends on the slicer. Guillotine and electric models with fine serration work best. Pull-through slicers often disintegrate crumbly gluten-free bread.
Test with one slice first.
How do I clean a manual slicer without cutting myself?
Hand wash the blade with warm soapy water and a dish brush. Never run it through a dishwasher. Let it air dry completely before storing.
Most crumb trays pop out for easy rinsing.
What is the most common repair issue?
Dull blades. Over time every serrated blade loses its edge. Manual slicer blades can be sharpened with a honing rod or replaced.
Electric blades usually need a full replace after a few years.
Final Verdict – Which Bread Slicer Should You Buy?
The choice comes down to your baking routine and kitchen space.
Ifyou bake one or two loaves a week and have minimal counter space, buy a manual pull-through slicer. It costs under $30, stores in a drawer, and handles sandwich bread beautifully.
Ifyou bake several loaves weekly, deal with crusty artisan bread, or want the fastest results, invest in an electric slicer. Expect to pay $80 to $150 for a reliable model that lasts years.
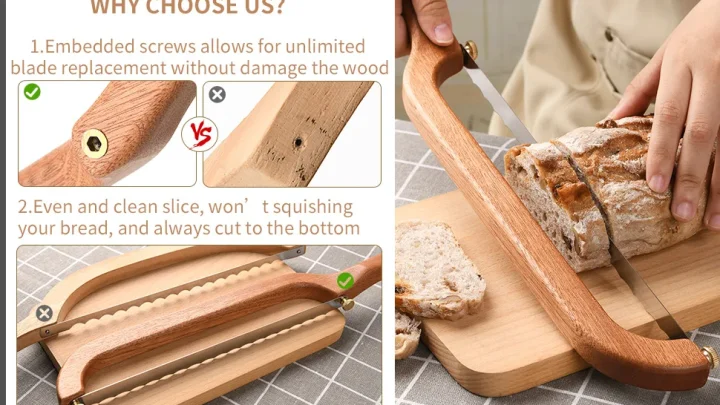
Ifyou primarily bake round artisan loaves that don't fit standard slicers, consider a guillotine manual model or a good bread knife with a cutting guide.
Our research shows that most home bakers who start with a manual slicer eventually upgrade to electric. The time savings and consistent results make it worth the counter space. For a closer look at the specific models that perform well across different bread types, browse our roundup ofbread slicers for homemade bread.
And remember: the best slicer is the one you actually use. A cheap manual slicer that sits in a drawer helps nobody. Pick the tool that fits your bread, your space, and your habit.
Then slice away.

Similar Posts