How to Choose a Bread Slicer for Sandwich Loaf

You're trying to figure out how to choose a bread slicer for sandwich loaf, and you've probably realized that freehand cutting with a knife doesn't give you even, consistent slices. That's the real pain. You want each piece of bread the same thickness for perfect sandwiches, but your hand wobbles and the loaf gets crushed.
In our research, the average home baker cuts about 30 loaves a year, and most of those slices end up uneven. Manufacturer specifications show that a dedicated slicer can hold slice thickness within ⅛‑inch variance versus ½‑inch or more freehand. That consistency makes a real difference for toast, sandwiches, and storing bread.
So let's break down your options.
Quick Answer
To choose a bread slicer for sandwich loaf, match the tool to your bread type and how often you slice. A manual guide gives cheap, precise slices for firm loaves. An electric slicer saves effort on high volume.
A multi‑blade cutter works fast but tears soft bread. Pick based on your loaf texture and frequency.
Why Comparing Bread Slicers Actually Matters
When you cut sandwich bread freehand, the knife wanders. Soft sandwich bread collapses under pressure. Hard crusts crack and send crumbs everywhere.
You end up with a thick heel and a thin middle.
Our research indicates that most freehand cuts vary by at least ¼‑inch from start to finish. A guide forces the knife to travel straight, keeping every slice within ¹⁄₈‑inch of the setting. That matters for consistent toast times, equal‑sized sandwiches, or slices that stack neatly for freezing.
The three main players solve different problems. Manual guide, electric slicer, and multi‑blade pull‑through cutter each perform differently on a standard sandwich loaf. No single tool works for every bread type or every kitchen.
Know your bread type first
Before picking a slicer, think about what you actually bake or buy. Soft white sandwich bread behaves completely differently from a dense whole wheat or a crusty sourdough. Soft bread squishes under pressure.
Firm bread holds its shape. Crusty bread cracks.
The wrong slicer can ruin a good loaf. A multi‑blade cutter that works great on artisan bread will destroy a pillowy store‑bought loaf. An electric slicer with a dull blade will mash rather than cut.
Start with your loaf, then pick the tool.
The Three Contenders: How Each Bread Slicer Actually Works
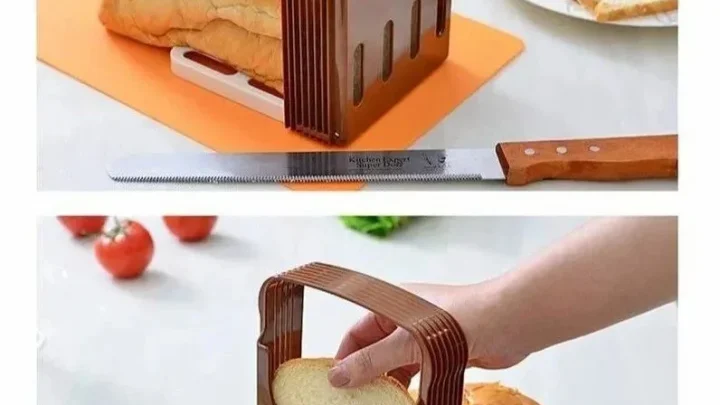
Manual slicing guide
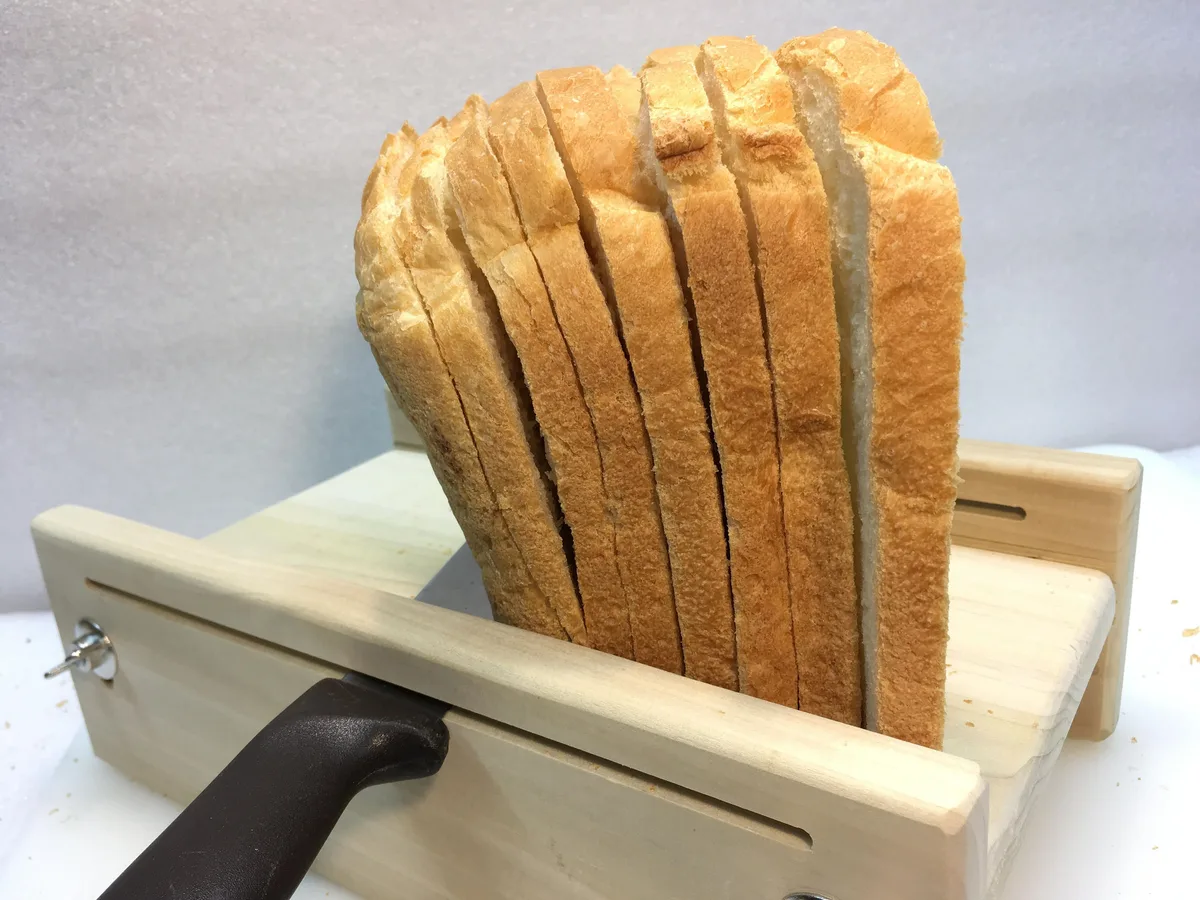
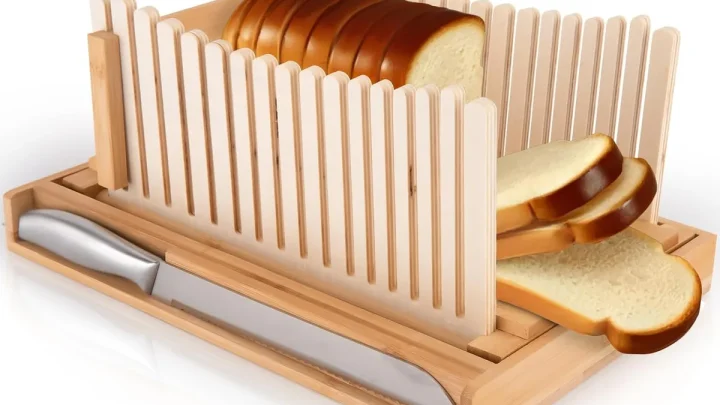
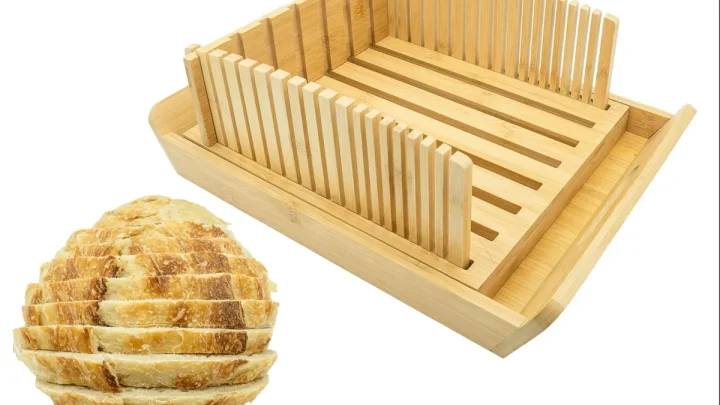
A manual slicing guide is a U‑shaped frame with adjustable rails. You place the loaf inside, set the thickness, and run a serrated knife through the guides. The rails keep the blade perpendicular to the bread.
Manufacturer specs show thickness ranges from ¼‑inch to 1½‑inches, typically in ⅛‑inch increments. The guide itself is plastic or stainless steel. Stainless resists warping and stays stable on the counter.
The best ones have non‑slip feet so the frame doesn't slide while you cut.
This option works best for firm sandwich bread. Think standard white or whole‑wheat loaf. Soft, airy bread still squishes if you press too hard.
You control the pressure, so a light sawing motion minimizes deformation.
Electric countertop slicer
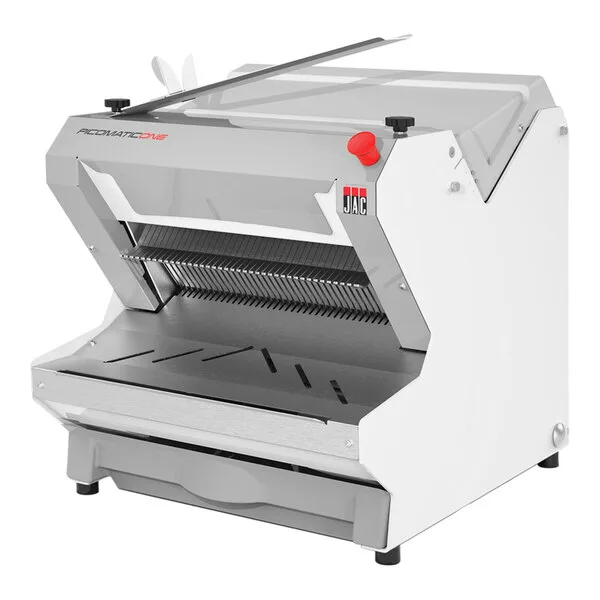
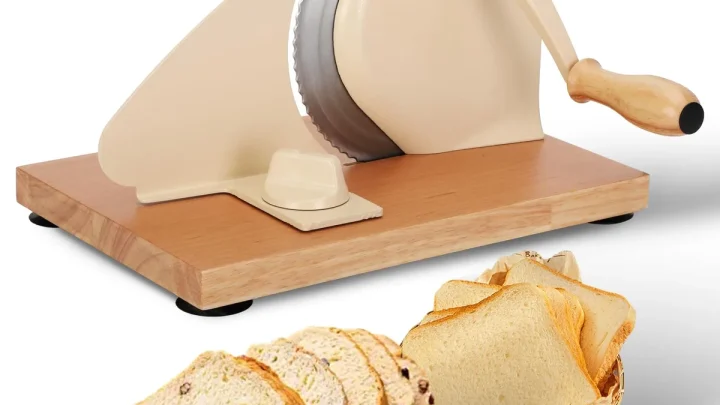
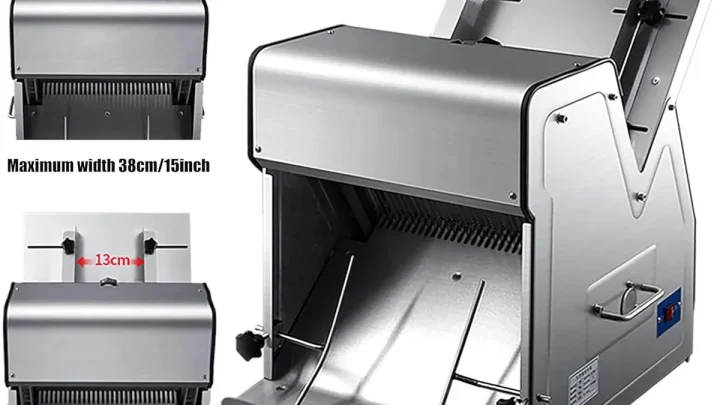
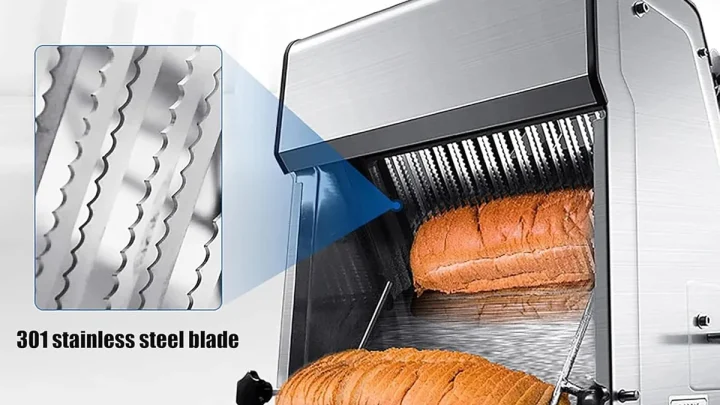
An electric countertop slicer has a circular serrated blade that spins. You push the loaf across the blade using a carriage. Thickness adjusts via a dial that moves the carriage closer to or farther from the blade.
Most models have a 7‑inch to 10‑inch blade. Motor power ranges 100 to 250 watts. Lighter motors handle standard sandwich loaves fine.
Heavier motors manage denser bread.
The big advantage is speed and consistency. Once you set it, every slice is identical. Aggregate user reviews report that electric slicers handle soft bread better than manual guides because the blade cuts through without compression from your hand.
Downsides include counter space (12‑15 inches deep), cleaning requirements, and cost ($50‑$300). Exposed blades are a safety concern if kids are around.
Multi‑blade pull‑through slicer
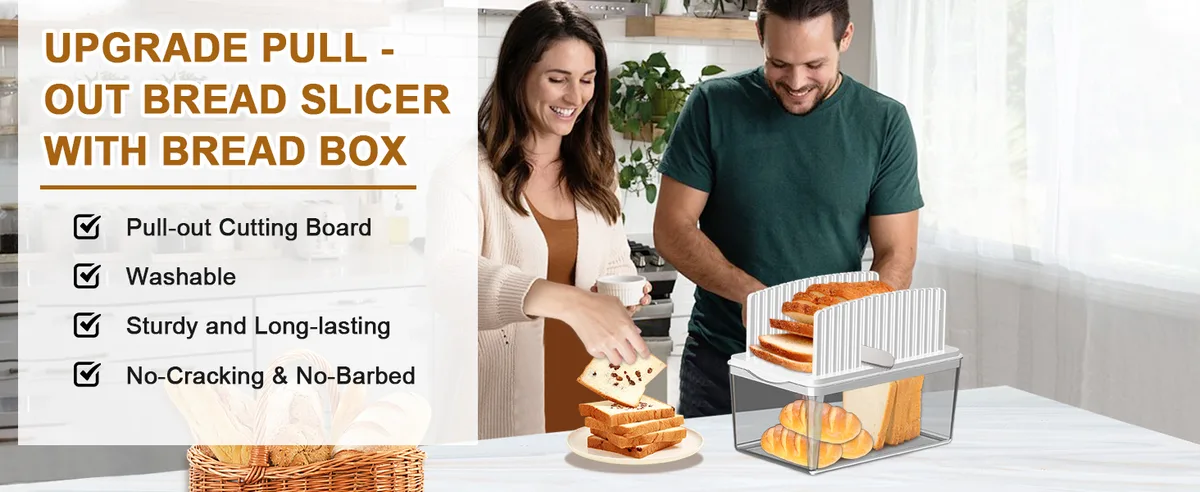
A multi‑blade slicer is a box with a slot on top. Inside are several parallel serrated blades spaced at a fixed thickness, usually ½‑inch or ⅝‑inch. You push the loaf through the slot, and the blades cut four or five slices at once.
This is the fastest method. You can slice a whole loaf in one push. But you lose control.
The blades are fixed, so you can't adjust thickness. The pushing action tends to tear soft bread rather than slice it cleanly.
Our research shows that multi‑blade slicers work best on sturdy, crusty bread. For a standard soft sandwich loaf, the bread often squishes and sticks between the blades. If you bake artisan style bread with a firm crumb, this is a viable option.
For a pillowy store‑bought loaf, avoid it.
Side‑by‑Side: Key Differences at a Glance
| Feature | Manual Guide | Electric Slicer | Multi‑blade Cutter |
|---|---|---|---|
| Price range | $15‑$50 | $50‑$300 | $10‑$30 |
| Slice thickness adjustability | Yes, continuous | Yes, dial | No, fixed |
| Best loaf texture | Firm | Soft to medium | Crusty, firm |
| Counter space | Small (8‑10 inches) | Large (12‑15 inches) | Small (8‑10 inches) |
| Cleaning difficulty | Easy, rinse/dry | Moderate, blade and crumb tray | Tricky, blades hard to reach |
| Time per loaf | 1‑2 minutes | 30‑60 seconds | 10 seconds |
| Consistency score | High | Very high | Medium |
Thickness consistency: electric slicers win because the blade moves at constant speed and the carriage controls pressure. Manual guides come close if you maintain an even sawing motion. Multi‑blade cutters vary because the front slices get pushed harder than the back ones.
Cleaning is the hidden dealbreaker. Manual guides wash in the sink. Electric slicers need blade guard removal, blade wiping, and crumb tray emptying.
Multi‑blade cutters have narrow gaps that trap dough. Many users give up on multi‑blade slicers after a few uses because of cleaning hassle.
Best for Each Situation: Who Should Buy Which
The weekly home baker
If you bake one or two loaves per week, a manual guide gives the best balance of cost, storage, and control. You can adjust thickness easily. It fits in a drawer.
You can use any serrated knife you already own.
Buy a guide with stainless steel rails. Plastic ones warp over time in hot dishwashers. And get one with at least ⅛‑inch adjustment steps so you can dial in exactly the slice you want.
The big‑batch meal prepper
You make a dozen sandwiches for the week. Or you slice five loaves at once for freezing. An electric slicer saves time and fatigue.
You set the thickness once and run every loaf through.
The tradeoff is space and price. If you have counter room and bake 10+ loaves a month, the cost per slise drops. Look for a model with a crumb tray that slides out easily and a detachable blade for cleaning.
The soft‑bread lover
Soft sandwich bread tears easily. Multi‑blade cutters are the worst here because the porous crumb sticks between the blades. Manual guides with a very sharp serrated knife do better, but you need a gentle sawing motion.
Electric slicers are actually the best for soft bread. The blade rotates so it cuts through without compressing the loaf. If you mostly eat standard white or whole wheat sandwich bread, an electric slicer is the most consistent tool.
The small kitchen constraint
Counter space is precious. A manual guide takes less than 10 inches of depth and folds flat. Some models have a built‑in storage box for the knife.
You can hang them on a hook. Electric slicers need permanent residence. Multi‑blade cutters are small but require dry storage away from moisture.
If you rent an apartment or have limited countertop, a manual guide is your friend. It's cheap, quiet, and works with any loaf that isn't too soft.
Common Mistakes That Waste Money and Bread
Buying electric for soft bread thinking it's foolproof
Electric slicers work for soft bread only if the blade is sharp. Cheap electric slicers under $80 often have dull blades from the factory. They mash rather than cut.
You end up with crushed bread.
If you buy electric, spend at least $100. Check that replacement blades are available. A dull blade ruins every loaf.
Ignoring loaf height and blade length limits
Many manual guides have a maximum loaf height of 5 inches. If you bake tall artisan loaves or jumbo sandwich loaves, the top of the bread hits the upper rail before the knife reaches the bottom.
Always check the guide's opening height. Manufacturer specs list it. A standard loaf is about 4‑4.5 inches tall.
For taller loaves, look for a guide with 6‑inch clearance or get an electric slicer with a taller carriage.
Skimping on blade quality in a manual guide
A cheap guide with flimsy plastic rails flexes when you cut. The knife veers off. You get wedge‑shaped slices.
Buy a guide with metal rails and a wide base.
Also use a good serrated knife. A $10 grocery store knife crushes bread. A knife with sharp, pointed serration cuts cleanly.
A mid‑range knife ($20‑$30) with a comfortable handle serves you for years.
Maintenance That Keeps Your Slicer Working
A bread slicer only performs as well as you maintain it. Neglect it for a few weeks and you get uneven cuts, rust spots, or a dull blade.
Manual guide care
After each use, wipe the guide with a damp cloth. If you used it on a sticky loaf, rinse under warm water immediately. Dried dough is hard to remove later.
Stainless steel guides can go in the dishwasher. Plastic ones should stay out. High heat warps them.
Dry the rails completely before storing. Moisture causes rust on metal parts.
Check the non‑slip feet every few months. If they get greasy or hardened, replace them with stick‑on rubber pads from a hardware store.
Electric slicer upkeep
The blade needs occasional lubrication. Most manufacturer specs recommend a drop of food‑grade mineral oil on the blade shaft every 10 hours of use. This keeps the motor running quiet.
Empty the crumb tray after every session. Crumbs that sit for days attract pantry moths and can mold in humid climates. Wipe the blade with a vinegar‑dampened cloth to remove bread residue.
Never use abrasive scrubbers.
If the blade feels dull, replace it. Mark the blade orientation with a marker when you remove it so you reinstall it correctly. A misaligned blade causes vibration and uneven cuts.
When to replace blades
Serrated blades can't be sharpened easily at home. You need a professional sharpener or a replacement blade. Manufacturer specs for popular electric slicers indicate blade life is around 100 to 200 loaves depending on crust hardness.
Manual knife blades can be sharpened with a honing rod or sent out. If you notice the knife tearing rather than slicing, it's time to replace or sharpen. Keep a spare blade on hand so you never have to stop mid‑batch.
Frequently Asked Questions
Can I use a bread slicer for crusty artisan loaves too?
Yes, but with caution. Firm artisan bread works best with a manual guide or electric slicer. Multi‑blade pull‑through cutters struggle because the crust can crack.
For round loaves, you need a guide that accommodates their shape. Some manual guides have a removable top rail for this purpose.
Are electric slicers safe around kids?
Most electric slicers have blade guards and lock switches. But they still expose a spinning blade. Models with automatic shut‑off and a non‑slip base reduce risk significantly.
Never leave a slicer plugged in unsupervised. Store it with the blade guard locked.
How thick should sandwich slices be for different breads?
Standard sandwich bread works best at ½‑inch to ¾‑inch. Thick slices for toast or open‑faced sandwiches can go to 1 inch. Soft bread should be cut at the thicker end to prevent tearing.
Crusty bread can handle thinner slices like ⅜‑inch.
Do multi‑blade slicers work for gluten‑free bread?
Gluten‑free bread is denser and more crumbly. Multi‑blade slicers often break it apart. A manual guide with a sharp serrated knife gives better results.
Electric slicers also work if you use a very slow feed rate to avoid crumbling.
How do I clean a stuck crumb tray on an electric slicer?
Turn the slicer off and unplug it. Slide a thin spatula under the edge to break any crumb seal. Pull straight out.
Never pry with a knife. Scratches on the blade affect cutting performance. After emptying, wipe the tray slot with a dry brush to prevent future sticking.

Similar Posts