How to Pick a Bread Slicer for Even Slices
You've just pulled a fresh loaf from the oven, golden crust, soft crumb, the scent filling the kitchen. Now you reach for the knife. And if you've ever watched that loaf get crushed, torn, or unevenly hacked apart, you know the frustration.
Learning how to choose a bread slicer for even slices is the fix that turns that beautiful loaf into consistent, sandwich-ready pieces.
The right slicer saves you time, reduces waste, and makes home baking feel professional. As of 2026, the home-baking trend continues to push demand for simple tools that deliver consistent results. Let's walk through what actually matters so you can pick the right one without the guesswork.
Quick Answer
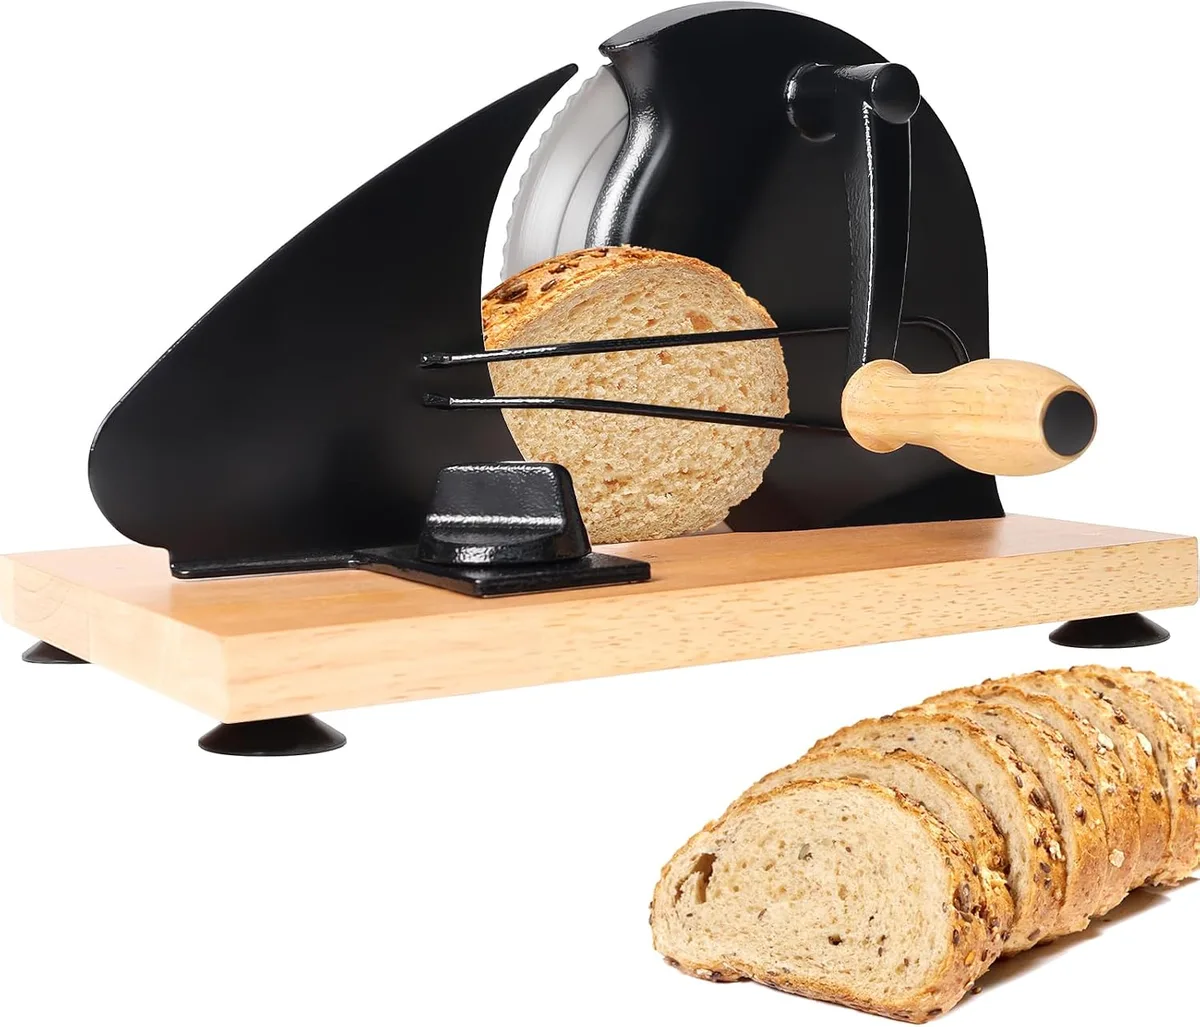
To choose a bread slicer for even slices, match the type to your bread and frequency. A manual slicing guide with adjustable thickness suits moderate home use. Fixed-slot guides are cheap but limited.
Electric slicers work well for daily high volume. Always check that the loaf fits the guide height and width. Non-slip feet prevent the slicer from sliding mid-cut.
Why Even Slices Matter and Why Most People Get It Wrong
Even slices aren't just about looks. They affect how bread toasts, how sandwiches hold, and how evenly butter melts. A 1/2-inch slice on one end and a 1-inch piece on the other means toast that burns in one spot and stays doughy in another.
Home baker feedback consistently points to uneven slicing as the top frustration after baking itself.
The real cause of uneven cuts is usually one of three things: a dull blade, a guide that doesn't hold the loaf steady, or a slot that's too loose for the bread. In our research, the biggest predictor of even slices is guide stability. If the loaf shifts even 1/8 inch during the cut, the slice won't be straight.
That's why we're focusing on the key variables that truly make a difference. Not brand names or wood types.
The First Fork in the Road: Manual vs. Electric Slicers
This is the biggest decision you'll make. Each type has a clear "best" use case. Trying to use one for the wrong situation is where things go wrong.
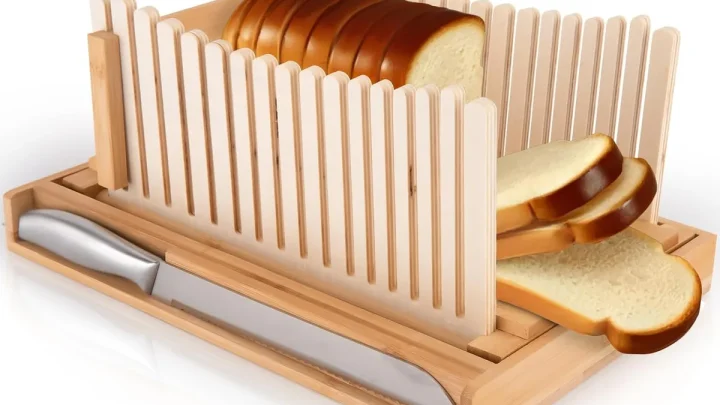
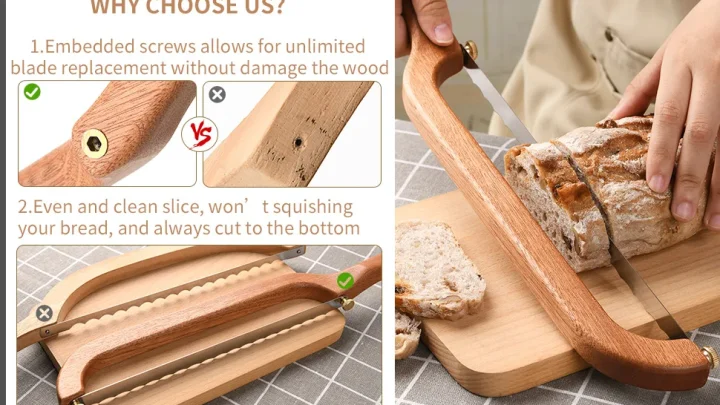
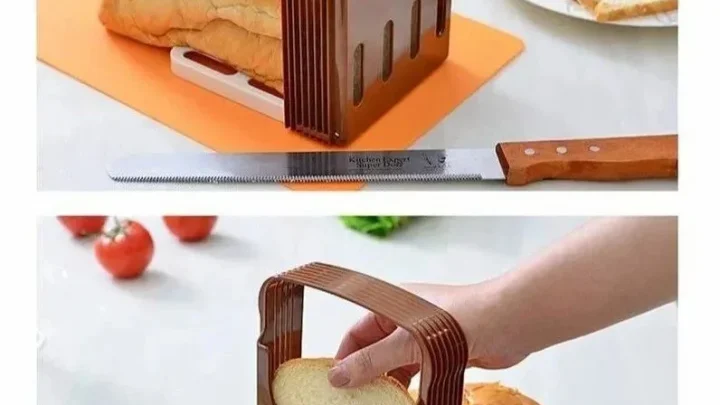
Manual slicers are small, quiet, and inexpensive. They typically cost between $15 and $100. They consist of a frame with metal or plastic guides and a slot for your knife.
You provide the sawing motion. They're ideal if you bake once or twice a week and don't mind a bit of effort. The biggest advantage is control.
You can adjust your angle and pressure to match the bread's crust. For sourdough with a hard crust, a manual guide lets you saw gently without crushing the crumb.
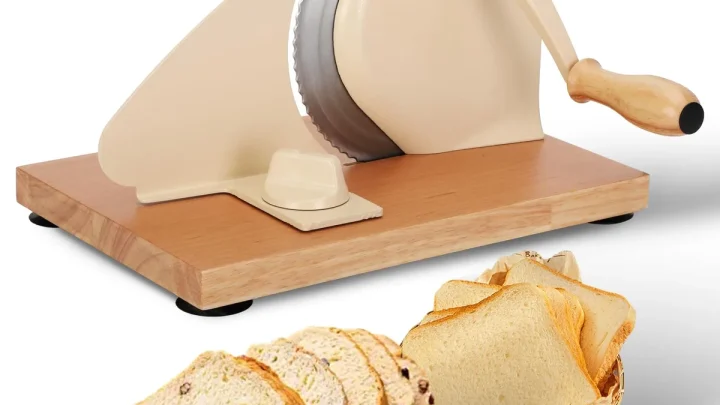
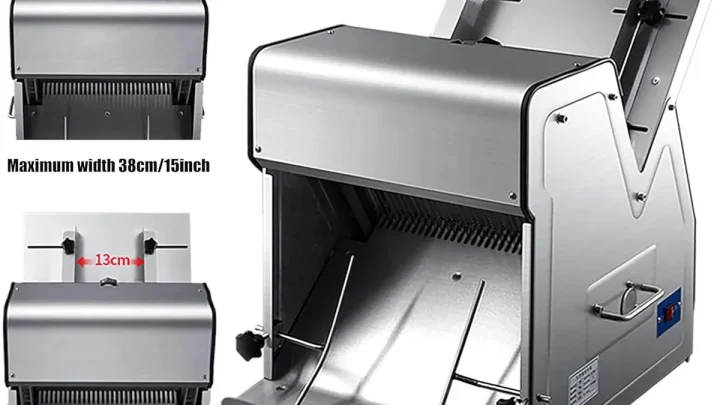
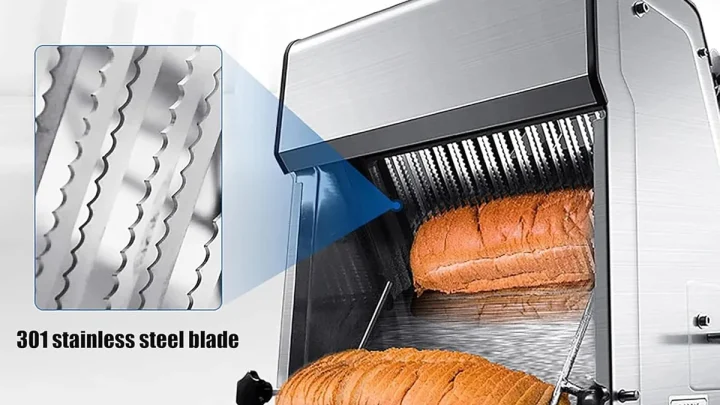
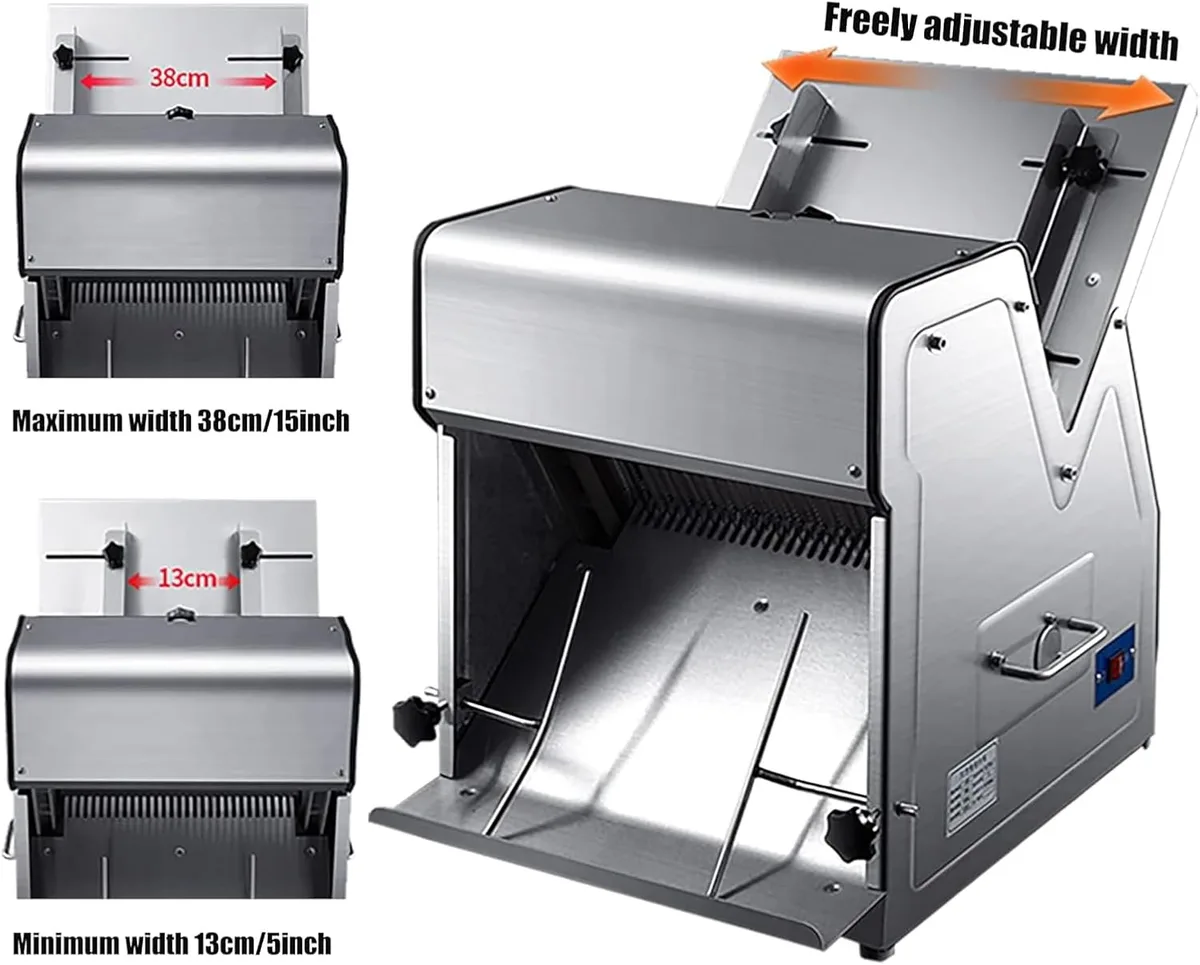
Electric slicers start around $50 and can go above $200. They have a motor-driven serrated blade that does the cutting for you. They're best for high-volume use.
Bakeries, busy households that go through a loaf a day, or anyone with limited hand strength will appreciate them. The downside: they're larger, noisier, and harder to clean. They can also struggle with very soft or very crusty bread unless the blade is specifically designed for it.
Who each is for: Choose manual if you bake occasionally and want a compact tool that handles most bread types. Choose electric if you're slicing multiple loaves daily or need consistent speed. There's no wrong answer, just the right one for your routine.
The Two Big Decisions: Thickness Control and Loaf Fit
Once you settle on manual or electric, the next two questions decide which specific model works for you.
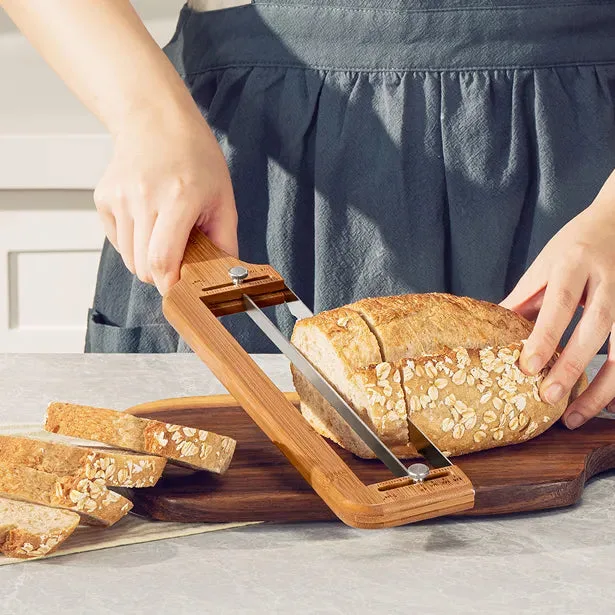
Thickness control is the feature people overlook most. Fixed-slot guides give you only one width. Usually 1/2 inch for standard sandwich bread.
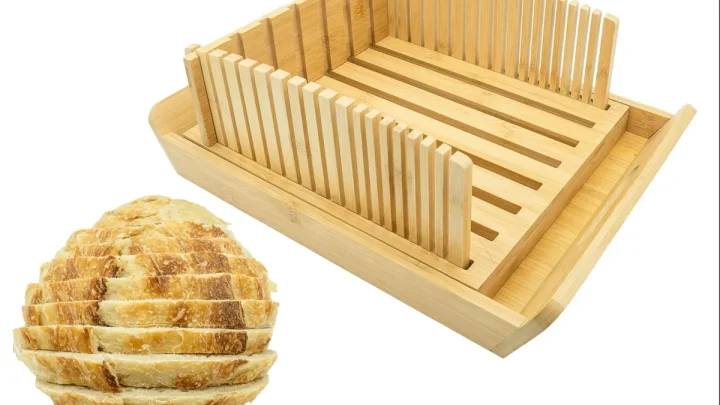
That's fine if you always bake the same style. But if you switch between thin toast (1/4 inch), bagel halves (3/4 inch), and thick French toast (1 inch), a fixed slot becomes frustrating. Adjustable guides use a sliding rail or multiple slots to let you dial in the thickness.
Manufacturer specs show that models with stepless adjustment offer the widest range. Typically from 1/4 inch to 1 inch in 1/8-inch increments.
Loaf fit is just as critical. Measure your tallest loaf. Many guides can only handle bread up to 5 inches tall.
If you bake a tall rustic boule, a standard guide will barely hold it, and the cut will tilt. Check the interior height of the guide, not just the overall dimensions. Also, the slot width should match your bread length.
A 9-inch guide works for standard loaves, but for baguettes or long batards, look for a guide that's 11 or 12 inches long.
Our recommendation: if you bake more than one type of bread, get an adjustable-thickness model with at least 10 inches of slot length. It covers almost every scenario.
Decision Tree: Pick Your Slicer Based on Bread and Frequency
Here's a quick if/then process that walks you through your specific situation. Start at the top and follow the path that matches your habits.
Step 1, How often do you slice bread?
- Less than 3 times a week. Go to Step 2.
- 3 or more times a week. Go to Step 3.
Step 2, What type of bread do you mostly slice?
- Soft sandwich bread or light rye. A fixed-slot manual guide (1/2 inch) works fine.
- Crusty sourdough, artisan boules, or baguettes. Choose an adjustable manual guide with at least a 1/4-inch to 1-inch range.
- Gluten-free or very crumbly loaves. A manual guide with a very sharp serrated knife is best. Electric can pulverize the crumb.
Step 3, Do you bake multiple loaf shapes or just one?
- One consistent shape, like a standard Pullman pan. A fixed-slot manual or a basic electric slicer with a single blade width works.
- Multiple shapes. Round, oval, long baguettes. An adjustable manual guide with generous slot length or an electric model with a floating blade that adapts to irregular shapes is better.
Step 4, Budget check
- Under $30. A manual wooden or plastic fixed-slot guide is fine for one bread type.
- $30 to $80. Adjustable manual guide with non-slip feet and stainless steel rails.
- $80 to $200. Electric slicer with adjustable thickness and a strong motor (150+ watts).
Real-world example: A home baker making two sourdough boules per week wants toast slices at 3/8 inch for sandwiches and 1/2 inch for sharing. The decision tree points to an adjustable manual guide in the $30 to $80 range. That's exactly what works.
Common Mistakes That Sabotage Even Slices
Even with a good slicer, a few simple errors can ruin perfectly good bread. Here are the ones that show up most often in buyer feedback.
1. Using a dull or wrong knife
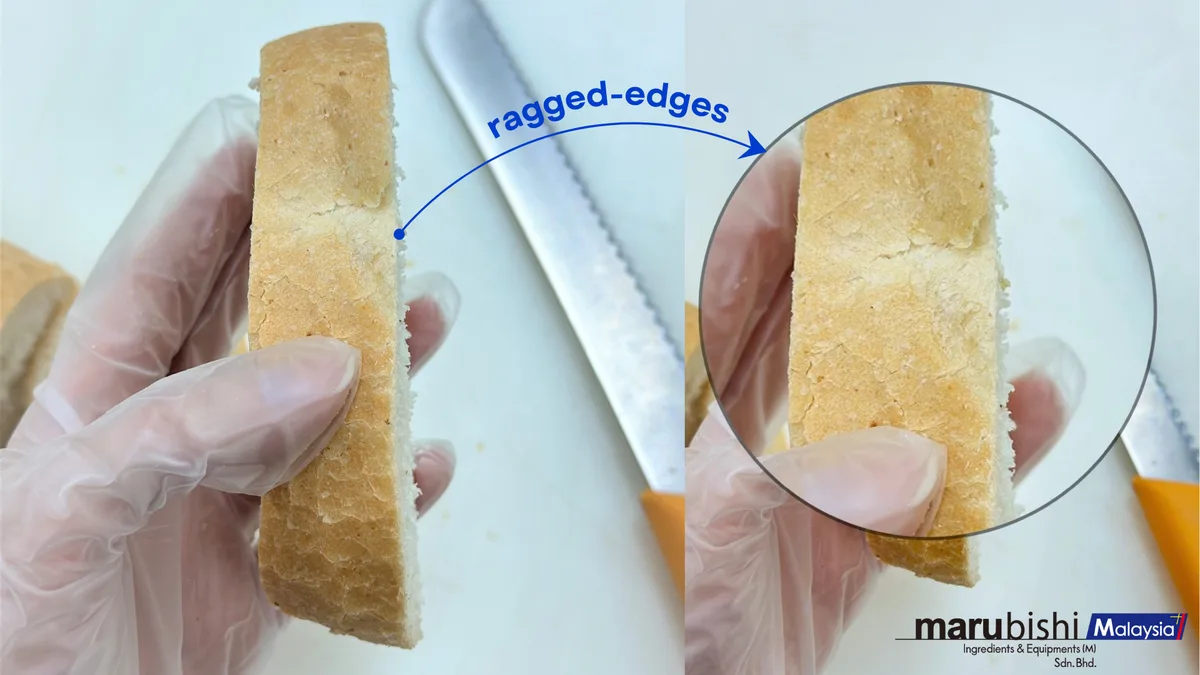
A serrated blade with wide, pointy teeth works best for crusty bread. A straight-edge knife squishes the crumb. Many manual slicers come with a knife, but the blade dulls quickly.
Check the edge every few uses. A sharp knife is what makes even slices possible. No guide can compensate for a dull blade.
2. Not letting the bread cool completely
Warm bread is soft and gummy. Slicing it early compresses the crumb and sticks to the guide. Let the loaf rest at least two hours.
Longer for large or dense breads. The University of Minnesota Extension confirms that cooling bread to room temperature before slicing gives the best texture and longest shelf life.
3. Pushing too hard or sawing at an angle
A gentle, straight sawing motion works best. Pushing downward crushes the bread. Angling the knife produces wedge-shaped slices.
Let the serrations do the work. Keep the blade level and move it back and forth with light pressure.
4. Ignoring the non-slip feet
A slicer that slides on the counter is dangerous and produces wavy cuts. Most manual guides come with silicone or rubber feet. If yours doesn't, place a damp paper towel or a non-slip mat underneath.
Stabilising the guide is as important as the guide itself.
5. Overloading the guide
Don't try to slice a loaf that's too tall for the slot. If the bread sticks out more than an inch above the guide, the cut will tilt and the slice will be uneven. Trim the loaf or find a deeper guide.
Avoid these mistakes and your slicer will perform consistently. If you're still deciding which model to buy, our breakdown of top-rated slicers for homemade bread can help narrow the options.
Pro Tips for Perfect Cuts Every Time
Once you have the right slicer, a few techniques make the difference between good and great results.
Use the right knife with the right guide
A manual guide is only as good as the knife you pair it with. Choose a serrated blade that's at least 8 inches long. Shorter knives require extra passes and produce uneven edges.
The blade should be slightly longer than the width of your loaf. That way you cut through in one smooth motion.
Mark your thickness before you start
If your guide has numbered settings, test the thickness on a stale end piece first. Some markings don't match the actual cut. Adjust until you get the exact thickness you want.
Then commit to that setting for the whole loaf.
Slice from the center outward
Start cutting from the middle of the loaf, not the end. The center is the most stable part. It won't wobble or tilt.
Once you have a flat center slice, work your way to both ends. This keeps each subsequent cut even.
Clean the guide between loaves
Sticky dough residue builds up on the guide rails. It makes the bread drag and tilt during the cut. Wipe the rails with a damp cloth between uses.
Dry them immediately to prevent rust on metal components.
Store the blade safely
A dull blade ruins even the best guide. Store your serrated knife in a blade guard or a knife block. Never toss it loose in a drawer where it bangs against other tools.
Replace the blade when you notice crushed crumbs or ragged edges.
Frequently Asked Questions
How do I know if my bread slicer is the right size for my loaves?
Measure the height and width of your tallest loaf. The guide should accommodate it with at least 1/2 inch of clearance above and on each side. Standard guides work for 9-inch loaves up to 5 inches tall.
Longer baguettes need an 11-inch or 12-inch slot.
Can I use a bread slicer for items other than bread?
Yes. Many manual guides work well for bagels, English muffins, and even large fruits like pineapple. Adjustable thickness models are especially versatile.
Just clean the guide thoroughly between uses to avoid cross-contamination and sticky residue.
Do electric bread slicers work for crusty artisan bread?
Some do, but not all. Look for an electric model with a serrated blade designed for hard crusts. Models with a floating blade that adjusts to loaf shape perform best.
Read manufacturer specs carefully. Many home electric slicers are optimised for soft sandwich bread.
How do I clean a manual bread slicer without damaging it?
Remove crumbs with a dry brush or pastry brush first. For sticky residue, wipe with a damp cloth and mild soap. Dry immediately.
Wooden guides should never soak in water. They can warp or crack. Metal guides are usually dishwasher safe, but check the manufacturer's instructions.
Why are my slices still uneven even with a good slicer?
The most common cause is a dull serrated knife. Replace or sharpen the blade. Another cause is the loaf shifting during the cut.
Check that the guide's non-slip feet are gripping the counter. Finally, ensure the bread is fully cooled. Warm bread compresses easily.
Can I adjust the thickness on a fixed-slot guide?
No. Fixed-slot guides give you one width. If you need different thicknesses, buy an adjustable guide or an electric model with thickness settings.
Some fixed guides come with two slots, one thin and one thick, but that's rare.
Final Recommendation: Which Slicer Belongs in Your Kitchen
Let's bring it all together. Your choice comes down to three questions.
Question 1: How often do you slice bread?
If it's once or twice a week, go manual. If it's daily or near-daily, go electric.
Question 2: Do you bake one type of bread or many?
One type means a fixed-slot manual guide is fine. Many types mean you need adjustable thickness and enough slot length for your biggest loaf.
Question 3: What's your budget?
Under $30 gets you a simple fixed-slot manual guide. $30 to $80 gets you an adjustable manual guide with non-slip feet. $80 to $200 gets you an electric slicer with consistent results.
The bottom line: For most home bakers, an adjustable manual guide in the $30 to $80 range is the sweet spot. It handles multiple bread types, takes up minimal counter space, and delivers even slices every time. If you bake daily or have physical limitations, invest in a quality electric model with a serrated blade and adjustable thickness.
Whichever path you choose, remember that a sharp knife and stable guide matter more than the brand or the price tag. Get those two things right, and you'll never crush another loaf again.

Similar Posts