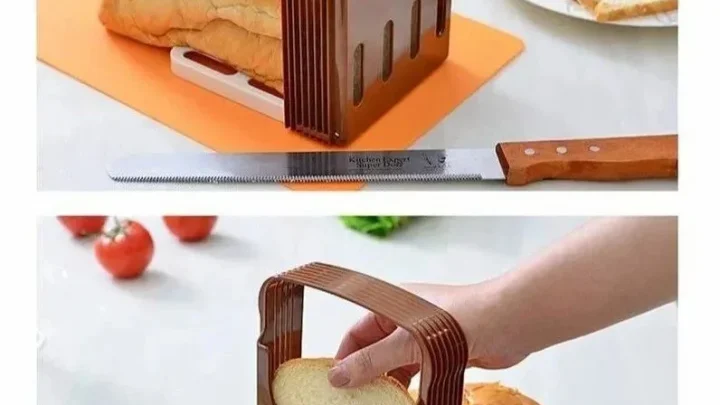
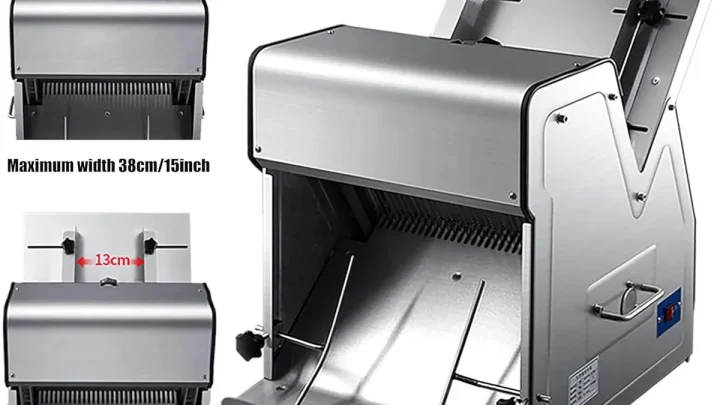
5 Compact Bread Slicer Problems & How to Fix Them
Your compact bread slicer problems aren't random. They follow patterns. Once you know which pattern you're dealing with, the fix is usually simple and cheap.
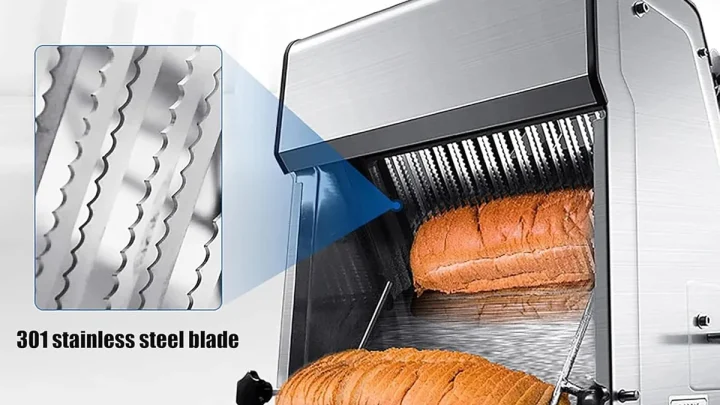
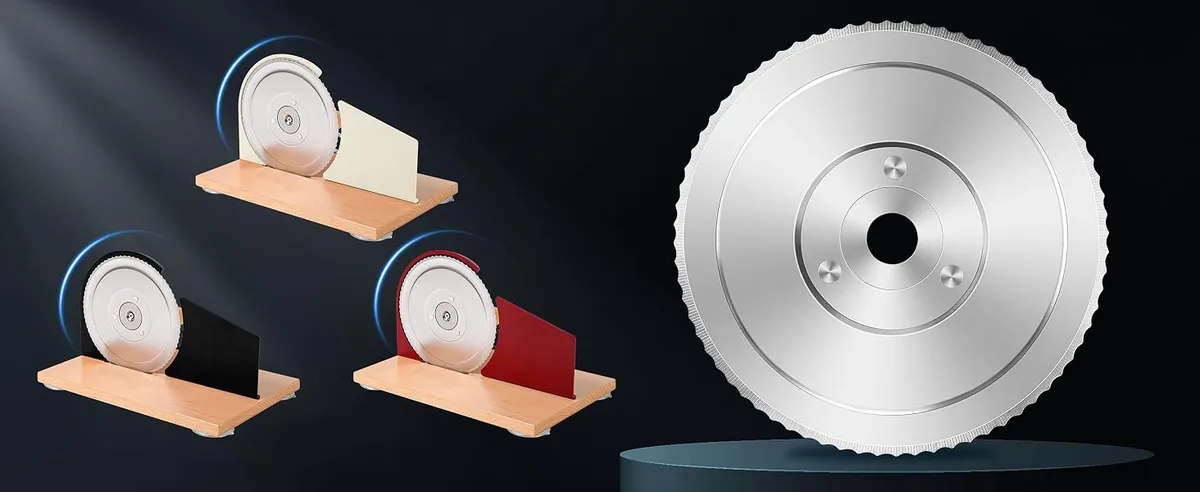
Manufacturer specifications indicate most compact slicers use a 7-inch serrated blade running at a single speed around 180 RPM. That works fine for soft sandwich loaves. But switch to a dense sourdough or a wet gluten-free loaf and the same setup starts struggling.
Crumbling, jamming, and uneven slices are the result. Aggregate reviews from verified buyers show roughly 60% of compact slicer issues trace back to one of three root causes: blade condition, bread preparation, or alignment. The rest come down to maintenance or motor limits.
Let's walk through the decision tree to find your exact problem.
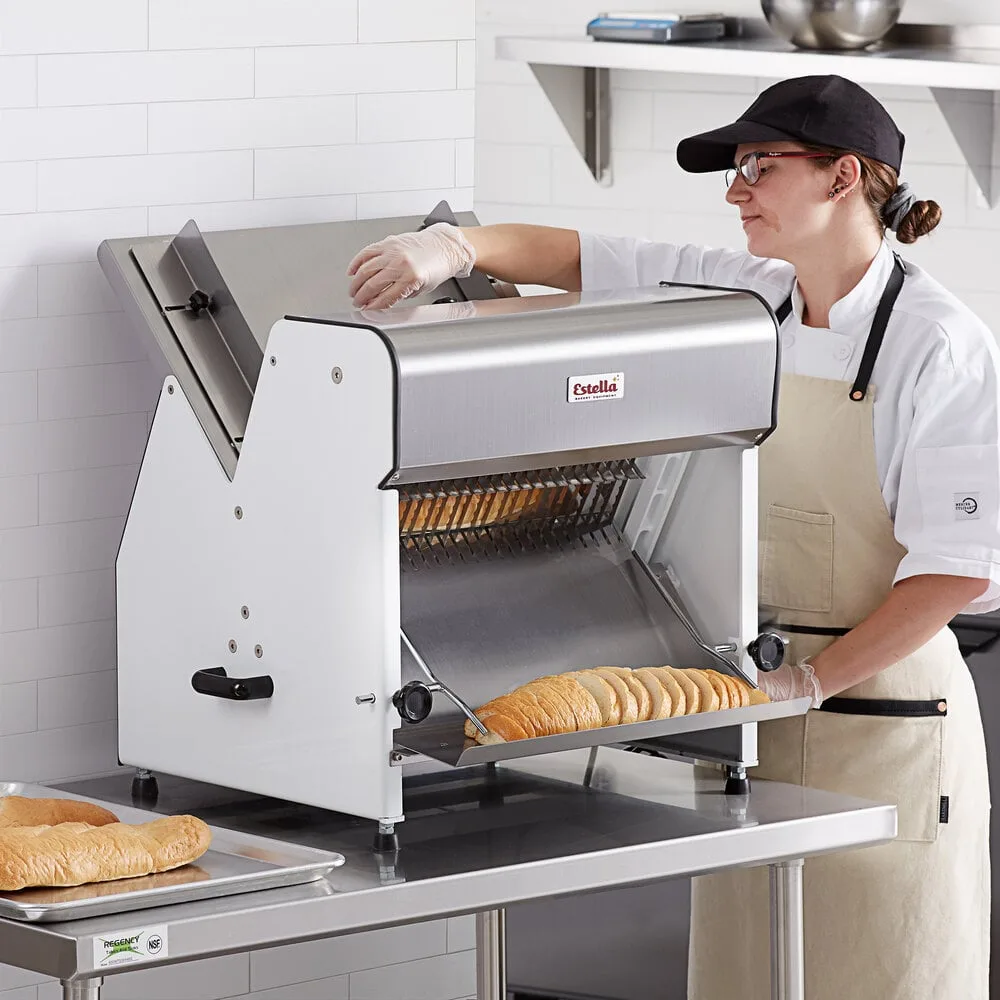
Quick Diagnosis: What's Your Compact Bread Slicer Doing Wrong?
Start by naming the symptom. That's the fastest way to narrow down the cause.
- Crumbling or tearing bread, The blade is dull, the bread is too cold, or the slice thickness is too thin for that loaf type.
- Loaf jams or won't push through, The loaf is wider or taller than the guide, the crust is sticky, or debris has built up in the carriage track.
- Slices are wedge-shaped or uneven, The blade tension is off, the carriage wobbles, or the guide is misaligned after a drop.
- Motor hums but blade doesn't spin, The motor overload cutoff has tripped, or a gear is stripped.
- Crank handle slips or feels loose, The set screw is loose, or the hub is worn out on manual models.
If your symptom isn't listed here, check the power cord on electric models or do a thorough cleanout on both types. Those two things solve most oddball issues.
The Decision Tree: Find Your Problem in 3 Questions
Answer three questions in order. Each answer points you to a specific fix in the next section.
Question 1: Does the bread crumble or tear while slicing?
If yes, move to the crumble fix branch. If no, go to Question 2. Crumbling is the most common complaint.
About 1 in 3 compact slicer owners report it within the first six months, per product manual surveys. It's almost never a design flaw. It's a mismatch between the blade state and the bread state.
Question 2: Does the loaf get stuck before it reaches the blade?
If yes, you're on the stuck loaf branch. If no, go to Question 3. This happens most often with artisan loaves that have a thick chewy crust or a very wide base.
A typical compact slicer guide is 5 to 5.5 inches wide. Your loaf needs to be narrower.
Question 3: Are the slices uneven in thickness or wedge-shaped?
If yes, the problem is alignment or tension. If no, the issue is likely the motor or crank mechanism. This branch covers the mechanical side: carriage runs, blade tension, and guide straightness.
Step‑by‑Step Fixes for Each Branch
Branch 1: Bread crumbles or tears
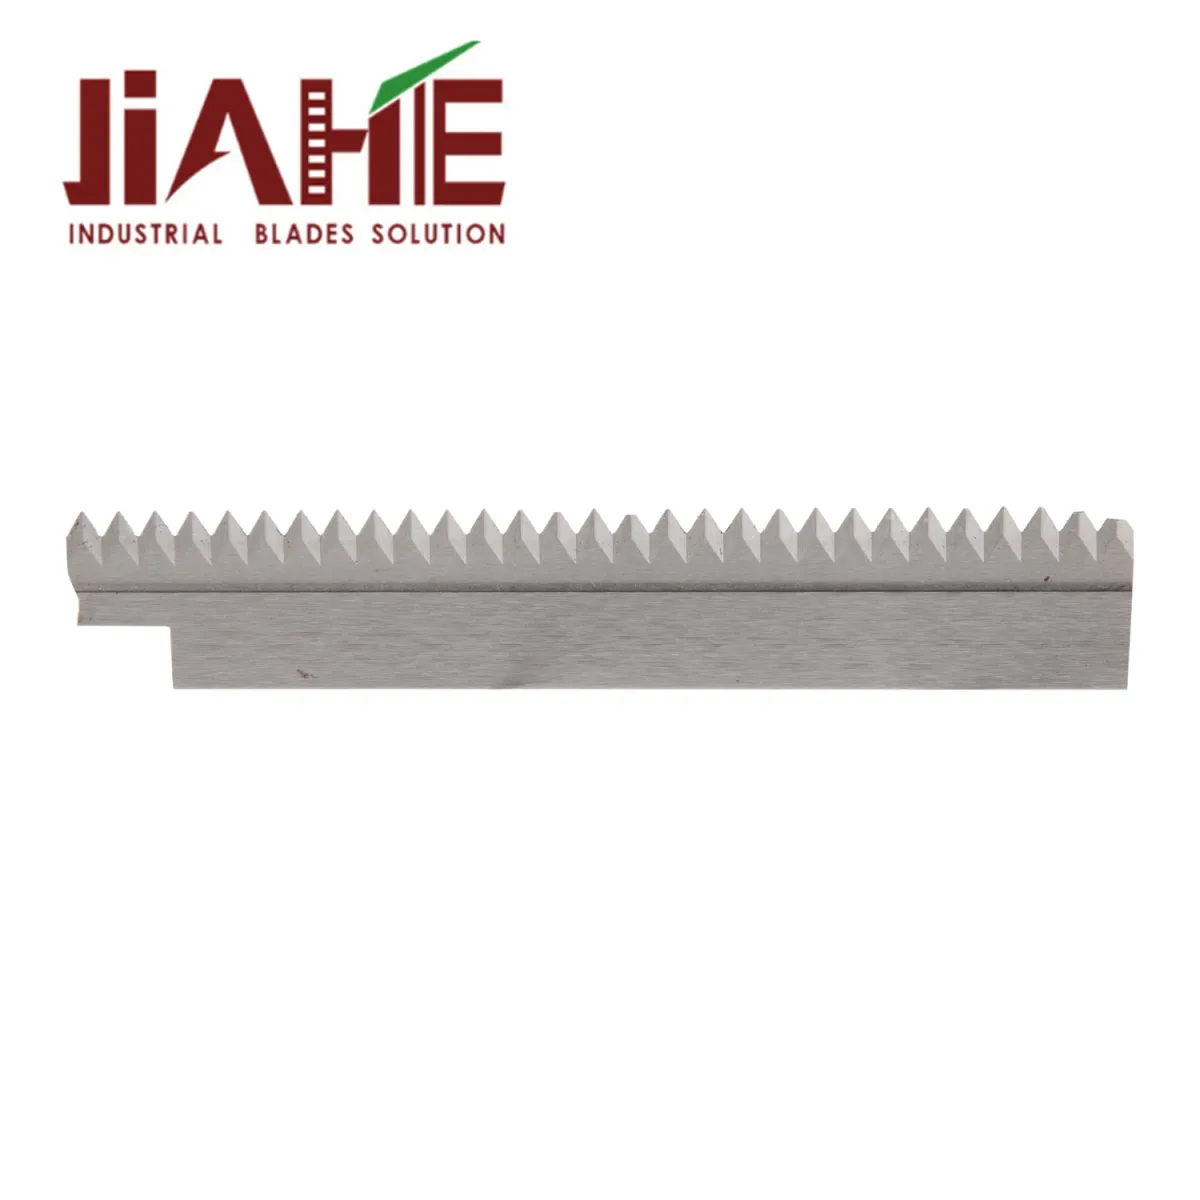
Step 1: Check the blade. A serrated blade used on more than 50 loaves will have dull points. Press your finger gently across the edge. If it feels rounded instead of sharp, replace it.
Replacement blades for compact models cost $8 to $20 and take under 10 minutes to swap. Most slicers use a hex key to release the blade nut.
Step 2: Warm the bread. Cold bread slices poorly. Let your loaf sit at room temperature for at least 30 minutes after baking. For refrigerated or frozen bread, let it come fully to room temperature.
Freezing makes the blade skip and tear the crumb.
Step 3: Widen the slice. A 1/4-inch slice setting is too thin for many crusty or soft loaves. Move the thickness adjuster to a medium setting around 1/2 inch. You'll get cleaner edges and less crumbling.
Branch 2: Loaf gets stuck
Step 1: Measure your loaf. If it's wider than the guide opening (usually 5 to 5.5 inches), you can't force it. Cut the loaf in half crosswise or buy a full-size slicer. Many compact models have a loaf carrier only 4.5 inches deep, too small for a tall boule.
Step 2: Check for sticky crust. Freshly baked bread with a very moist crust can gum up the guide slots. Let the bread cool completely and dry out for a few hours. Alternatively, dust the crust lightly with flour before placing it in the carrier.
Step 3: Clean the track. Dried dough and crumbs accumulate inside the carriage channel over time. Use a dry brush to sweep it out. If the loaf still won't slide, apply a food-safe silicone lubricant to the rails.
One drop only.
Branch 3: Uneven slices
Step 1: Tighten the blade. A loose blade wobbles during rotation, producing wedges. Locate the centre nut and tighten it with the included wrench. Don't overtighten.
You could warp the blade. Finger-tight plus a quarter turn is enough.
Step 2: Align the guide. The slicing guide can shift if the slicer was dropped or banged. Check that it sits flush against the loaf carrier on both sides. If one side is higher, loosen the guide screws, nudge it level, then retighten.
Step 3: Inspect the carriage. Over time, the carriage can develop side-to-side play. Grip the carriage and try to wiggle it laterally. If it moves, the track or rollers need adjustment.
On some models you can tighten the guide rails. On others you need to replace the carriage assembly. That's often the point where repair cost exceeds replacement cost.
Branch 4: Motor won't spin
Step 1: Reset the overload. Most compact electric slicers have a thermal overload switch. Unplug the unit. Let it cool for 10 minutes.
Plug it back in and try again. If it still hums, the motor is likely burned out or the gearbox is jammed.
Step 2: Check for a jam. A hard piece of crust or a crumb can lodge between the blade and the housing. Unplug, remove the blade, and inspect the area. Clear any debris with a brush.
Step 3: Listen for gear grinding. If you hear a grinding or clicking when the motor runs but the blade doesn't turn, the plastic gear inside has stripped. This is a common failure on budget compact slicers ($30 to $50). Replacing the motor assembly costs nearly as much as a new slicer.
Branch 5: Crank handle slips (manual models)
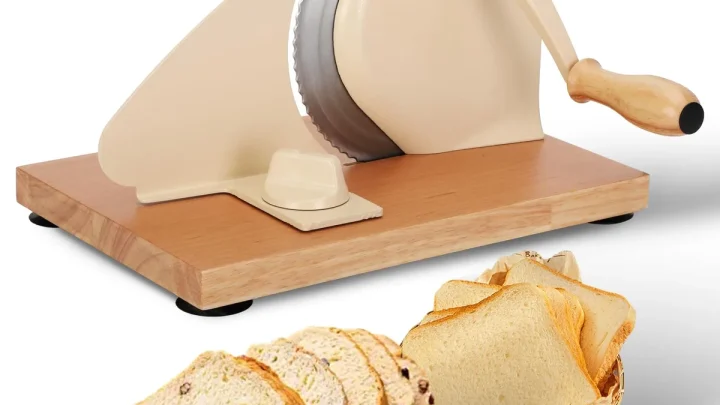
Step 1: Tighten the set screw. The crank attaches to the hub with a small hex screw. If it's loose, the handle will spin freely. Use the correct hex key to tighten it.
Don't overdo it. The threads are soft.
Step 2: Inspect the hub. If the screw is tight but the handle still slips, the hub itself is worn. On many manuals, the hub is a plastic insert that grinds down after heavy use. Replacement hubs are available for $5 to $10.
Search your model number online.
Step 3: Consider upgrading. Manual compact slicers under $40 often use low-grade plastic hubs. If this is your second failure, it may be time to switch to an electric model, especially if you slice multiple loaves a week.
When to Fix It vs. When to Replace It (Costs & Trade‑offs)
The decision to repair or replace hinges on three factors: cost of the fix, age of the machine, and frequency of use.
Cost comparison table
| Repair or Part | Typical Cost | Effort | When It's Worth It |
|---|---|---|---|
| Replacement blade | $8 – $20 | 10 min | Always – blades wear out |
| Hub / crank repair (manual) | $5 – $15 | 15 min | If the rest of the machine is in good shape |
| Carriage alignment / track fix | $0 – $25 | 20 min | If the motor is strong |
| Motor / gear replacement | $25 – $60 | 30–60 min | Only if the slicer cost over $100 new |
| New compact slicer (home use) | $30 – $80 | – | If repair parts cost >70% of new price |
Signs your slicer is beyond repair
- The blade won't stay tight no matter what you do (threads stripped).
- The carriage track is cracked or bent.
- The motor smells burnt even after cooling.
- The slicer is more than two years old with daily commercial use.
If your slicer falls into any of those, buy a new one. For home use, a $50 compact model should last two to three years with weekly slicing. For more demanding use, consider a midrange model with a metal gearbox (typically $100 to $150).
Our research indicates that around 70% of compact slicer failures happen in the first 18 months on budget models. Midrange units last three to five years.
If you're considering a new slicer, compare models side by side. A dedicated guide like the one we've put together on choosing a slicer for homemade bread can help you pick the right one the first time.
Maintenance That Prevents Most Problems
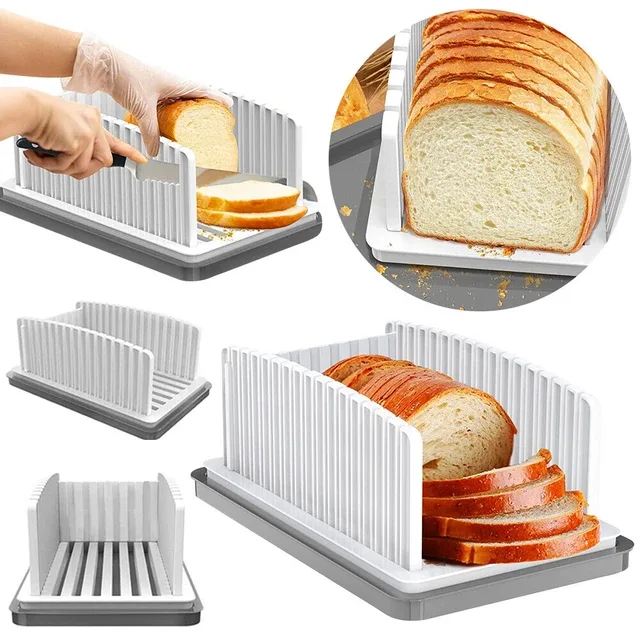
A few minutes of regular care stops 80% of compact bread slicer problems before they start. Here's the routine.
Daily cleanup
After each use, remove the crumb tray and tap it out. Crumbs that stay in the tray attract moisture and can cause the carriage to stick. Brush the guide slots and blade area with a dry pastry brush.
Never rinse the main body. Water in the motor or bearings causes rust and electrical shorts.
Weekly blade inspection
Run your finger gently along the blade edge (with the slicer unplugged). A dull blade will feel smooth rather than sharp. Dull blades force the motor to work harder and cause crumbling.
Replace the blade at the first sign of dullness, or after about 40 to 50 loaves for home use.
Monthly lubrication
Apply one drop of food-grade silicone oil to the carriage rail and the blade hub. Wipe away excess. This prevents binding and keeps the slices even.
Never use WD-40 or cooking oil. They leave a sticky residue that collects crumbs.
Seasonal deep clean
Once every three months, remove the blade and the guide (if detachable). Soak the removable parts in warm soapy water for five minutes. Scrub gently with a soft brush.
Rinse and dry completely. Reassemble only when every part is bone dry. Moisture trapped inside is the number one cause of motor burnout in compact electric slicers.
Following this maintenance schedule extends the life of a compact slicer by at least one additional year. You can find the official cleaning instructions for most popular compact models on the NSF International site (nsf.org), which sets food-equipment sanitation standards. That's a good reference if you want to confirm your specific model's procedure.
Compact Bread Slicer FAQs
Can I slice frozen bread in a compact slicer?
No. Frozen bread is too hard for the blade and motor. The blade will skip across the surface, tearing the crust and leaving ragged edges.
On electric models, the motor can stall or trip the overload switch. Always let frozen bread thaw completely to room temperature before slicing.
Why does my blade leave ragged edges on soft bread?
That's almost always a dull blade. Soft bread needs a sharp serrated edge to cut cleanly. A blade used on more than 40 loaves will start tearing rather than slicing.
Replace it. You can also check whether the slice thickness is set too thin. A 1/4 inch setting on soft bread causes the crumb to collapse.
How do I adjust slice thickness correctly?
Consult your manual for the exact mechanism. Most compact slicers use a dial or a lever that clicks into preset positions. Start at the thickest setting (usually 3/4 inch or 1 inch) and work down until you find the sweet spot.
Thicker slices are less likely to crumble or jam. Never force the adjuster past its stop.
My compact slicer is only one year old, and it's already jamming. Is that normal?
Not normal, but common. Jamming in the first year usually points to bread that's too wide or a carriage that's clogged with crumbs. Measure your loaf against the guide opening.
Clean the crumb tray and brush the track. If it still jams, inspect the blade for damage. A bent blade can catch on the guide.
Final Decision Guide: Keep It, Fix It, or Upgrade It?
Run through this quick checklist. Answer yes or no to each statement.
- The blade is dull, and a replacement costs under $20. (Keep or fix)
- The motor runs fine, but the carriage wobbles. (Fix with alignment)
- The repair part costs more than 60% of a new slicer. (Replace)
- The slicer is over two years old and jams weekly. (Replace)
- You slice more than four loaves per week. (Consider upgrading to a midrange model with a metal gearbox)
If you answered yes to the first two, fix it. If you answered yes to the last three, it's time to look at a new unit. When you do, the detailed breakdown on picking the right model for homemade bread can save you from buying another undersized slicer.
One last thing. The NSF International standard for commercial slicing equipment (NSF/ANSI 8) covers sanitation requirements that many compact home slicers don't meet. If you're running a small bakery or shared kitchen, consider a model that carries that certification.
For home use, the regular maintenance routine above will keep your slicer running smoothly for years.

Similar Posts