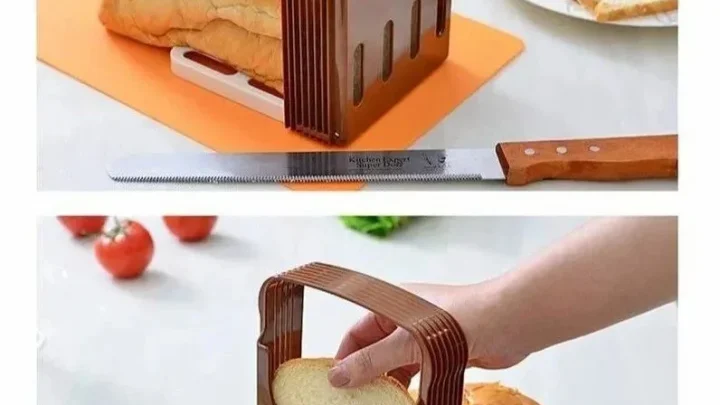
Why Your Wooden Bread Slicer Fails (and How to Fix It)
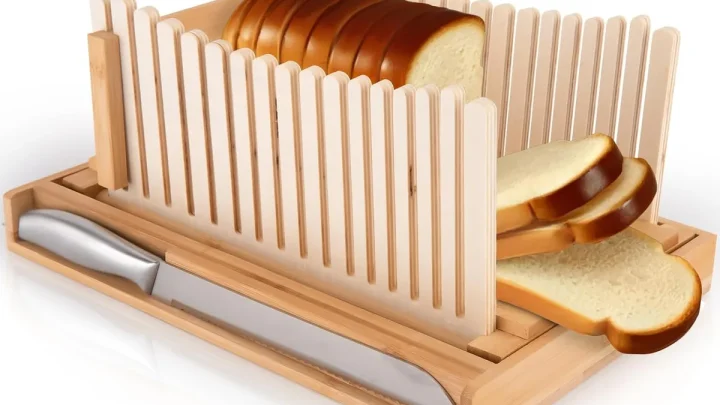
Wooden bread slicer problems always surface at the worst moment. Usually it's over a fresh sourdough that took hours to ferment. You load the loaf, draw the knife, and instead of a clean cut, you get a crushed slice stuck in the slot.
It's frustrating, messy, and hard to fix if you don't know which variable is failing.
Most of the time, the wood isn't at fault. As of 2026, our research across baking communities and verified product reviews traces the majority of these issues back to three controllable variables: bread temperature, knife condition, and wood moisture. Fix them in that order, and the slicer will do its job.
Quick Answer
Most wooden bread slicer problems trace to three causes. Warm bread, a dull knife, or dry wood. Fix the bread first, then check the blade.
Then re-oil the slicer monthly to solve nearly every complaint. Structural damage is the only real exception.
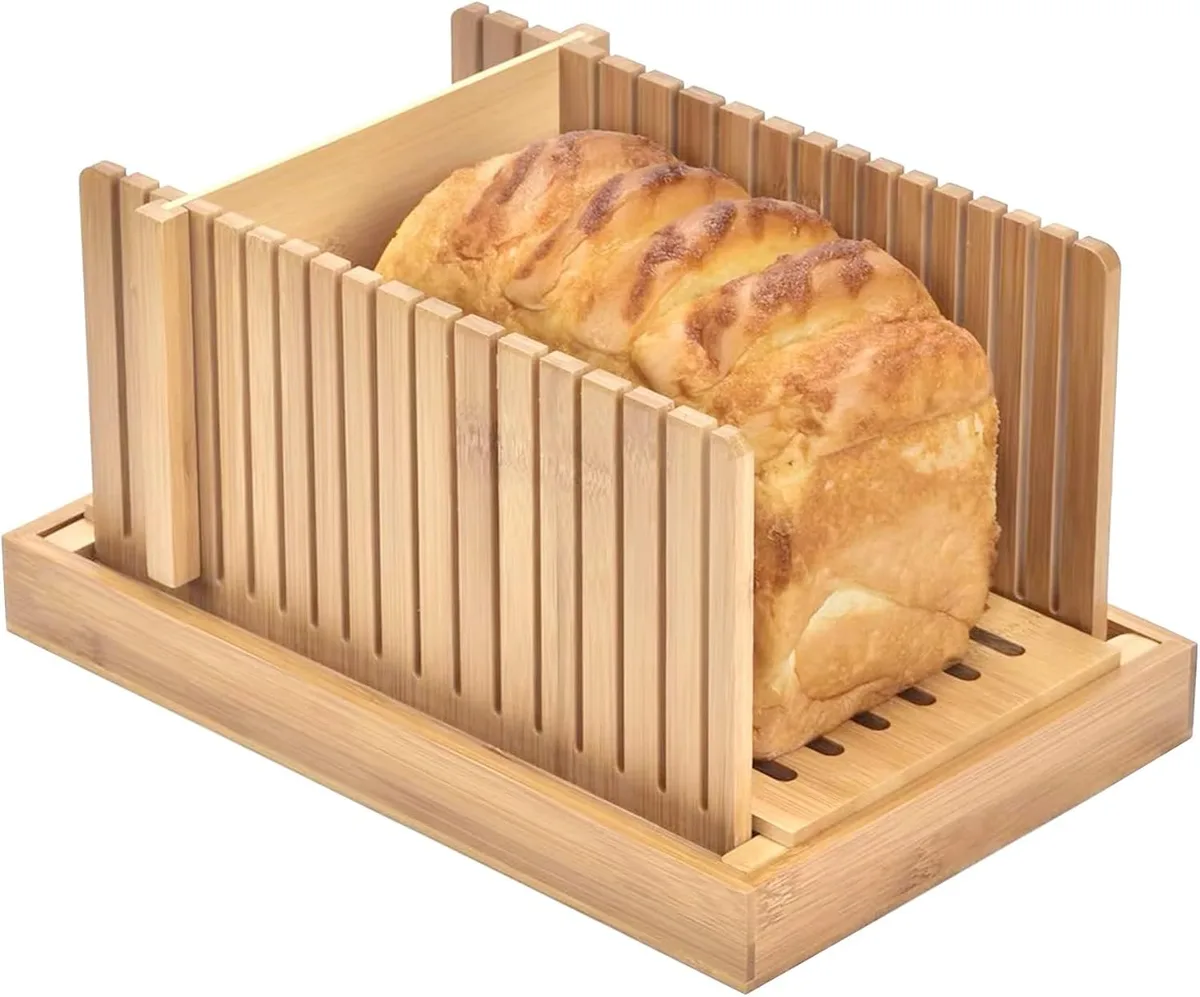
The 3 Real Reasons Your Wooden Bread Slicer Is Working Against You
In our research across home-baking forums and verified buyer reviews, nearly every wooden bread slicer problem falls into the same three baskets:
- Bread that's still warm or has a soft, gummy interior
- A knife that's dull, too short, or not properly serrated
- Wood that's dried out, rough, or covered in a worn finish
Each cause creates a different symptom. Warm bread compresses and sticks. A dull blade tears the crumb instead of slicing it.
Dry wood grabs the crust and slows the cut, which is when the whole frame starts skidding across your counter.
Here's what most people miss: the causes stack. A warm loaf is still sliceable with a sharp knife. A well-oiled slicer adds enough slip to save a mediocre blade.
So the order of diagnosis matters more than the fix itself.
Think of this as a decision tree. Check the simplest variable first, then move down the line. That's how you avoid replacing a perfectly good slicer when the real problem was a dull blade or a loaf you rushed off the cooling rack.
Step 1: Diagnose the Loaf Before You Blame the Slicer
Press a fingerprint into the crust. If the dent stays, the loaf is too warm to slice.
Warm bread is the single biggest cause of reported wooden bread slicer problems. The crumb is still setting its structure, so the blade doesn't cut cleanly. Instead, it pushes the soft interior sideways, and you end up with a wedge-shaped slice or a flattened boule.
Standard home-baking guidance says to let a sourdough loaf cool for at least one to two hours before slicing. That's non-negotiable for an open crumb. If the bread still feels warm around the middle, give it another 30 minutes.
Fully cool but still crushing? Check the crumb type. Gluten-free loaves lack the network that holds air pockets together, so they're naturally fragile.
Freeze the loaf for 30 minutes before slicing. The cold firms up the crumb and makes clean cuts far easier.
Thick blistered crusts need a soft touch too. Use a long, gentle sawing motion rather than pressing down. If the crust cracks while the inside tears, that's a technique issue, not a wood issue.
Move to the knife next, because that's the second most common culprit.
The Main Decision Branch: 4 Common Problems and Their Fixes
Once the loaf passes the cool-down test, match your symptom to the right branch. This table is your decision tree:
| Symptom | Likely cause | The fix |
|---|---|---|
| Slices stick in the slots | Dry wood or a rough finish | Sand slots lightly, re-oil monthly |
| Loaf compresses while slicing | Warm bread or a dull blade | Cool first, then switch to a sharp serrated knife |
| Slicer slides on the counter | Smooth base or damp worktop | Dry the counter, add non-slip grip pads |
| Wood cracked or swollen | Dishwasher wash or humidity swings | Hand-wash only, condition monthly, replace if split |
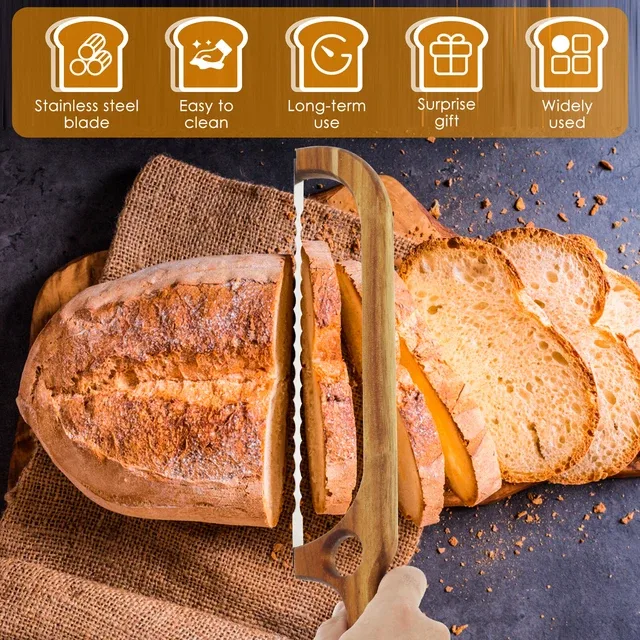
Slices sticking in the slots. The wood has dried out. When the food-safe finish wears thin, the slot walls get rough and grab the cut face of the bread. Sand the slot edges with 220-grit paper, dust it clean, then re-oil with USP-grade mineral oil.
Loaf compressing or squashing. You already confirmed the bread is cool. So the knife is the bottleneck. A serrated blade shorter than 8 inches won't clear the frame properly, which forces you to push down instead of saw.
Frame sliding on the counter. That's friction failure. Wipe the counter dry, then stick adhesive non-slip pads to the base rails.
Cracked or swollen wood. If you see splitting along the grain, skip the oil. That's structural damage, and it moves you straight to the repair versus replace decision.
The Knife Connection: Blade Length, Serrations, and the Sawing Stroke
Can you use any knife in a wooden slicing frame? No. A chef's knife mashes soft crumb.
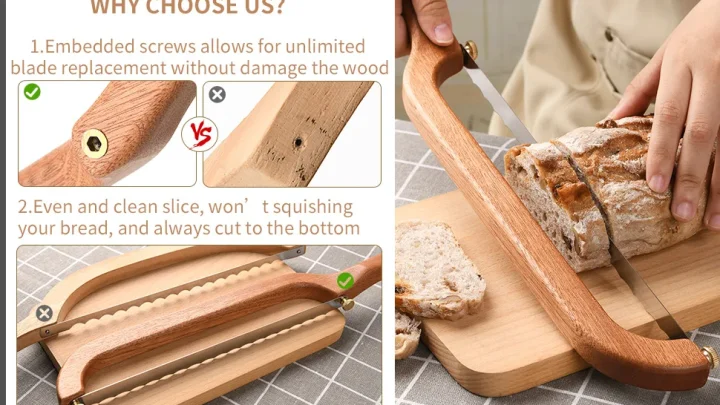
Only a serrated bread knife, one with small teeth along the edge, catches the crust and saws through cleanly.
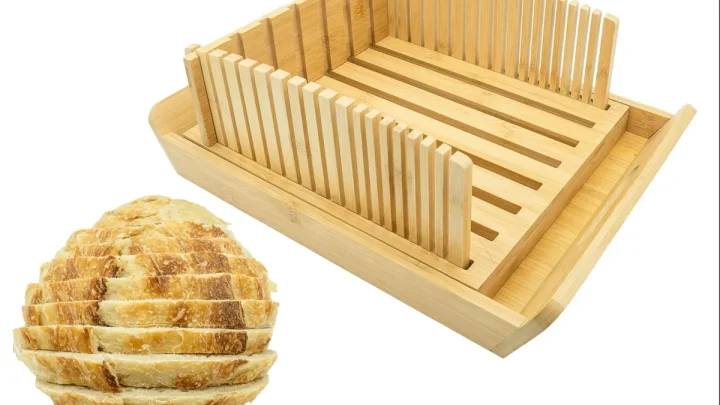
Blade length matters. Most slicer frames run 12 to 14 inches long, with guide slots that sit deep to keep the blade tip hidden. Your bread knife should be 8 to 10 inches.
Anything shorter won't seat properly in the slot, so the blade rides up and the loaf gets crushed.
Serrations matter too. Shallow, widely spaced teeth work fine for soft sandwich bread but struggle on thick artisan crust. Deep scalloped serrations grip the crust and cut through without compressing.
Most quality knives sold in 2026 use scalloped geometry for this reason.
Now the stroke. The knife should travel in long, gentle sawing strokes, not short hacks. Let the teeth pull the blade through.
Your other hand only keeps the loaf steady against the back wall of the frame.
Serrated blades don't stay sharp forever. Home bakers typically get 12 to 24 months before the teeth round off. If slices come out torn instead of clean, the blade is past retirement.
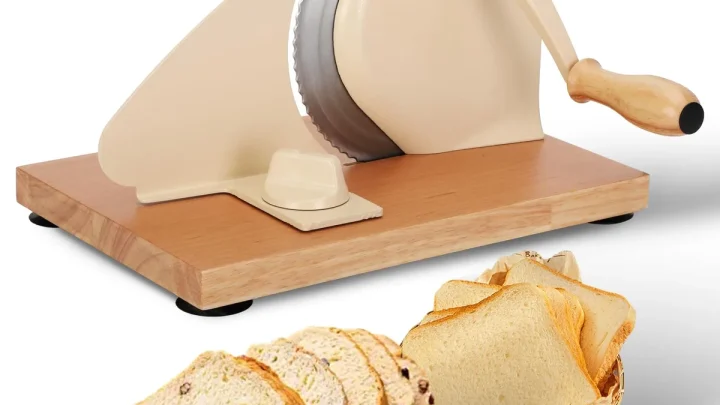
And if you've worked through every variable and the frame still fights you, a more capable slicer might be the actual fix.
Keep It Alive: Washing, Drying, and Re-Oiling Your Slicer
The #1 killer of wooden bread slicers is the dishwasher. Heat and high-pressure water split end-grain boards, soften glue joints, and strip the food-safe finish. If you value the frame, keep it out of the machine.
Hand-wash with warm water and mild dish soap instead. Scrub briefly, rinse, then dry with a towel right away. And don't let the slicer soak in the sink.
Standing water is what starts cracks and, worse, mold in the slot joints.
Let the frame air-dry completely before storing it. Set it upright on its end so air flows around the wood. Humidity is the hidden factor here.
Wood is a living material, and its moisture content swings with the surrounding air. The USDA Forest Products Laboratory documents exactly how that movement affects wooden cutting surfaces.
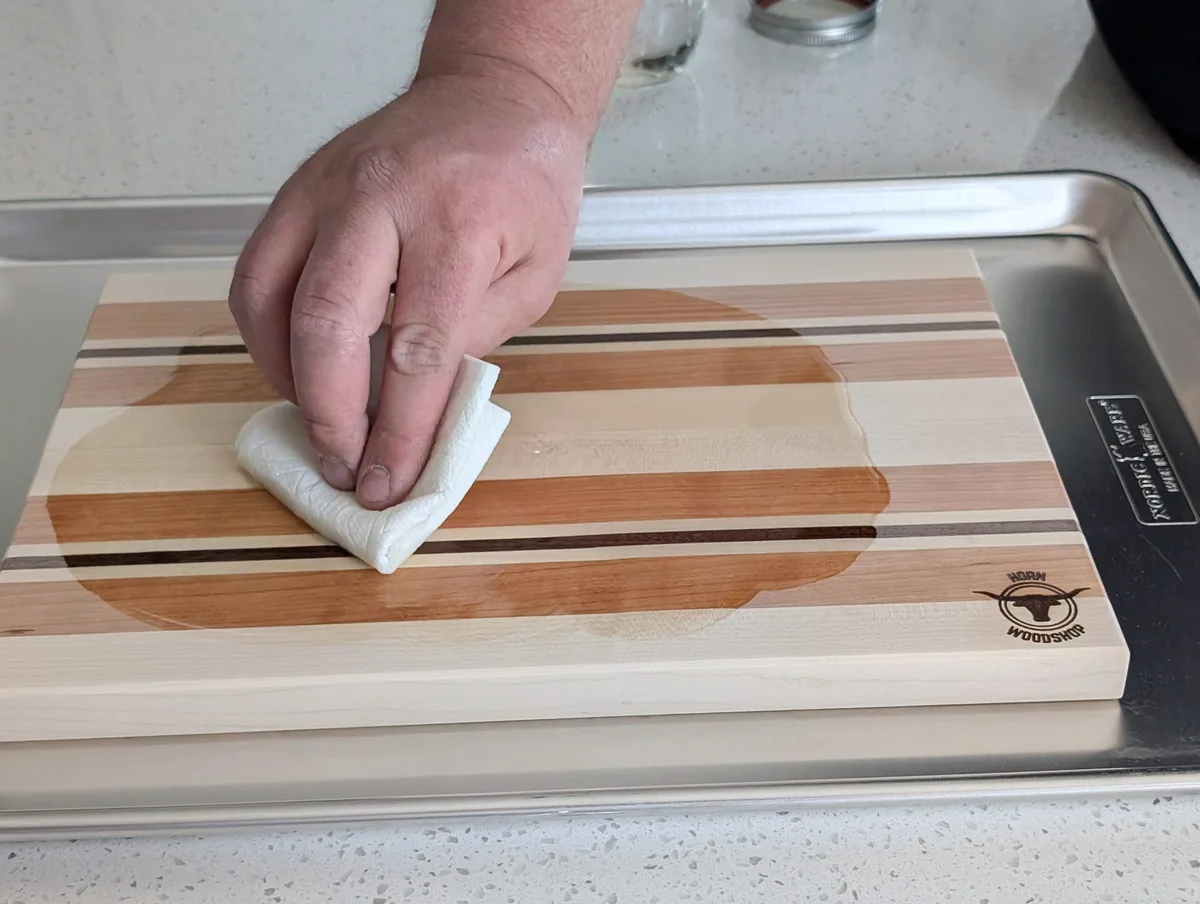
Re-oiling fixes most of that. Once a month, or whenever the wood looks pale and dry, apply a generous coat of food-safe mineral oil. USP-grade mineral oil is the standard choice, recognized by the FDA as safe for food-contact surfaces.
A blend with beeswax works even better.
Cover the whole frame, especially the inside of the slots. Let it soak for 10 to 15 minutes, then buff off the excess with a clean cloth. If the slicer is new, season it before the first use with three or four coats of mineral oil.
That barrier protects the wood from crumbs, humidity, and daily wear.
When to Repair vs. Replace It
Small cosmetic cracks don't end a slicer. Hairline surface checks, especially near the edges, can often be stabilized with wood glue and a clamp. But any split that runs across the full width of the frame, or through the center of a slot, is a structural failure.
That's not worth repairing for most home bakers.
Use this simple test. Press both sides of the crack apart with your thumbs. If the gap opens visibly, the joint has lost its integrity.
Slicing under pressure could snap the frame and send your bread knife into your hand.
Minor repairs actually work. For loose base rails or a detached end wall, clamp the piece, apply Titebond III wood glue (it's food-safe when cured), and let it set for 24 hours. Re-drill screw holes if the original ones are stripped.
But replacement makes sense when:
- The crack runs end to end on any piece
- The wood smells musty or shows dark stain, which means deep mold
- The frame wobbles after gluing because the wood has warped
Wood species matter in durability. Beech and maple rate over 1300 on the Janka hardness scale, making them ideal for slicer frames. Acacia and birch are slightly softer but still fine.
Bamboo slicers look nice but dent easily and don't hold oil as well.
Aggregate buyer feedback suggests that well-maintained hardwood slicers last 10 to 15 years. If yours fails before then, it wasn't built well. If you're frequently fighting problems, a sturdier frame with thicker rails and deeper slots may be the smarter investment.
Check our roundup of reliable slicers before you commit to another frustrating one.
Frequently Asked Questions
Why does my bread stick to the wooden slicer?
The slot walls have absorbed crumbs and moisture, creating a rough surface. Sand the slots lightly with 220-grit paper, wipe clean, and re-oil with USP-grade mineral oil. Let the oil soak in for 15 minutes before buffing.
Do this monthly as part of routine maintenance.
Can I put my wooden bread slicer in the dishwasher?
Absolutely not. Hot water and steam soften the wood fibers, strip the protective finish, and can pop apart any glued joints. Hand-wash with warm soapy water instead.
Dry it with a towel immediately, then air-dry upright before storing.
How long should bread cool before slicing in a wooden frame?
A standard sourdough loaf needs at least 1 to 2 hours to cool fully. Higher hydration loaves with an open crumb sometimes need 3 to 4 hours. If the crust springs back when pressed, it's too warm.
Cold gluten-free loaves slice best after 30 minutes in the freezer.
Is it better to repair or replace a cracked slicer?
Repair only if the crack is short and doesn't affect the structure. Glue and clamp those small breaks. Replace immediately if the split runs across the full frame, if the wood is water-damaged, or if the frame wobbles after a repair attempt.
A broken slicer is a safety hazard near a sharp knife.

Similar Posts