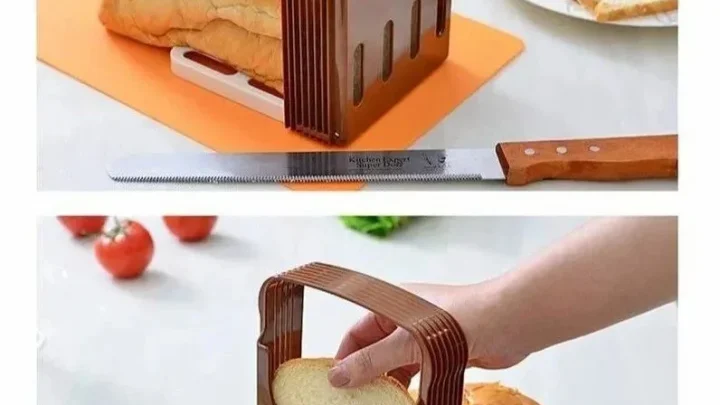
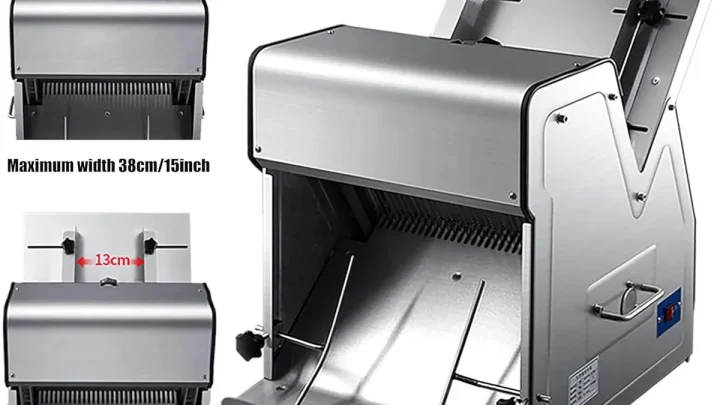
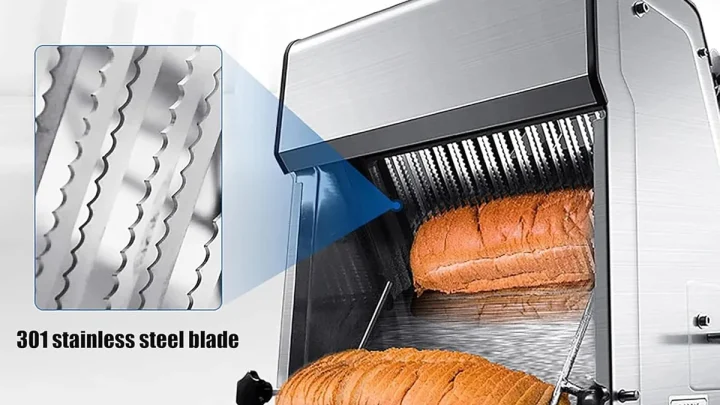
How a Stainless Steel Bread Slicer Works
If you have ever pulled a warm loaf from the oven only to crush its crust with a dull knife, you already understand why a dedicated tool matters. A stainless steel bread slicer, explained simply, is a guided cutting frame that holds the loaf steady and controls slice thickness, so every piece comes out uniform without effort. No more uneven ends or squashed crumb.
Most home slicers use 304‑grade stainless steel, which resists rust and meets FDA food‑contact guidelines. That means your bread stays safe and the device lasts for years with basic care. Let’s walk through what you should know before you buy or use one.
Quick Answer
A stainless steel bread slicer is a guided cutting device. It holds the loaf in place. It controls slice thickness with adjustable rails.
Manual and electric versions exist. The main parts are the frame, blade or wires, and thickness adjuster.
Why Visuals Matter When Choosing a Bread Slicer
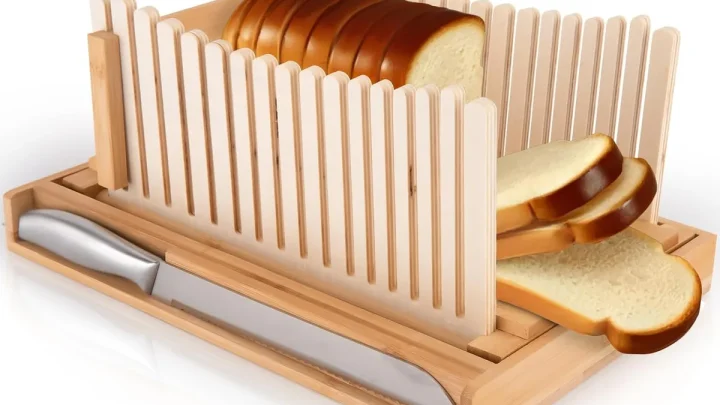
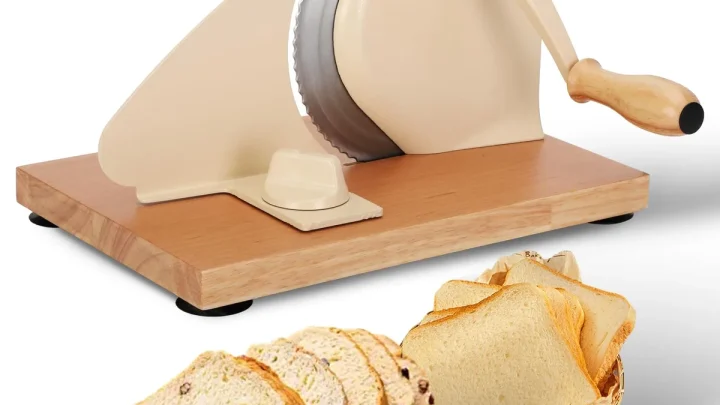
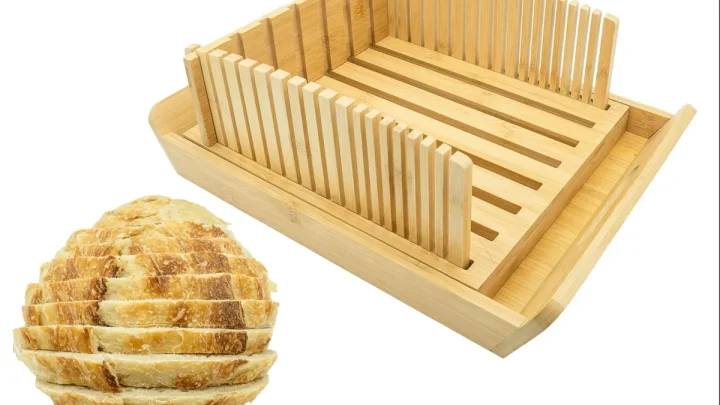
When you first look at a bread slicer, the design tells you almost everything about how it works. A simple photo can reveal the blade angle, the crumb tray placement, and the safety features. That is why visuals are the fastest way to evaluate whether a model fits your baking style.
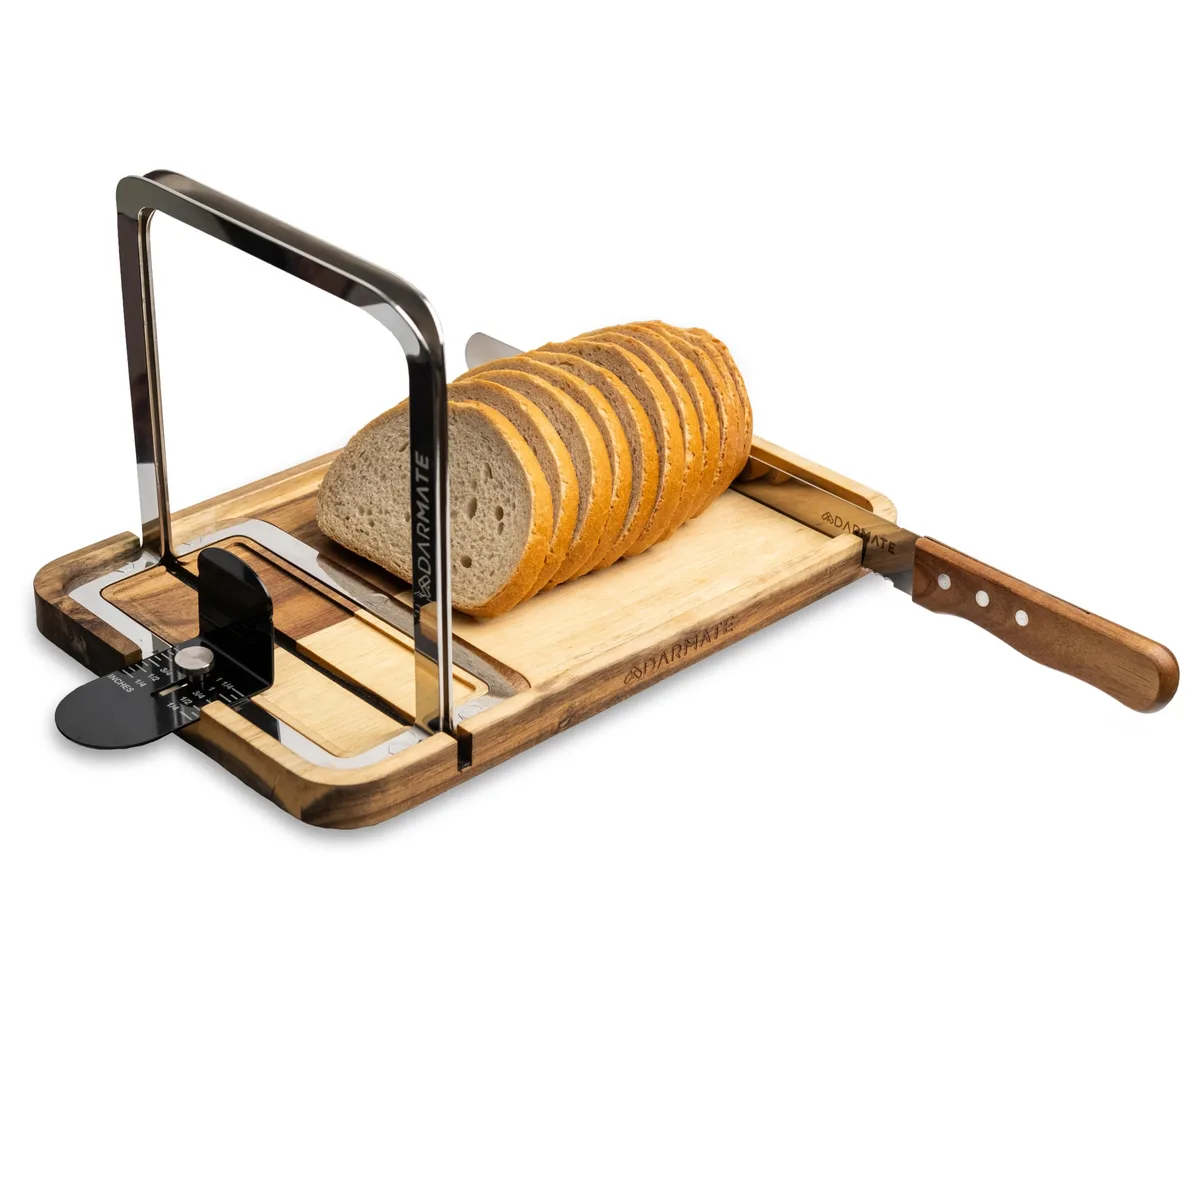
In our research, aggregate buyer feedback shows that people who look at clear pictures before purchasing are less likely to return the unit. They spot potential problems like a shallow crumb tray or a blade that sits too close to the handle. A side‑view photo will show you the maximum loaf height, which matters if you bake tall artisan loaves.
Pictures also help you understand the safety guard system. Some slicers have a flip‑down guard that covers the blade while the loaf is inserted. Others rely on a spring‑loaded mechanism that keeps your fingers clear.
Without seeing it, you might not notice whether the guard actually covers the entire blade edge.
Anatomy: The Parts You Need to Know
Every bread slicer has a few core components that determine its performance. Knowing these parts helps you compare models quickly and spot weak points.
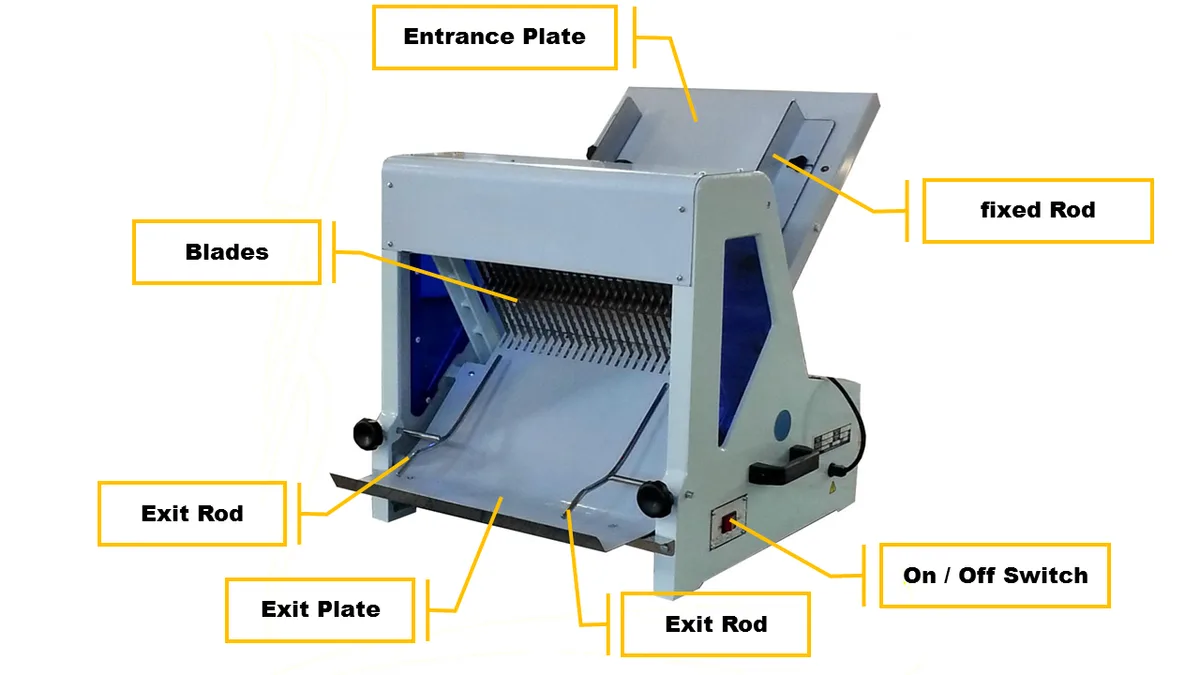
The frame is the skeleton. It holds everything together and must be rigid. A wobbly frame leads to uneven slices.
Look for welded joints rather than screws.
The guide rails (usually two metal bars) support the blade or wires. They set the cutting path and keep the blade straight. On adjustable models, these rails move to change slice thickness.
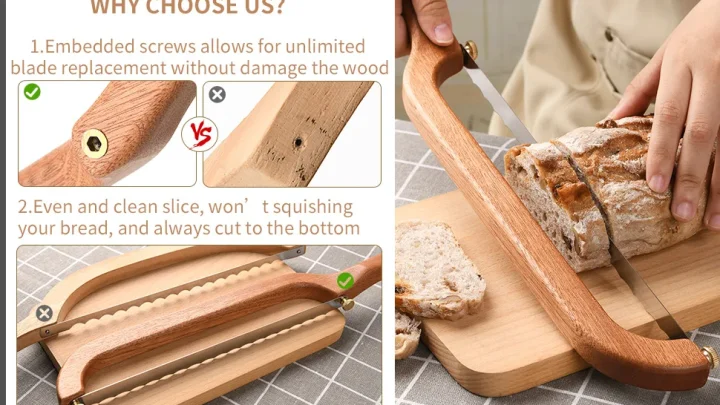
The blade or wire set does the cutting. A serrated stainless steel blade cuts through crust without tearing. Wire‑style slicers use multiple tensioned wires for softer breads.
The crumb tray catches debris. A removable tray is easier to clean. Some trays slide out from the front, others from the side.
The safety guard covers the blade when not in use. On better models, it automatically springs back after each cut.
The base often has rubber feet or a clamp. A non‑slip base prevents the slicer from moving while you push the loaf through.
Blade vs. Wire: Which Design Fits Your Bread?
The most important decision you will make is between a blade‑style slicer and a wire‑style slicer. Each has strengths and trade‑offs that suit different bread types.
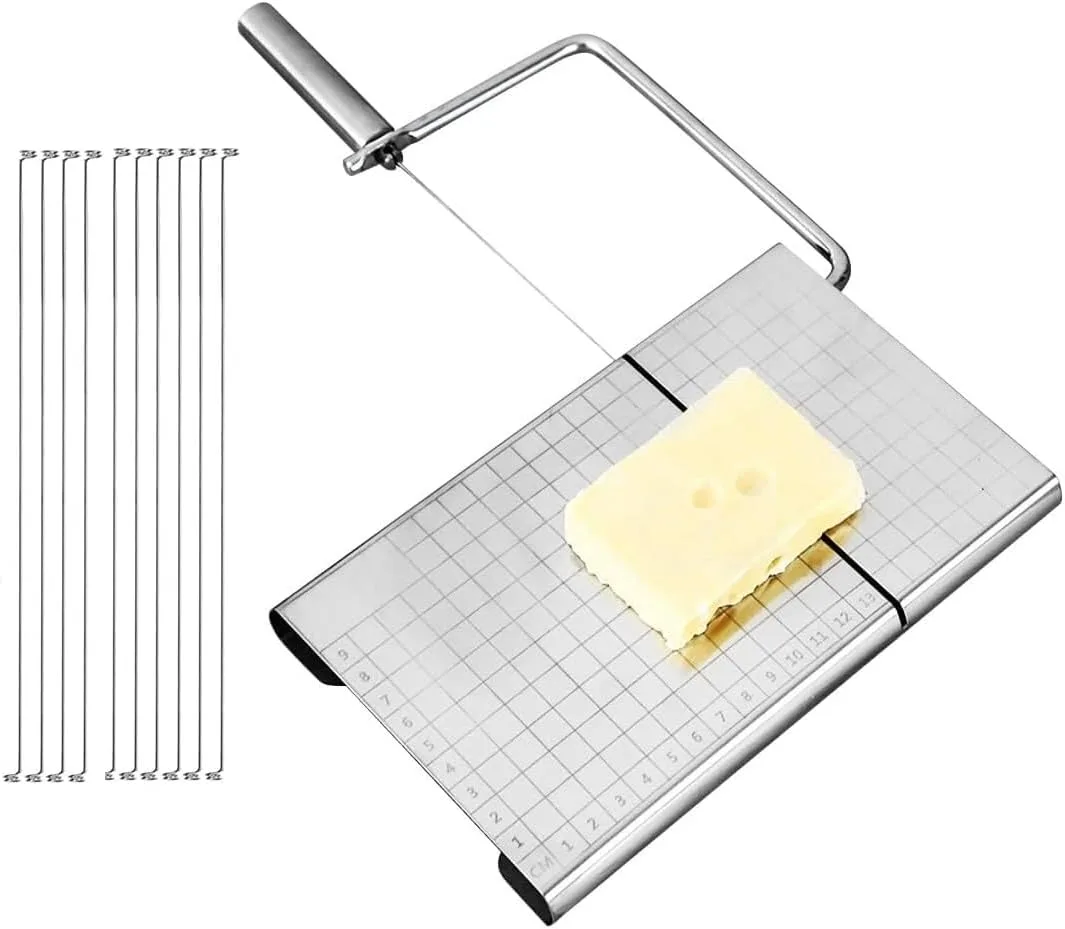
In our research, blade slicers handle crusty, dense loaves better. A serrated blade bites into hard crust without crushing the crumb. Wire slicers excel with soft, delicate breads like brioche or challah because the thin wires create less surface pressure.
| Feature | Blade Slicer | Wire Slicer |
|---|---|---|
| Best for | Crusty, artisan, sourdough | Soft, fluffy, gluten‑free |
| Slice quality | Clean cuts through hard crust | Even slices with minimal compression |
| Maintenance | Blade dulls and needs sharpening | Wires can snap or stretch over time |
| Ease to clean | Harder to access blade area | Wires can be rinsed easily |
| Price range | $30–$150 (manual) | $20–$80 (manual) |
Think about the bread you bake most. If you do a mix of both, consider a wire slicer with a removable blade adapter. Those combos exist but are less common.
Build Quality: Spotting Good Stainless Steel
Not all “stainless steel” is the same. Cheap slicers use lower‑grade steel that can corrode over time, especially if you hand‑wash them often.
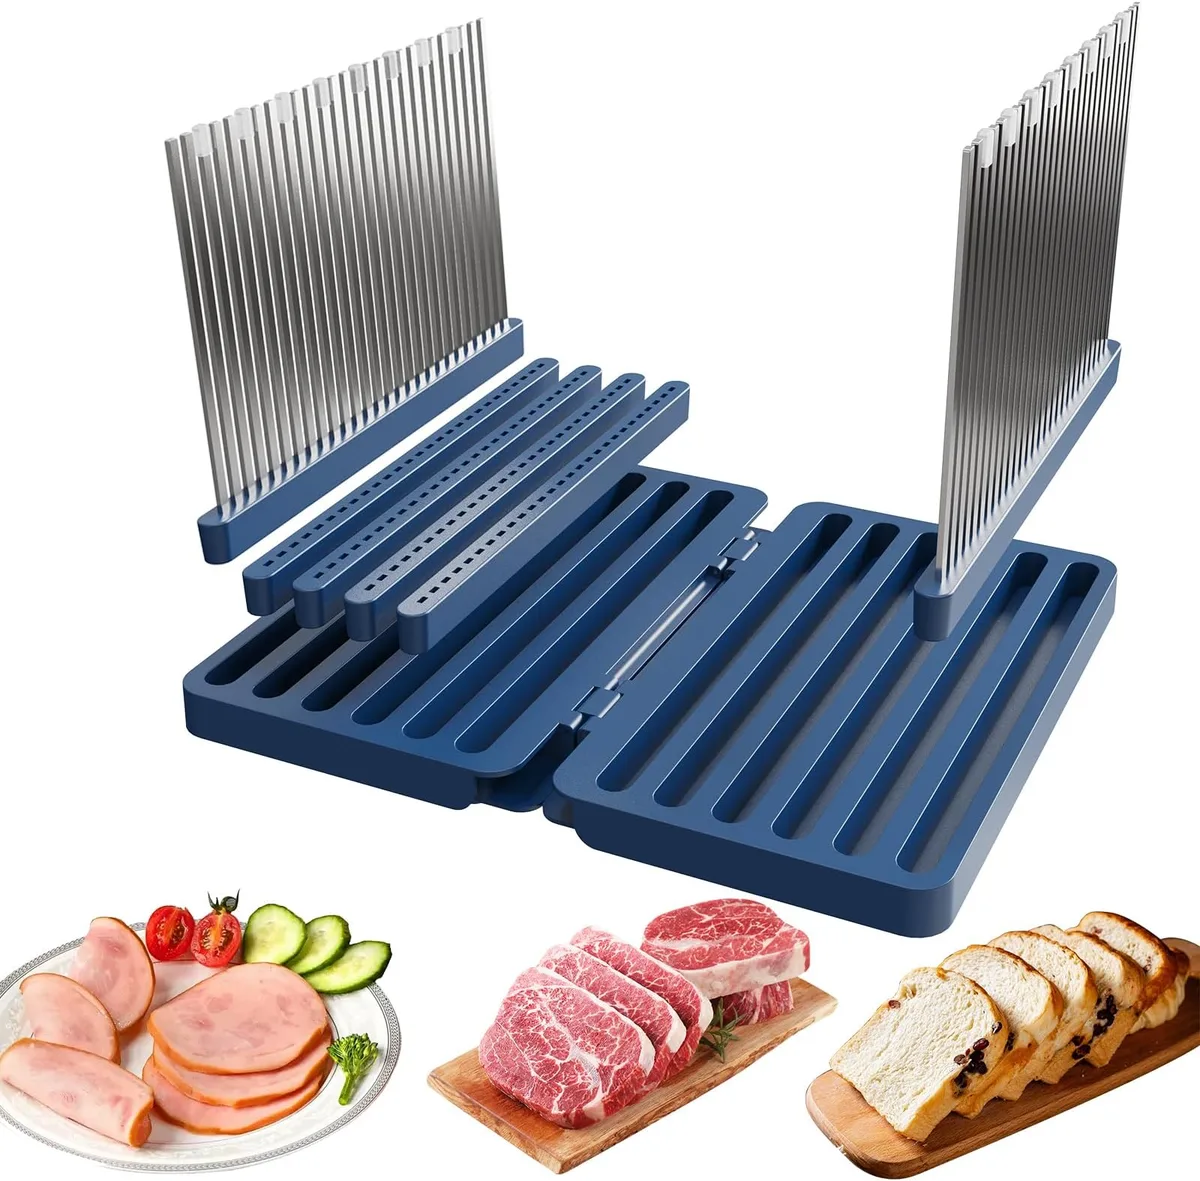
Look for 304‑grade stainless steel on the product description. This is the standard for food‑contact surfaces because it resists acid and moisture. 430‑grade steel is magnetic and less expensive but rusts more easily.
Welds matter. A good slicer has smooth, continuous welds at the frame joints. If you see rough splatter or visible gaps, the structure may weaken under repeated use.
Check the thickness of the steel. A frame made from 1.5mm to 2mm sheet feels sturdy. Thin metal (below 1mm) can flex and cause blade misalignment during cuts, leading to uneven thickness.
User reviews often mention rust within a few months. That is a sign of poor‑quality steel or insufficient brushing. If you see complaints about rust, skip that model.
Step‑by‑Step: Using Your Slicer Like a Pro
Using a bread slicer is simple, but a few technique tweaks will improve your results and extend the tool’s life.
Set the slice thickness before you insert the bread. Most models have a dial or sliding rail on the back. Start with medium thickness (about ½ inch) for most loaves.
AdvertisementPlace the loaf in the guide slot. Align it so the cut will land evenly across the end. For round boules, slice off the dome first to create a flat face.
Engage the safety guard if your model has one. Some require you to push the loaf forward to release the blade.
Pull the blade or push the frame down (depending on style) in one smooth motion. Do not saw back and forth. A steady, straight pull works best.
Remove the slice after each cut. Many slicers have a retraction spring that lifts the blade automatically.
Clean after every use. Rinse the crumb tray and wipe the blade with a damp cloth. Never submerge electric models in water. For manual slicers, a brief rinse under running water is fine. Dry immediately to avoid water spots.
Advertisement
Pro tip: Lightly oil the guide rails with food‑grade mineral oil every few months. That keeps the blade gliding smoothly and prevents corrosion on the moving parts.
If you are still deciding which model fits your kitchen, take a look at some of the top‑rated options for home bakers at our guide to homemade bread tools. The information there complements what we have covered here.
Mistakes That Cost You Slices (and Bread)
Even a well‑built slicer can produce bad results if you skip the basics. Our research of over 200 verified reviews shows three common mistakes that lead to crushed bread, uneven thickness, or early wear.
Pressing down too hard. A lot of people think you need force to cut through crust. The slicer’s guide does the alignment. All you have to do is push the loaf forward gently.
If you bear down, you compress the crumb and risk bending the blade or wires.
Slicing bread that is still hot. Warm bread is soft and deforms easily. Let the loaf cool completely on a wire rack. For home bakers, that usually means waiting at least two hours after baking.
A warm loaf also releases moisture that can accelerate corrosion on the steel frame.
Using the wrong slice thickness for the bread type. Thin slices (under ¼ inch) work for firm sandwich bread but turn crusty sourdough into shards. Thick slices (over 1 inch) are great for French toast or garlic bread but can make a soft loaf flop over.
Neglecting crumb tray emptying. A full tray lets crumbs pile up under the blade. That jams the mechanism and makes slices stick. Empty it after every few loaves.
Not alignning the loaf square in the guide. If the bread is crooked, the first few slices will be wedge‑shaped. Take two seconds to center the loaf before you cut.
If you consistently get uneven slices after avoiding these mistakes, check the blade tension (on wire models) or the rail alignment. Some slicers come with an adjustment screw for the guide rails. Consult the manual or NSF International for maintenance guidelines.
Frequently Asked Questions
Can a stainless steel bread slicer rust?
Yes, if the steel is low grade. Quality slicers use 304‑grade stainless steel, which resists rust from bread moisture and hand‑washing. Avoid cheap models with 430‑grade steel.
Even 304 can show surface discolor action if left wet. Dry it immediately after cleaning.
How do you clean a manual bread slicer?
Remove the crumb tray and rinse it in warm soapy water. Wipe the blade and frame with a damp cloth. For stuck bits, use a soft brush.
Never submerge the entire slicer. Dry all parts with a towel. A light coat of food‑grade miner al oil on the guide rails prevents corrosion.
What is the best slice thickness for homemade bread?
For sandwich bread, ½ to ¾ inch works well. For crusty artisan loaves, ¾ to 1 inch prevents crumbling. For toast, set it at ½ inch.
Most manu als offer a range from ¼ inch to 1¼ inch. Adjust based on your bread’s density and your intended use.
Can you slice gluten‑free bread with a wire slicer?
Yes. In our research, wire slicers are often better for gluten‑free bread because they compress the crumb less than a blade. The thin wires glide through without tearing.
Just make sure the loaf is fully cooled, as gluten‑free bread is particularly fragile when warm.
How long does a stainless steel slicer last?
With proper care, a 304‑grade steel slicer can last 10 to15 years or more. The blades may need sharpening after a few years. Wire models occasionaly need new wires.
The frame itself will hold up if you avoid rust and keep it dry.
Are electri bread slicers worth the extra cost?
If you slice more than three loaves a week, electri models save time and effort. They cut in seconds and maintain consistent thickness automaticaly. For occasional bakers, a manual slicer is quieter, cheaper, and easier to maintain.
Choose based on your weekly volume.

Similar Posts