What Proofing Basket Should a Beginner Sourdough Baker Get?
Standing over a sticky dough, most new bakers google what proofing basket for beginner sourdough really needs to be. The answer is simpler than you'd think. You don't need a drawer full of gear.
One round banneton that fits your recipe and your fridge is enough.
Aggregate reviews from home bakers and manufacturer specifications agree on the essentials. A standard 9-inch rattan basket holds roughly 750g to 1kg of dough. That covers most first loaf recipes.
It gives you enough space to proof overnight without the dough spilling over the sides.
Quick Answer
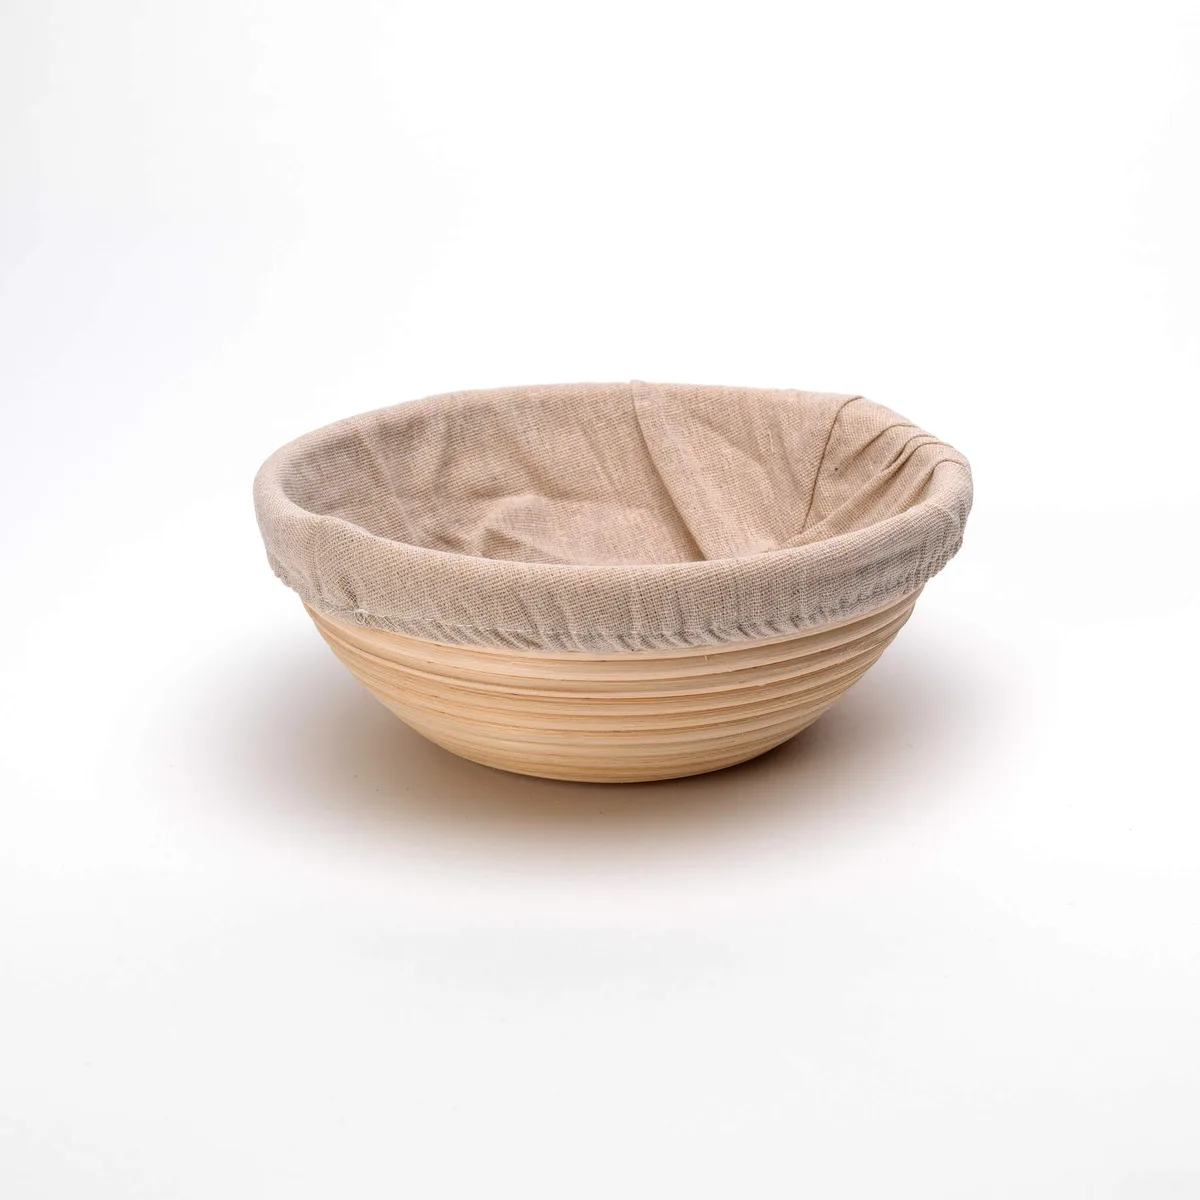
A beginner should buy a 9-inch round cane rattan banneton. It holds the most common dough size. Add a linen liner and rice flour for the first few bakes.
That's the whole setup.
Why Your First Proofing Basket Matters More Than You’d Think
Your proofing basket holds the dough while it ferments in its final shape. It keeps the gluten network tight so the loaf holds its structure. Without it, dough spreads into a flat pancake during the last rise.
Do You Even Need One?
Not necessarily, but it helps. A bowl lined with a tea towel works once. A banneton is consistent.
Our research shows that beginners who use a purpose-built basket get better oven spring. The open weave allows air to reach the dough surface, which forms a drier skin. That skin helps the loaf hold its shape when you flip it out.
What Happens Without a Basket
Dough wants to spread. A freeform loaf on a baking sheet often turns out wide and flat. The crumb gets dense because the gas escapes sideways instead of upward.
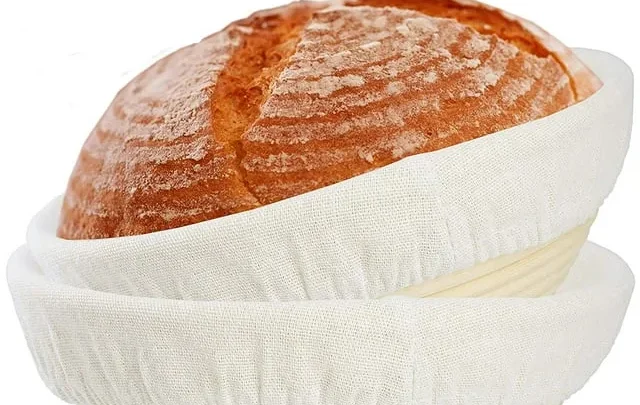
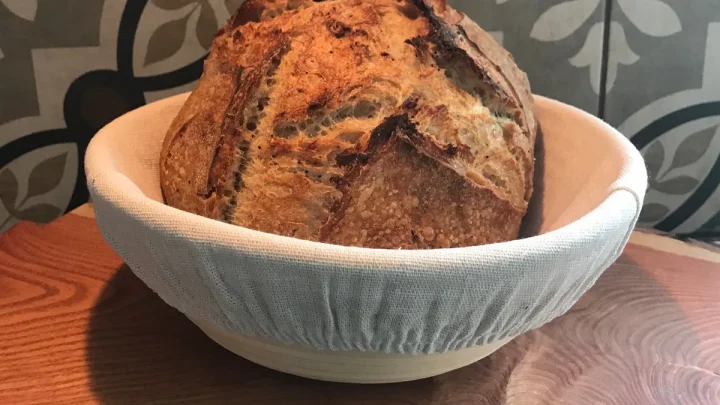
A banneton holds the dough gently while it ferments. You get a taller, rounder loaf.
The basket isn't magic, though. You still need to shape the dough well and build tension. But the basket removes one variable.
For a beginner, that's a huge relief.
Round vs. Oval: Which Shape Fits Your Loaf?
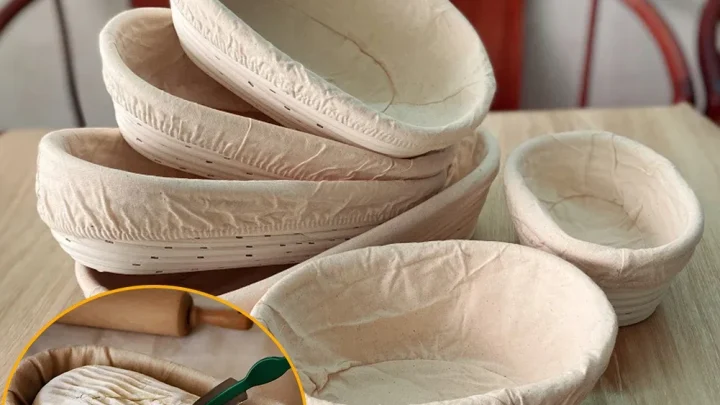
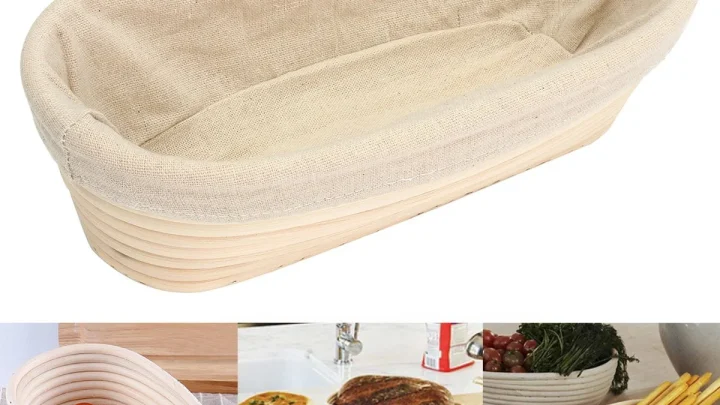
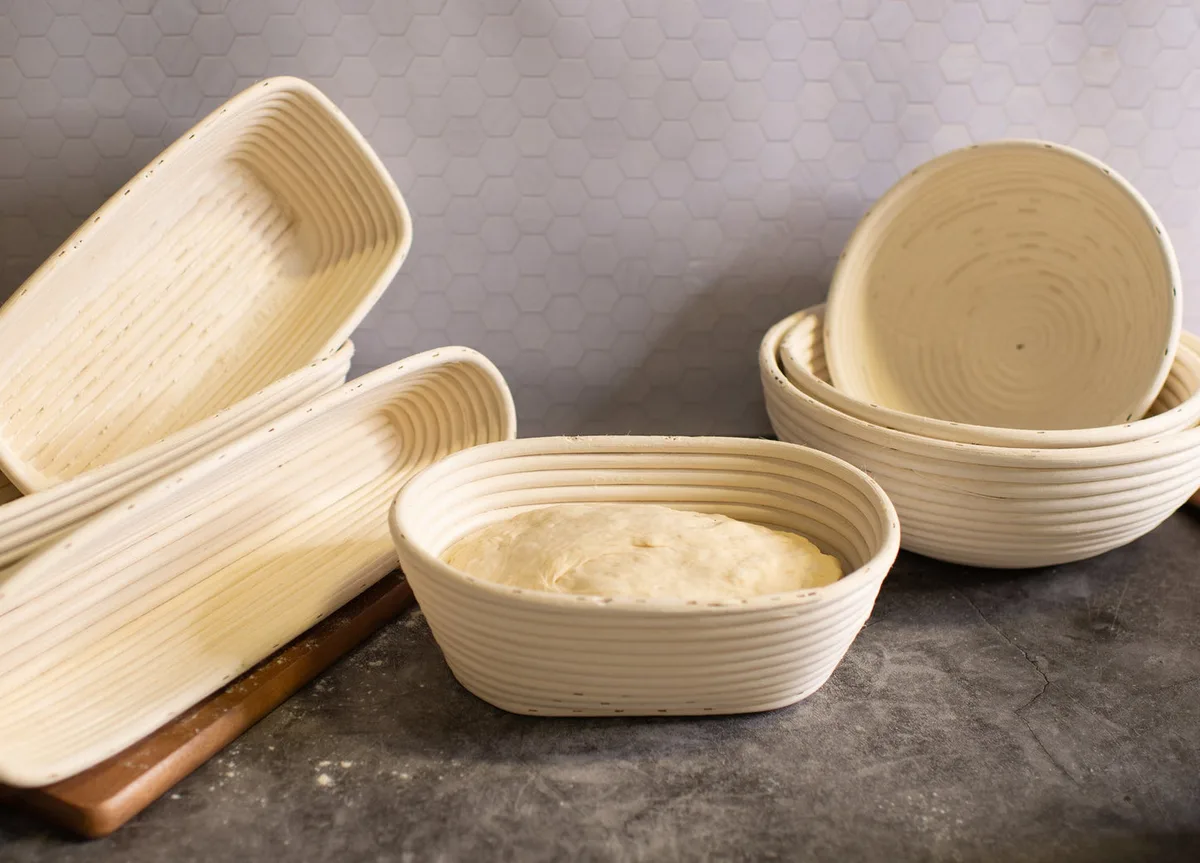
Round baskets create boules, the classic round sourdough loaves. Oval baskets create batards, the longer elongated loaves. Most beginner recipes call for a round boule because it's easier to shape.
Round Bannetons for Boules
A round banneton is the safest first buy. It matches the round shape of a Dutch oven. It also matches your hands.
Shaping a tight round boule is more forgiving than pulling an oval.
Oval Bannetons for Batards
Oval baskets suit sandwich-style loaves. If you plan to make pan bread or slice your bread for toast, an oval basket might be worth adding later. But as a first basket, round is better.
Choosing Based on Your Recipe
Check the recipe you plan to bake. If it calls for a boule, buy round. If it calls for a batard, buy oval.
For the first starter loaf, most recipes use a round shape.
Cane Rattan vs. Wood Pulp: What Each Material Does Differently
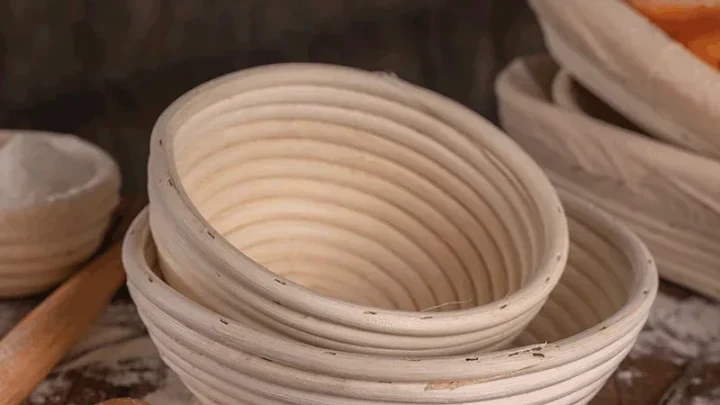
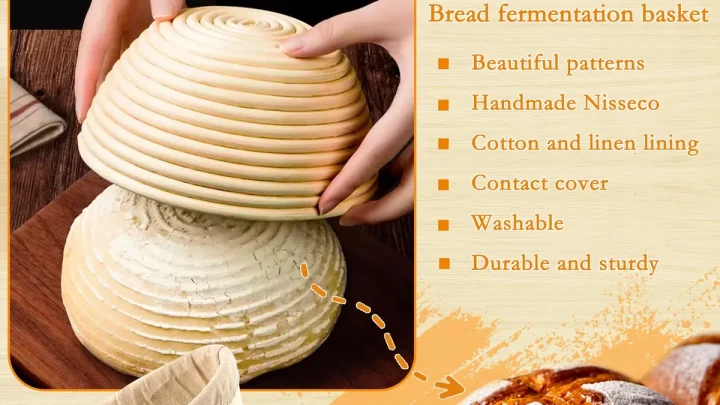
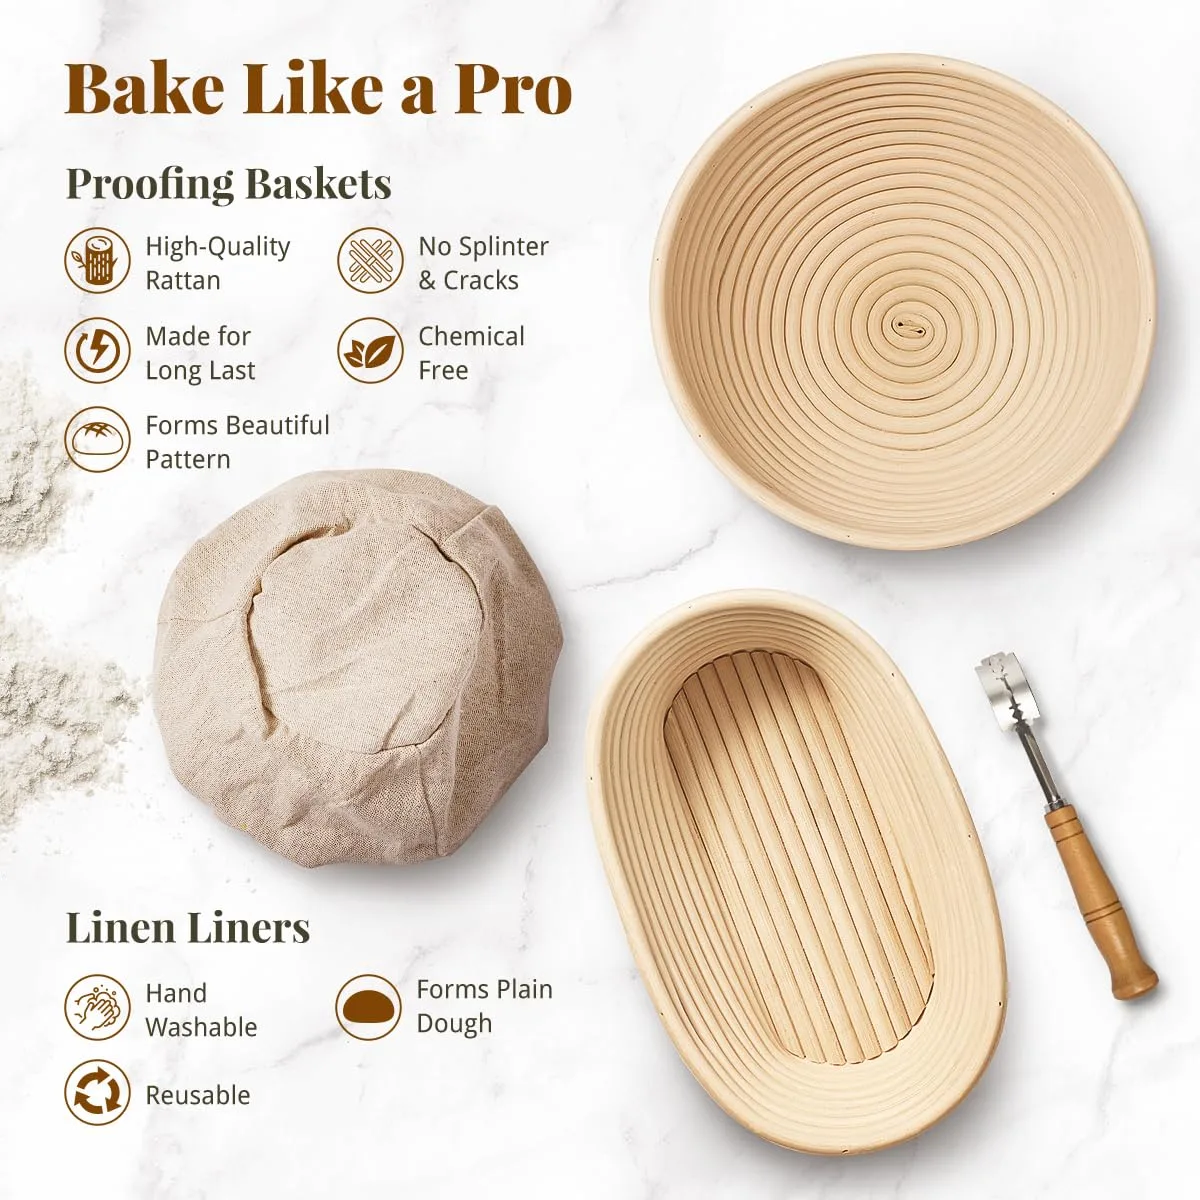
Cane rattan has been the traditional banneton material for generations. It's woven by hand from natural vines. Those tight spirals create a beautiful pattern on the crust.
Wood pulp baskets are a newer, machine-molded alternative. They cost less and weigh less, but they behave differently.
Cane Rattan Pros and Cons
Cane is breathable. It wicks moisture from the dough surface, which helps form a firm skin during proofing. It also creates a distinctive flour swirl on the bread.
The cons are easy to spot: it's more expensive, and it must be kept bone dry between bakes.
Wood Pulp Pros and Cons
Wood pulp baskets are smooth and lightweight. They don't have the open weave, so they absorb less moisture from the dough. That can mean slightly tackier dough and less pattern on the crust.
But they're easier to clean and often cost about half as much.
How to Spot Quality Construction
Run your hand over the interior. A quality cane basket has tightly woven coils with no loose splinters. Wood pulp should feel smooth and solid, without cracks or rough edges.
Both materials should smell clean, not musty.
Quick Comparison: What to Look For
| Basket Type | Shape | Best Dough Weight | Liner Included? | Typical Price |
|---|---|---|---|---|
| 8-inch cane rattan | Round | 400–500g | Sometimes | $10–$18 |
| 9-inch cane rattan | Round | 750g–1kg | Often | $15–$25 |
| 10-inch cane rattan | Round | 1.25–1.5kg | Sometimes | $20–$35 |
| 9-inch wood pulp | Round | 500–750g | Rarely | $8–$15 |
| 10-inch oval cane | Oval | 1–1.25kg | Sometimes | $18–$30 |
The 9-inch round rattan is the sweet spot for most beginner recipes. It lines up with a standard 4-quart Dutch oven. It also holds the average home bake.
If you plan to bake larger batches, size up to the 10-inch.
Sizing Guide: Match the Basket to Your Dough
Sizing mistakes are the most common beginner error. A basket that's too large lets the dough flatten. A basket that's too small causes overflow.
The right size is the one that matches your recipe's dough weight.
8-Inch Baskets for Small Loaves
An 8-inch basket suits dough weighing around 400 to 500g. That's a small loaf. It's perfect for a starter bake using 250g of flour.
It also fits neatly inside a small fridge.
9-Inch Baskets for Standard Recipes
The 9-inch basket handles most standard sourdough recipes. These use about 500g of flour and produce a 750g to 1kg loaf. It fits a 4-quart Dutch oven perfectly.
This is the default size for a beginner.
10-Inch Baskets for Big Batches
A 10-inch basket holds 1.25kg to 1.5kg of dough. You'll use it if you're baking a large family loaf or mixing a batch with 750g of flour. It also works for proofing two smaller doughs side by side.
What Happens When You Mismatch Size
Too large means your dough will relax and spread instead of rising tall. Too small means dough bulges out the top and may stick to the cloth. Both problems ruin the shape and create a dense crumb.
Best Picks Based on How You Bake
Your kitchen setup, recipe, and budget all change the right choice. Here's how to decide.
The Easiest First Banneton Setup
A 9-inch round cane rattan basket with a linen liner. It arrives ready to use. Just dust with rice flour before the first proof.
This setup works with almost any standard sourdough recipe.
Budget-Friendly Starter Choices
A wood pulp basket or a basic cane basket without a liner saves money. You can use a lint-free tea towel instead of a liner. Aggregate reviews show these work fine for the first few loaves.
Just expect less of a crust pattern.
Worth-the-Extra Options for Serious Beginners
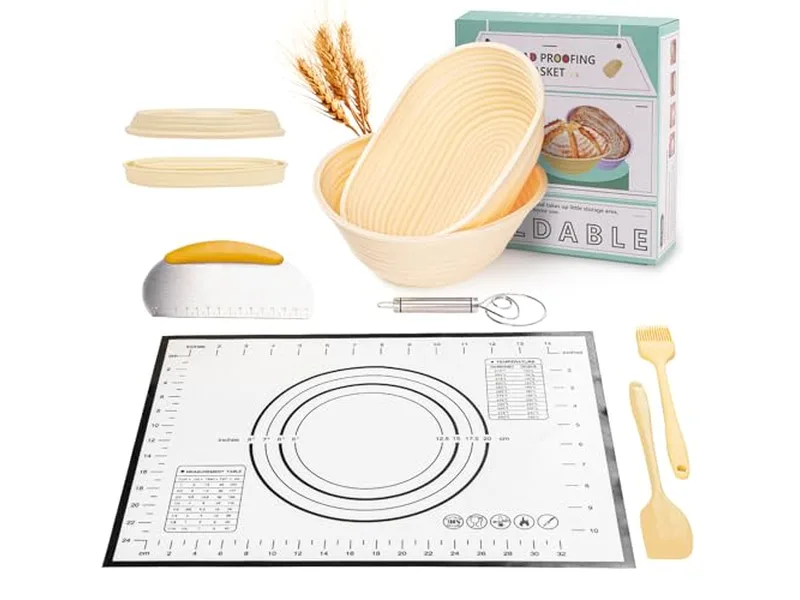
Some sets include a plastic proofing bag. That bag traps humidity during cold proofing. It prevents the dough surface from drying out.
As of 2026, these sets cost a small premium but are worth it if you bake weekly.
Budget Alternatives That Still Work
A banneton isn't strictly required. A mixing bowl and a lint-free towel can hold the dough during its final proof. The trick is providing the same support and airflow.
Mixing Bowl and Linen Towel Method
Choose a bowl slightly larger than your shaped dough. Lay a cotton or linen towel inside. Dust with a generous layer of rice flour.
Place the dough seam-side up and fold the towel over it.
Floured Tea Towel Approach
A smooth tea towel works if it's lint-free. Terry cloth will grip the dough and tear it. Use plenty of rice flour.
This method is fine for a first bake.
When a Substitute Makes Sense vs. When to Buy the Real Thing
Use a substitute while you learn. Buy a banneton once you've baked a successful loaf. The consistency is worth the cost.
Mistakes Beginners Make With Proofing Baskets
Small errors cause big frustration. Let's fix the most common ones.
Over-Flouring and White Streaky Crusts
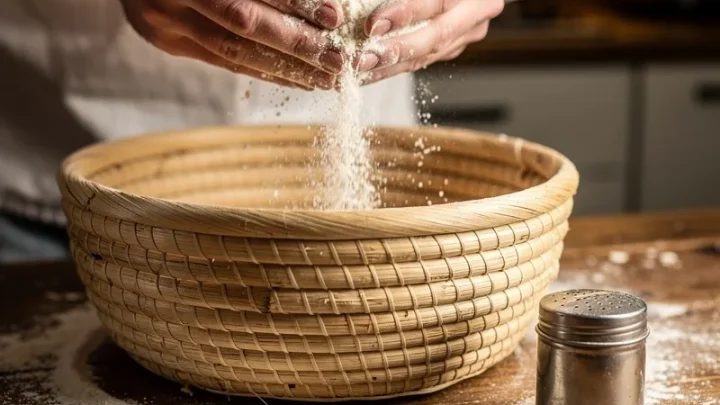
Too much flour leaves a pale, dusty crust after baking. Use rice flour in a fine sieve. A light dusting is all you need.
Putting Dough in Seam-Side Down
Dough goes into the basket seam-side up. That seam is your guide when you flip it out. Seam-side down kills surface tension, which flattens the loaf.
Storing a Damp Basket
Damp bannetons grow mold. Always brush out loose flour. Let the basket dry completely before storing.
Never soak rattan or put it in the dishwasher. For detailed food-safety guidance on mold, the USDA's food safety resources are a useful reference.
Using the Wrong Flour for Dusting
Rice flour stays dry and doesn't absorb into the dough. All-purpose flour can make a gummy crust. Stick with rice flour.
How to Use a Proofing Basket (Step-by-Step Beginner Method)
The process is simple once you know the order. Here's the full routine.
Seasoning Your New Basket
Most baskets are ready out of the box. Dust with rice flour. Some bakers brush on a thin coat and let it dry for 24 hours.
That's welcome, but optional.
Prepping the Liner
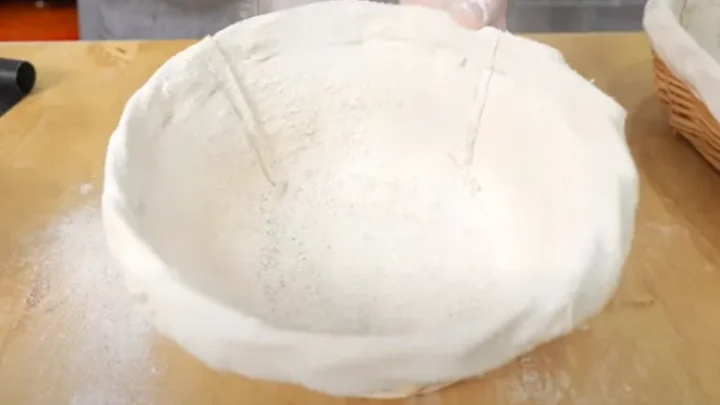
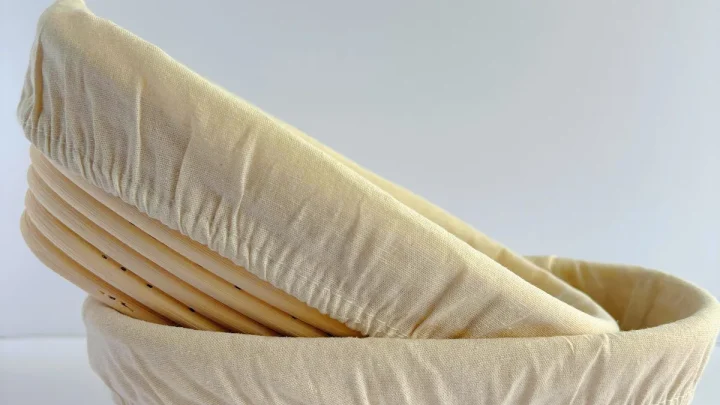
Place the liner inside and smooth out wrinkles. Dust with rice flour. Rub the flour into the fibers so the dough won't stick.
Shaping and Placing the Dough
Shape the dough into a tight ball. Pinch the seam closed on the bottom. Place the dough seam-side up in the basket.
Fill it about three-quarters full.
Covering and Cold Proofing
Fold the overhanging liner over the top. Put the basket in the fridge for 12 to 16 hours. This overnight rest develops flavor and firms the dough.
Flipping Out the Dough Without Tearing It
Lay a sheet of parchment over the basket. Hold both sides and flip quickly. The dough should drop onto the paper cleanly.
If it sticks, gently ease the edges free.
Long-Term Care: Keep Your Banneton Mold-Free
A banneton lasts for years with simple care. Mold is the only real threat. Follow these habits every time.
Cleaning After Every Use
Shake out loose flour over the sink. Brush off stuck bits with a dry brush. Never rinse the basket with water.
Drying and Storing Between Bakes
Set the basket upside down in a dry spot for 24 hours. Air circulation is essential. A sunny shelf works best.
Tuck it away only when completely dry.
Reviving an Old or Neglected Basket
A small area of mold can be brushed off and left in direct sunlight. Deep mold means it's time to replace the basket. Don't risk baking with a moldy banneton.
Your First Loaf: From Fridge to Dutch Oven
After the cold proof, the dough is ready to bake. The basket did its job. Now it's about scoring and heat.
Scoring the Dough
Score with a lame or a sharp razor blade. A single shallow slash is all you need. That cut becomes the loaf's ear.
Getting the Bake Right
Preheat a Dutch oven in a 450°F oven. Lower the dough in on parchment paper. Cover and bake for 20 minutes.
Then remove the lid and bake for another 20 to 25 minutes.
What Success Looks Like on the First Try
Expect a golden crust, a nice ear, and a soft crumb. It won't be perfect. That's fine.
Every bake teaches you something about your kitchen.
FAQs Beginner Sourdough Bakers Ask
What size proofing basket should I buy first?
A 9-inch round banneton. It holds 750g to 1kg of dough and fits a standard 4-quart Dutch oven. That covers most starter recipes.
Do I really need a proofing basket for sourdough?
No. A floured bowl and a lint-free towel work fine. But a banneton gives consistent shape and better airflow.
Worth it if you bake regularly.
Should I get a proofing basket with or without a liner?
Start with a liner. It prevents sticking and cleans up faster. Later you can skip it and dust the basket directly.
Can I use a proofing basket for other breads?
Yes. Any dough that needs a final proof works. Adjust flouring and hydration for whole wheat or rye.
Why is my dough sticking to the proofing basket?
Not enough rice flour is the usual cause. High hydration also makes dough sticky. Dust more and ease hydration if problems continue.
The Bottom Line: What Should You Buy First?
Our research keeps pointing to one answer. A 9-inch round cane rattan banneton with a linen liner. It suits most beginners and most recipes.
Final Recommendation
If you're using a bowl and towel, upgrade. You'll get taller, rounder loaves and a more forgiving process. The basket does the heavy lifting while you build confidence.
One Basket to Get Started
Start with one round basket. Add an oval later for sandwich loaves. One good banneton is enough to bake like a pro.

Similar Posts