How to Use a Proofing Basket: Beginner’s Sourdough Guide
If you've baked a few loaves and gotten flat, sad pancakes instead of tall rustic rounds, your starter probably isn't the problem. It's your final proofing setup. Understanding how to use a proofing basket for beginner sourdough is the fastest way to fix that and start producing loaves you're proud to slice.
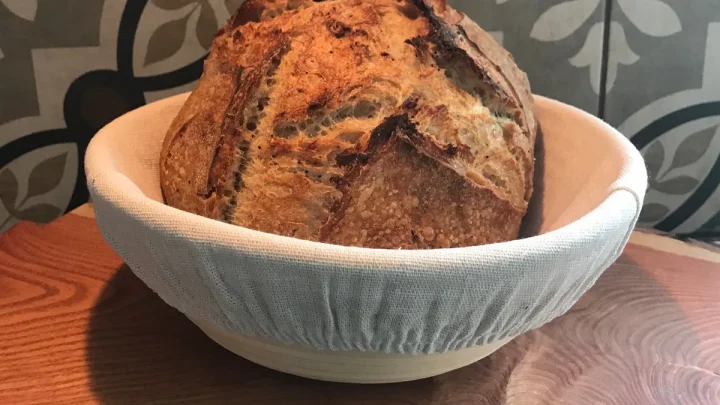
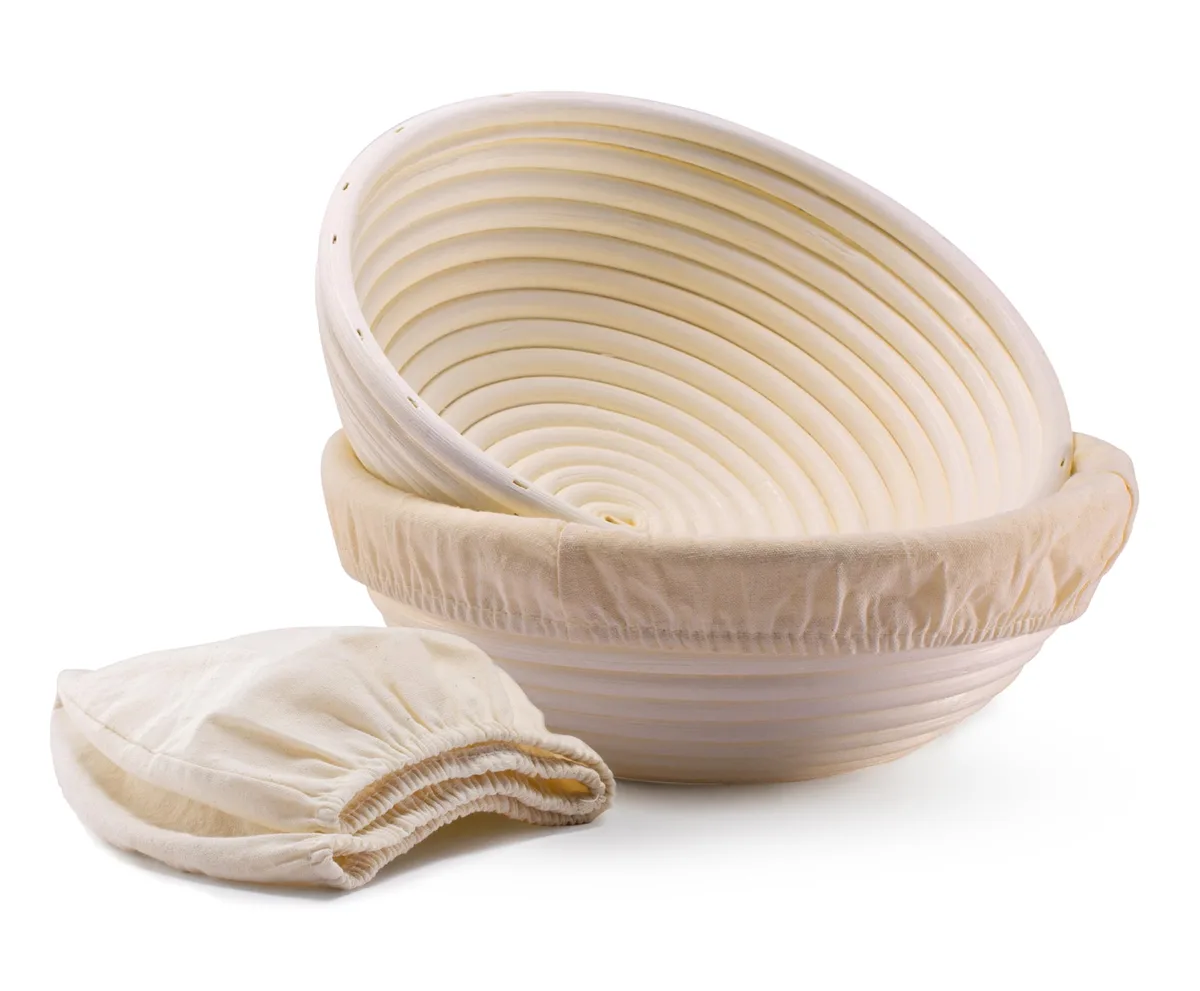
A proofing basket, also called a banneton or brotform, supports the dough during its last rise. Manufacturer specifications show that an 8-inch round version holds 750 grams to 1 kilogram of dough, which covers most home-bake batches. Once you see how much structure a woven basket adds, you'll wonder how you ever baked without one.
Quick Answer
To use a proofing basket for beginner sourdough, dust it generously with rice flour. Shape your dough, then place it seam-side up. Cover it and proof, usually overnight in the fridge.
Unmold by flipping the basket onto parchment. Bake immediately after scoring.
Why a Proofing Basket Actually Matters for Beginner Sourdough
Sourdough dough is wetter and less structured than most bread dough. A standard 75% hydration dough doesn't know how to stand up by itself. It slumps against the sides of a glass bowl and ends up as a wide, flat disc.
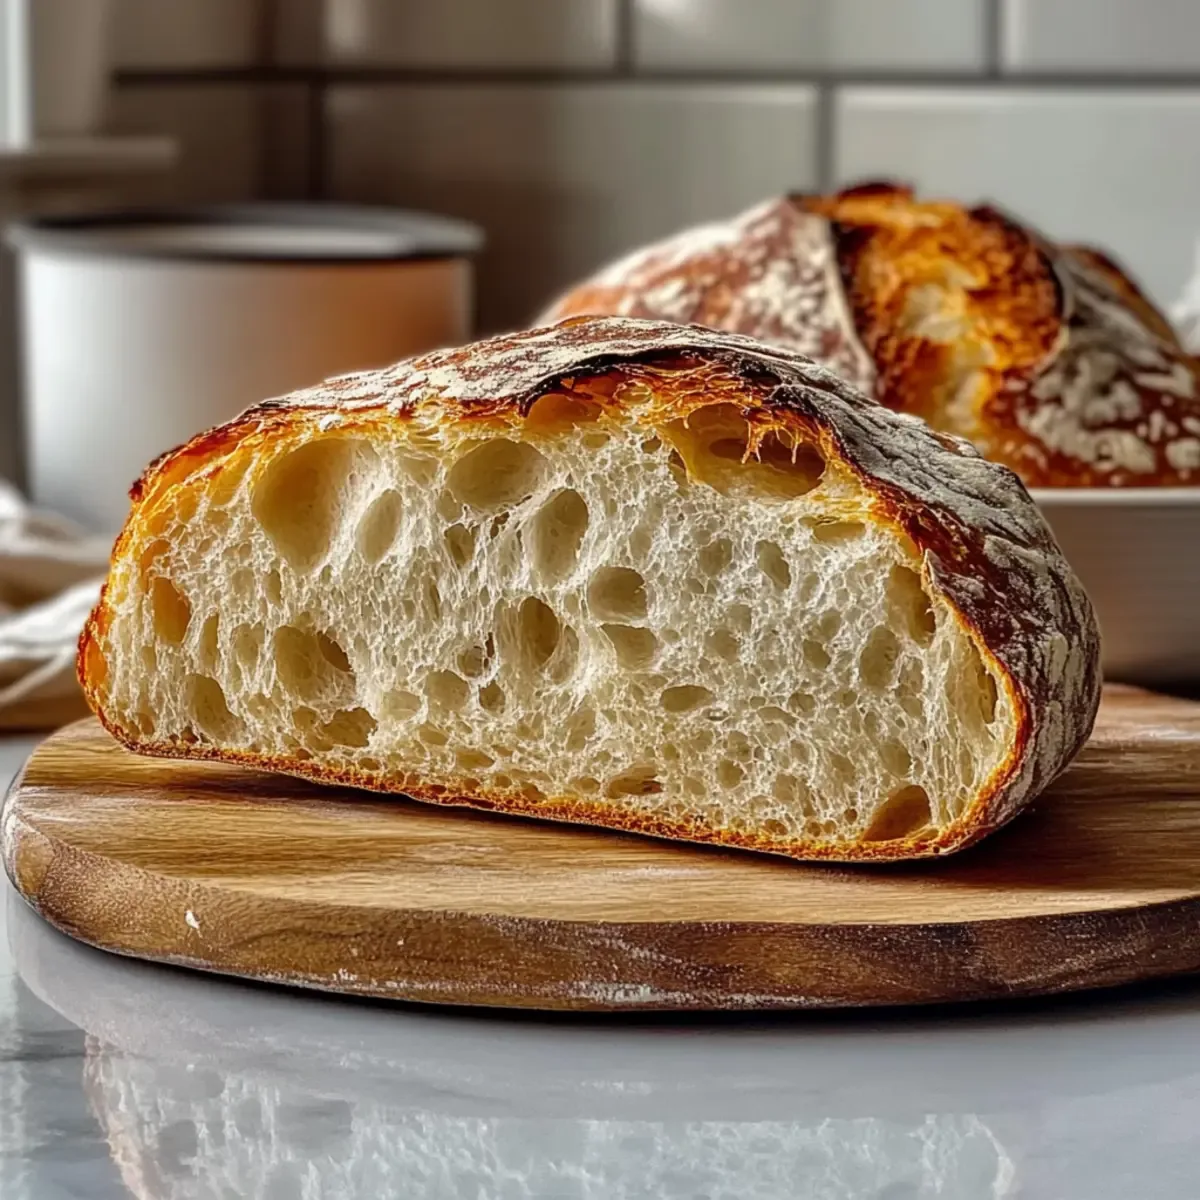
A proofing basket changes that setup completely. The woven walls hold the dough upright while fermentation does its work. The rattan also pulls a thin layer of moisture from the dough's surface, creating a delicate skin that makes scoring easier later.
That skin is a game-changer for beginners.
Aggregate reviews from home-baker forums report the same pattern. People who swap a bowl for a basket see their loaves rise higher, hold shape better, and develop a more open crumb. If you're baking sandwich bread in a loaf pan, you don't need a proofing basket.
If you want artisan-style freeform loaves, it's the missing tool in your routine.
What a Proofing Basket Is and How It Works (Banneton vs. Bowl)
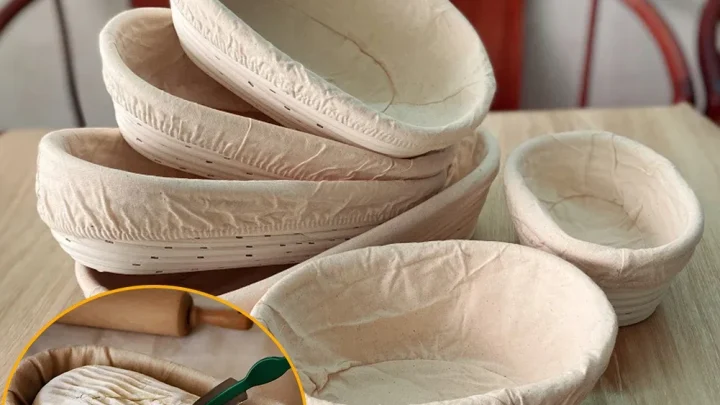
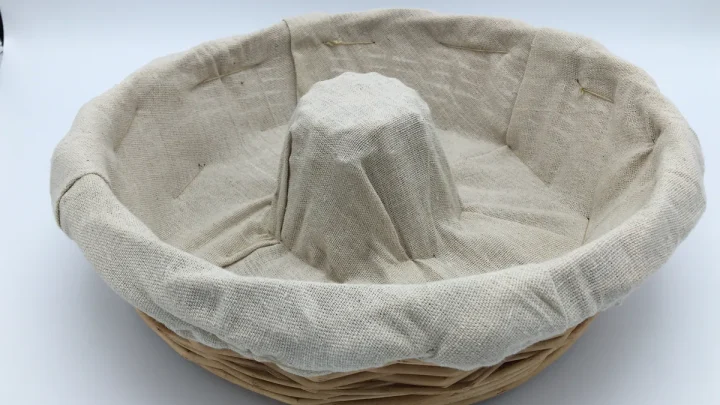
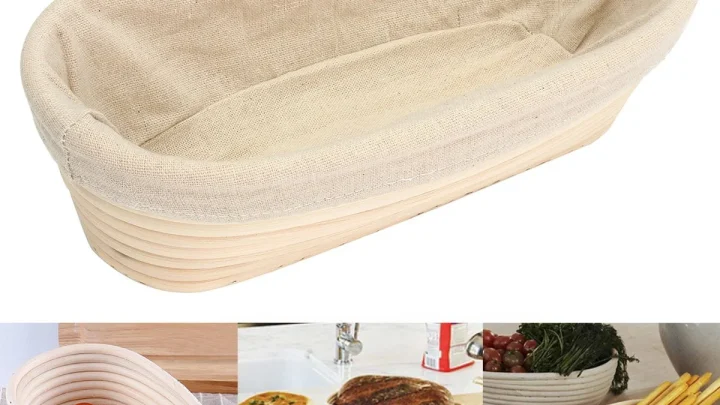
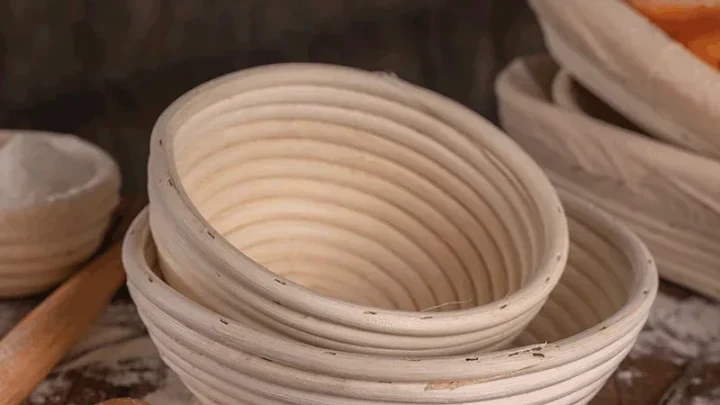
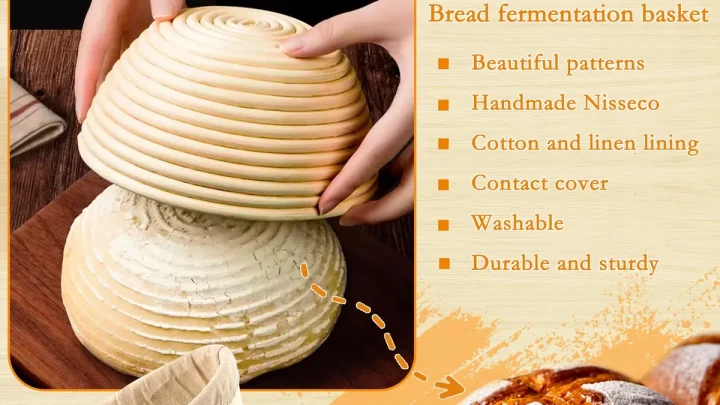
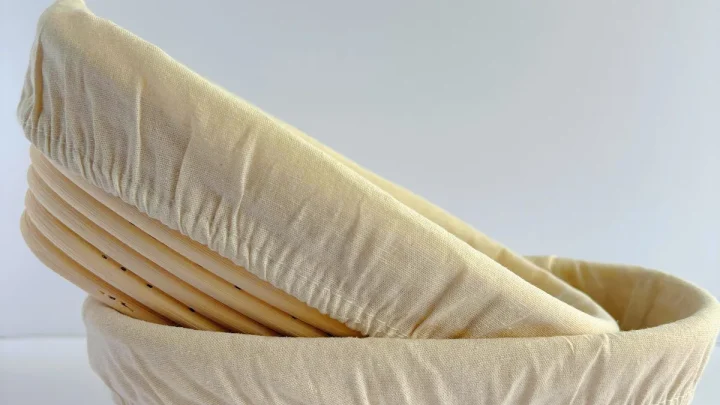
A proofing basket is traditionally woven from rattan cane, seagrass, or wood pulp. It comes in a round shape for boules and an oval shape for bâtards. Some baskets have a removable linen liner; others leave the cane exposed for a decorative spiral pattern.
The magic is in the airflow. The woven material lets air circulate around the dough, which prevents the sticky condensation layer you get from a smooth ceramic bowl. The cloth liner, when it's present, also absorbs extra moisture from the exterior of the dough.
Meanwhile, a bowl traps steam against the dough and leaves it tacky and difficult to handle.
| Feature | Proofing Basket | Mixing Bowl |
|---|---|---|
| Shape support | Holds dough upright | Allows spreading |
| Airflow | Woven for good circulation | Trapped moisture |
| Dough surface | Dry and easy to score | Tacky and sticky |
| Unmolding | Flips out cleanly | Sticks without heavy flouring |
| Best for | High-hydration artisan loaves | Firm dough or bread pans |
If you're wondering whether a bowl lined with a floured kitchen towel will work, it can. It's just harder. The towel absorbs less moisture and the dough tends to grip the fabric.
A basket with a liner is the same idea, but it's engineered for the job.
What to Look for Before You Start: Basket Size, Liner, and Dusting Flour
Three decisions matter before you ever put dough in the basket. Get these right, and the whole process feels easy.
- 8-inch round basket: holds 750 g to 1 kg of dough. This is the standard beginner size.
- 9-inch round basket: holds 1 kg to 1.5 kg. Great if you're baking larger single loaves.
- 10-inch oval basket: holds 1 kg to 1.5 kg. Built for oblong bâtards.
As of 2026, most beginner baskets come with a cloth liner already included. The liner gives you a smooth surface and a more forgiving release on the first few attempts. An unlined rattan basket bakes those gorgeous concentric rings into the crust, but it demands a heavier hand with rice flour.
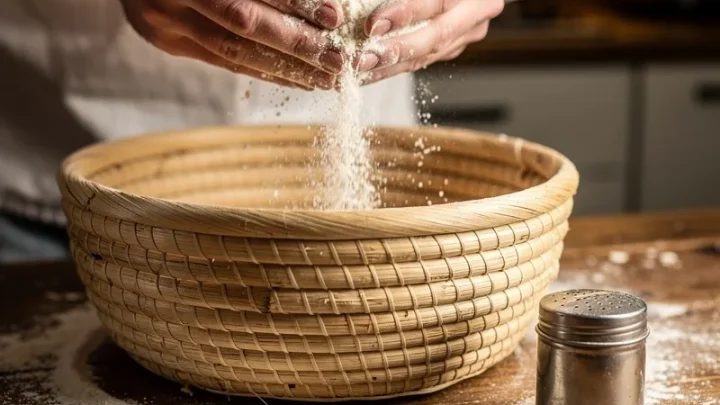
Dusting flour is where beginners trip up. Use rice flour, not all-purpose. All-purpose wheat flour wets out, bakes into the crust, and leaves dull white patches.
Rice flour stays dry and dusty, which is exactly what you want for a clean release. If you only have wheat flour, mix a 50/50 blend of rice flour and all-purpose. But pick up rice flour as soon as you can.
Step-by-Step Guide: How to Use a Proofing Basket (with Visual Cues)
This is the sequence that works, based on the standard sourdough process used by commercial bakeries and verified by thousands of home loaves.
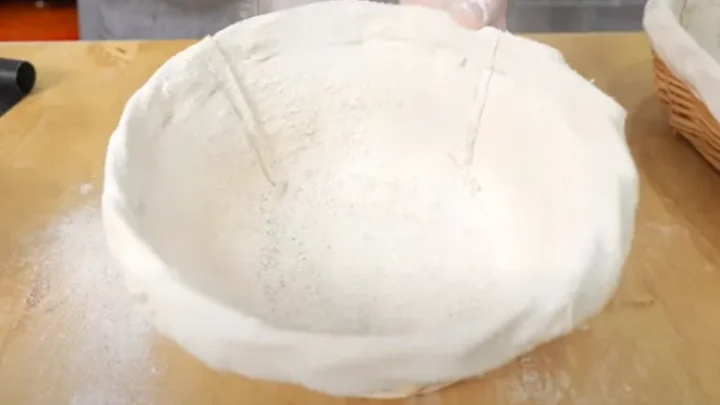
- Prep the basket. Dust the inside thoroughly with rice flour. Work it into the seams and the sides. No dry spots allowed.
- Shape your dough. Tighten it into a smooth round or oval. You want surface tension, not a loose blob.
- Place it seam-side up. Yes, facing you. The seam seals against the parchment later, and the smooth top becomes your scoring surface.
- Cover the basket. Use the included liner, a plastic shower cap, or a clean plastic bag. The point is to stop a crust forming.
- Proof. Refrigerate for 8 to 16 hours. That slow cold ferment builds flavor and stiffness. If you plan to bake the same day, proof at room temperature for 2 to 4 hours.
- Unmold. Flip the basket over onto a piece of parchment paper. The dough should drop out with a soft thud. If it catches, loosen the edge with a bench scraper.
- Score and bake. Slash the top with a lame or a sharp knife, then transfer it to your hot Dutch oven right away.
One thing to observe after step 5: if you peek at the dough and it has barely moved after 12 hours in the fridge, that's normal. Cold proofing slows fermentation down dramatically. Look for the dough to have risen about 50% above where it started.
Reading the Dough: Visual Cues at Every Stage
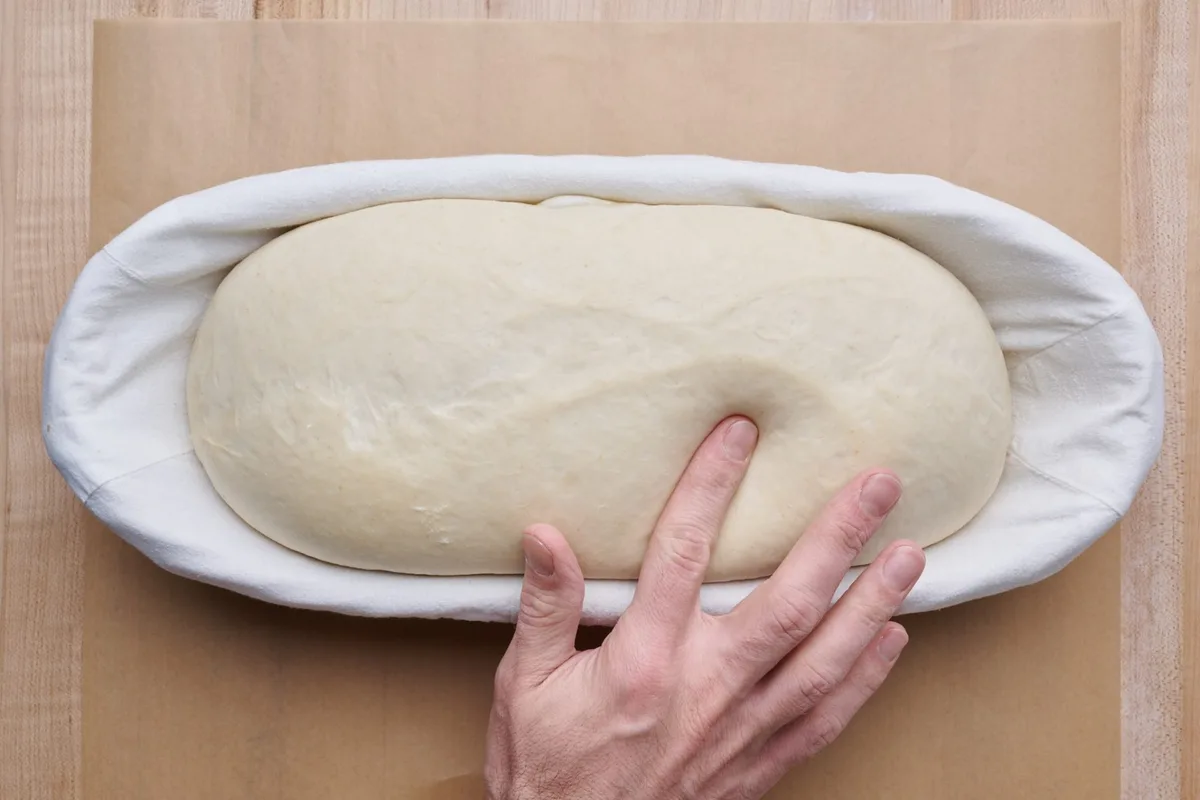
The basket keeps the dough's shape, but the dough still tells you when it's done. The most reliable way to check is the finger poke test. Press your index finger into the dough about 1/4 inch deep.
- Springs back slowly and leaves a slight dent: ready to bake.
- Springs back immediately: under-proofed. Give it more time.
- Stays dented or the whole loaf deflates: over-proofed. Bake it anyway, but expect a flatter result.
There are other signals too. The dough should have a subtle jiggle when you gently shake the basket, like a set custard. The surface should look smooth, slightly domed, and dry on the outside.
If you see cracks forming on the surface, that's a warning sign of over-proofing. The gluten has relaxed so much that it's starting to fail.
For overnight cold proofing, the extra step is safety. The USDA recommends keeping cold-fermenting dough at or below 40°F (4°C) to prevent harmful bacterial growth. That's the standard we'd never push against.
If your fridge runs warmer, shorten your proofing time or check the temperature. You can find more on cold storage guidance from the USDA Food Safety and Inspection Service.
The Biggest Beginner Mistakes and How to Spot Them
Most failed loaves trace back to the same handful of errors. Knowing what they look like saves you a whole frustrating weekend.
- Not enough rice flour. The dough welds itself to the rattan. If unmolding feels like surgery, you under-dusted. Use rice flour and be generous with it.
- Using wheat flour for dusting. It wets out, bakes into the crust, and leaves grayish patches. Rice flour stays dry. That's the fix.
- Over-proofing in a warm kitchen. The dough doubles fast, then collapses. When you tip it out, it spreads like a pancake. Check it earlier than you think.
- Basket too big for the dough. A 500 g loaf in a 10-inch basket just flops flat. Match the dough weight to the basket size.
- Skipping the cover. The dough's surface dries out and forms a stiff skin. That skin traps gas and stops the loaf from expanding in the oven.
- Scoring after the dough warms up. Cold dough from the fridge scores cleanly. Warm dough is sticky and drags on the blade.
If you spot a mistake, don't toss the dough. Most issues are fixable. A stuck dough can be eased out with a bench scraper and reshaped.
An over-proofed loaf still bakes into decent bread. It just won't win any beauty contests.
Pros and Cons: Proofing Basket vs. Bowl and Towel vs. Lined vs. Unlined
Choosing between options depends on where you're starting. A bowl and towel work in a pinch. A dedicated basket does the job better.
| Option | Pros | Cons | Best For |
|---|---|---|---|
| Mixing bowl + towel | Free, already in your kitchen | Holds moisture, dough sticks, no shape | First attempt, no purchase yet |
| Lined proofing basket | Easy release, smooth loaf, forgiving | Doesn't imprint spirals, liner needs care | Beginners and weekly bakers |
| Unlined rattan basket | Beautiful crust pattern, classic look | Sticks more, needs heavy rice flour | Bakers ready for a challenge |
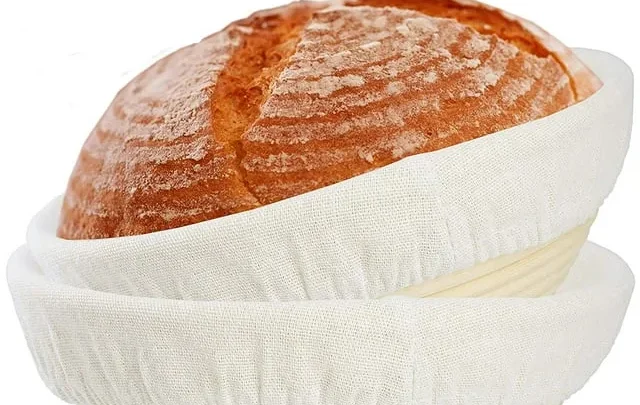
Lined baskets win for beginners. The cloth adds a buffer between sticky dough and woven cane. Unlined baskets deliver that gorgeous bakery-style flour ring, but they punish sloppy dusting.
Aggregate user feedback shows most home bakers keep one of each. If you're buying just one, start with lined.
How to Clean and Store Your Proofing Basket So It Lasts
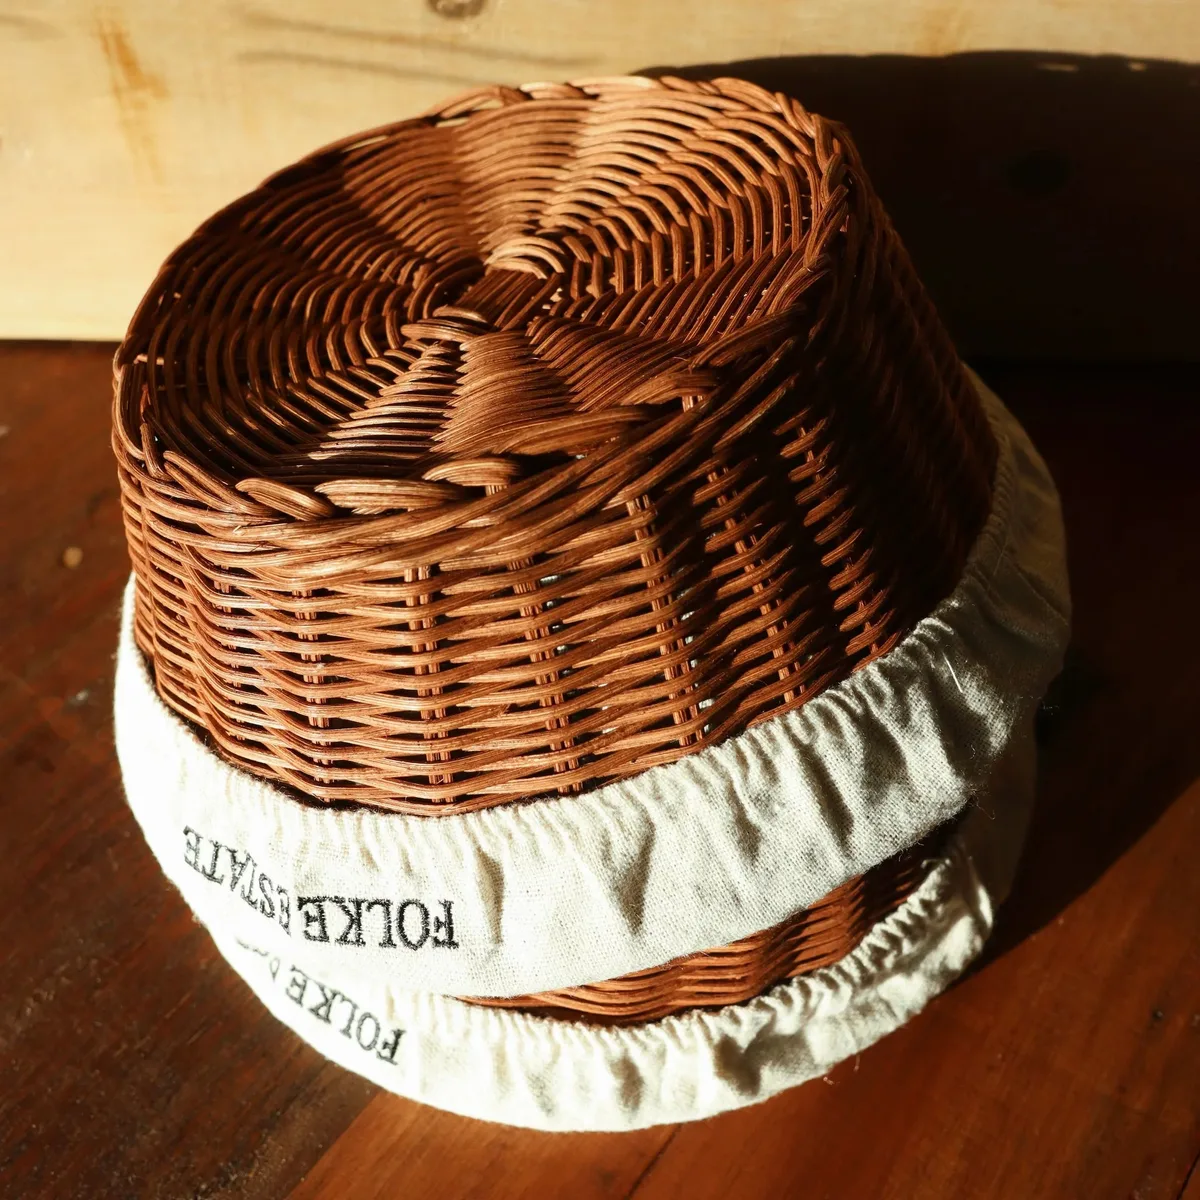
Cleaning a proofing basket is simple, with one hard rule: never submerge it in water. Rattan is porous. Soak it, and the cane swells, warps, and cracks.
Soap also soaks into the pores and can flavor your next loaf.
The right method is quick. Brush out loose flour with a dry pastry brush. If dough is stuck, use a damp cloth and rub gently, then let it dry fully.
For deeper cleaning, some bakers wipe with a diluted vinegar solution to prevent mold. Manufacturer guidance says to dry baskets upside down on a rack for 24 to 48 hours. Never put a banneton in the dishwasher or the microwave.
Store the basket somewhere dry and airy. A sealed plastic bag traps humidity and invites mold. If you see dark spots or a musty smell, that's mold.
Discard the basket if it's severe. For mild cases, brushing in direct sunlight usually kills it. The linen liner can be washed on a gentle cycle, air-dried, and ironed back into shape.
Expert Tips for More Consistent Beginner Sourdough
Consistency comes from controlling variables, not from luck. These tips tighten up your routine without adding complexity.
- Weigh your dough, don't count it. A scale removes guesswork. The same dough weight matches the same basket and the same proofing time.
- Use cold dough for unmolding. A chilled dough is firmer and less likely to tear. Tip it out straight from the fridge.
- Flip onto parchment, not the counter. Parchment lets you lift the loaf straight into the Dutch oven without touching it.
- Dust the basket before every use, even if it looks clean. Flour from last time isn't a fresh release layer.
- Keep a proofing log. Jot down hydration, proof time, and basket size. Two loaves later, you'll have a formula that works for your kitchen.
The pro move is the cold retard. A 12-hour overnight proof doesn't just fit your schedule. It tightens the dough, deepens the sour flavor, and makes scoring dramatically easier.
Aggregate baker feedback consistently ranks cold proofing as the single biggest quality upgrade for beginners.
Real Beginner Scenario: What a First Attempt Actually Looks Like
Picture a first-time user with a standard 750 g loaf. They mix a 75% hydration dough, let it bulk ferment for 4 hours, and shape it. The dough is slightly sticky, but manageable.
They dust the basket with rice flour and drop the dough in seam-side up. It goes into the fridge at 8 p.m. By 8 a.m., the dough has risen about 50% and looks smooth.
The finger poke test shows a slow spring back. That's the ready signal.
The flip is where the nerves kick in. They set parchment over the basket, hold it with two hands, and turn it quickly. The dough lands with a soft thud, intact.
They score it with a straight slash and bake at 475°F for 20 minutes covered, then 25 minutes uncovered. The result is a golden, tall loaf with an open crumb. It doesn't rival a bakery.
It's solidly better than anything from a bowl. That's the whole point.
Frequently Asked Questions
Do I need a proofing basket if I use a bread pan?
No, a bread pan supports dough during proofing and baking. A proofing basket is for freeform loaves. Use the basket only when baking directly on a preheated surface.
Can I use a proofing basket without a liner?
Yes, but expect a stuck dough more often. Use a generous layer of rice flour. An unlined basket works best with stiffer dough at 70% hydration or lower.
Why is my dough sticking to the banneton?
The number one cause is insufficient dusting flour. Rice flour is the fix, and more of it than you think. Overly sticky dough above 80% hydration also needs a liner or extra flour.
How long can dough sit in a proofing basket in the fridge?
Typically 8 to 16 hours. Beyond that, the dough risks over-proofing. As of 2026, some bakers report success up to 24 hours with a smaller starter amount.
When in doubt, use the finger poke test.
Can I proof in the basket at room temperature?
Yes, for a same-day bake. At normal room temperature, expect 2 to 3 hours. Watch the dough closely, since a warm kitchen accelerates over-proofing.
Why did my loaf deflate when I turned it out?
The dough likely over-proofed or lost surface tension during shaping. Another culprit is flipping with a slow, dragging motion. Use a quick, sharp flip onto the parchment.
Final Takeaway: What to Do Next
The proofing basket is a small tool with a big payoff. It turns slack dough into impressive loaves. Start with a lined 8-inch basket and keep hydration near 75%.
Dust with rice flour, proof in the fridge, and flip decisively.
Your first loaf won't be perfect. The second one will be better. By the third, you'll have the feel for it.
That's the whole game.

Similar Posts