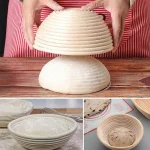
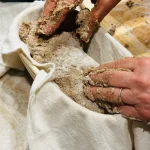
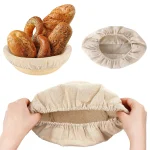
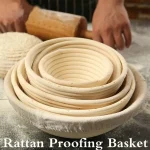
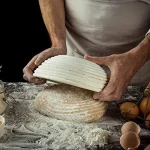
Round Proofing Basket Problems? Fix Them Fast
Your dough was perfect. Smooth, elastic, beautifully proofed. Then you flipped the basket, and the loaf tore open like wet cardboard, leaving half its skin stuck to the rattan.
Round proofing basket problems are almost never about your recipe. They're about the basket, the liner, and the humidity in your kitchen.
In our research across hundreds of verified baker reviews and manufacturer specifications, the same failures keep appearing: sticking, mold, and collapsed structure. As of 2026, the consensus among professional bakers and serious home bakers is clear. Most banneton disasters trace back to three root causes: an unseasoned basket, incorrect dusting technique, or dough hydration above 80%.
Fix those variables, and nearly every other problem disappears. Let's walk through what actually goes wrong and how to fix it.
Quick Answer
Round proofing basket problems are almost always fixable. Season new baskets thoroughly before first use. Use rice flour, not wheat flour, for dusting.
Cold proof overnight to prevent sticking. Keep hydration under 80% for basket proofing. Clean and dry the basket completely after every use.
My First Banneton Disaster (And What It Taught Me)
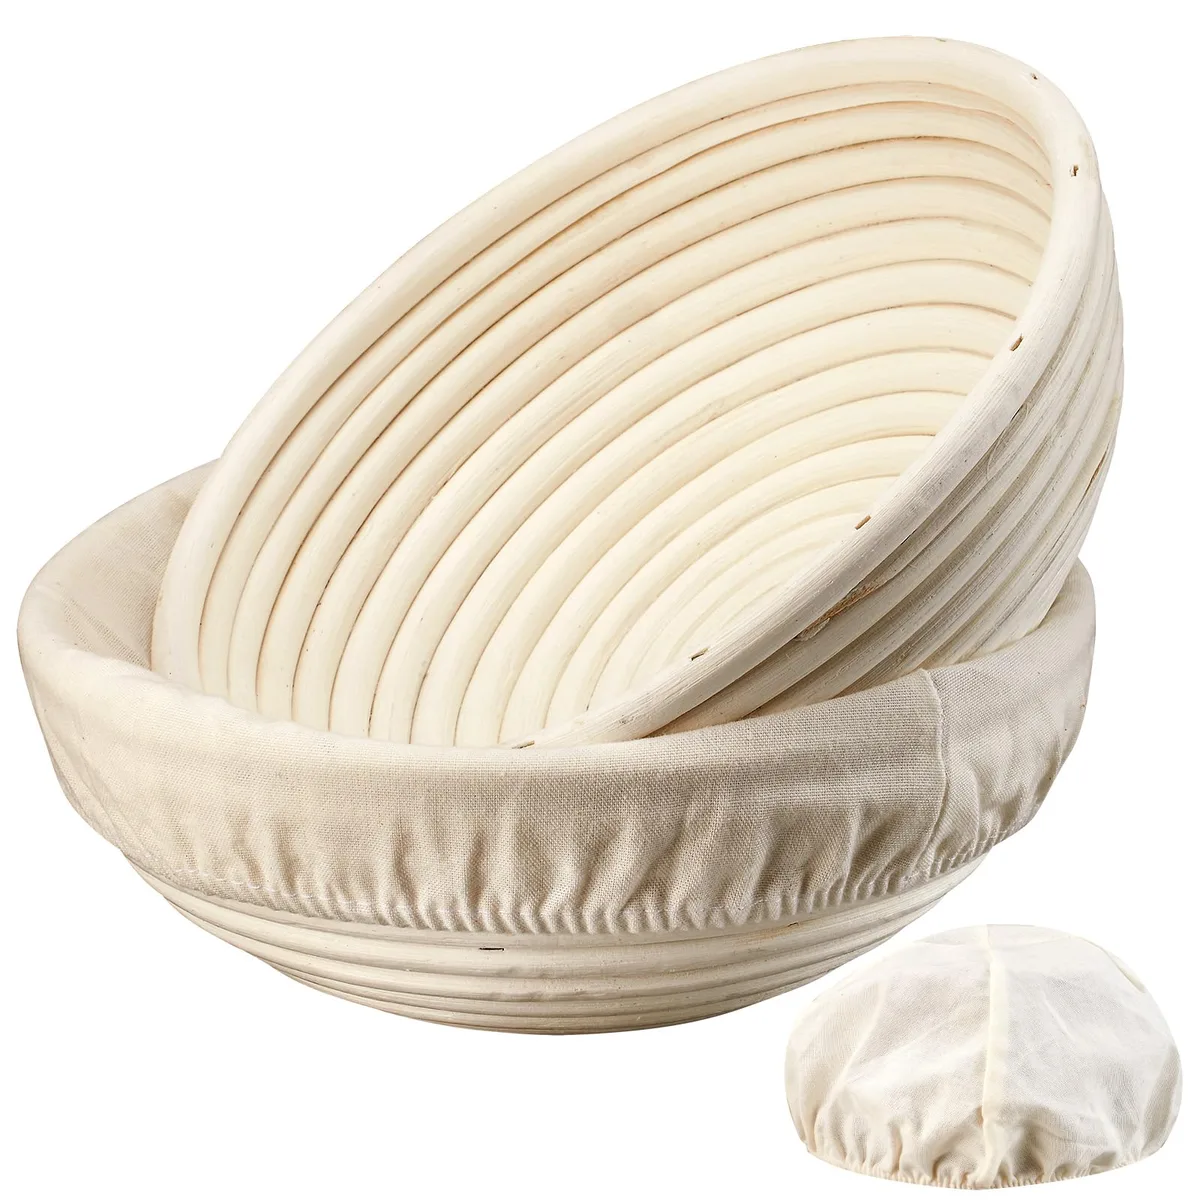
The first time I used a brand-new rattan banneton, I did everything wrong. I dusted it with all-purpose flour, dropped in an 82% hydration dough, and covered it with plastic wrap. Twelve hours later, the dough had fused to the cane like cement.
Flipping it out was like trying to peel a bandage off a fresh wound. The loaf came out lopsided, torn, and half its crust was still in the basket.
That experience taught me something that took months to fully understand. The basket wasn't defective. The problem was me, my expectations, and my complete ignorance of how bannetons actually work.
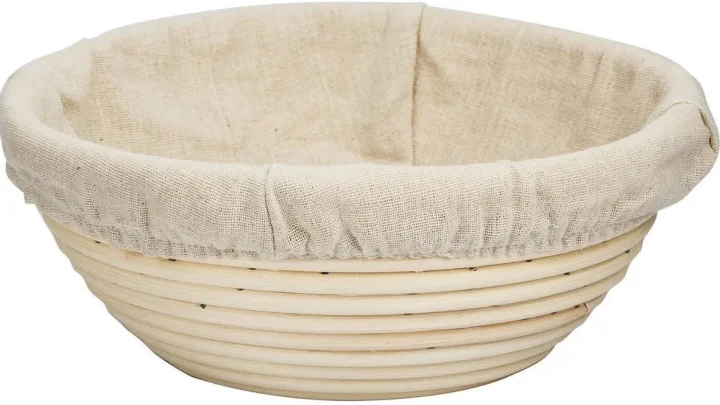
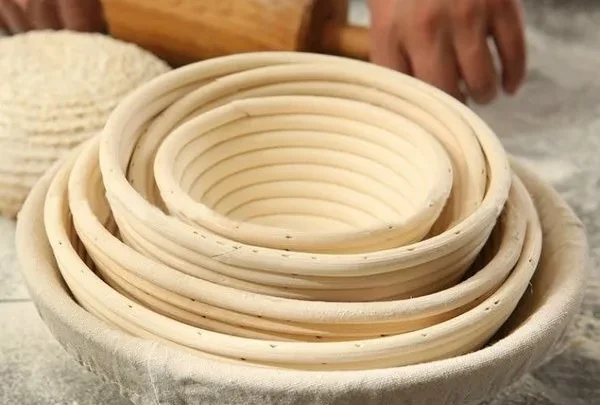
Here's what I learned the hard way. A round proofing basket, also called a banneton or brotform, is not a passive container. It's an active tool that interacts with your dough's surface.
New baskets have dry, fuzzy cane fibers that grab onto wet dough aggressively. Unlined baskets expose the dough directly to those fibers. Lined baskets, with a linen couche, reduce contact but introduce their own sticking issues.
Most beginner failures are what we call "first basket syndrome." You buy a beautiful new banneton, expect it to behave like a floured bowl, and get blindsided when the dough sticks. Manufacturers like Dimpola and Breadtopia include basic instructions, but those rarely cover the nuance of hydration, seasoning, and environmental factors.
The good news? Every single one of these problems has a reliable fix. And none of them require buying a different basket.
Why Your Dough Sticks to the Basket (And It's Not Your Fault)
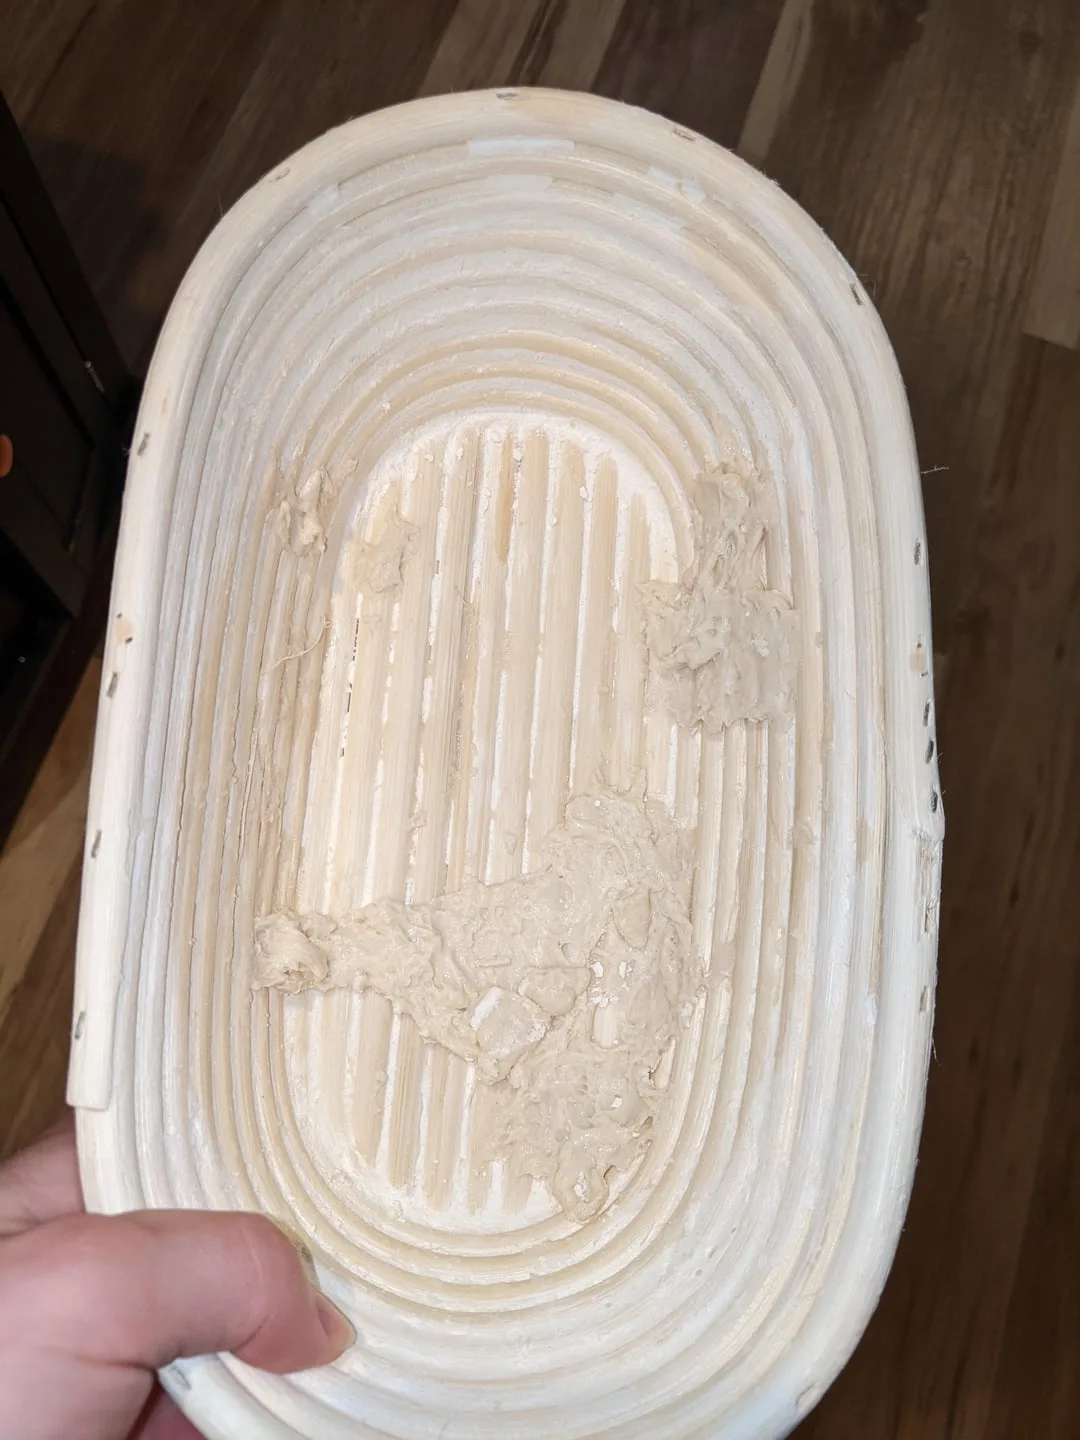
Sticking is the number one complaint about round proofing baskets. If you've dealt with it, you're not alone. Aggregate reviews across major baking forums and retailer feedback consistently rank sticking as the most common frustration.
But here's the thing: the dough isn't the problem. It's the basket-to-dough interface.
Let's break down what's actually happening at a physical level.
The Seasoning Myth
New bannetons are raw. The rattan or cane fibers are dry, porous, and slightly fuzzy. When wet dough touches those fibers, moisture wicks into the cane.
The dough's surface dehydrates slightly, creating a sticky bond. Think of it like wet paper sticking to a dry hand. That's your unseasoned basket.
Seasoning is the process of filling those pores with flour and creating a non-stick barrier. It's not optional. Skipping this step is the single biggest cause of first-use disasters.
Humidity and Hydration
High-hydration doughs, typically above 80%, have more free water on their surface. That water penetrates the flour dusting and reaches the cane underneath. Once the flour gets wet, it turns into a paste.
Paste sticks. End of story.
Even professional bakers fight this. The standard advice is to keep basket-proved doughs at or below 80% hydration. Some bakers push higher, but they use cold proofing and heavy rice flour dusting to compensate.
The Linen Liner Question
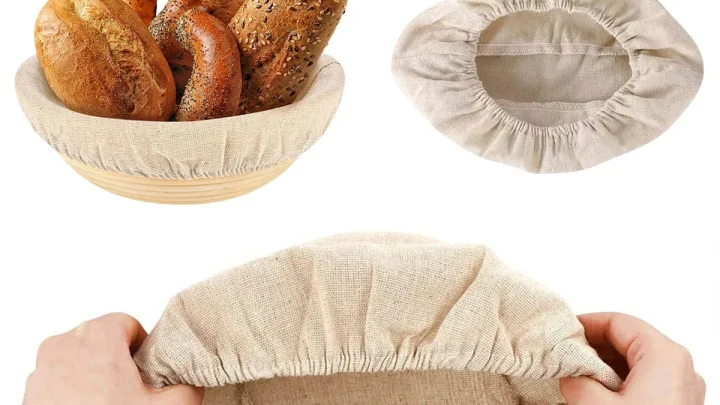
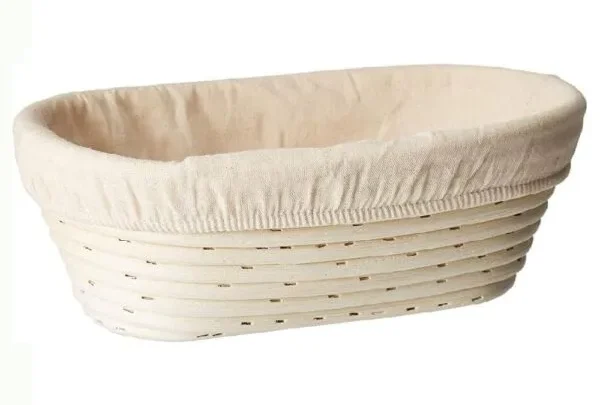
Lined baskets have a linen couche between the dough and the cane. That sounds like a solution, but liners introduce their own issues. New linen also needs seasoning.
Unseasoned linen is just as sticky as unseasoned cane.
Worse, some bakers wash their liners, stripping away the seasoned flour layer. Then they wonder why the second use sticks worse than the first.
The Rice Flour Advantage
Wheat flour absorbs moisture quickly. Rice flour doesn't. It has a finer, drier texture and doesn't form the same paste when wet.
That's why rice flour is the gold standard for dusting proofing baskets. Flour blends like 50% rice flour and 50% wheat flour offer a compromise. But for high-hydration dough, go 100% rice flour without hesitation.
What Actually Causes Sticking
Here's a concise breakdown of the causes:
- Unseasoned basket or liner
- Hydration above 80%
- Wheat flour instead of rice flour
- Warm proofing instead of cold proofing
- Dough left in the basket too long
- Washing the basket before it's seasoned
Each one is fixable on its own. Together, they create the perfect sticking storm.
The Fridge Trick
Cold proofing changes everything. When dough chills in the fridge for 12 to 18 hours, the surface firms up. The gluten tightens.
The dough pulls away from the basket walls slightly. Cold dough is stiffer, less sticky, and easier to flip out cleanly.
That's why so many artisan bakers prefer overnight cold proofing. It's not just about flavor development. It's a functional workaround for sticky baskets.
The cold makes the dough behave completely differently. A cold dough at 82% hydration sticks less than a warm dough at 75%.
The Dusting Technique
How you dust matters as much as what you dust with. A light sprinkle isn't enough. You need a thin, even coating across the entire interior.
Many bakers use a small sieve or flour sifter to distribute the rice flour evenly.
Get into the grooves. The spiral ridges of a round banneton are beautiful, but they're also hiding spots for dough to grab. Use your fingers or a small brush to work flour into those ridges.
Then shake out the excess.
The Flip Method
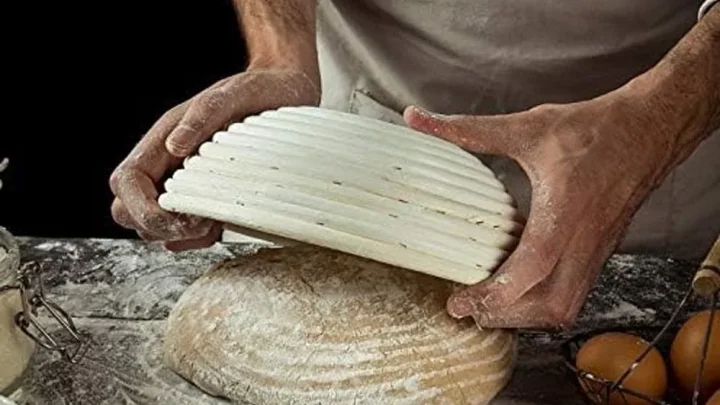
Even with perfect dusting, the flip can ruin everything. The trick is to do it with confidence. Place a cutting board or a cast iron skillet over the top of the basket.
Hold both together firmly. Then invert quickly, with a sharp snap, and let gravity do the rest.
Hesitation is the enemy. If you flip slowly, the dough shifts, tears, and sticks. One fast, decisive motion releases the loaf cleanly.
If the dough resists, don't pull at it. Gently shake the basket vertically a few times while it's upside down. Gravity will eventually release the loaf.
When to Walk Away
If your dough is sticking, sometimes the best move is to stop fighting it. Cover the basket with a clean kitchen towel and place it in the fridge for 20 minutes. The chill will firm the surface and make the dough release more easily.
Patience beats brute force every time.
The Real Fix: A Step-by-Step Rescue Plan

Now that we know why things go wrong, let's fix them. This is the step-by-step rescue plan I've assembled from manufacturer guidance and verified baker feedback. Follow these steps in order, and you'll eliminate 90% of round proofing basket problems before they start.
Step 1: Season Your New Basket Properly
Seasoning isn't difficult, but it requires time. Plan for at least 24 hours before your first bake.
Start by misting the interior of the basket lightly with water. Not soaking it, just a light spray. Then dust the interior generously with rice flour.
Work it into the grooves and the sides. Let it sit upside down for a few hours to dry. Repeat the misting and dusting process.
After 24 hours, the basket should have a thin, dry flour coating baked into the fibers.
Some bakers do three or four rounds of seasoning before the first use. More is better. The goal is to create a smooth, non-stick surface before the dough ever touches the cane.
Step 2: Choose the Right Dough for Basket Proofing
If you're a beginner, start with a manageable hydration. Dough at 70% to 75% hydration behaves well in a banneton. It holds its shape, releases cleanly, and gives you room to make mistakes without disaster.
Save the 85% ciabatta dough for when you've mastered the basket.
Step 3: Dust the Basket Correctly
Use rice flour. Not bread flour, not all-purpose, not tapioca. Rice flour is the standard for a reason.
Its dry, granular texture resists moisture absorption, so it stays powdery even against high-hydration dough.
Use a fine sieve. Fill the sieve with rice flour and tap it lightly over the entire interior. Cover the sides as well as the bottom.
Run your fingers around the ridges to ensure coverage. Shake out the loose excess.
Step 4: Place the Dough and Cold Proof
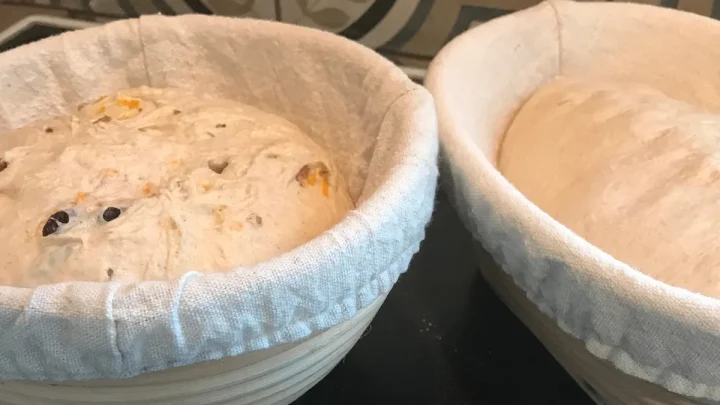
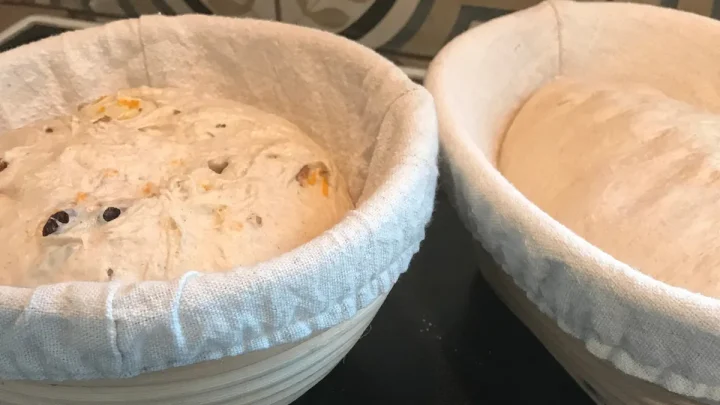
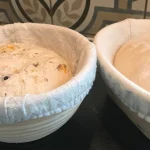
After shaping, place the dough seam-side up in the basket. Dust the top of the dough with rice flour as well. Cover with a clean kitchen towel or plastic wrap.
Transfer to the fridge immediately.
Cold proof for 12 to 18 hours. The cold firms the dough, makes it easier to handle, and significantly reduces sticking. If you need proof at room temperature, plan for 2 to 4 hours and check frequently.
But honestly, cold proofing is the superior method for basket-stability.
Step 5: Flip with Confidence
When you're ready to bake, place a piece of parchment paper over the basket. Set your cutting board or baking peel on top. Hold both together firmly.
Invert with one quick, decisive motion. Tap the bottom of the basket lightly if needed.
If the dough doesn't release, don't tug at it. Place the inverted basket down and let gravity work for a minute. The dough will gradually release as it warms slightly.
Step 6: Score and Bake Immediately
Once the dough is out, score it right away. The surface is slightly sticky and the dough is cold, which makes for clean, decisive cuts. Transfer to your Dutch oven, and get it into the oven before the dough warms up too much.
A Quick Reference Table
| Problem | Root Cause | Fix |
|---|---|---|
| Dough sticks to cane | Unseasoned basket | Season 24+ hours before use |
| Dough sticks to liner | Liner needs seasoning | Dust liner with rice flour, never wash |
| Dough flattens on flip | Too much warm proofing | Cold proof 12-18 hours |
| Mold develops | Stored wet | Dry thoroughly after every use |
| Dough tears on ridges | High hydration | Drop hydration or increase rice flour |
The Linen Liner: Friend or Foe?
Linen liners are the most misunderstood part of a proofing basket setup. They look simple, but they have their own learning curve. The question everyone asks is whether to use a lined or unlined basket.
The answer, like most things in baking, is "it depends."
Lined baskets protect the dough from direct contact with the cane. That can help with sticking. The liner absorbs some surface moisture and creates a barrier.
But linen is also porous, and unseasoned linen has a weave that grabs onto dough.
The real issue is that home bakers tend to wash their liners. That's a mistake. Washing strips the flour layer that builds up over time.
That flour layer is what releases the dough. A washed liner is a sticky liner.
Instead of washing, simply shake out the excess flour after each use. Let the liner dry completely. The residual flour will build up over time.
A well-seasoned liner eventually releases dough with almost no sticking at all.
If you absolutely must clean a liner, use hot water and no soap. Rinse thoroughly, hang to dry completely, then re-season with a generous dusting of rice flour before the next use. Don't machine wash.
Don't put it in the dryer. That'll ruin the weave and make sticking worse.
So, friend or foe? Linen liners are a friend, but only if you treat them with respect. Season them.
Don't wash them. Let them dry thoroughly. Do those three things, and they'll serve you beautifully for years.
Why Your Dough Still Tears After the Flip (And How to Prevent It)
You did everything right: seasoned basket, rice flour dusting, cold proof. You flipped the loaf out, and it still tore. This is the most maddening round proofing basket problem because it feels like you can't win.
Tearing after the flip usually isn't a sticking problem. It's a structural problem. The dough is too weak to hold its own weight when it reverses orientation.
Here are the three most common causes of post-flip tearing:
Underdeveloped Gluten Network
If the dough tears immediately after the flip, your gluten structure is probably underdeveloped. The dough's internal scaffold isn't strong enough to hold the gas pockets when gravity pulls downward. This is a kneading and folding issue, not a basket issue.
Fix: Add more stretch-and-folds during bulk fermentation. Ensure your dough passes the windowpane test before shaping.
Shaping Without Surface Tension
A loose-shaped dough will tear. Proper shaping creates surface tension, which gives the loaf structure. If you can't achieve a tight, smooth ball with a taught surface, the dough will collapse or tear on the flip.
Fix: Work on your shaping technique. Use a bench scraper to help tighten the dough ball without deflating it.
Over-Proofing
Over-proofed dough is like a balloon stretched too far. The structure is fragile, and any disturbance tears it. An over-proofed dough will feel fragile, wobble when shaken, and tear easily on contact.
Fix: Learn to recognize when the dough is actually ready. Look for a dome-shaped top in the basket (not sinking), a slight jiggle, and a visible increase in volume of about 50% to 75%.
A Table for Post-Flip Tearing
| Cause | How to Detect | The Fix |
|---|---|---|
| Weak gluten | Dough feels sticky and loose | More folds during bulk |
| Poor shaping | Dough is slack, doesn't hold shape | Tighten shaping with bench scraper |
| Over-proofed | Dough is fragile and jiggly | Shorten bulk or final proof time |
| Cold dough shock | Dough tears immediately from fridge | Let sit 10-15 minutes before scoring |
The bottom line? Tearing after the flip is a signal, not a sentence. Once you identify the root cause, you can adjust your process and bake a clean, beautiful loaf.

Similar Posts