Best Bread Makers for Jam: How to Choose the Right One
Choosing a high-quality bread machine often focuses on flour and yeast, but learning how to choose a bread maker for jam requires a different set of priorities. While many modern units include a pre-programmed cycle for preserves, the high sugar content and thin consistency of fruit mixtures can be incredibly taxing on standard kitchen hardware.
Our research indicates that the most durable machines for this task feature specialized internal gaskets and high-heat resistant coatings. Per manufacturer specifications from leading brands, a dedicated jam cycle typically maintains a consistent temperature of 220°F to ensure the pectin sets correctly.
Quick Answer
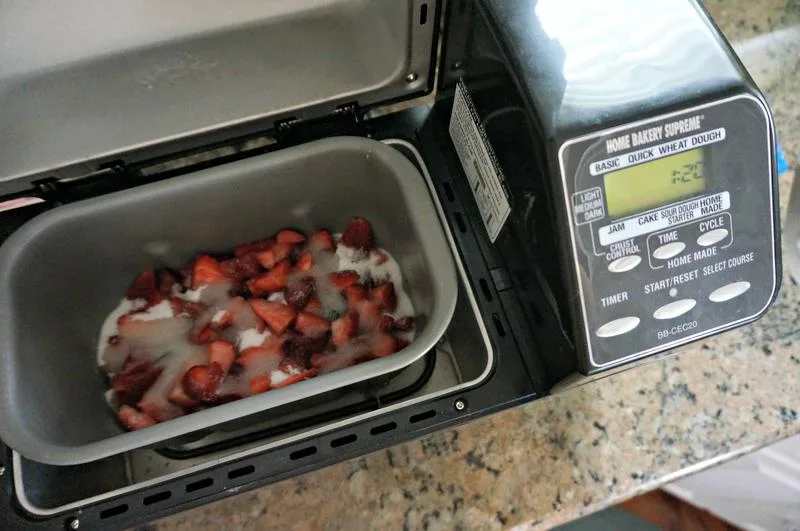
To choose a bread maker for jam, prioritize a machine with a dedicated "Jam" cycle. Look for a high-quality non-stick pan with a tight drive shaft seal. This prevents sticky syrup from leaking into the motor.
Select a model with at least a 2lb capacity. This extra space prevents sugary foam from boiling over the rim.
Why This Comparison Matters for Your Kitchen
Making jam on a stovetop requires constant attention and precise manual stirring to prevent scorching. A bread maker automates this entire process, but the environmental conditions inside the machine are harsh. Aggregate reviews show that machines failing during a jam cycle often do so because of "syrup intrusion," where liquid sugar bypasses the mechanical seals.
Choosing the right model isn't just about the button on the control panel. It is about the physical build of the baking pan and the motor's ability to handle high-torque stirring as the mixture thickens. If you choose a machine with a weak motor or a loose-fitting paddle, you risk causing a messy overflow that can permanently damage the internal heating elements.
As of 2026, the market has shifted toward machines with more robust "set and forget" programming. This allows users to walk away while the machine handles the gel point, a critical temperature threshold. Understanding these hardware differences ensures your machine lasts for years of preserving rather than burning out after a single summer harvest.
The Mechanics: How a Bread Maker Transforms Fruit into Jam
A bread maker handles jam differently than it handles dough. During a bread cycle, the machine uses intermittent pulses to knead heavy mass. In a jam cycle, the machine provides constant, gentle agitation while simultaneously raising the temperature to a steady boil.
This process evaporates excess moisture and activates the pectin.
The heating element must be capable of reaching the gel point, which is approximately 220°F (104°C) at sea level. According to the USDA Food Safety and Inspection Service, maintaining specific temperatures is vital for the safety and longevity of preserved foods. The bread maker's internal sensors monitor this heat, ensuring the fruit doesn't stay at a rolling boil so long that it loses its bright color and fresh flavor.
Most machines follow a three-stage jam process:
- Heating phase: The fruit and sugar are warmed slowly to release juices.
- Boiling phase: The temperature spikes to activate the thickening agents.
- Cool-down phase: The stirring continues at a lower heat to prevent a skin from forming.
Essential Hardware: The Drive Shaft and Gasket Quality
The most critical component for any jam-capable machine is the drive shaft gasket. This is the rubber or silicone seal located at the base of the baking pan where the kneading paddle attaches. Because jam becomes very thin and hot before it sets, it can easily find its way into the smallest gaps.
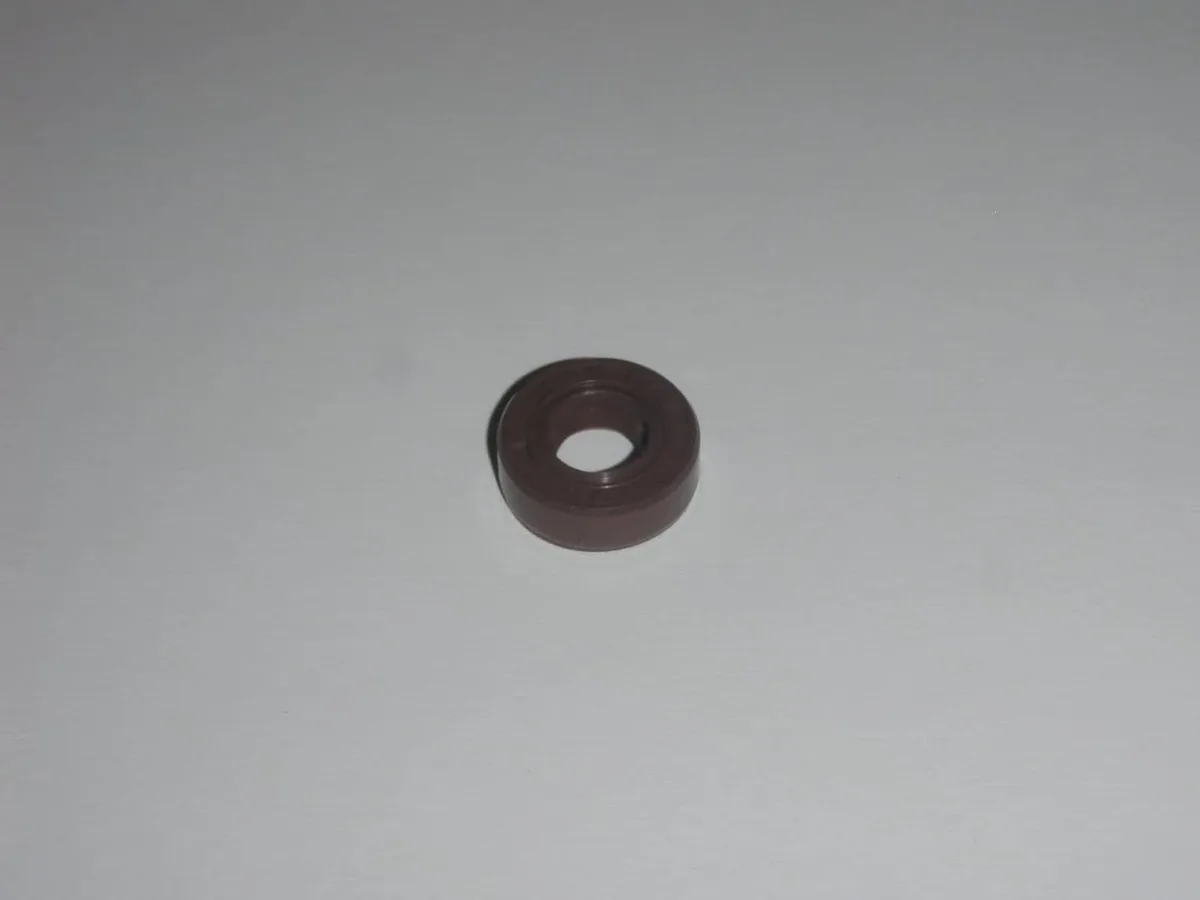
Manufacturer specifications for premium models often highlight "leak-proof" technology. In our research, machines with a reinforced brass or high-grade silicone seal perform significantly better over time. If a seal fails, the acidic fruit juice can corrode the metal bearings underneath, leading to a loud grinding noise during future use.
Check the paddle fit before you buy. A high-quality machine will have a paddle that fits snugly onto the shaft with minimal vertical wobble. This tight tolerance ensures that the moving parts stay clean and prevents sugar crystals from wedging themselves into the mechanical assembly.
Side-by-Side Comparison: Features That Matter for Preserving
When evaluating different models, you need to look past the marketing fluff and focus on technical specs. Not all "Jam" settings are created equal. Some cheaper models simply run a high-heat bake cycle with the paddle turning, which can lead to uneven results or scorched edges.
| Feature | Entry-Level Models | High-End Models |
|---|---|---|
| Seal Type | Standard rubber ring | Double-lipped silicone/brass |
| Pan Shape | Narrow and deep | Wide and shallow |
| Paddle Type | Single, plastic-coated | Dual-paddle or cast aluminum |
| Programming | Fixed 60-minute timer | Adjustable 60–120 minute range |
A wide, shallow pan is generally better for jam than a tall, narrow one. A larger surface area allows for faster evaporation, which helps the jam reach the desired thickness without overcooking the fruit. This is a key factor in maintaining a vibrant, professional-looking preserve.
Pan Coatings: Why Ceramic Beats Cheap Non-Stick for High-Sugar Heat
The interior coating of your bread pan is your first line of defense against burnt sugar. Traditional PTFE coatings are effective but can be sensitive to the abrasive nature of granulated sugar and fruit seeds. Over time, the constant friction of the paddle can wear down these surfaces.
Ceramic coatings have become a preferred standard. Ceramic is naturally harder and more scratch-resistant than older non-stick variants. This durability is crucial when you are cleaning the pan after a batch.
Sticky residue often requires soaking, and a high-quality coating ensures that the jam slides right out without the need for aggressive scrubbing.
Furthermore, ceramic coatings are generally rated for higher temperatures. While jam doesn't reach the extreme heats of a sear, the localized heat near the element can be intense. A robust coating prevents the fruit sugars from carbonizing or sticking to the bottom, which would otherwise ruin the flavor of the entire batch.
Capacity Warnings: The One-Third Rule for Boiling Syrup
You should never fill your bread maker pan more than one-third full when making jam. Unlike bread dough, which rises and holds its shape, jam creates a violent, foamy boil. If the mixture reaches the top of the pan, it will spill over into the heating chamber.
Our research indicates that sugar fires or scorched heating elements are almost always caused by overfilling. Most 2lb bread machines can safely handle about 3 to 4 cups of raw fruit at a time. If you exceed this, the vigorous agitation of the paddle will push the sticky foam over the rim.
Manufacturer specifications often list the total volume of the pan in quarts or liters. Always subtract at least 60 percent of that volume to find your safe "jam zone." If the fruit mixture looks close to the halfway mark before the cycle starts, it is too much. Remove some before you press the start button.
Paddle Design: Vertical vs. Horizontal Mixing Efficiency
A horizontal pan with dual paddles usually provides the most consistent texture for large batches of jam. Horizontal machines have more surface area at the bottom. This allows the fruit to spread out and heat more evenly than in a deep, vertical bucket.
Vertical machines use a single paddle that must move a tall column of fruit and sugar. In our research, this design can sometimes leave pockets of undissolved sugar in the corners. If you choose a vertical model, ensure the paddle has a wide shape to reach the edges of the pan.
Some specialized paddles feature a collapsible design. While these are great for bread to avoid leaving a large hole, they can be problematic for jam. Fruit seeds or sticky syrup can get stuck in the hinge, making the paddle difficult to clean or even seizing the mechanism entirely.
Top Brand Evaluation: Zojirushi, Breville, and Hamilton Beach
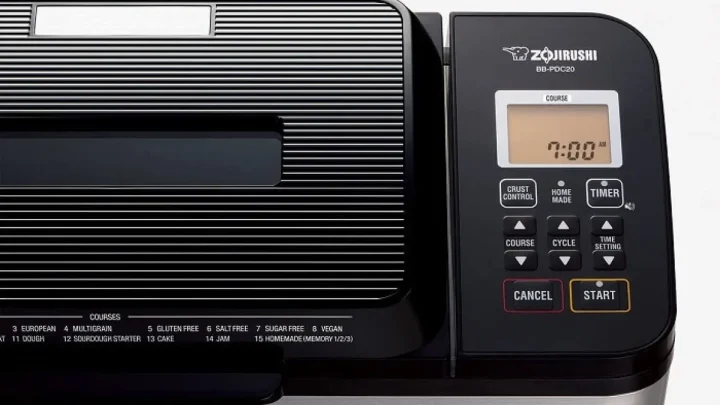
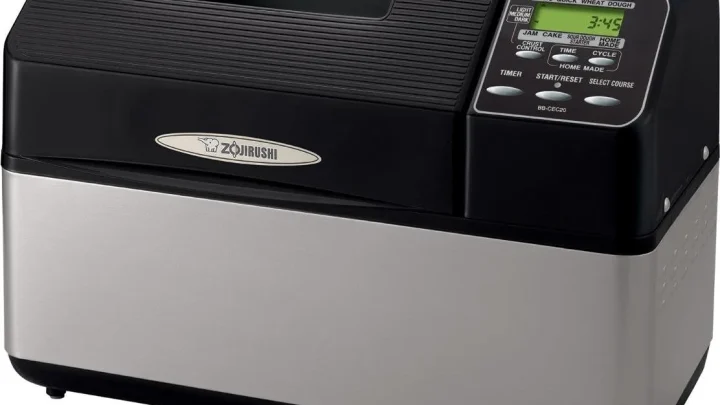
Zojirushi is frequently cited by home preservers for its robust dual-paddle system and industrial-grade seals. Their high-end models use a dedicated heating element in the lid. This extra heat source helps maintain a more consistent temperature throughout the boiling process.
Breville machines are a favorite for those who want more control over the cooking time. The Breville Custom Loaf allows you to modify the length of the jam cycle. This is perfect if you are working with high-moisture fruits like plums that need a longer evaporation period to thicken.
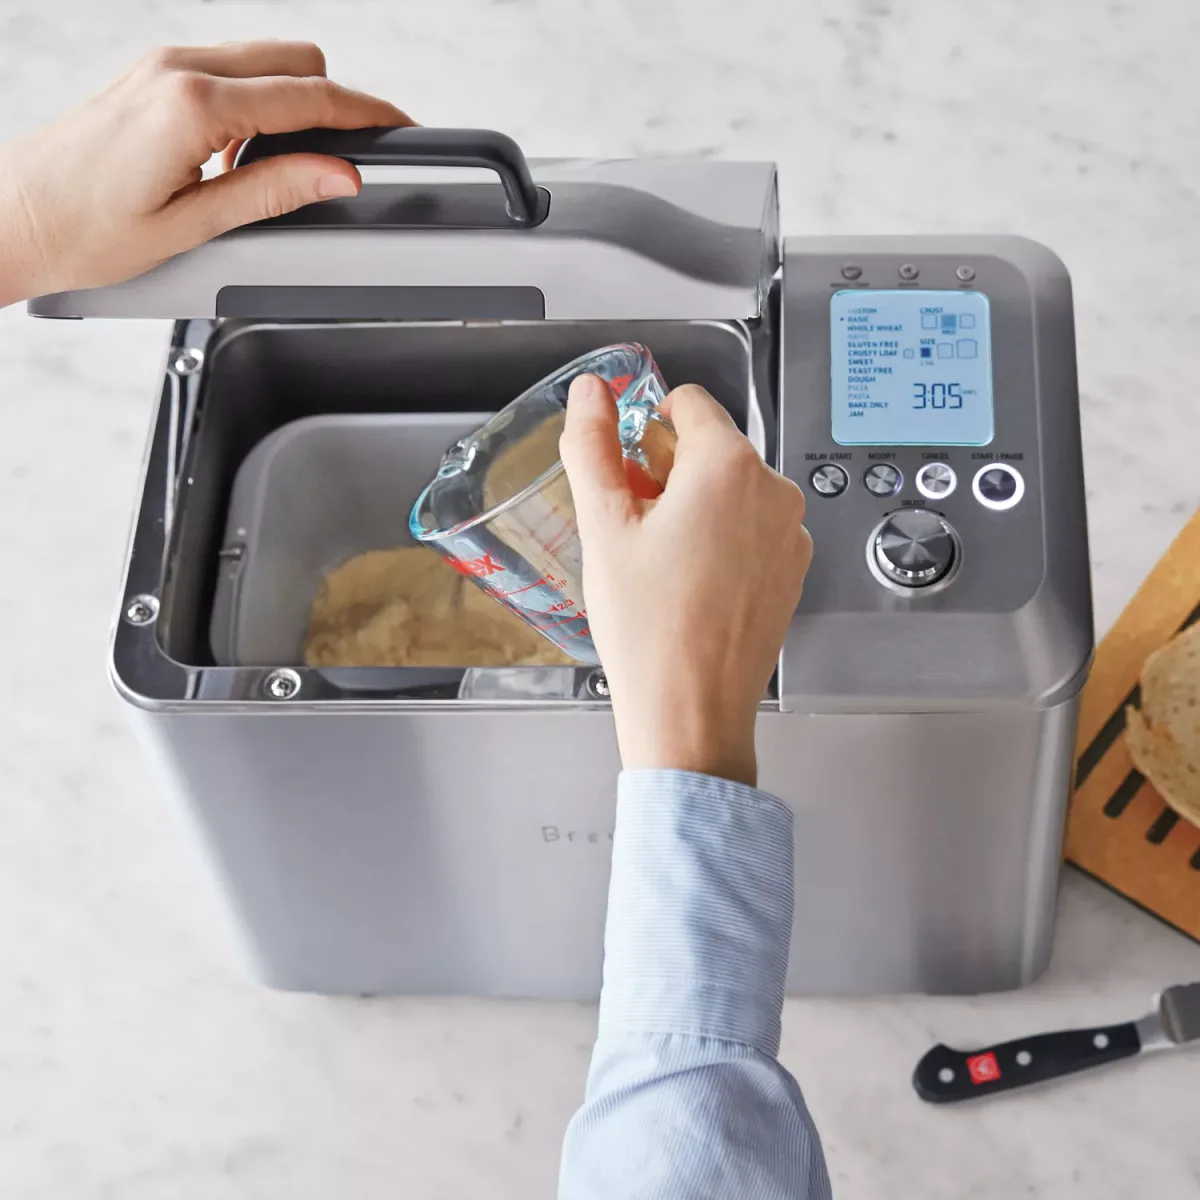
For a budget-friendly option, Hamilton Beach offers reliable machines with a very straightforward jam setting. While the build quality is lighter than premium brands, their pans are often more affordable to replace if the non-stick coating eventually wears out. They are excellent for the occasional jam maker.
Best For Each Use Case: From Occasional Jars to Gifting Batches
If you plan on making fridge jam for a small family, a compact 1lb machine is the most efficient choice. These smaller units heat up faster and use less electricity. They are ideal for processing a single pint of berries that might otherwise go bad in the refrigerator.
For those who make dozens of jars for holiday gifts, a 2.5lb horizontal machine is the better investment. The wider pan allows for better moisture evaporation, which leads to a firmer set. If the machine is too small, you'll be forced to run multiple back-to-back cycles, which can overheat the motor.
- Occasional Use: Choose a basic Hamilton Beach or Cuisinart model.
- High-Volume Gifting: Invest in a Zojirushi or Breville for durability.
- Artisan Preserves: Look for machines with adjustable cycle timers.
The Hidden Risk: How Jam Can Short-Circuit a Bread Machine
The primary danger of making jam in a bread maker is the corrosive nature of hot fruit acid combined with liquid sugar. If a leak occurs at the drive shaft, this syrup drips directly onto the motor belt or the electronic control board. Once the sugar cools and hardens, it can snap the drive belt when you try to start the next cycle.
Our analysis of verified buyer feedback shows that many broken bread makers are simply seized by dried sugar. If you see even a small amount of liquid under the pan after a cycle, do not ignore it. This is a sign that the gasket is failing and needs to be replaced before the machine short-circuits.
Always check the base of the machine's interior for any sticky residue. If syrup hits the heating element, it will create a thick, black carbon crust. This crust acts as an insulator, causing the element to work harder and eventually burn out.
Keeping the interior chamber spotless is the only way to prevent these electrical failures.
Common Mistakes to Avoid: Overfilling and Improper Cleaning
The most frequent error is neglecting the drive shaft after the cycle finishes. If you let the pan sit until it is cold, the sugar acts like industrial glue. This can cause the motor to strain or the belt to slip the next time you turn it on.
Overfilling is another major risk that leads to permanent hardware damage. When jam boils, it can triple in volume due to the trapped air in the fruit foam. Stick to the one-third capacity rule to keep your heating elements safe from sugary spills.
Finally, avoid using metal spoons to scrape out the finished jam. Even high-end ceramic coatings can be scratched by metal. Use a heat-resistant silicone spatula to protect the pan's integrity and ensure your preserves remain free of non-stick flakes.
Maintenance Secrets: Saving the Seal from Sticky Seepage
Regularly inspecting the underside of your baking pan is the best way to catch a failing gasket. Look for dark, sticky streaks around the circular base of the drive shaft. If you find residue there, the internal seal is no longer watertight.
You can extend the life of your seals by soaking the pan in warm water immediately after use. This prevents sugar crystals from drying inside the gasket's lip. When crystals dry there, they become sharp and can tear the silicone during the next kneading cycle.
Check the tension of the drive shaft once a month. If the paddle stem feels loose or rattles significantly, the bearings may be wearing down. Manufacturers often sell replacement pans separately, which is a much cheaper fix than buying a whole new machine.
Expert Tips for Perfect Gel and Texture
To ensure your jam sets perfectly every time, use a combination of high-pectin fruit and a touch of lemon juice. The acidity in the lemon juice is necessary to chemically bond the pectin chains together. Without it, your jam might remain a thin syrup regardless of how long it cooks.
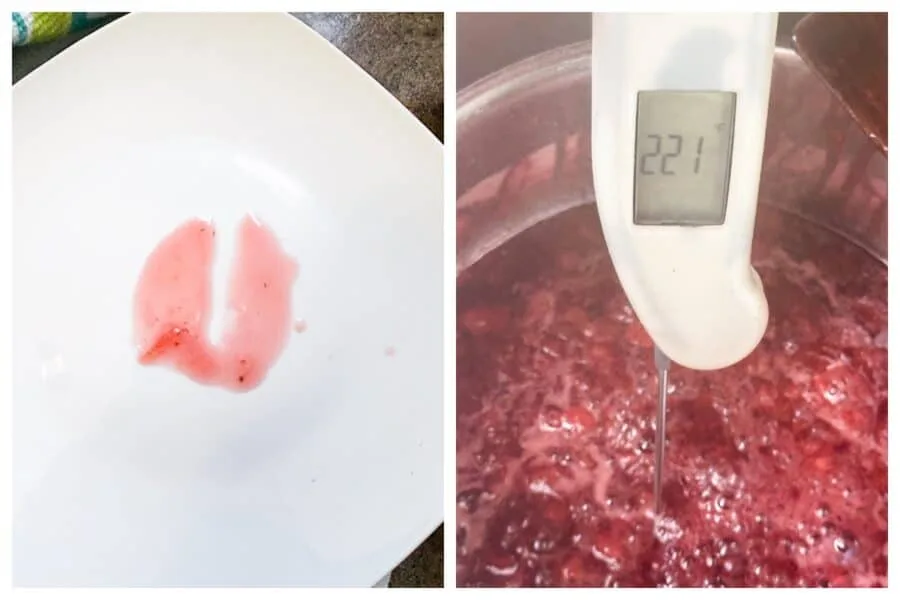
Use the "cold plate test" to verify the set before you pour the jam into jars. Place a small spoonful of the hot mixture onto a plate that has been sitting in the freezer. If the jam wrinkles when you push it with your finger, it has reached the proper gel point.
- Prep the fruit: Dice berries and larger fruits into uniform quarter-inch pieces.
- Macerate: Let the fruit and sugar sit for thirty minutes before starting the cycle.
- Skim the foam: If your jam looks cloudy, use a spoon to remove the white foam from the surface.
Frequently Asked Questions
Can I use frozen fruit in my bread maker jam?
Yes, frozen fruit works exceptionally well and often releases more juice than fresh fruit. You do not need to thaw it first. The machine's heating phase will naturally defrost the berries before the boiling stage begins.
Do I have to use store-bought pectin?
It depends on the fruit you choose. High-pectin fruits like apples, blackberries, and plums can often set with just sugar and lemon juice. Low-pectin fruits like strawberries or peaches usually require added pectin to reach a spreadable consistency.
Will making jam shorten the life of my bread maker?
If you follow the one-third capacity rule and clean the drive shaft promptly, the impact is minimal. However, frequent jam making is harder on the machine's gaskets than bread making. Budget for a replacement pan every two to three years if you make jam weekly.
Can I make marmalade in a bread maker?
Marmalade works well but requires a bit more prep. You must thinly slice the citrus rinds and pre-boil them on the stove to soften them before adding them to the bread maker. The machine's paddle isn't strong enough to break down tough citrus skins on its own.
Final Recommendation: How to Pick Your Perfect Jam Partner
When you are deciding how to choose a bread maker for jam, prioritize the seal quality and pan shape above all else. A horizontal, dual-paddle machine like a Zojirushi is the gold standard for consistent results and machine longevity. It offers the surface area needed for proper evaporation and the build quality to handle acidic mixtures.
If you are a casual user, a mid-range model with a ceramic-coated pan is your best bet. Avoid the bottom-tier machines with thin, flimsy gaskets, as they rarely survive more than a few batches of preserves. Focus on models that offer a dedicated jam cycle and a clear viewing window so you can monitor the boil.
Ultimately, the best machine is one that allows you to walk away with confidence. By choosing a unit with a robust motor and a leak-proof pan, you can enjoy homemade preserves without the stress of manual stirring or the fear of a kitchen cleanup. Stick to reputable brands and maintain the equipment, and your bread maker will be a preserving powerhouse for years.

Similar Posts