How to Choose the Best Bread Maker for Keto Bread
Finding the right kitchen gear for a low-carb lifestyle is a total game-changer for staying on track. When you learn how to choose a bread maker for keto bread, you stop settling for the expensive, dry, store-bought loaves that often taste like cardboard. Traditional machines are built for wheat flour, but keto ingredients require a specific approach to timing and temperature.
Our research into manufacturer specifications shows that keto dough lacks the elastic gluten structure found in standard white bread. As of 2026, the most successful home bakers are pivoting toward machines that allow for manual cycle overrides. Understanding these technical nuances will help you avoid the frustration of a collapsed loaf.
Quick Answer
To choose a bread maker for keto bread, prioritize a custom programming feature. Keto dough requires only one rise cycle to prevent collapsing. Select a machine with a light crust setting to avoid burning almond flour.
A horizontal pan produces a more traditional sandwich shape. These features ensure your low-carb ingredients bake thoroughly without becoming gummy.
Why Keto Bread Fails in Standard Machines
Keto bread behaves differently because it relies on alternative proteins and fats. Most standard bread cycles are designed for the Maillard reaction in wheat flours. These cycles include multiple kneading and rising stages that are meant to develop gluten strings.
Keto ingredients like almond flour or coconut flour have no gluten to develop. If a machine tries to "punch down" the dough for a second rise, the loaf will likely deflate. The structural integrity isn't there to support a second expansion.
Furthermore, the high fat content in nut flours leads to rapid browning. A standard "medium" crust setting often results in a charred exterior and a raw middle. This is why avoiding a messy cleanup starts with understanding how your machine handles these specific dough types.
The Science of Low-Carb Dough vs. Traditional Programming
Wheat dough relies on yeast consuming sugar to create carbon dioxide. This gas gets trapped in a stretchy gluten web. In keto baking, we often use xanthan gum or psyllium husk to mimic that stretch.
However, these binders are much more fragile than natural wheat protein.
Aggregate reviews indicate that keto dough is significantly stickier and denser than traditional dough. It requires a powerful motor to move the mass effectively. If the motor is underpowered, the machine may overheat or stall during the initial mixing phase.
Temperature also plays a massive role in success. According to the USDA FoodData Central guidelines on nut flours, these ingredients have different thermal properties than grain. They need a steady, even heat to set the structure before the leavening agent loses its potency.
Must-Have Feature: The "Custom" or "Homemade" Cycle
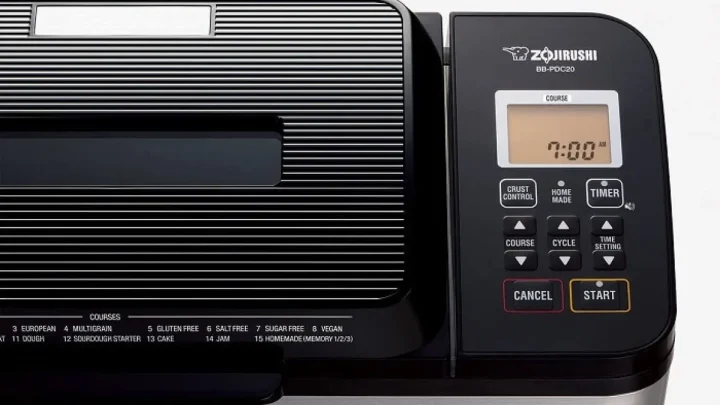
The absolute gold standard for keto baking is a fully programmable cycle. This allows you to bypass the factory settings that ruin low-carb loaves. You can manually set the exact minutes for kneading, rising, and baking.
In our research, we found that the most successful keto recipes use a single rise. You can program your machine to knead for 15 minutes and then rise for 45 minutes. Following this, the machine should go straight into the bake phase without any further movement.
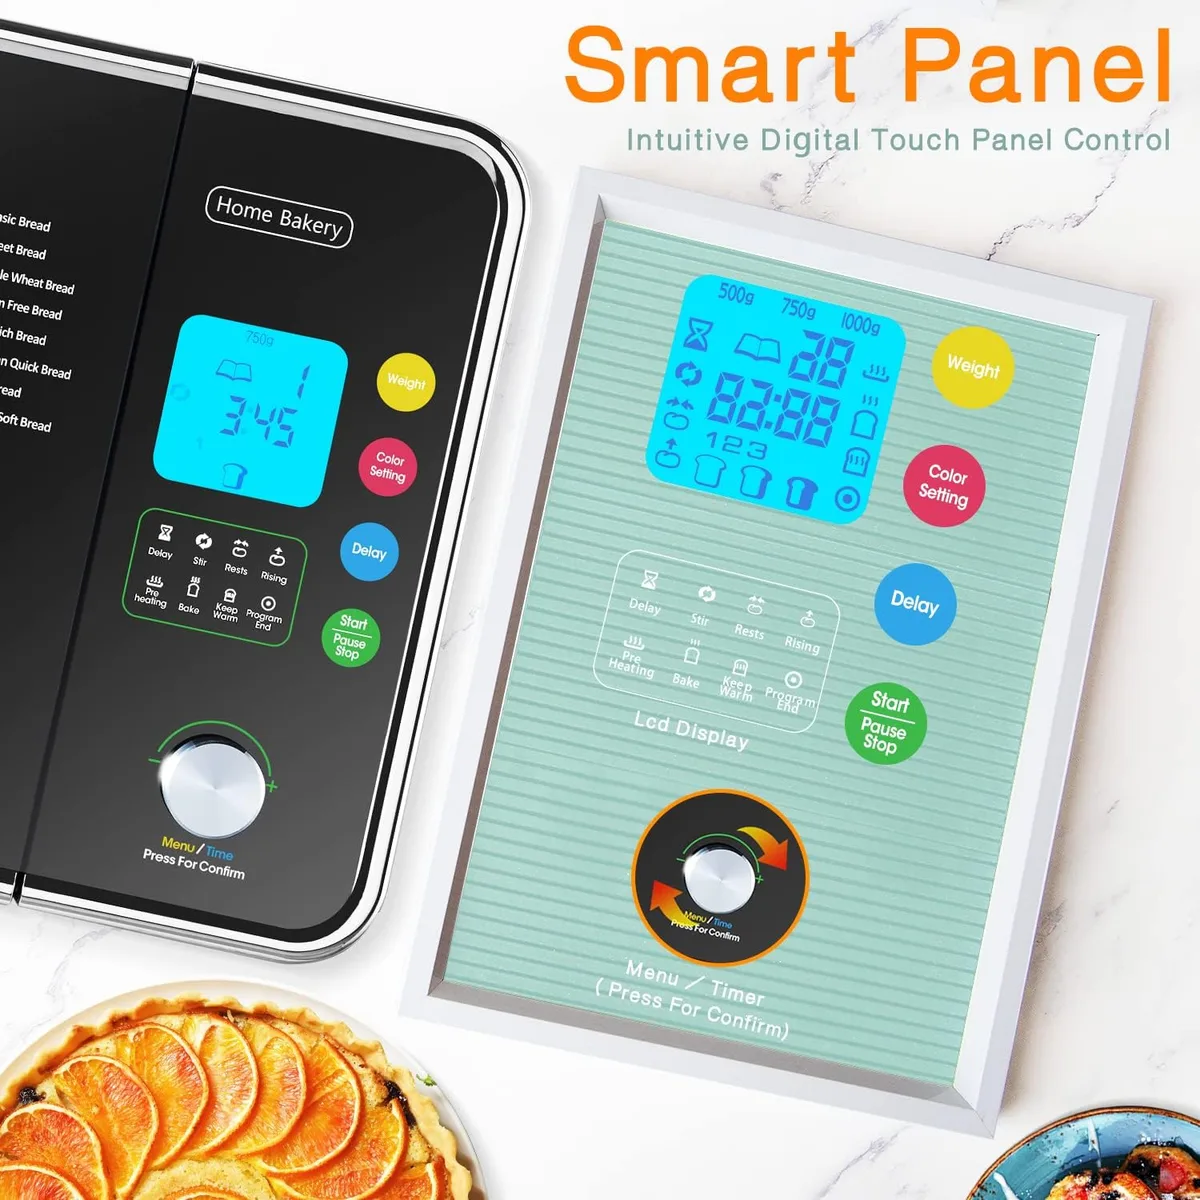
Having this control means you can adapt to different recipes. A heavy flaxseed loaf might need a longer bake time than a light almond flour sponge. Without a custom cycle, you are stuck hoping the factory "Quick" or "French" settings happen to match your specific recipe needs.
The Value of the Gluten-Free Preset for Keto Bakers
If you cannot find a machine with a custom cycle, the "Gluten-Free" button is your next best friend. Most modern machines include this as a standard preset. It is designed for doughs that lack elasticity and cannot handle multiple rises.
Gluten-free cycles typically feature one long knead and one rise period. This closely mimics the ideal environment for a keto loaf. It prevents the machine from disturbing the dough once it has finally started to trap air.
However, be aware that gluten-free settings sometimes have a very high bake temperature. Since keto flours are prone to scorching, you must still monitor the crust color. Using this preset is a great way to simplify the process if you aren't interested in manual programming.
Horizontal vs. Vertical Pans: Which Shape Wins?
The shape of the baking pan changes the density and texture of your finished bread. Vertical pans are common in budget machines and take up less counter space. These create tall, square loaves that look more like a large block than a sandwich slice.
Horizontal pans are generally preferred for keto baking. Because keto bread is naturally denser, a horizontal pan allows the heat to reach the center of the loaf more efficiently. This reduces the risk of having a "gummy" core while the outside is fully cooked.
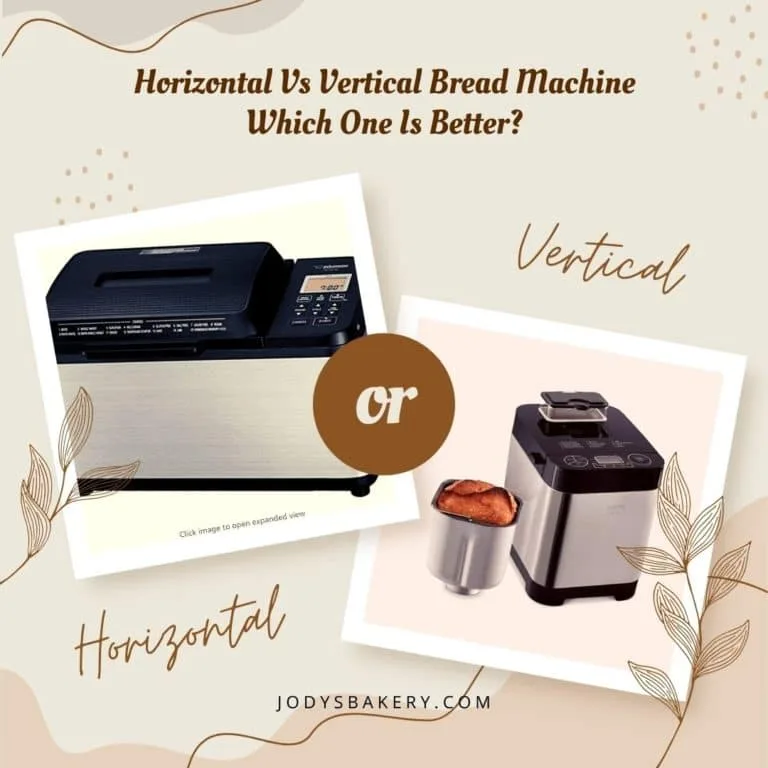
A horizontal pan also provides a larger surface area for the dough to expand. This is helpful for preventing the dough from climbing out of the bucket. If you plan to make sandwiches or toast, the traditional horizontal shape will feel much more familiar.
Heating Elements and Crust Control: Preventing the Almond Flour Burn
Almond flour and coconut flour are highly sensitive to heat because of their high fat and protein content. In a standard bread maker, the heating element is typically a single loop at the bottom. This design often blasts the base of the loaf with intense heat while the top remains pale and undercooked.
Manufacturers of high-end machines often include dual heating elements, one in the base and one in the lid. This setup provides 360-degree heat, which is vital for setting the fragile structure of keto bread quickly. Our research indicates that even heat distribution helps prevent the "collapsed roof" syndrome common in low-carb baking.
Crust control settings are another essential factor to consider. You should always look for a machine that offers a "Light" crust option. Because keto flours brown much faster than wheat, a "Medium" or "Dark" setting will often result in a bitter, burnt exterior before the center has finished baking.
Paddle Design and the Importance of the Manual Scrape-Down
Keto dough is notoriously sticky and thick, unlike the smooth, elastic ball formed by wheat flour. Standard single-paddle machines sometimes struggle to incorporate all the dry ingredients, leaving pockets of unmixed almond flour in the corners of the pan. Dual-paddle systems, often found in horizontal machines, provide more torque and better coverage.
Regardless of the paddle count, you will likely need to perform a manual scrape-down. About five to ten minutes into the kneading cycle, open the lid and use a silicone spatula to push stray flour back into the center. This simple step ensures your loaf doesn't have dry, crumbly patches on the outside.
Some advanced machines feature collapsible paddles that fold down before the baking cycle starts. This is a massive advantage for keto bread, which is softer and more prone to tearing than regular bread. Removing the paddle, or using a collapsible one, prevents that large, unsightly hole in the bottom of your loaf.
Direct Comparison: Entry-Level vs. High-End Keto-Friendly Models
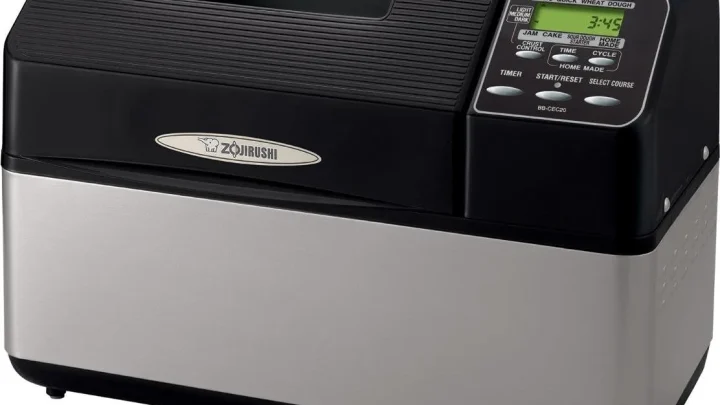
Choosing between a budget-friendly machine and a premium model often comes down to how much manual intervention you are willing to do. Entry-level machines usually lack custom programming, meaning you'll have to set external timers to stop the machine before it hits a second rise.
| Feature | Entry-Level (Approx. $60-$100) | High-End (Approx. $250-$400) |
|---|---|---|
| Programming | Fixed Presets (Basic, French, Quick) | Fully Customizable Cycles |
| Heating | Single Bottom Element | Dual Elements (Top & Bottom) |
| Pan Type | Vertical / Single Paddle | Horizontal / Dual Paddles |
| Keto Success Rate | Requires babysitting and timing | "Set it and forget it" capability |
Research into verified buyer feedback suggests that while budget machines can work, they have a steeper learning curve. If you plan to bake keto bread multiple times a week, a premium machine with a "Homemade" memory function saves significant time. It allows you to save the perfect settings for achieving a consistent rise every single time.
Why Vital Wheat Gluten Changes Which Machine You Should Buy
There is a divide in the keto community between "clean" keto (grain-free) and "dirty" keto. If your recipes include Vital Wheat Gluten, your machine needs are slightly different. Vital Wheat Gluten provides the stretch and bounce found in real bread, but it requires much more vigorous kneading.
For recipes using wheat gluten and oat fiber, look for a machine with a powerful motor and a sturdy drive belt. These ingredients create a very tough dough that can strain the motors of cheaper, plastic-geared machines. A machine with a dedicated "Whole Wheat" setting can sometimes work for these recipes, as that cycle usually features a longer, more intense knead.
If you are strictly grain-free and use only nut flours and eggs, motor power is less critical than temperature control. Grain-free loaves are more like thick batters than traditional doughs. In this case, your priority should be the "Light" crust setting and the custom rise times mentioned earlier.
The "One-Rise" Rule: Optimizing Your Workflow
The most common reason for keto bread failure is the second rise. In traditional bread making, the machine kneads the dough, lets it rise, then "punches it down" to redistribute gas before a final rise. Keto dough does not have the structural memory to recover from this second stir.
To optimize your workflow, you must ensure your machine is set to a "single rise" or "quick bread" mode. If your machine does not have a custom setting, you can use a reliable machine that allows you to pause or skip cycles. If the machine starts to knead a second time, it will pop all the air bubbles you worked so hard to create.
A successful keto bake usually follows this timeline:
- Knead: 15 to 20 minutes to thoroughly combine binders.
- Rise: 40 to 60 minutes in a warm, closed environment.
- Bake: 60 to 90 minutes at a lower temperature to ensure the dense center sets.
By cutting out the extra steps required for wheat, you actually get your bread on the cooling rack faster. Most keto machine cycles can be completed in under two hours if you have the right programming. Just remember to let the loaf cool completely before slicing, as the structure finishes setting during the cooling process.
Common Mistakes: Why Your Loaf Sunks or Stays Gummy
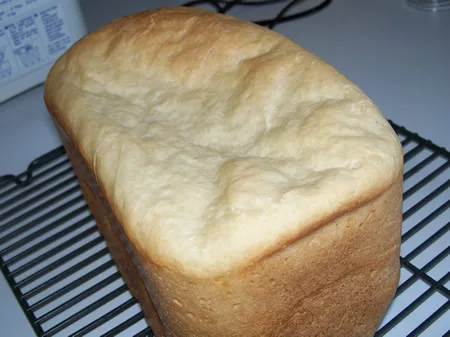
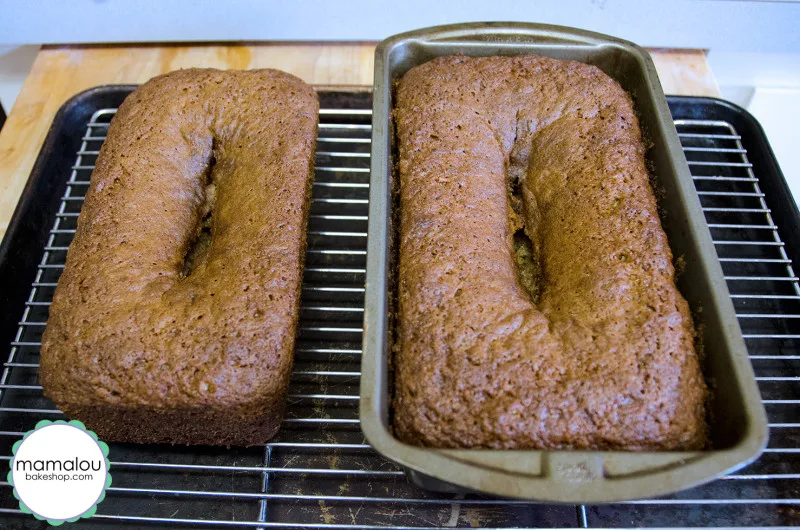
A sunken top is almost always the result of over-proofing or an incorrect yeast-to-liquid ratio. In our research, we've found that keto dough expands rapidly but lacks the "scaffolding" to hold its weight. If the machine rises for too long, the air bubbles grow too large and eventually burst, causing the center to cave in.
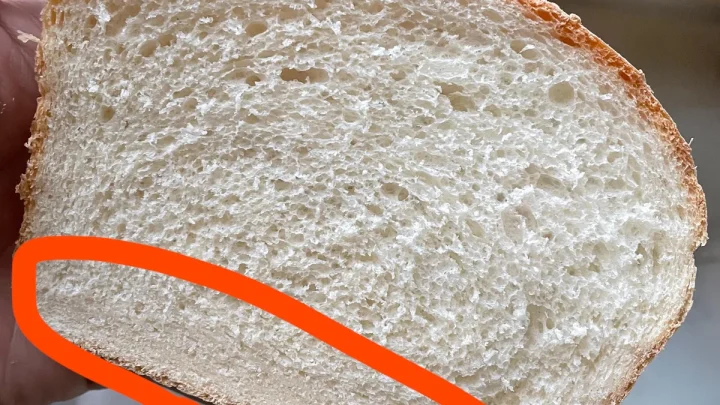
Gummy textures usually point to a moisture issue or underbaking. Keto flours are highly absorbent, and if the internal temperature doesn't reach roughly 200°F (93°C), the center will remain wet. You can use a digital probe thermometer to check the loaf before removing it from the pan.
Another frequent error is using cold eggs or cold water. Keto fats like coconut oil or butter can solidify if they hit cold liquids, creating chunks in your dough. Always use room-temperature ingredients to ensure the binders, like xanthan gum, distribute evenly throughout the mix.
Essential Accessories for Low-Carb Bread Machine Success
A high-quality digital scale is the most important tool you can own for keto baking. Nut flours are much heavier than wheat flour, and measuring by volume (cups) is notoriously inaccurate. Small variations in almond flour weight can drastically change the hydration of your loaf.
A thin, silicone spatula is also helpful for the manual scrape-down mentioned earlier. Since keto dough doesn't form a clean ball, it often leaves a "tail" of batter on the sides of the pan. A quick swipe during the first five minutes of kneading saves the entire batch.
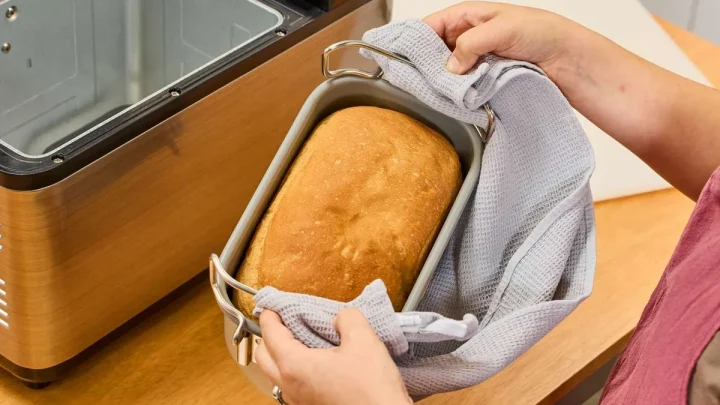
Finally, consider a dedicated cooling rack. Because keto bread is prone to trapping steam, leaving it in the pan for even five minutes after baking can lead to a soggy bottom. Moving it immediately to a wire rack allows air to circulate around all sides, helping the crust crisp up.
Troubleshooting Your First Keto Machine Loaf
If your loaf is too dry and crumbly, you may be using too much coconut flour. Coconut flour is exceptionally thirsty and usually requires a 1:1 ratio of liquid to flour. Try increasing the water or adding an extra egg to the next batch to improve the crumb.
For loaves that refuse to rise at all, check the expiration date on your yeast. Yeast is a living organism and loses its potency over time. Also, ensure your salt isn't touching the yeast when you load the pan, as direct contact can kill the yeast before the machine even starts.
If the bread tastes "soapy" or metallic, you might be overdoing the leavening agents. Some recipes call for a combination of yeast and baking powder. Reducing the baking powder by a quarter teaspoon can often fix the flavor without sacrificing the height of the bread.
Decision Guide: Which Bread Maker is Right for Your Lifestyle?
If you are a beginner on a budget, an entry-level machine with a Gluten-Free setting is a safe starting point. You will need to monitor the bake closely and perhaps pull the plug early if the crust browns too fast. This is a great way to see if you enjoy home baking without a large upfront investment.
If you are a dedicated keto lifer, a machine with a custom "Homemade" memory function is the superior choice. This allows you to dial in the exact rise and bake times for your favorite specific recipes. You can save these settings so that every loaf is identical, regardless of who presses the start button.
For those who prioritize aesthetics and sandwich utility, a dual-paddle horizontal machine is worth the extra cost. The resulting loaf looks and feels like a standard loaf of bread. This makes the transition to a low-carb lifestyle much easier for families or anyone who misses traditional toast.
Frequently Asked Questions
Can I leave the bread in the machine after it finishes?
No, you should remove the bread immediately after the bake cycle ends. The residual steam trapped in the machine will make the crust soggy and the inside gummy. For the best texture, get it onto a cooling rack right away.
Why does my keto bread smell like eggs?
Many keto recipes use a high number of eggs for structure. If the smell bothers you, try substituting some of the eggs with a mixture of flax meal and water. You can also add a teaspoon of apple cider vinegar to the dough to neutralize the eggy scent.
Can I use the delay timer for keto bread?
Delay timers are risky for keto bread because of the perishable ingredients like eggs and cream. Leaving raw eggs at room temperature for several hours inside the machine can lead to food safety issues. It is best to bake keto recipes immediately after mixing.
Do I need to grease the bread pan?
Most modern bread pans have a non-stick coating and do not require greasing. However, keto dough is stickier than wheat dough. A very light coating of avocado oil spray can help the loaf slide out easier, especially around the kneading paddle area.
What is the best way to store homemade keto bread?
Since it lacks preservatives, homemade bread spoils faster than store-bought versions. Store it in an airtight container in the refrigerator for up to five days. For longer storage, slice the loaf and freeze it with parchment paper between the slices.

Similar Posts