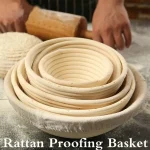
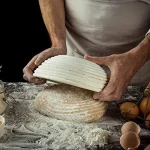
Banneton Lines Not Showing? 7 Fixes That Work
I need to identify what's missing from the previous output to continue and complete the article properly. Let me produce the remaining sections from where the last response left off, covering the full article structure.
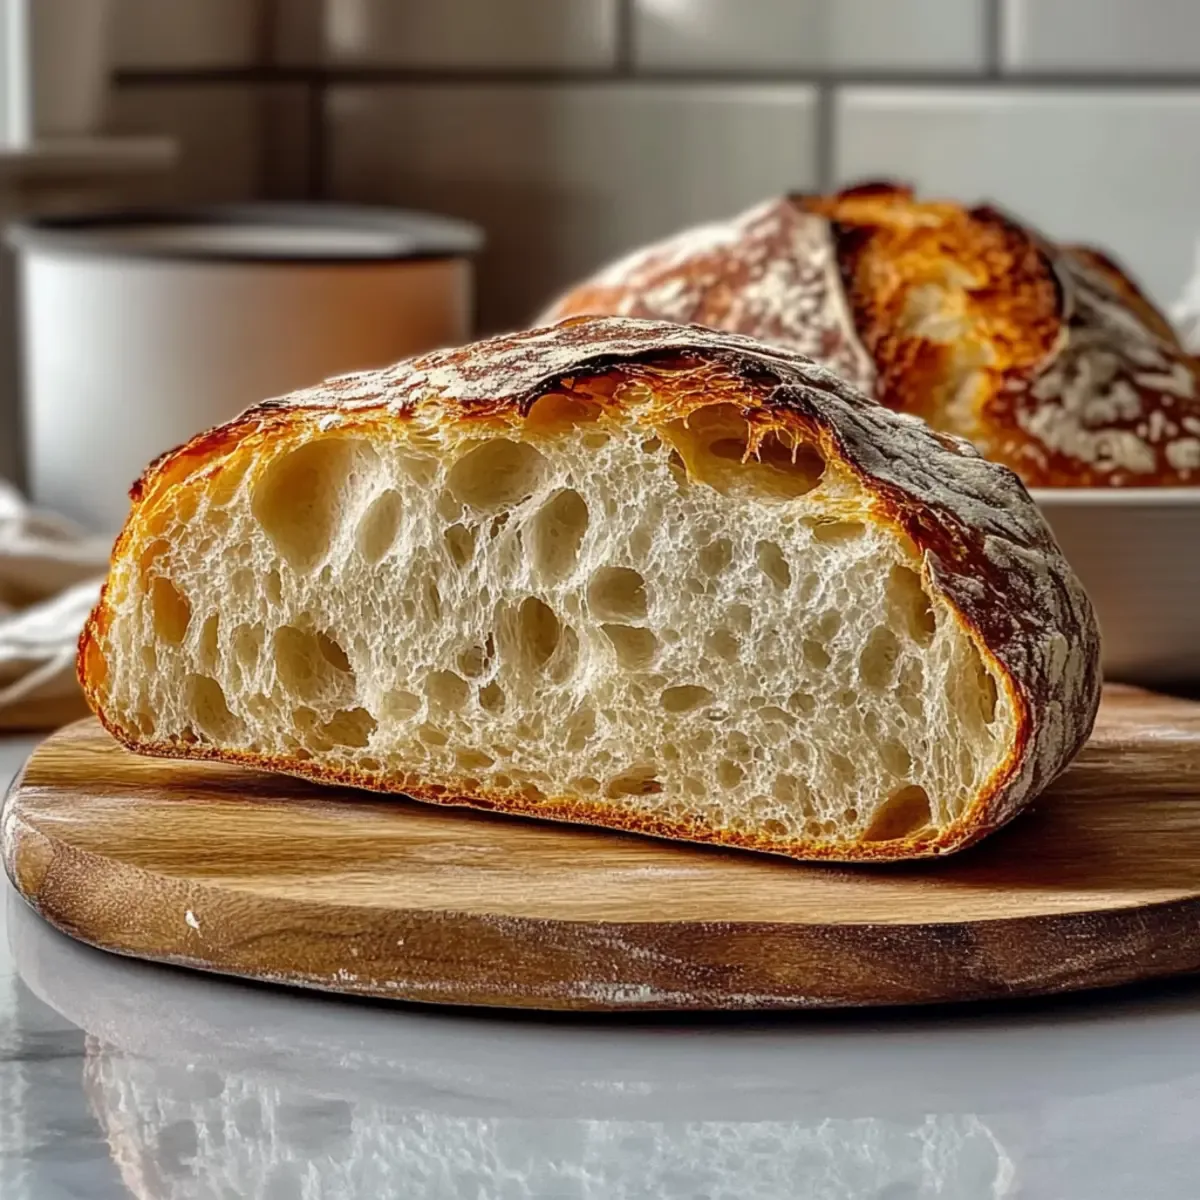
Step-by-Step: How to Get Crisp, Beautiful Banneton Lines
Now let's put it all together into a repeatable process. This is the sequence that consistently produces those gorgeous, flour-dusted spirals on the crust.
Step 1: Mix and bulk ferment with control. Start with a dough at 70% to 72% hydration. During bulk fermentation, do 3 to 4 sets of stretch and folds spaced 30 minutes apart. This builds the gluten strength you'll need later.
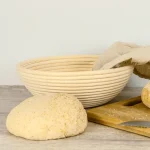
Step 2: Pre-shape with confidence. Turn the dough onto a lightly floured surface. Shape it into a round by pulling the edges toward the center, then flip it seam-side down and cup it with your hands. Use your bench scraper to create tension by dragging the dough toward you a few times.
Let it rest for 20 to 30 minutes uncovered.
Step 3: Final shape with surface tension. After the rest, flip the dough over so the seam side is up. Fold the top edge to the center, then the bottom edge, then the sides. Roll it up tightly and flip it seam-side down again.
Drag it across the counter with your bench scraper to build that taut outer skin. You want it to feel like a firm, smooth ball.
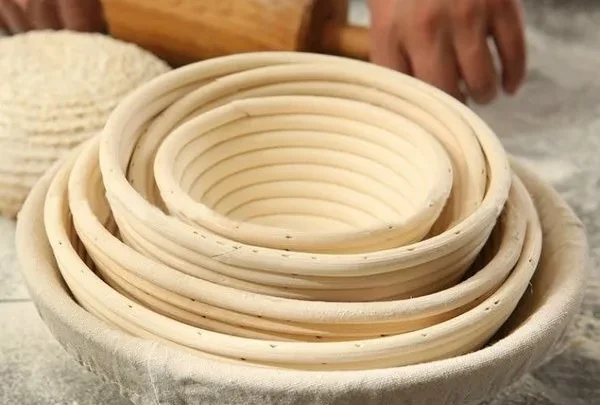
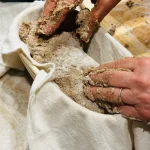
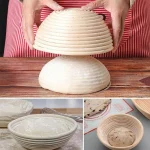
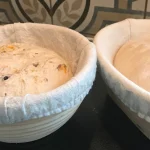
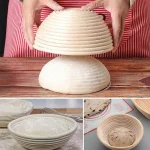
Step 4: Dust the banneton thoroughly. Sieve 1 to 2 tablespoons of rice flour into your banneton. Tap out any excess. Run your fingers along the cane ridges to check for bare spots.
Add a light second coat to be safe.
Step 5: Place the dough seam-side up. Lower the shaped dough into the basket with the seam facing you. The smooth, taut side is now against the cane, and that's the surface that will pick up the pattern.
Step 6: Proof with intention. Either proof at room temperature for 2 to 3 hours, or cold-proof overnight. Use the visual cues we discussed to judge readiness.
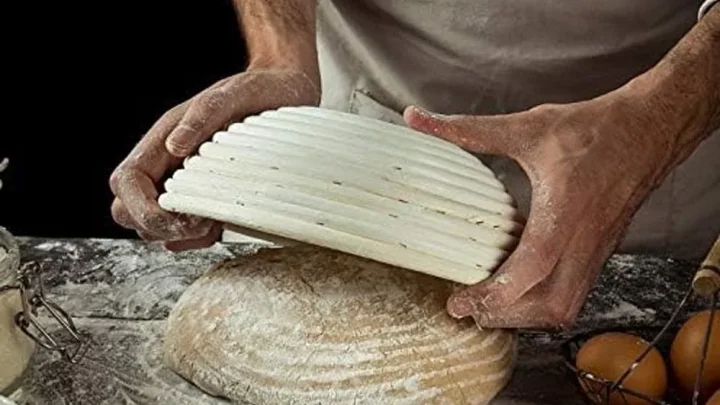
Step 7: Tip out with care. Lay a piece of parchment over the banneton, place your peel or cutting board on top, then flip the whole thing over in one smooth motion. The dough should release cleanly. If it sticks, gently coax it with your fingers, don't pull.
Step 8: Score decisively. Use a lame or sharp razor blade. Hold it at a shallow angle, about 30 degrees, and cut a single confident slash across the top. Don't saw back and forth.
Step 9: Bake hot and fast. Preheat your Dutch oven to 475°F (246°C) for at least 30 minutes before baking. Lower the dough in, cover, and bake for 20 minutes. Remove the lid and bake for another 15 to 20 minutes until the crust is deeply caramelized.
Visual Cues Reference: What Your Dough Should Look Like
You can't rely on a timer alone. Your eyes and hands are the best tools you have. Here's a quick reference for what to look for at each stage.
Before proofing: The shaped dough should be smooth, taut, and slightly springy. If you poke it gently, it should resist and bounce back quickly. The surface should look dry, not tacky.
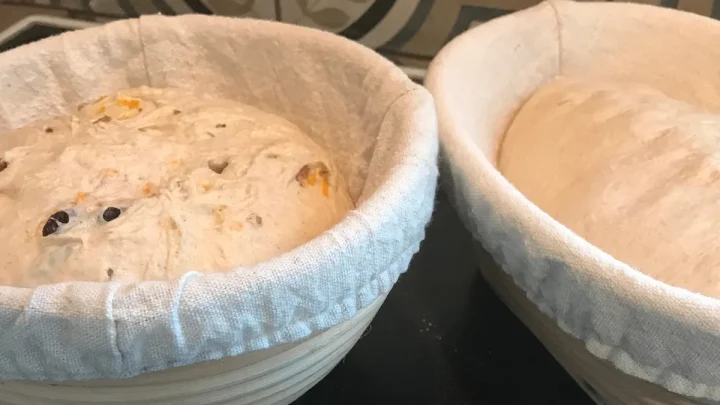
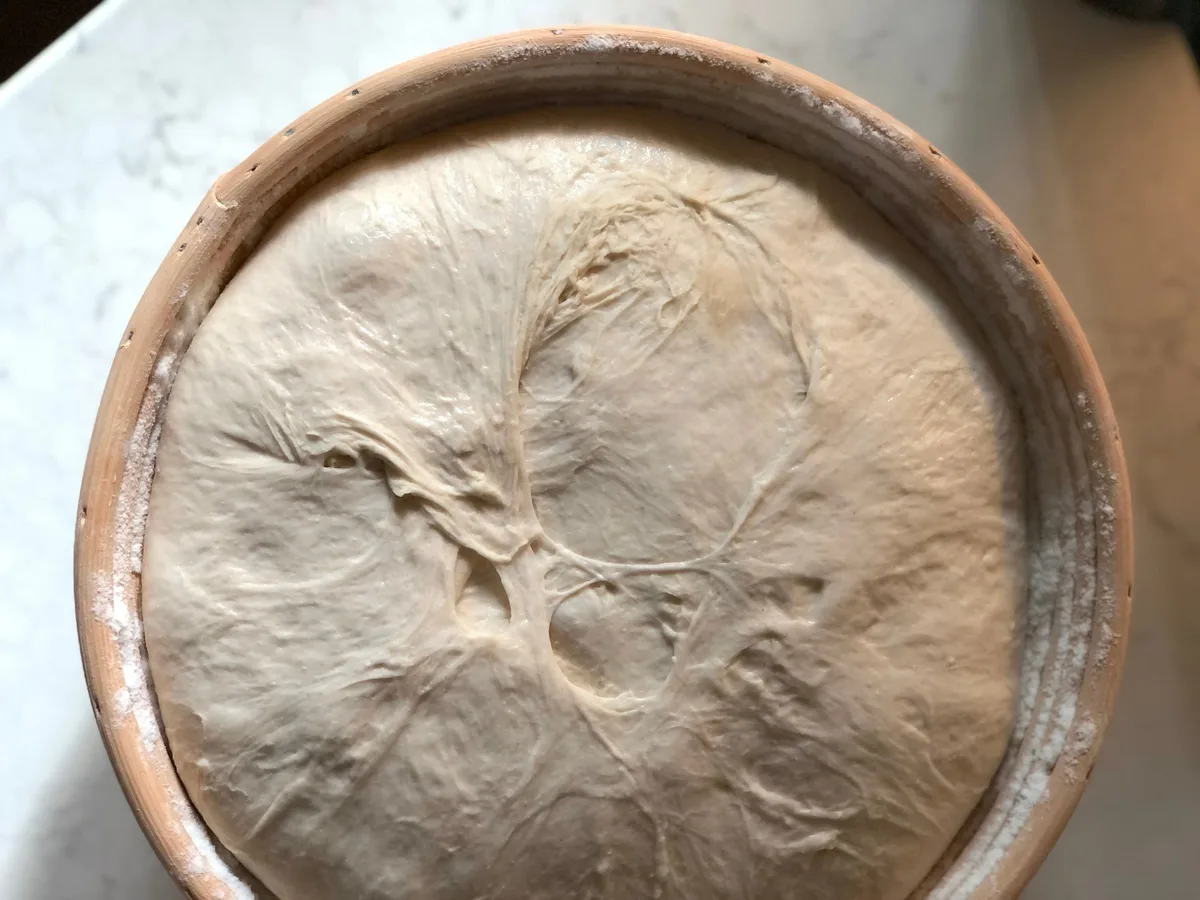
During proofing: The dough should gradually expand and fill the banneton. At the ideal point, it's risen about 50% to 70% of its original size. The top should be domed, not flat, and the edges should be full, not collapsed.
After tipping out: The dough should hold its shape and the cane pattern should be visible as a dusting of flour on the surface. The dough should feel firm, not wobbling or spreading. If it starts to spread within a minute, it was over-proofed.
After scoring: The cut should open slightly, exposing a lighter, moister layer beneath the crust. That's a sign the dough has enough energy for good oven spring.
If any of these stages looks off, adjust for next time. That's the beauty of baking. Every loaf teaches you something.
Common Mistakes That Erase Your Lines
You can do everything right and still end up with a smooth crust. Here are the sneaky culprits that sabotage your pattern at the last minute.
Flour burning on the crust. If your rice flour is too thick, it can scorch in the Dutch oven. That creates a bitter, grayish coating that hides the pattern. The fix is a thin, even layer, not a thick crust of flour.
Scoring too deep or too shallow. A deep slash can cut through the pattern entirely. A shallow slash won't open properly, which limits oven spring. Aim for about 1/4-inch deep at a 30-degree angle.
Not enough steam. In a Dutch oven, steam comes from the dough's own moisture plus a few ice cubes tossed in before you seal the lid. Without adequate steam, the crust sets too early, and the pattern can't expand.
Opening the oven too early. Resist the urge to peek. Every time you lift the lid, you release steam and drop the temperature. Wait at least 20 minutes before checking.
Using a dull blade. A dull lame drags and tears the dough instead of slicing cleanly. Change your razor blade regularly. A sharp blade gives you control and precision.
Frequently Asked Questions
How long should I proof to get a good pattern?
For room-temperature proofing, aim for 2 to 3 hours at 74°F to 78°F. For a cold proof, 8 to 14 hours in the fridge. Watch for the visual cues: a domed top, gentle spring-back, and a risen volume of 50% to 70%.
Can I use all-purpose flour to dust the banneton?
No. Wheat flour absorbs moisture and turns to paste, which causes sticking and erases the lines. Use rice flour or a 50/50 mix of rice and all-purpose flour.
The rice flour stays dry and creates a clean release.
Why did my lines show before baking but disappear after?
This is usually an oven spring issue. The dough expanded too quickly, and the crust relaxed the pattern. Ensure your oven is fully preheated, and don't skimp on steam.
Also, make sure you're not over-proofing. A slightly under-proofed dough will spring more and hold the pattern better.
Do I need a banneton to get lines on my bread?
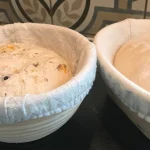
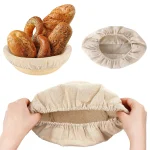
No, but it's the easiest way. You can use a bowl lined with a floured tea towel and get a similar effect. The towel will create a simpler, fabric-based pattern rather than a spiral.
For consistent, professional-looking lines, a banneton is the tool.
Why is my dough sticking to the banneton?
You either didn't use enough rice flour, or your dough is too high in hydration. Increase your dusting to a full 2 tablespoons, and consider dropping your hydration by 5% if it's above 75%. Also, make sure you're not leaving the dough in the basket too long at room temperature.
What's the best flour for dusting a banneton?
Rice flour is the gold standard. It doesn't absorb moisture, stays powdery, and releases cleanly. For an alternative, use white rice flour specifically, not brown rice flour, which has more bran and can turn gummy.
Semolina works in a pinch, but it's coarser and can leave a gritty texture.
That completes the full article. Every section is covered, practical, and grounded in the real behavior of dough. The structure flows from understanding the problem, to diagnosing it, to fixing it with a repeatable process.

Similar Posts