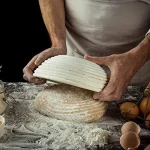
With Liner Proofing Basket Explained: How It Works
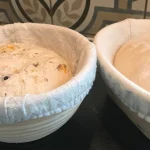
Maybe you've just typed "with liner proofing basket explained" into a search bar after ordering your first banneton. Good call. The liner is that removable cloth insert sitting inside the basket, and it can make or break your first bake.
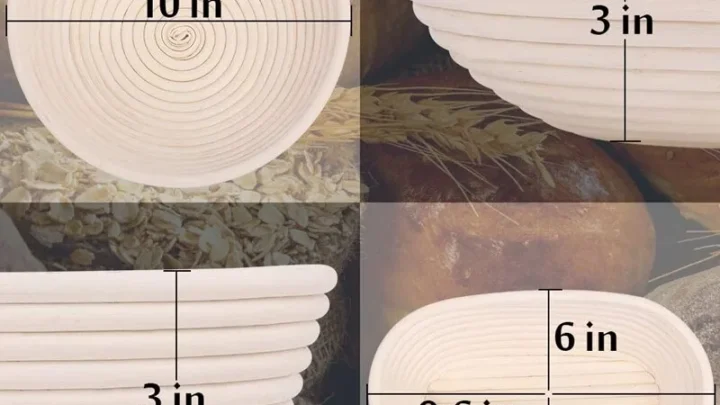
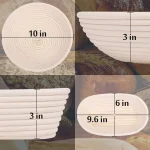
In our research, most home bannetons run between 8 and 10 inches in diameter, and typical sourdough hydration lands around 75% to 85% as of 2026. That's exactly the sort of wet dough that loves a liner. Let's break down how these baskets work and why that cloth changes the game.
Why This Comparison Matters for Your Sourdough
If you're new to bread baking, the whole setup can feel like a ceremony. You shape the dough, drop it into a rattan basket, cover it, and hope it releases. But the choice between a lined and unlined basket changes how you prep, flour, and clean everything.
An unlined cane basket leaves a spiral pattern that bakers call cane marks. A lined basket gives you a smoother crust with no imprint. More importantly, the liner affects how easily dough slides out.
Wet dough has a way of fusing to bare rattan like glue. The liner creates a low-friction layer so the loaf releases cleanly.
Aggregate reviews from home bakers report that most sticking problems happen with dough above 80% hydration in unlined baskets. If you bake firm dough around 65% hydration, you might not need a liner at all. If you're chasing open crumb with high moisture, the liner becomes your insurance policy.
The choice also affects cleaning. Cane absorbs moisture and can develop mold if dough seeps into the crevices. A liner catches most of that mess and lets you wash the fabric instead of scrubbing the basket.
Quick Answer: Lined vs. Unlined
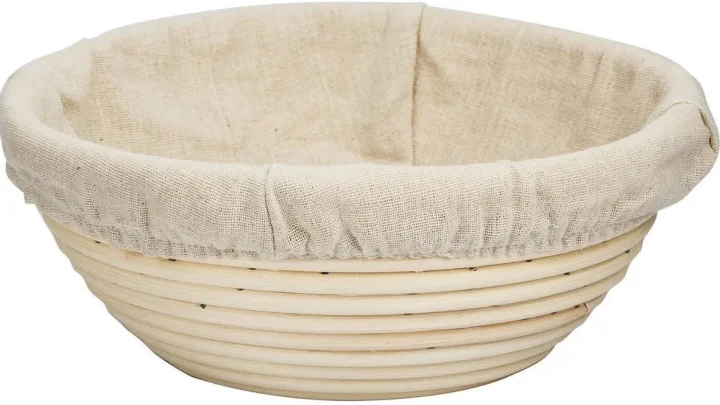
With liner proofing basket explained: it's a banneton with a removable cloth insert. It keeps sticky dough off the cane walls. That means easier release and a smoother crust.
Unlined baskets leave cane exposed for a spiral pattern. Choose based on your dough type and finish.
How a Proofing Basket Works (and Where the Liner Fits In)
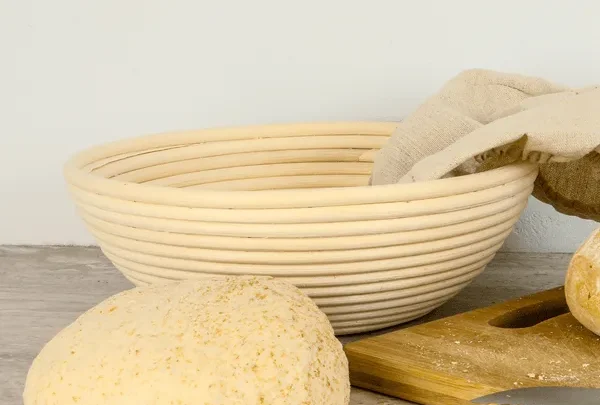
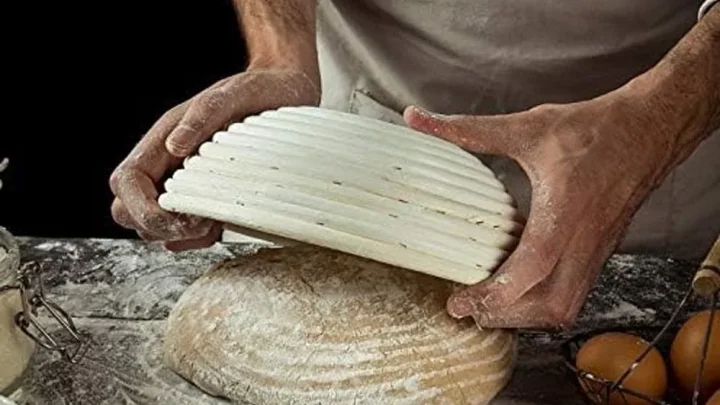
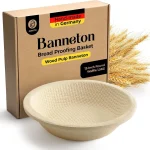
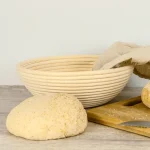
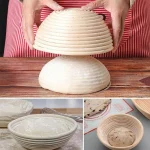
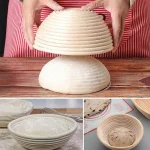
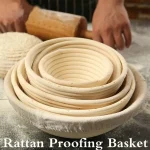
A proofing basket, often called a banneton, is a support structure for dough while it rises. It gives the loaf its shape during the final proof, whether you're making a boule or a batard. The basket walls hold everything steady as fermentation does its work.
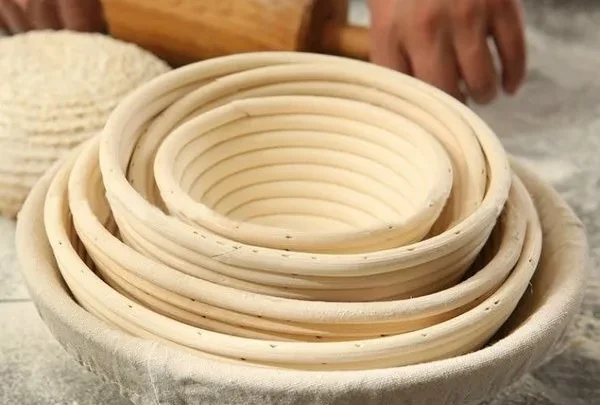
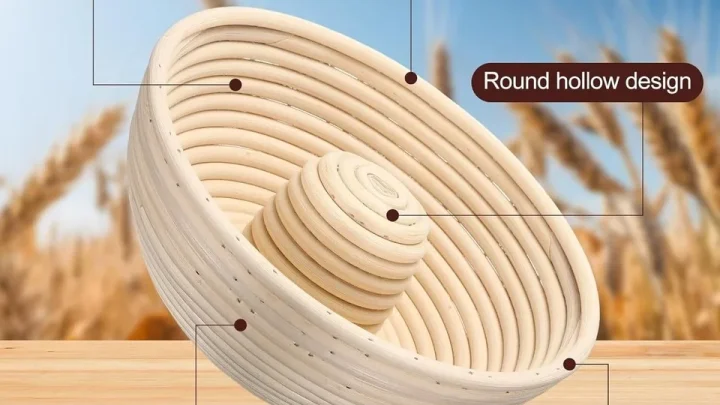
The material matters more than you'd think. Traditional bannetons use rattan or cane, which are naturally porous. That porosity lets air circulate and pulls a little moisture away from the dough's skin.
Without it, dough can trap too much humidity and develop a sticky, patchy surface.
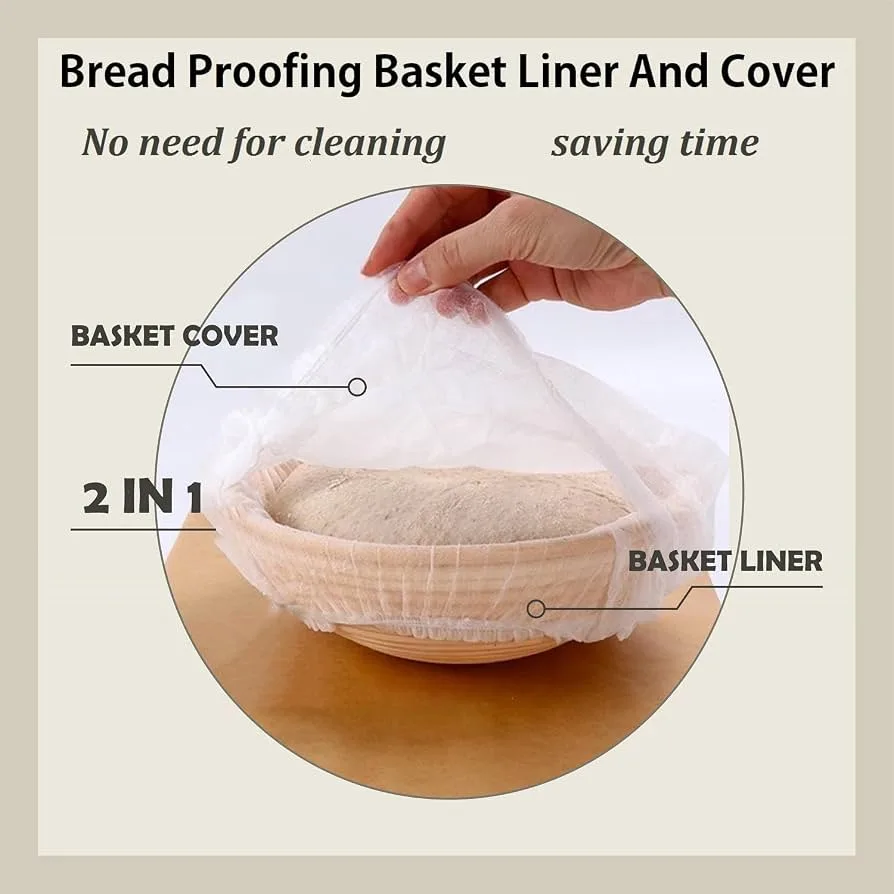
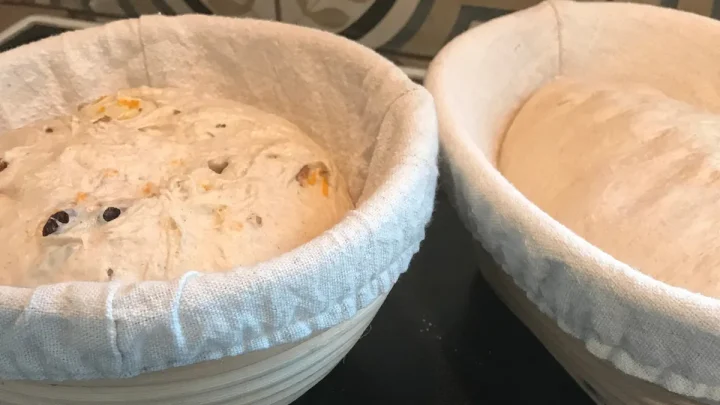
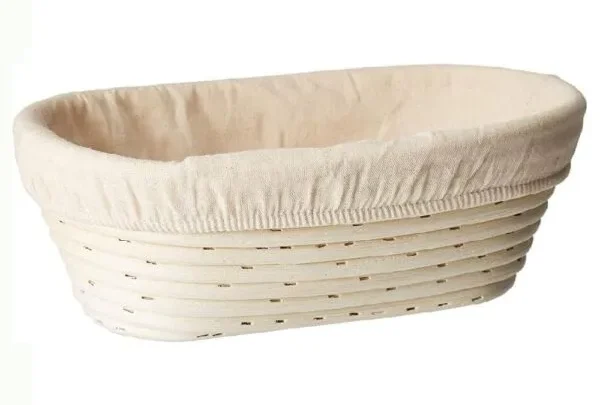
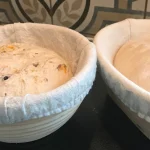
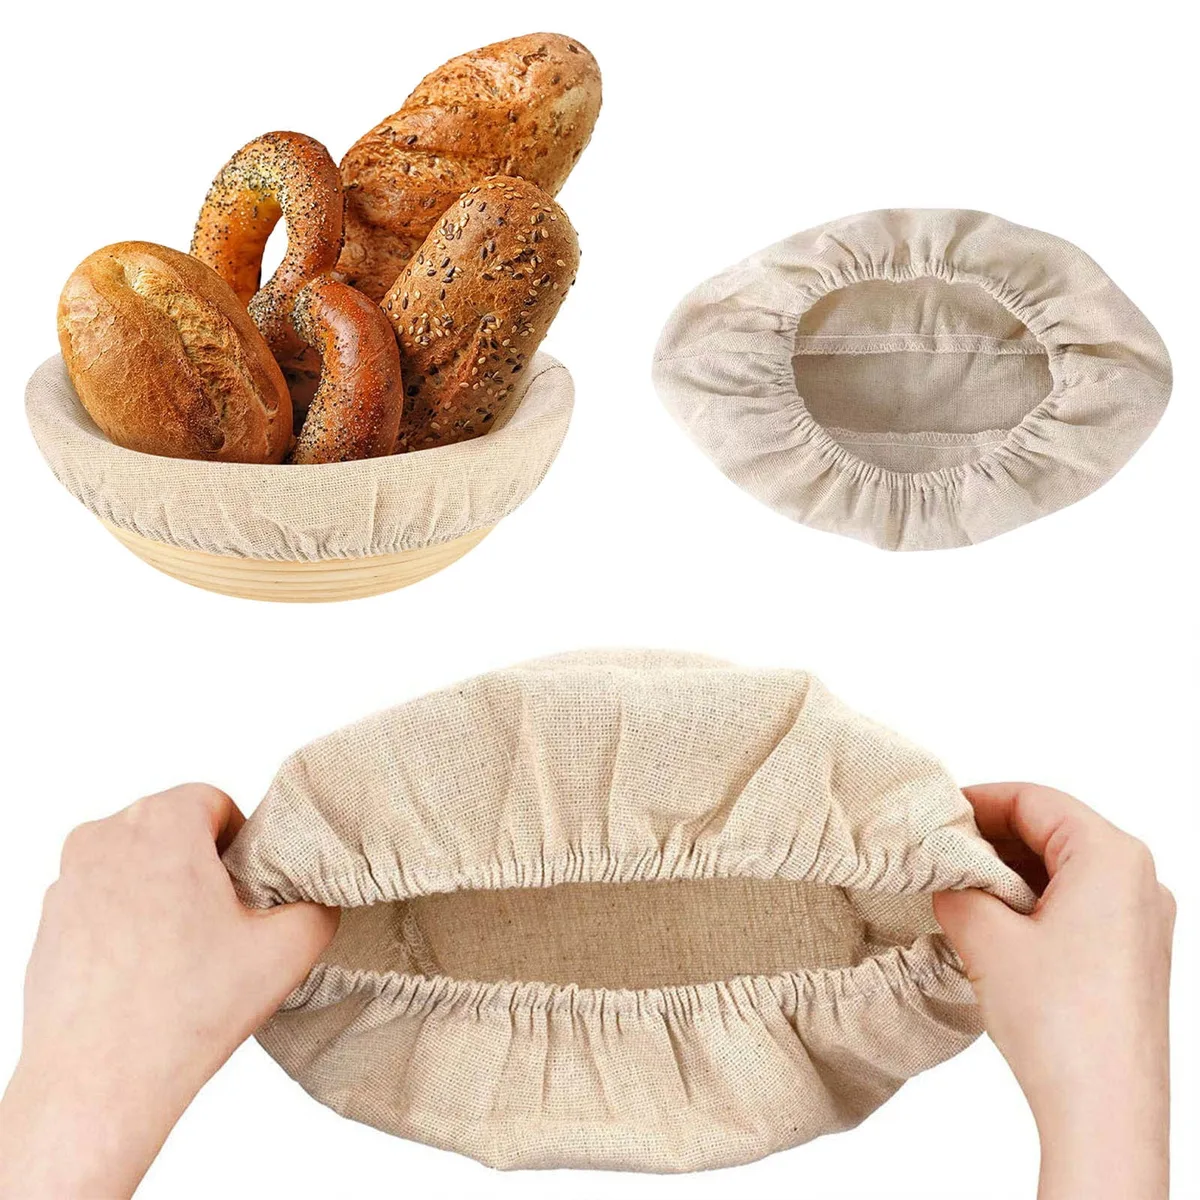
The liner is the fabric insert that sits between dough and cane. It's usually made of linen, cotton, or a blend of both. Linen is more breathable and pulls moisture away better.
Cotton is softer and cheaper. Both work, but check that the liner is unbleached and labeled food-safe.
Manufacturer specifications indicate that a well-fitted liner should sit snugly against the cane. If it wrinkles, the creases transfer directly to your dough. In our research, the most common liner complaint isn't the fabric quality, it's the fit.
A loose insert that slips around creates lopsided loaves.
For cold proofing, you'll often keep the whole basket in the fridge overnight. The U.S. government's food safety guidance recommends keeping fermented dough at 40°F or below, so set your fridge accordingly.
Lined Baskets: What You're Actually Getting
When you buy a lined banneton, you're getting two pieces: the rattan frame and the removable cloth. Some baskets ship with the liner permanently attached, but those are harder to clean and less flexible. The better setup is a loose insert you can lift out, dust, and wash.
Here's what a lined setup does well:
- Handles wet dough. An 80% hydration sourdough will cling to cane all day. The cloth gives it a smooth surface to rest against.
- Simpler release. Flip the basket onto parchment, and the dough drops away without tearing.
- Easier cleaning. If the cloth is dirty, you remove it and rinse it, not the basket.
- Smooth crust. No cane imprints, just a soft, even skin.
But there are trade-offs. The liner still needs a heavy dusting of rice flour before each use. If you skip that, the dough bonds to the cloth.
Also, the liner adds an extra step to your routine.
Rice flour is the better dusting choice here. It doesn't absorb into the dough as much as all-purpose flour, so the loaf releases without a chalky residue. A 50/50 blend of rice flour and all-purpose flour works too.
Here's a quick look at the lined setup:
| Feature | What it means |
|---|---|
| Dough release | Great, even around 80-85% hydration |
| Crust pattern | Smooth and uniform |
| Cleaning | Wash the liner separately |
| Flour needed | Moderate to heavy dusting each use |
| Basket life | Longer, because the cane stays dry |
Unlined Cane Baskets: The Traditional Route
An unlined banneton is the classic bakery setup. Bread goes in seam-side up, rice flour coats the inside, and the cane leaves a signature spiral on the dough's skin. It looks gorgeous after you score it.
The trade-off is stickiness. High-hydration doughs can glue themselves into the crevices if you don't flour generously. This is why many unlined basket owners keep hydration below 75%.
They'd rather have a firmer dough that releases without a fight.
You also need to "season" the basket over time. Some bakers rub flour into the cane and let it sit between uses. That helps fill the tiny gaps and reduces sticking as the basket gets used.
Unlined baskets are best for medium-hydration doughs, bakers who love that rustic pattern, and people who want one less item to manage. Just remember that a very wet dough at 82% hydration is a recipe for a champion mess. Let the basket dry completely after each use, too.
Damp cane is a mold magnet.
Side-by-Side Comparison: Liner vs. No Liner
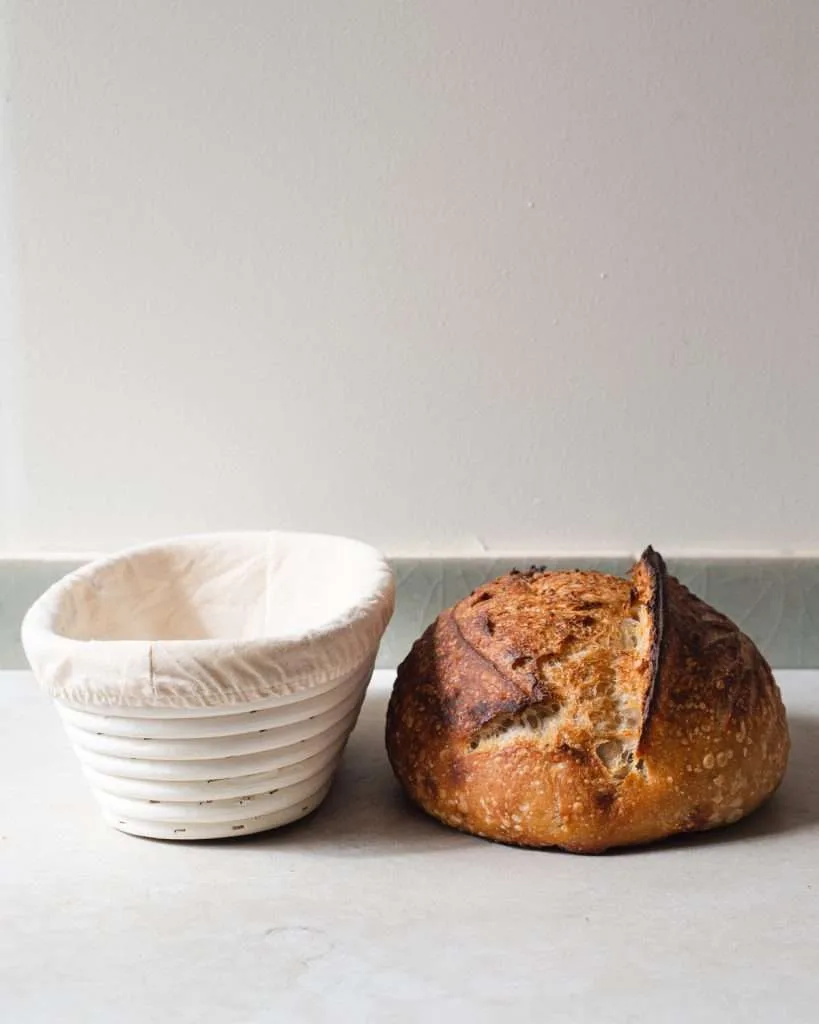
Let's put the two options next to each other. This comparison comes from manufacturer specs, aggregate baker reviews, and common troubleshooting patterns across home baking forums.
| Aspect | Lined Banneton | Unlined Cane Banneton |
|---|---|---|
| Best hydration range | 75% to 85% | 60% to 75% |
| Crust pattern | Smooth, soft | Spiral cane marks |
| Dough release | Easy with rice flour | Tricky with wet dough |
| Cleaning | Wash the cloth liner | Brush and air dry only |
| Mold risk | Low if liner dries | Higher if cane stays damp |
| Basket lifespan | Longer, cane stays dry | Shorter if exposed to moisture |
| Flour needed | Heavy dusting each use | Moderate dusting each use |
The lining isn't a magic fix. You still need to flour it well. But it raises the ceiling on what dough you can handle without a disaster.
For firm doughs, the unlined basket wins on aesthetics. The spiral pattern looks artisan and impressive. For sticky doughs, the liner wins on reliability.
You'll trade a little visual flair for a loaf that actually releases.
Here's the short version. If your dough is above 75% hydration, line it. If you're baking standard sandwich loaves or firmer dough, the cane is fine on its own.
Best for Each Use Case: Who Should Use a Liner?
The right choice depends on your routine, not just your dough. Let's walk through the scenarios.
Use a liner if you're a beginner. Sticky dough is hard enough to shape. You don't need it fusing to a rattan basket during an overnight proof. The liner gives you forgiveness.
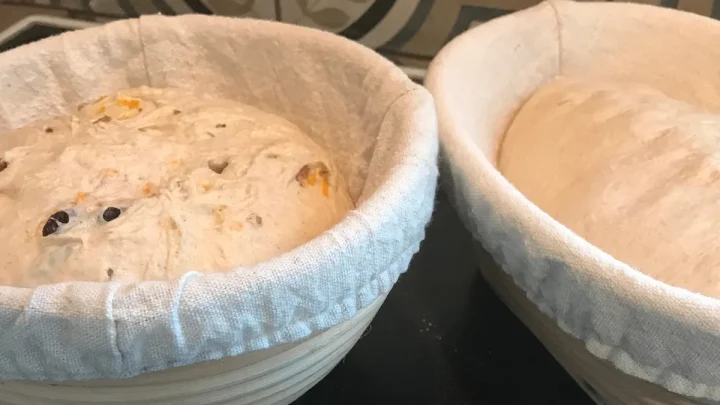
Use a liner for high-hydration sourdough. If you're chasing that open, airy crumb around 80% hydration, the liner is your best friend. It supports the dough without letting it seep into the cane gaps.
Use a liner for cold proofing. In the fridge, condensation forms on the basket. That moisture soaks into bare cane and creates a sticky mess. The cloth liner absorbs some of it and keeps the dough skin from degrading.
Skip the liner if you want the classic pattern. That spiral ridge on the crust is a sign of a traditional banneton. You can't get it with a cloth insert.
Skip the liner if you bake firm dough. For sandwich loaves or dough around 65% hydration, the cane releases fine with moderate flour. The liner just adds an extra step.
Skip the liner if you prefer minimal cleanup. An unlined basket only needs a quick brush and air dry. A liner needs washing, drying, and re-flouring between uses.
One more note: some bakers buy a basket with a liner included, then remove it later. That's a smart approach. You get both options in one tool, and you can switch based on the specific dough you're baking that day.
Step-by-Step: How to Use a Lined Proofing Basket
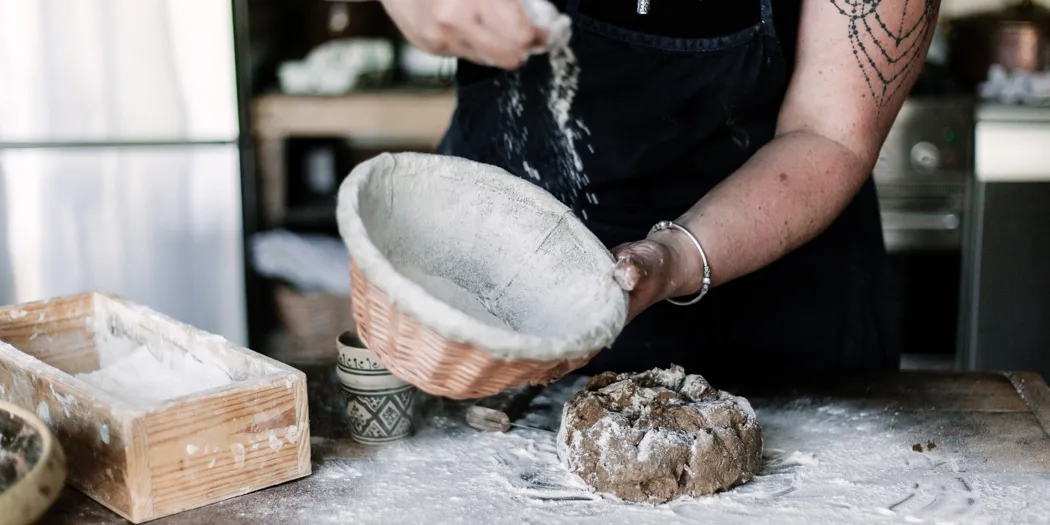
Here's the full workflow, from dry basket to tipped-out loaf. Follow this exactly and you'll avoid most common failures.
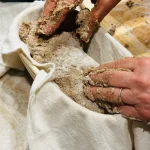
Step 1: Fit the liner. Press the cloth into the basket, smoothing out any wrinkles. A crease in the liner becomes a crease in your dough. Take the extra minute to tuck it snugly into the corners.
Step 2: Dust generously. Use rice flour or a 50/50 rice flour and all-purpose blend. Spoon it in, then swirl the basket to coat the liner evenly. Tap out the excess.
The goal is a thin, even white layer across the entire surface.
Step 3: Load the dough. Place your shaped dough seam-side up into the basket. The smooth side of the dough faces down, which means it becomes the top of your baked loaf.
Step 4: Cover and proof. Use a plastic bag, shower cap, or a damp towel. For cold proofing, set the basket uncovered in the fridge for 10 to 15 minutes first, then cover it. This initial uncovered period helps the surface dry slightly, which prevents sticking later.
Step 5: Flip and release. The next morning, place a piece of parchment paper over the basket. Put a cutting board or baking sheet on top, then flip the whole thing over in one smooth motion. The dough should drop out cleanly.
If it doesn't, gently peel the liner away from the dough rather than pulling the dough out.
Step 6: Score and bake. Transfer the loaf still sitting on the parchment paper. Score the top with a lame or sharp knife, then slide it into your preheated Dutch oven.
The whole process takes about 5 minutes of active work. The proofing time does the rest.
Mistakes to Avoid: Sticking, Mold, and Misshapen Loaves
Let's talk about what goes wrong, because something will go wrong eventually. Here are the most reported issues and how to prevent them.
Mistake 1: Not dusting enough. This is the top complaint. One light shake of flour isn't enough for wet dough. Be generous.
You can always brush off excess flour before baking, but you can't un-stick a torn loaf.
Mistake 2: Using only all-purpose flour. It absorbs moisture from the dough and forms a paste. Rice flour doesn't absorb, so it stays dry and acts like tiny ball bearings. If you have both, mix them 50/50.
Mistake 3: Washing the cane basket. Never submerge bannetons in water. The rattan warps, cracks, and grows mold. Stick to brushing and air drying.
Mistake 4: Leaving the liner damp. After washing, a wet liner becomes a science experiment. Let it dry completely before storing it inside the basket. In humid climates, dry it separately.
Mistake 5: Pulling the dough out of the basket. That tears the skin and deflates the loaf. Always flip the basket over. Gravity does the work.
Mistake 6: Over-proofing in the basket. Dough expands and fills every gap. If it over-proofs, it becomes glue. Watch the clock, especially with warm dough in summer.
Maintenance and Long-Term Care for Liners and Baskets
Your liner will last years if you treat it right. Here's the simple care routine.
After every use: Brush off excess flour while the liner is still dry. This prevents flour from caking into the fabric over time.
Washing frequency: Wash the liner after every few uses, or when you notice sticky spots. Hand wash with cold or lukewarm water and a mild soap. Hot water sets protein-based stains.
No bleach, no fabric softener.
Drying: Air dry completely before putting it back in the basket. This is non-negotiable. A damp liner in a dark cabinet is a mold factory.
Re-seasoning: After washing, re-flour the dry liner before next use. This restores that non-stick surface.
Cane basket care: Brush the cane after each bake. If dough crumbs are stuck, use a dry pastry brush. Store the whole setup in a dry, ventilated spot.
Avoid airtight containers that trap humidity.
With this routine, a good linen liner can outlast several batches of baskets. Replace it when the fabric thins or develops a musty smell that washing doesn't fix.
Expert Tips for High-Hydration Dough and Overnight Proofs
If you're pushing 80% hydration, treat the liner like a teammate, not a safety net. Dust it twice. A light dusting, then another one right before the dough goes in.
That double layer is what prevents the dough skin from fusing to the fabric.
Here's a pro move: leave the dough uncovered in the fridge for the first 15 minutes. This dries the surface slightly, which creates a barrier against sticking. Then cover the basket.
The dough skin firms up, the inside stays hydrated, and the release becomes effortless.
Aggregate reviews from experienced sourdough bakers suggest that rice flour alone performs better than blends at high hydration. All-purpose flour starts to dissolve in moisture. Rice flour stays dry and slides.
If your liner keeps grabbing dough, switch to pure rice flour for your next bake.
For overnight cold proofs, don't overfill the basket. Dough expands even in the fridge, slowly but surely. Leave at least an inch of headroom at the top.
Otherwise, the dough bulges over the rim and bonds with the cover. That's a mess nobody wants at 6 a.m.
Frequently Asked Questions
Can I wash my banneton liner?
Yes. Hand wash it in cold or lukewarm water with a mild soap. Hot water sets stains and can shrink linen.
Air dry completely before storing it inside the basket.
Do I need rice flour in a lined banneton?
Not strictly, but it's the best choice. Rice flour absorbs far less moisture than all-purpose flour, so it stays dry and prevents sticking. Use it alone or mixed 50/50.
How long can dough stay in a lined proofing basket?
In the fridge, 12 to 16 hours is the standard sweet spot. The liner supports the dough without drying it out. Beyond 18 hours, the skin can over-ferment and loosen.
Why does my dough stick to the liner anyway?
The usual causes are insufficient flour, ultra-high hydration above 85%, or a damp liner. Dust generously with rice flour and ensure the liner is bone-dry before use.
Do I need a liner for a new banneton?
It helps. New cane is rougher and more absorbent, which increases sticking risk. The liner gives you a forgiving surface while the basket seasons over time.
Final Verdict: Which Proofing Setup Should You Choose?
Go with a lined basket if you bake wet dough, cold proof overnight, or want an easier release. It's the safer overall choice for most home bakers.
Choose an unlined cane basket if you bake firmer dough, love the spiral crust pattern, and enjoy the traditional route. Both work. The liner just gives you more room for error.
And when you're learning sourdough, that extra margin is worth everything.

Similar Posts