Round Proofing Basket Explained: What It Is & How to Use
Ever shaped a beautiful sourdough boule, only to watch it flatten into a pancake during the final rise? A round proofing basket is the fix, and this is that basket explained in plain language. It holds your dough's shape, keeps it from spreading, and leaves a gorgeous crust pattern.
In our research across baking guides and manufacturer specs, the verdict is clear. A standard 9-inch rattan banneton holds 750g to 1kg of dough as of 2026, enough for a solid family loaf. It's the easiest way to get an even, professional-looking boule at home.
Let's walk through what makes it work.
Quick Answer
A round proofing basket is a bowl-shaped basket that supports dough during its final rise. It keeps slack dough from spreading flat. The basket gives the loaf a round shape and a decorative crust.
You place the dough seam-side up, then flip it before baking.
What a Round Proofing Basket Is (and Why Bakers Swear By Them)
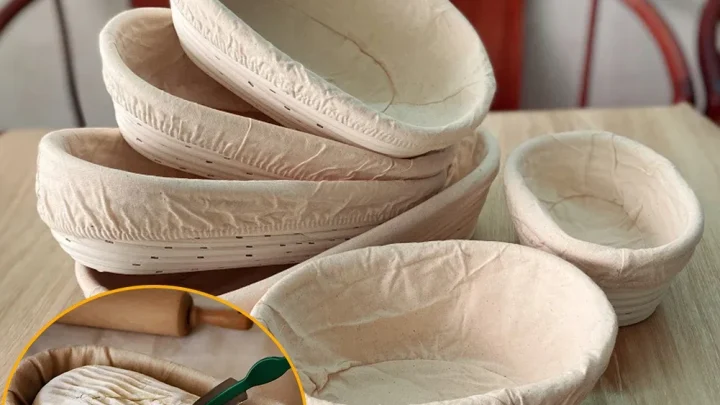
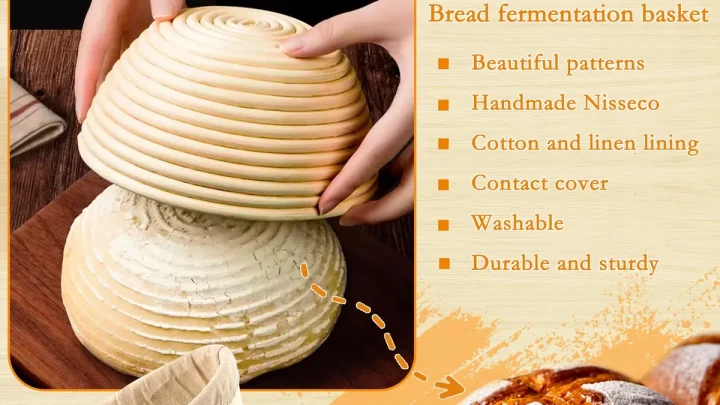
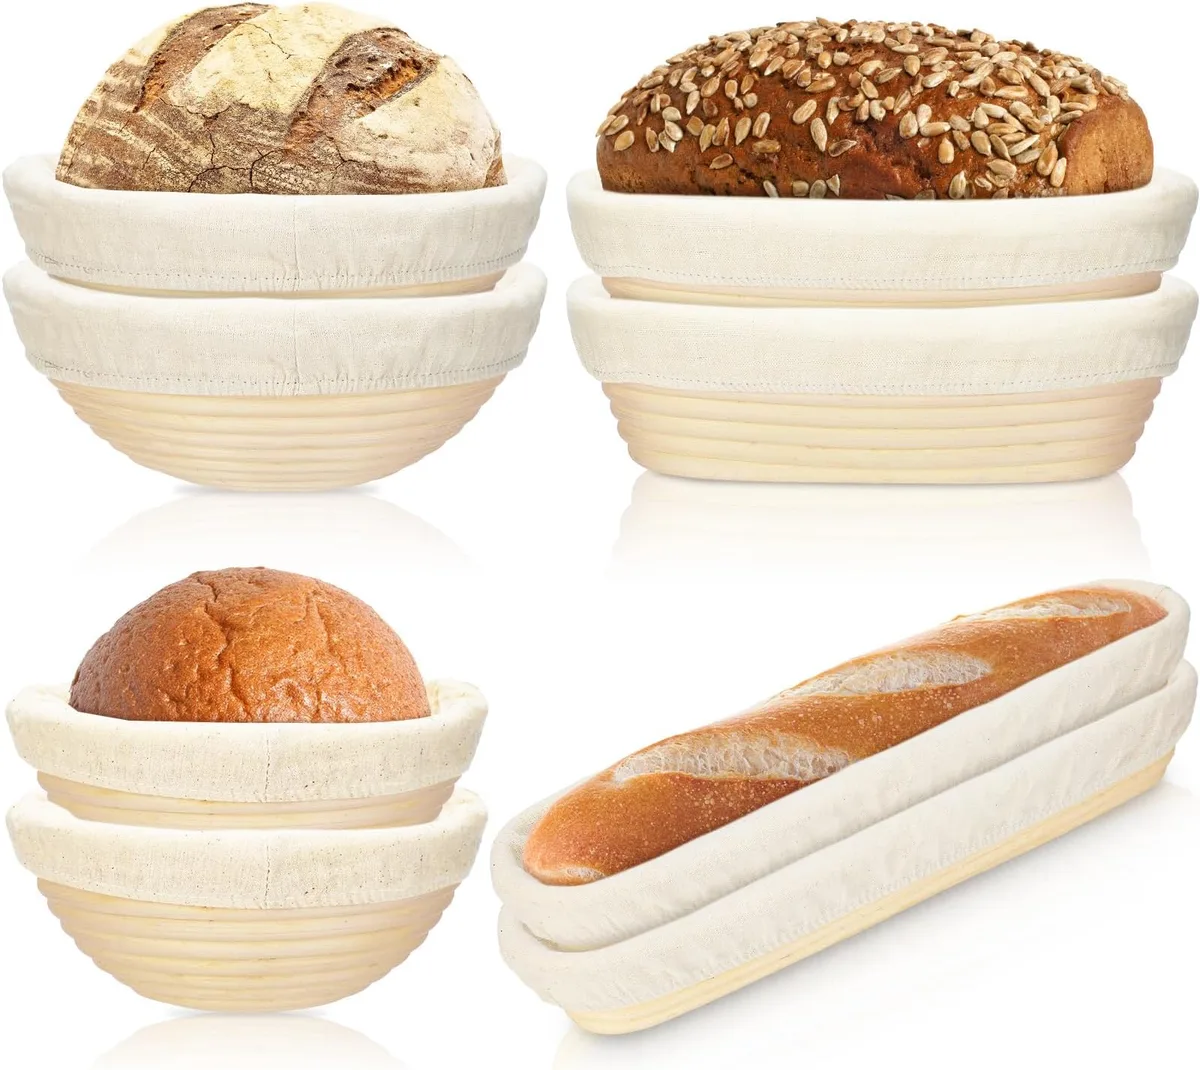
A round proofing basket, also called a banneton, is used during the final rise of a bread loaf. It's traditionally made from rattan cane, though modern versions use wood pulp or plastic. The basket gives dough a defined shape while the yeast does its work.
Why bakers swear by them comes down to three things: support, airflow, and crust pattern.
Support. High-hydration dough, typically 70% to 85% hydration, is slack and soft. It needs side walls to rise upward instead of slumping outward. A bowl lined with a towel can work, but a curved basket holds the dough snugly like a cradle.
Airflow. The open weave of a rattan banneton lets air reach the dough surface. That prevents the sticky, sweaty skin that forms when dough sits in a closed bowl. It matters most during an overnight cold proof.
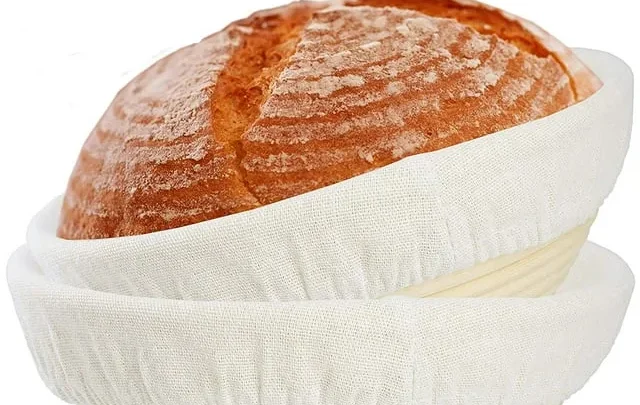
Crust pattern. As the dough proofs, it presses against the basket, and the pattern transfers to the crust. That beautiful spiral on artisan loaves comes from a coiled rattan banneton. A smoother wood-pulp basket or a linen liner gives you a soft, flour-dusted ring instead.
The banneton name comes from French basket-making tradition. In Germany, you'll hear brotform. Same tool, different accents.
Why Visuals Matter: The Shape-Shifting Job of a Banneton
Anyone can follow a sourdough recipe. Reading the dough is the hard part. That's why this topic is so visual: a proofing basket does its best work while you're mostly waiting.
The visual cues show up at the flip.
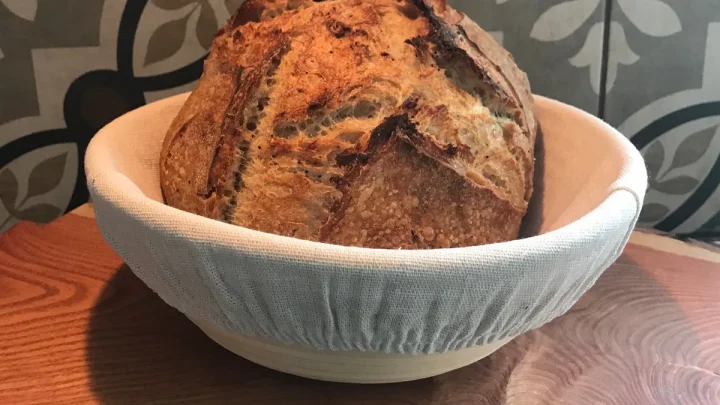
Here's what a first-timer misses. The dough should fill the basket, but not overflow it. After a good proof, it should look puffy, domed slightly above the rim, and feel pillowy to a light poke.
If it looks like it's melting over the edges, it's over-proofed.
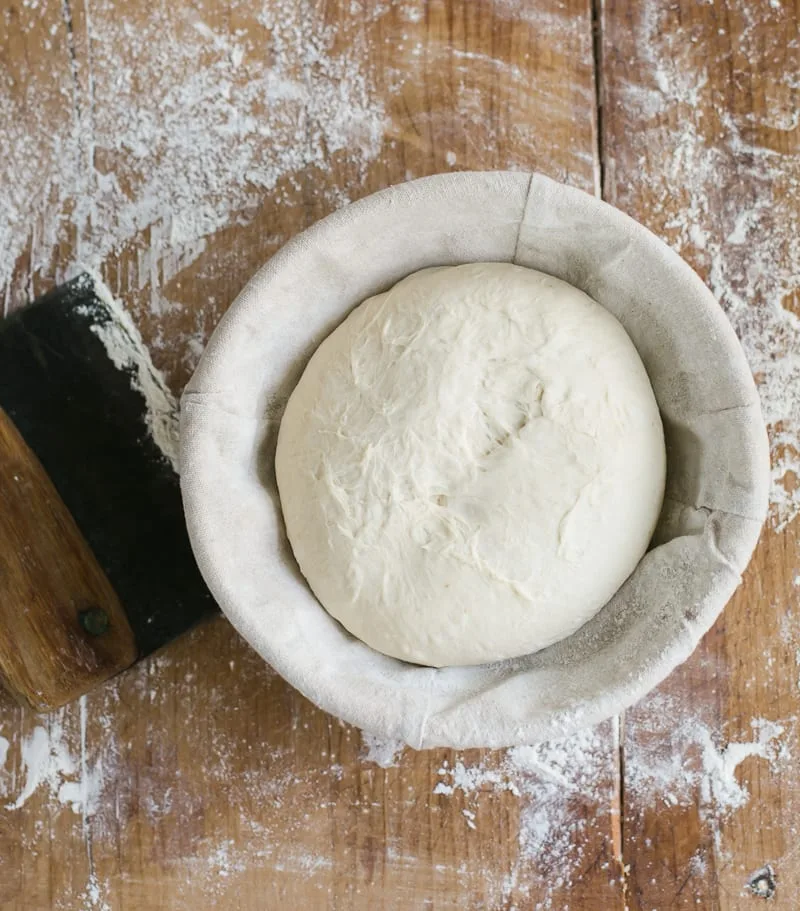
A photo showing a dough ball sitting seam-side up in a floured basket makes this instantly clear. The seam placement is the whole game. The basket supports the dough without forcing it.
The gluten network relaxes, the dough expands, and the basket catches the shape.
Watch a time-lapse of a proofing loaf and you'll see it swell evenly, hugging the curve of the basket. That's the shape-shifting part. The dough adopts the basket's form, then you flip it and it holds that form through the oven spring.
The visual cues to check before baking:
- The dough has risen to the rim or just above it.
- The surface looks floured and dry, not wet or shiny.
- The seam line is still visible on the flipped loaf.
- Press a finger gently into the dough; it springs back slowly, leaving a slight dent.
If it springs back instantly, it's under-proofed. If it doesn't spring back, it's over-proofed. Both are visible in seconds.
Step-by-Step Visual Guide: How to Use a Round Proofing Basket
Let's walk through the process so you know exactly what to look for at each stage. Missing a step here means a sticky mess later.
Pre-Shaping and Bench Rest
After bulk fermentation, turn the dough onto a lightly floured surface. Give it a quick fold into a loose round, then let it rest for 15 to 30 minutes. This bench rest relaxes the gluten so the final shape holds without fighting you.
The visual cue here: a flat, slightly puffy disc that doesn't spread aggressively. If it spreads fast, your dough is slack. That's normal for high hydration.
Give it a longer rest and work confidently.
Final Shaping: Getting the Dough Tension Right
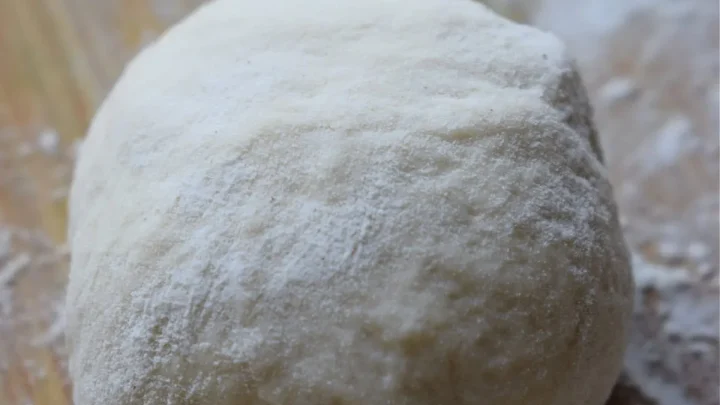
This is where the round becomes a taut ball. Using a bench scraper, scoop the dough, stretch the underside, and fold it over the top. Rotate as you go.
You're creating surface tension, which keeps the loaf tall.
When you're done, the top should be smooth. No tearing, no loose patches, no sticky spots. Cupped hands around the dough should feel springy.
Imagine a smooth dome of dough waiting for its basket.
Dusting: The Rice Flour Rule
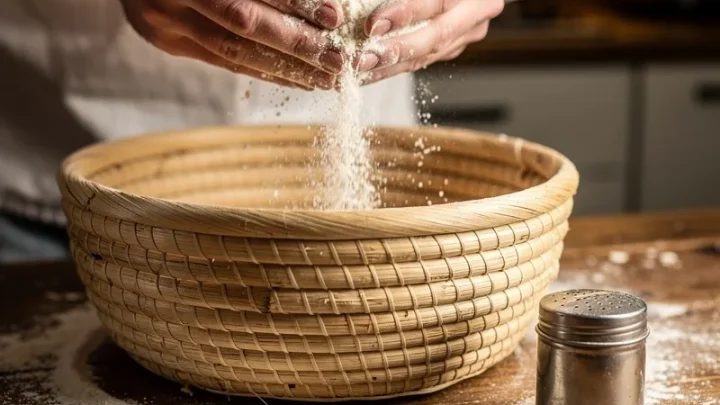
Rice flour is non-negotiable. All-purpose flour absorbs moisture from the dough and forms a paste, and then your dough bonds to the basket. Rice flour stays dry and acts like tiny ball bearings.
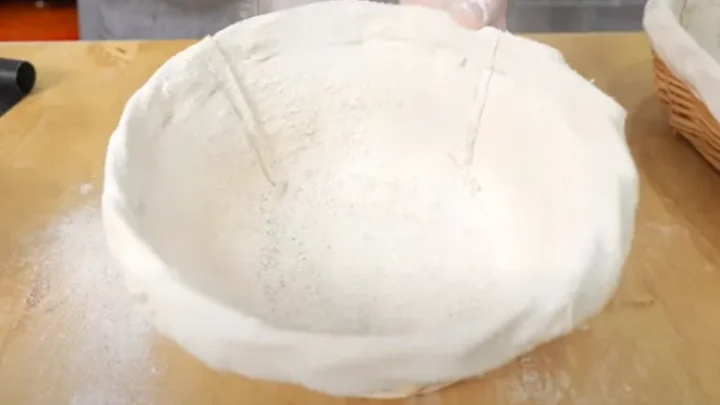
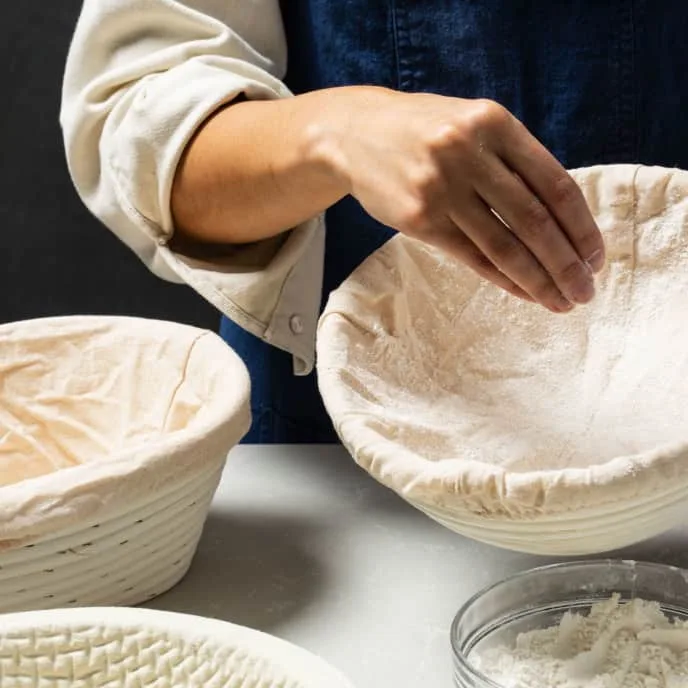
Dust generously. Get into the spiral grooves if your basket has them. You should see a light, even coating on every surface that will touch the dough.
The photo reference: a heavily dusted banneton with a visible white, powdery lining. That's the correct amount. If you can still see bare rattan, you haven't used enough.
Flipping and Scoring: The Seam-Side-Up Logic
Place the shaped dough seam-side up into the basket. The seam is the bottom of the loaf once it's baked. When you flip the basket onto parchment, the seam becomes the bottom, and the smooth top faces up.
Score the top with a lame before baking. For a round boule, a single deep slash across the center works. The picture to hold in your head: a floured dough surface with a seam line in the basket, then a clean flip onto parchment.
Round vs Oval: Which Basket Shape Fits Your Bread?
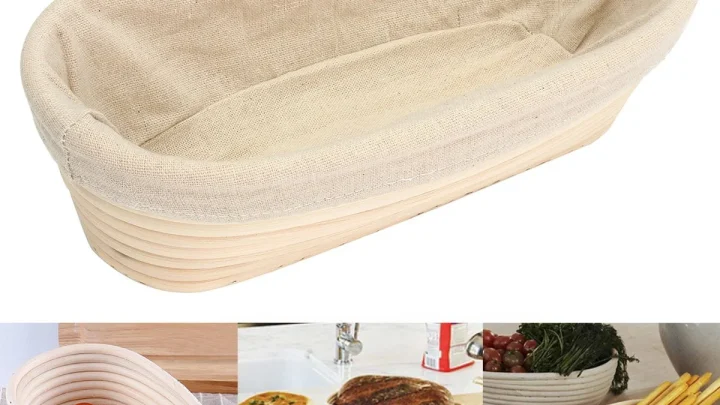
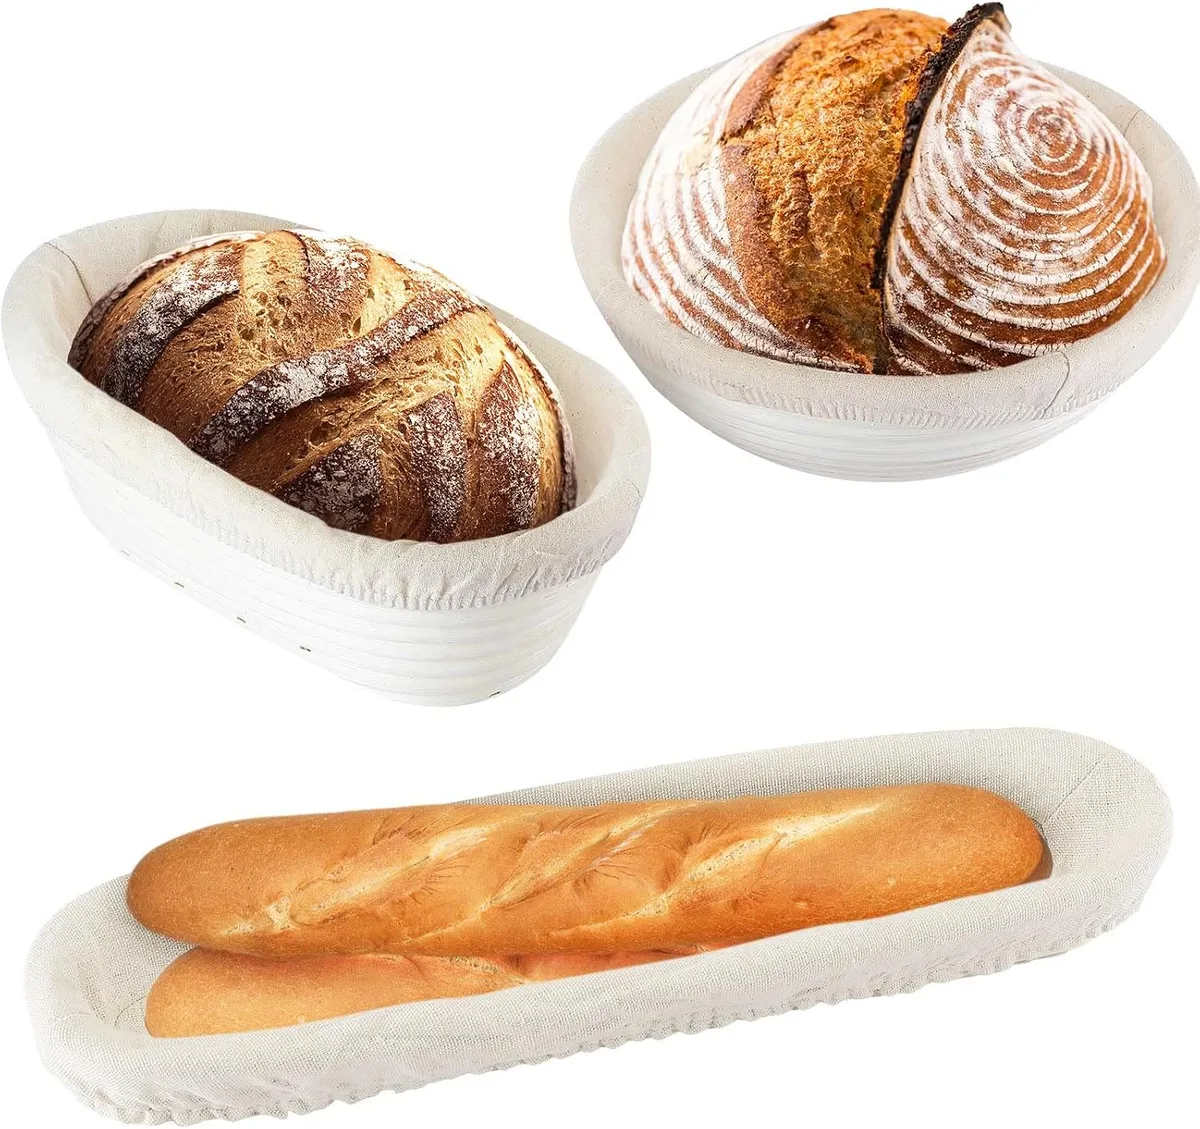
Round and oval baskets serve two different loaf shapes. Round is for boules, oval is for bâtards. If you mostly bake round sourdough, a round banneton is the obvious pick.
But a lot of home bakers own both, because some doughs suit an oval.
The longer shape means more slices that are close to even-sized. Round loaves give you a big center crumb and smaller heels. Oval loaves fit a sandwich slicer better.
| Feature | Round Basket | Oval Basket |
|---|---|---|
| Loaf shape | Boule, round artisan loaf | Bâtard, oval loaf |
| Dough capacity (9-inch) | 750g to 1kg | 800g to 1.2kg |
| Slicing pattern | Round center slices, small heels | Long, uniform slices |
| Best for | Sourdough boules, rustic bread | Sandwich loaves, even slicing |
The visual difference matters at the scoring stage too. A round loaf commonly gets a single deep slash. An oval roof can take several angled cuts.
The basket shape chooses your scoring pattern, so pick based on the bread you actually bake most.
Rattan, Wood Pulp, or Linen-Lined: How to Tell Them Apart (and When It Matters)
There are three main construction types, and each behaves differently.
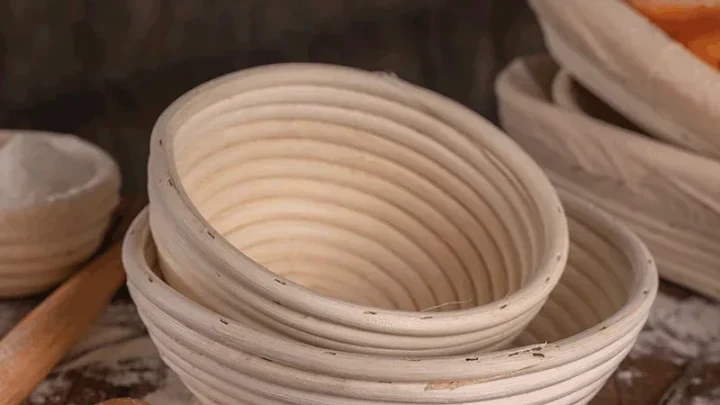
Rattan cane. The traditional spiral basket. It's breathable, lightweight, and leaves that iconic pattern. It's also slightly rougher on the dough, which is why rice flour dusting is critical.
Rattan absorbs surface moisture from the dough, helping to form a firm crust during proofing.
Wood pulp. Newer and smoother. Wood-pulp baskets have no weave, so they leave a uniformly smooth surface. They're easier to clean because there are no grooves for flour to hide in.
They're less breathable, so you may need to adjust your dusting routine.
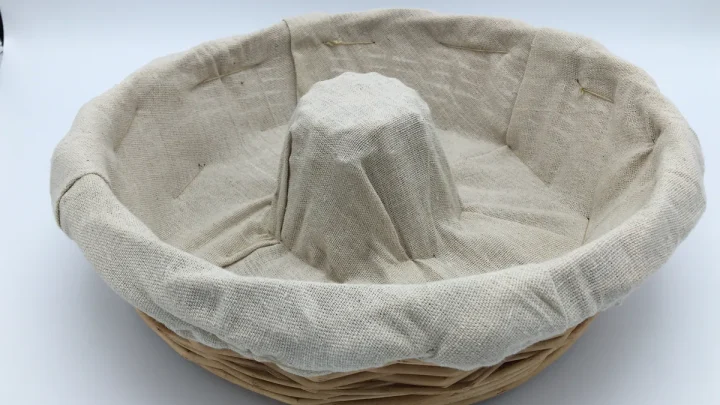
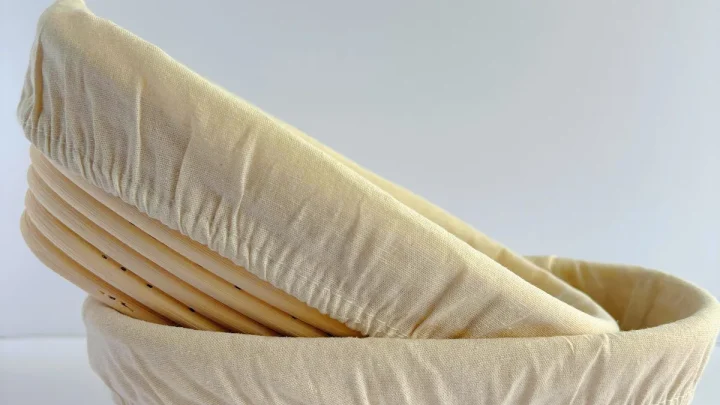
Linen-lined. A rattan or wood-pulp shell with a removable linen insert. This is the gentlest option for very sticky dough. The linen catches the dough, and it's machine-washable.
You lose the spiral pattern, but you gain a loaf that releases cleanly nearly every time.
When it matters: Rattan wins if you want a crust pattern and high airflow. Wood pulp wins if you hate scraping caked flour out of grooves. Linen-lined wins if you're still learning shaping and your dough tends to stick.
What Properly Proofed Dough Looks Like vs. What It Shouldn't
Reading your dough is the real skill in bread baking. The basket holds the dough, but your eyes tell you when it's ready. A properly proofed dough has a clear set of visual signals.
The good signs. The dough has risen to the rim of the basket and domes slightly above it. The surface looks smooth and floured, not wet. When you press a finger in, the indentation springs back slowly and leaves a small dent.
That's your signal to bake.
The warning signs. If the dough has spread sideways like a puddle, it's over-proofed. If it springs back instantly and feels tight, it needs more time. If the surface looks shiny and sticky, the dough is likely sweating and needs a better-floured basket next time.
Here's the side-by-side you'd see in a photo guide:
| Visual Cue | Properly Proofed | Over-Proofed | Under-Proofed |
|---|---|---|---|
| Dough height | At or above the rim | Melted and spread | Well below the rim |
| Surface | Floured, dry, matte | Shiny, wet, sticky | Tight, smooth, stiff |
| Press test | Springs back slowly | Stays dented or collapses | Springs back instantly |
| Flip behavior | Holds round shape | Flattens quickly | Holds shape, bakes dense |
The press test is the most reliable. Under-proofed dough feels like a firm pillow. Over-proofed dough feels like a water balloon.
Practice with a timer and your eyes, and you'll calibrate in a few bakes.
7 Common Visual Mistakes That Ruin a Banneton Loaf
Even experienced bakers hit these snags. Each one has a visible cause, so you can catch it next time.
1. Dough sticking to the basket. The most common failure. Usually means you didn't dust enough rice flour, or you used all-purpose flour instead.
Fix: double the dusting and check the grooves.
2. Flour clumps on the crust. Big white patches that bake into hard spots. Happens when you over-dust with coarse flour.
Fix: use a fine sieve and brush off excess before flipping.
3. Lopsided loaf after flipping. The dough settled unevenly during proof. Happens when the seam wasn't centered or the basket was too large.
Fix: shape tighter and match basket size to dough weight.
4. Deep crease marks on the crust. The linen liner bunched up, or the dough baked with a deep fold at the base. Fix: smooth the liner and make sure the dough is centered.
5. Loaf flattens after the flip. This is usually a shaping or proofing issue, not a basket problem. The dough lacked tension before going into the basket.
Fix: spend more time on the final shaping step.
6. Mold spots on the basket. Visible as white or grey fuzz on the rattan. This comes from moisture left after cleaning.
Fix: always dry the basket thoroughly, never wash with water.
7. Crust pattern is barely visible. If you wanted that spiral look but got a blank surface, the dough didn't press against the weave. Either the dough was too small for the basket or the rice flour didn't sit in the grooves.
Fix: use the right basket size and dust generously.
How to Clean, Dry, and Store Your Basket So It Lasts
A banneton is not a dish. You don't wash it with water. Water gets absorbed into the rattan or wood pulp, and then it stays damp, and then mold moves in.
The correct cleaning method is dry and simple.
The brush-out method. After each use, let the basket sit until the flour and dough crumbs are fully dry. Then take a stiff brush and sweep out everything stuck in the grooves. A pastry brush or a clean dish brush works well.
The photo reference shows exactly this: a dry brush pushing flour dust out of a woven rattan basket.
When it's really crusty. If dough bits are baked in, don't pick at them with water. Crumble them out with your fingers or a dry paper towel. Some bakers use a stiff nylon brush for stubborn residue.
Never soak the basket.
Drying between uses. Store the basket in a dry place with good airflow. In humid climates, some bakers pop the basket in a warm oven (turned off) to drive out moisture. The USDA's food safety resources note that raw flour can carry bacteria, so wash your hands and surfaces after handling it.
For the basket itself, dry storage is the whole game.
Seasoning a new basket. Many manufacturers recommend a light pre-treatment. Dust the basket with rice flour and let it sit overnight, then brush it out. Some bakers repeat this a few times to build a non-stick layer.
Quick Reference Guide: Basket Sizes, Dough Weights, and Proofing Times
A quick spec table saves you from guessing. Match your basket diameter to your dough weight, and you'll get a proper rise every time.
| Basket Diameter | Dough Weight Range | Best For |
|---|---|---|
| 8 inches (20 cm) | 450g to 600g | Small boules, single-serving loaves |
| 9 inches (23 cm) | 750g to 1kg | Standard family sourdough loaf |
| 10 inches (25 cm) | 1.2kg to 1.5kg | Large loaves, high-hydration dough |
Proofing times depend on your recipe and temperature. At room temperature around 70°F, expect 1 to 2 hours. In the refrigerator, a cold proof can run 12 to 15 hours.
The dough tells you when it's ready, not the clock.
Baking temperature matters too. For a sourdough boule in a Dutch oven, preheat to 475°F (246°C). Bake covered for 20 to 25 minutes, then uncovered for 20 to 25 minutes until deep golden brown.
The basket does its job before the oven, but the final spring seals the deal.
Frequently Asked Questions
Do I need a proofing basket for sourdough?
No, but it makes the process much easier. A basket supports slack dough, gives it a round shape, and can be stored in the fridge for an overnight rise. Substitute a mixing bowl lined with a floured tea towel if you don't have one.
The results differ: bowl-proofed loaves tend to spread more.
Can I use a proofing basket for regular yeasted bread?
Yes. A proofing basket works for any bread dough that needs structure during the final rise. It's especially useful for high-hydration doughs that would flatten in a bowl.
Lower-hydration doughs are stiffer and hold their shape anyway, so a basket is really a bonus.
How do I stop dough from sticking to my banneton?
Dust the basket very well with rice flour before adding the dough. Make sure you get rice flour, not all-purpose flour, since white flour creates a sticky paste. You want a visible, even, powdery coating across the whole basket.
If dough still sticks, increase the dusting next time and check your hydration level.
Why does my bread look flat even with a proofing basket?
A flat loaf usually means a shaping or proofing problem. If the dough flattened in the basket, it was likely over-proofed. If it flattened after flipping, you lost surface tension during shaping.
Check your pressing test and spend a little more time building tension before the basket stage.

Similar Posts