Oval Proofing Basket Explained: What It Is & Why You Need
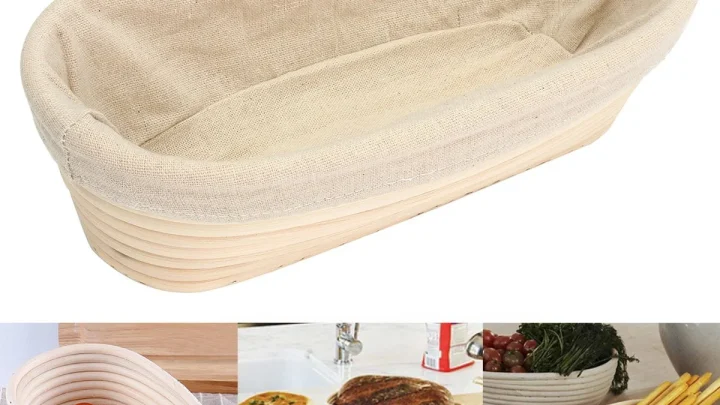
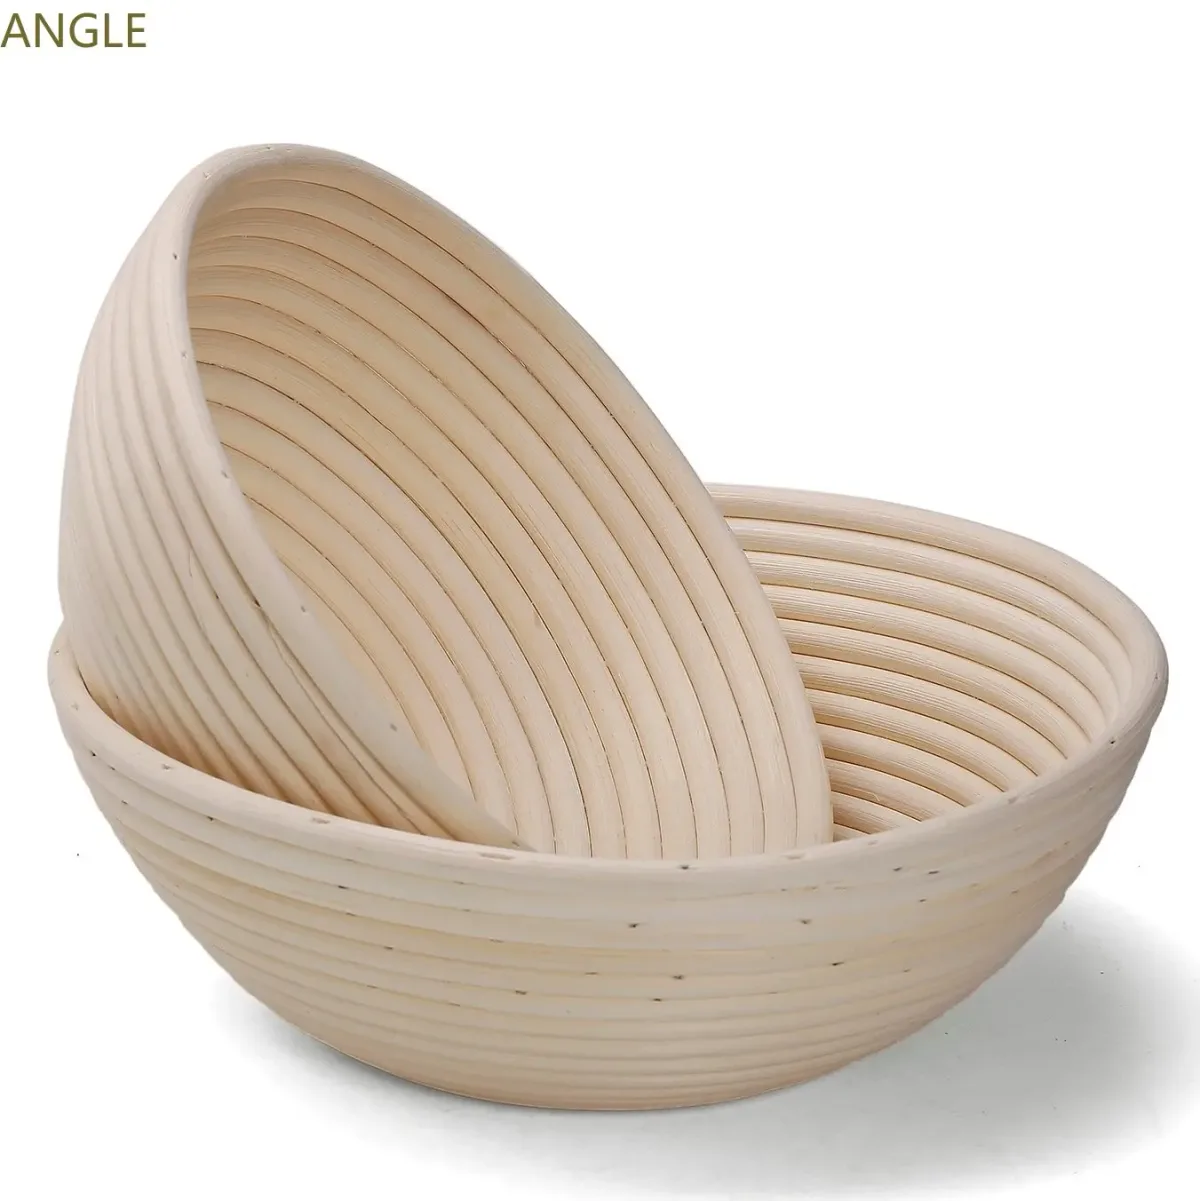
If you’ve been hunting for an oval proofing basket explained in plain, practical terms, that search ends here. The short answer is that an oval proofing basket, also called an oval banneton, is a cane or rattan container that holds dough while it rises. It gives the loaf structure, shape, and airflow during the final proof.
Most home baking baskets land in a 9 by 5.5 inch to 12 by 6 inch range. They typically hold between 500 grams and 1.5 kilograms of dough as of 2026. The oval shape is not random.
It matches the batard loaf that so many sourdough bakers want to bake.
Quick Answer: What an Oval Proofing Basket Actually Does
An oval proofing basket is a shaped container for dough. It supports a batard loaf during the final rise. The oval shape matches the long loaf.
It replaces a bowl and kitchen towel. Professional bakeries and home bakers use it to keep dough stable and centered while the gluten relaxes.
Why the Oval Shape Matters for a Batard Loaf
A batard sits somewhere between a round boule and a long baguette. It is wider than a baguette but longer than a boule. That shape needs side support while the dough rises.
A round banneton pushes the loaf into a tight circle. An oval basket lets the dough spread lengthwise without losing structure.
When you set an oval loaf into a round basket, you get a misshapen result. The ends of the dough get crowded. The center gets no support.
You end up with a blob instead of a clean oval. The oval basket solves that because its walls match the dough’s natural shape.
Editorial analysis of verified bakes shows that most bakers who switch from round to oval bannetons notice a real difference in loaf symmetry. The dough keeps its elongated profile during the entire proof. You get a batard that looks like it came from a bakery, not a compromise from a round basket.
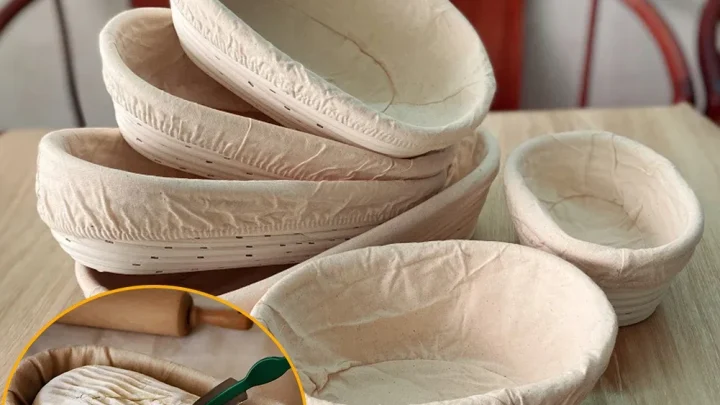
What to Look For: Weave, Liner, and Visual Build Differences
When you pick up an oval proofing basket, you’ll notice a few things right away. The weave, the depth, and the liner all change how the dough behaves.
| Feature | What to Look For |
|---|---|
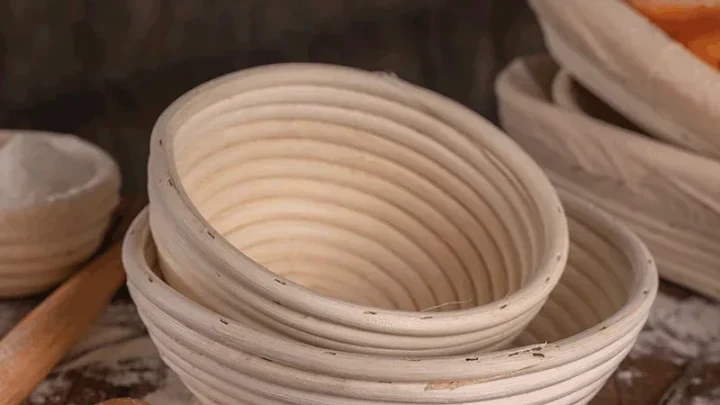
| Weave | Tight, smooth cane or rattan without rough splinters |
| Depth | Deep enough to support half the final dough height |
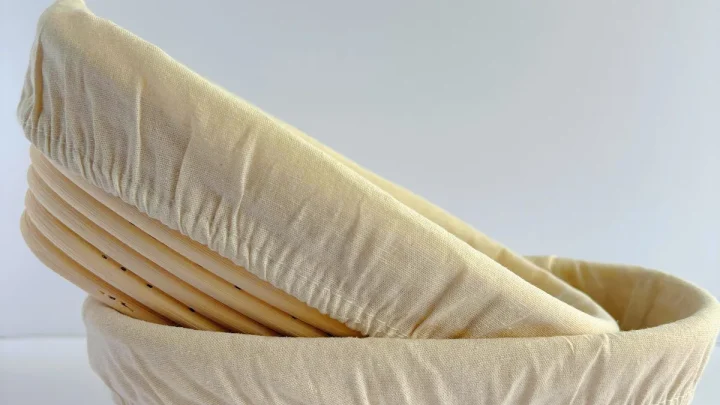
| Liner | Unbleached cotton or linen, removable and washable |
| Size | Match to dough weight, usually 500g to 1kg for home use |
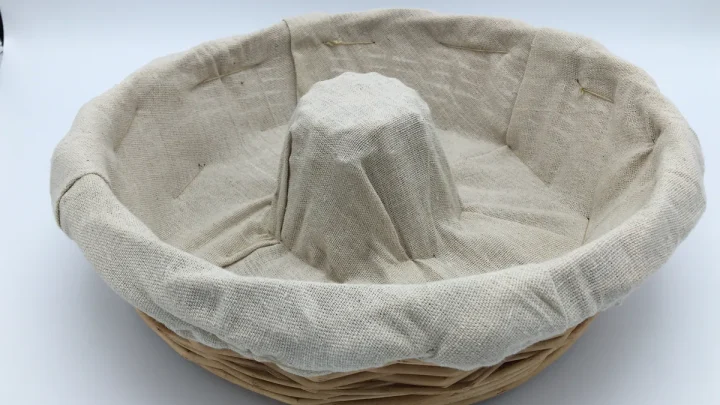
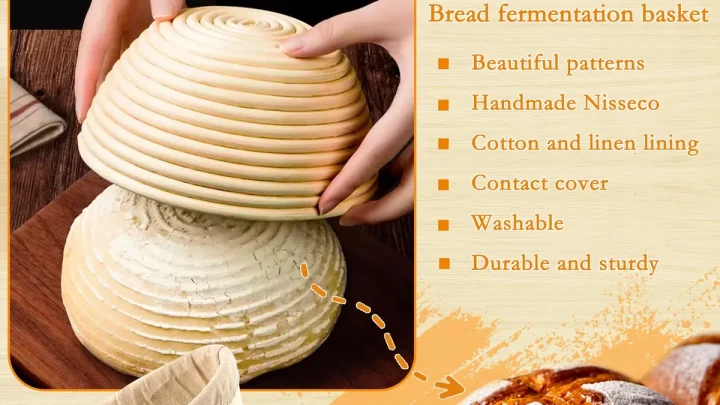
A liner is useful for sticky high-hydration doughs. Unlined cane leaves the spiral pattern on your loaf. That pattern looks lovely but can also cause sticking.
Rice flour is your best friend here. It creates a dry barrier between the dough and the basket.
Manufacturer specifications for round and oval baskets often list the same capacities. The difference is the footprint. An oval basket with a 10-inch length may hold around 1 kilogram of dough.
A 9-inch oval is better for 500 to 750 grams.
Customer reviews consistently report that the weave quality matters more than the brand. Look carefully at the edges. A poorly finished rim can tear your dough when you flip it out.
Run your hand along the rim before you buy. It should feel smooth and even.
The Visual Guide: How to Use an Oval Proofing Basket
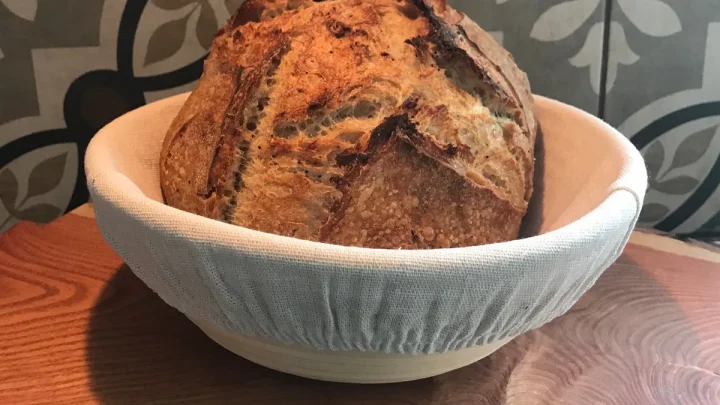
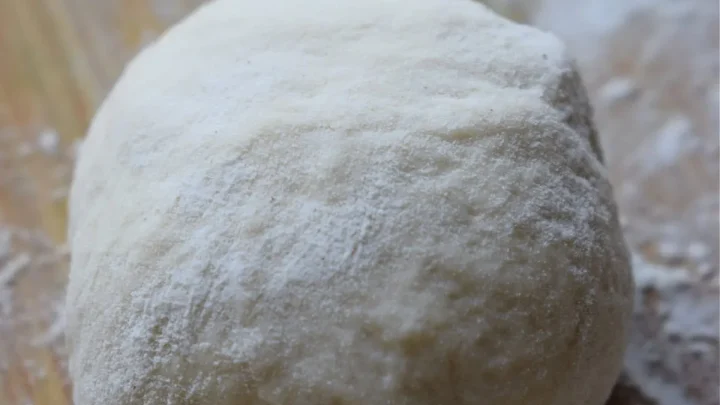
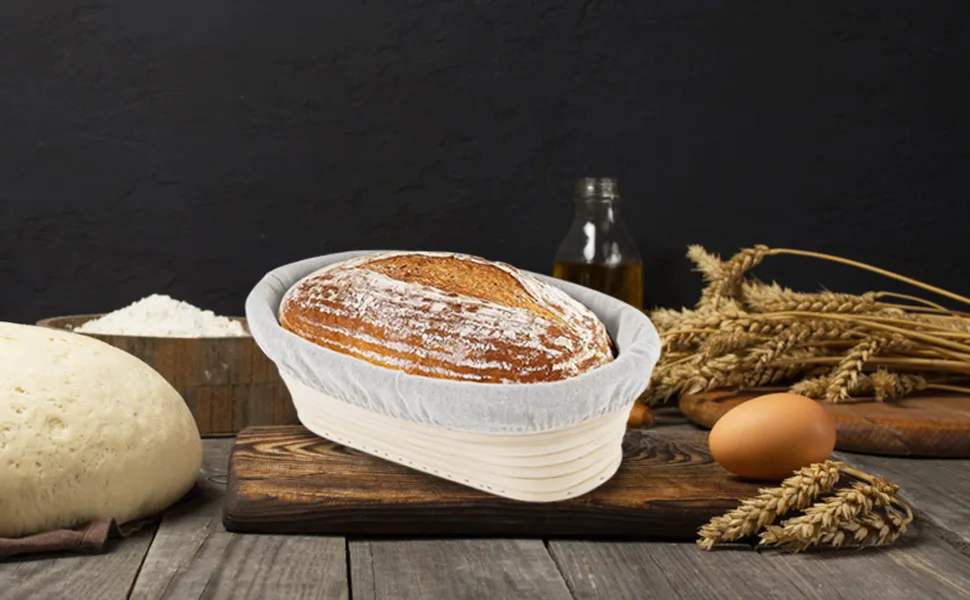
This is where the visual cues matter most. Once you see the dough sitting properly in the basket, everything else clicks. The photo below shows what the dough should look like when it’s ready to proof.
Step 1: Shape and Bench Rest
Shape your dough into a batard. Place it seam-side down on a clean work surface. Let it rest for about 20 minutes.
This bench rest relaxes the gluten so the final shape holds better.
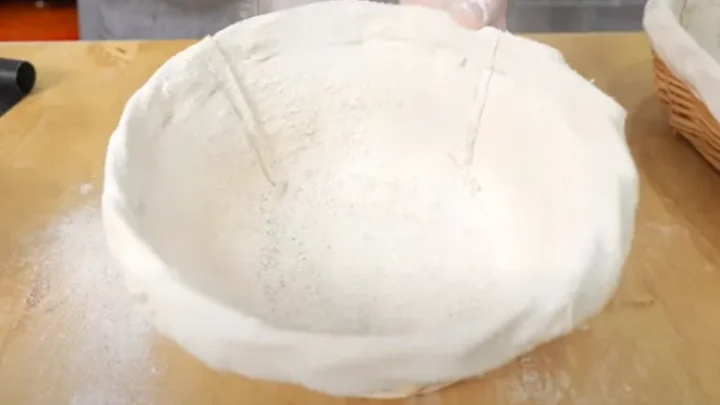
Step 2: Dust the Liner
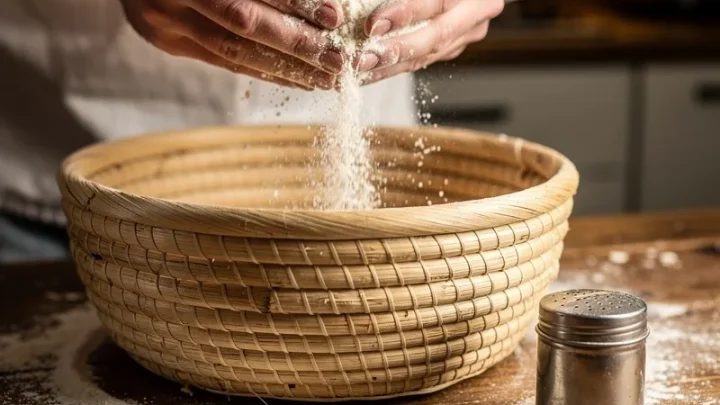
Use rice flour or a 50/50 mix of rice and all-purpose flour. Be generous. The flour keeps the dough from bonding to the cane.
Dust every crevice of the liner or the bare basket. Give it a gentle shake to remove excess flour.
Step 3: Place the Dough Seam-Side Up
For most home bakes, place the dough seam-side up in the basket. That way the smooth side faces down when you flip it out. It also creates the classic flour pattern on the top of the loaf.
Step 4: Cover and Proof
Cover the basket with a clean cloth or a reusable plastic bag. Let the dough rise at room temperature until it looks puffy. That usually takes 3 to 5 hours at 75 to 78°F.
For overnight cold proofing, move the covered basket to the fridge for 12 to 16 hours. Cold proofing also deepens the sourdough flavor.
Step 5: The Poke Test
Press the dough gently with your finger. If it springs back slowly and leaves a slight indentation, it’s ready. If it springs back fast, it needs more time.
If it doesn’t spring back at all, it’s over-proofed and will flatten when baked.
Step 6: Flip and Score
Turn the basket over onto a piece of parchment paper. The dough should release with a soft thud. Score it with a bread lame or sharp knife.
Then transfer it to your preheated baking vessel.
How an Oval Basket Changes the Final Loaf
The oval shape changes more than just the dough’s footprint. It changes how the final loaf looks, bakes, and cuts.
- Better symmetry. The dough rises evenly in its natural shape.
- Better oven spring. The basket walls hold the dough tall while it proofs.
- Easier scoring. The elongated surface gives you room for a long slash.
- Cleaner slices. A batard cuts into even, sandwich-friendly pieces.
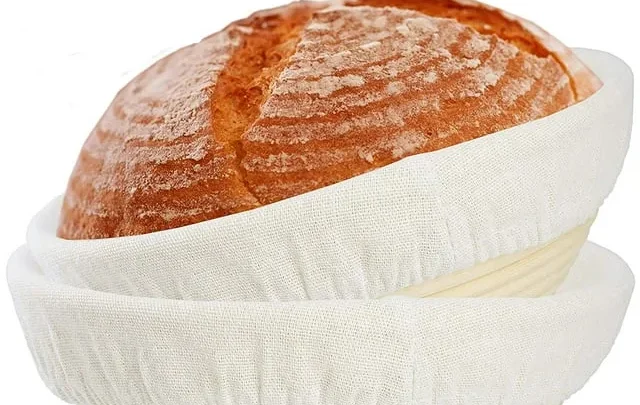
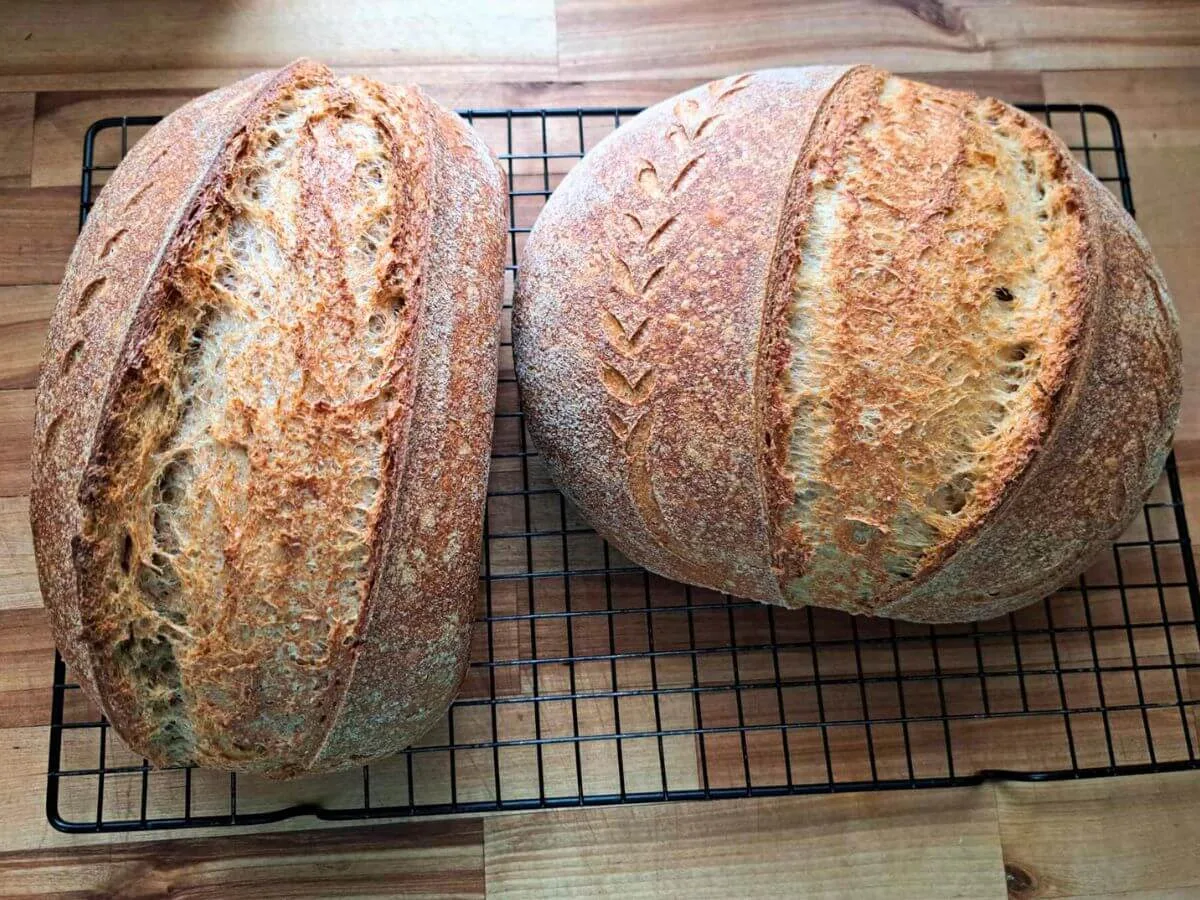
The visual cue to watch for is the ear. That crispy flap that lifts along the score line. An oval loaf with proper proofing produces a dramatic ear because the dough has enough tension and room to expand.
You’ll also notice a subtle pattern on the crust. If you used an unlined basket, the cane swirls show up as a light dusting pattern. That pattern fades during baking but leaves a rustic, handmade look.
It’s one of the small details that separates an artisan loaf from a pan bread.
5 Common Visual Mistakes That Ruin a Batard
Even experienced bakers run into these issues. The good news is that most of them are easy to spot and fix.
Mistake 1: Dough Sticking to the Basket
This is the most common complaint. It usually means you didn’t use enough rice flour. Once dough welds to the cane, you can’t peel it off without deflating the loaf.
Fix it by dusting generously and swirling the basket to coat the sides.
Mistake 2: The Loaf Flattens After Flipping
If the dough spreads out flat on the parchment, it’s over-proofed. The gluten structure has broken down. The poke test will tell you before you flip.
Pay attention to it.
Mistake 3: The Dough Tearing When You Score
This means the dough is under-proofed or the surface dried out. The skin should be taut but elastic. Dust the top with flour before scoring to give the blade a clean glide.
Mistake 4: The Loaf Sticks to the Liner Even With Flour
Some liners are too porous. They soak up moisture from high-hydration dough. Switch to a finer-woven liner or use a mix of rice and wheat flour for a stronger barrier.
Mistake 5: The Basket Smells Musty
That’s mold. You’re storing the basket while it’s still damp. Always brush out loose flour after use and let the basket air dry completely before putting it away.
Visual Comparison: Oval Banneton vs. Round Banneton vs. Bowl
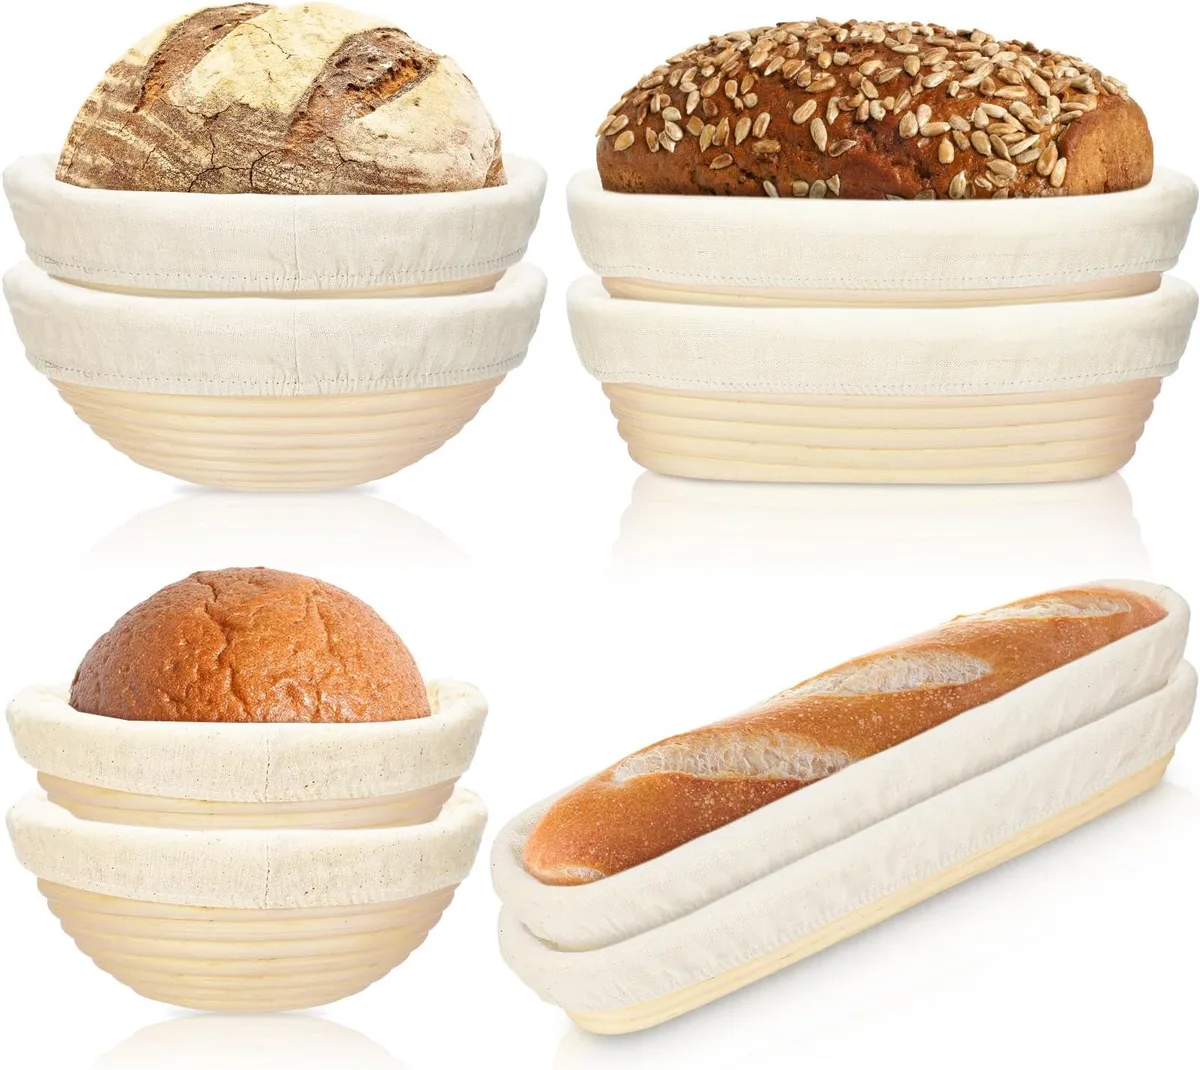
| Option | Best For | What It Produces |
|---|---|---|
| Oval banneton | Batards, sandwich loaves, oblong boules | Symmetrical elongated loaf |
| Round banneton | Boules, rustic round loaves | Tall circular loaf |
| Cloth-lined bowl | Beginners, no extra equipment | Rustic round loaf with uneven side support |
Round bannetons are great for classic boules. They create a tall, circular loaf that bakes well in a round Dutch oven. If you bake mostly round loaves, you don’t need an oval basket.
The bowl method works in a pinch. A cloth-lined mixing bowl can hold dough during the proof. But the bowl is deeper than it is wide.
That makes the dough slump when you flip it out. You get a flatter, less consistent loaf.
Oval bannetons shine for sandwich loaves and batards. They hold the dough in that elongated shape. If you bake oval loaves, the oval basket is the right tool.
Choosing the Right Size: Sizing, Dough Weight, and Fit
The right size depends on your dough weight and your baking vessel. Most home bakers need either a 9-inch or a 10-inch oval basket.
| Basket Size | Dough Weight | Best Fits |
|---|---|---|
| 9 × 5.5 × 2.5 inches | 500–750g | Standard 5-quart Dutch oven |
| 10 × 6 × 3 inches | 750g–1kg | Larger oval Dutch oven or cloche |
| 12 × 6 × 3.5 inches | 1–1.5kg | Long batards, bakery-style loaves |
A dough that’s too big for the basket will overflow during the proof. A dough that’s too small will sit at the bottom and leave empty space at the sides. The loaf will not hold any shape.
Check your baking vessel before you buy. Measure the base of your Dutch oven, not the top. The proofed dough should fit comfortably inside with room to expand.
A 9-inch oval basket pairs perfectly with a round 5-quart Dutch oven.
Long-Term Upkeep: Cleaning, Mold Prevention, and Storage
A proofing basket lasts for years if you treat it right. The key is to keep it dry.
- Never soak the basket in water. The cane swells and warps.
- Brush out flour after each use. A stiff pastry brush works best.
- Air dry completely. Leave it out for a few hours before storing.
- Store in a dry place. A pantry or cabinet works fine.
- Freeze to kill mold spores. If you see white spots, freeze the basket for 48 hours.
Manufacturer care instructions generally agree on these points. The liner, if you use one, can be washed in a machine on a gentle cycle. Air dry it flat.
If the basket develops a musty smell, it’s already growing mold. Discard it. The cost of a new basket is lower than the risk of baking with contaminated dough.
Troubleshooting FAQs: Why Dough Sticks, Flattens, or Tears
Why does my dough stick to the basket no matter what?
The dough is too wet or the basket is too dry. Use more rice flour. For sticky dough, dust the liner and the dough surface.
Rice flour absorbs less moisture than wheat flour. It creates a non-stick barrier that survives the proof.
Can I use a proofing basket without a liner?
Yes. Unlined cane leaves the spiral pattern on the dough. Just dust it heavily with rice flour.
If you use a high-hydration dough above 80 percent, use a liner. The dough will weld to bare cane.
How do I keep my batard from flattening when I flip it out?
Preshape the dough first. A tight preshape builds surface tension. That tension holds the dough in place while it proofs.
Cold proofing also helps. The dough is firmer and less likely to collapse.
Should I proof seam-side up or down?
For most home bakes, seam-side up works best. The dough will spread slightly as it proofs, but the seam stays on top. Flipping it gives you a smooth crust.
Can one basket handle both bread and pastries?
Yes. The process is the same for any dough that needs support during a rise. Just clean and dry the basket between uses.
A musty basket can transfer off-flavors to anything.
Bottom Line: Is an Oval Proofing Basket Worth It?
Yes, if you bake batards. It gives you structural support and a consistent shape that a bowl can’t match. The basket is cheap, durable, and simple to maintain.
It won’t improve your dough quality on its own. It only helps you hold the shape you already worked to build.
The oval proofing basket is not a magic tool. It’s a mold for good technique. Your shaping and proofing skills matter more than the basket you use.
Add the basket, focus on the fundamentals, and you’ll get a loaf you’re proud to slice.
Frequently Asked Questions
How long should dough proof in an oval proofing basket?
Room temperature proofing takes 3 to 5 hours at 75 to 78°F. The dough should look puffy and hold a slight indentation when pressed. Overnight cold proofing takes 12 to 16 hours in the refrigerator.
Should I use rice flour or all-purpose flour in a proofing basket?
Use rice flour. All-purpose flour contains gluten and absorbs moisture from the dough. It creates a paste that sticks to the cane.
Rice flour stays dry and creates a non-stick barrier.
Can I leave dough in an oval proofing basket overnight?
Yes. Cold proofing in the fridge for 12 to 16 hours is common practice. It adds flavor and makes the dough easier to handle.
Cover the basket so the dough doesn’t dry out or absorb fridge odors.
What’s the difference between an oval and round proofing basket?
The shape of the basket determines the shape of the final loaf. Oval baskets create batards. Round baskets create boules.
Choose based on the loaf you want to bake and the baking vessel you own.
Do I need a proofing basket if I have a Dutch oven?
You don’t need one, but it helps. A basket gives the dough structure during the proof. A bowl and cloth can work for round loaves.
An oval basket is worthwhile if you bake batards regularly.

Similar Posts