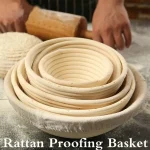
Rattan Proofing Basket Explained: What You Need to Know
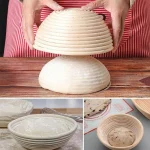
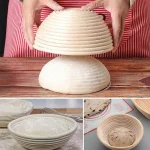
Few things frustrate a home baker more than watching a proofed dough collapse into a flat, sticky mess when it should flip out cleanly. A rattan proofing basket explained in plain terms: it's the tool that prevents that collapse. It gives dough gentle structure, wicks moisture from the surface, and supports an even upward rise.
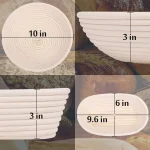
In our research, most rattan proofing baskets range from 8 to 10 inches in diameter and hold anywhere from 500 grams to a full kilogram of dough. The natural cane coils let air circulate, which stops the dough from what bakers call "weeping" or pooling for moisture. That's why sourdough bakers, especially those working with high-hydration dough, treat a banneton like essential gear rather than a nice-to-have.
As of 2026, the classic rattan model still outperforms most plastic alternatives in real-world use.
Quick Answer
A rattan proofing basket, also called a banneton, holds bread dough during its final rise. The natural cane supports the dough, wicks surface moisture, and leaves a spiral pattern on the crust. Season it before first use, dust it with rice flour each time, and flip the dough out just before baking.
Can't Get Dough Out of Your Basket? Start Here
The most common complaint about proofing baskets is dough sticking. That's usually the basket's fault, but not in the way you'd think. A new rattan basket has a rough, unfinished surface.
Touch it and you'll feel tiny splinters and a dry thirst that grabs every bit of flour you give it.
The solution is a one-time seasoning step. You lightly mist the basket with water, rub flour into the coils, and let it dry completely. Do that once before the first use, and you build a smooth, nonstick layer.
If you skip it, the dough will cling to the cane like it has a personal grudge.
Here are the other culprits behind stuck or slumping loaves:
- Not seasoning the basket before first use
- Using all-purpose flour instead of rice flour for dusting
- Proofing dough that's too soft and weak for the basket size
- Leaving the basket uncovered, creating a crust
- Flipping the dough out at a cold, awkward angle
Think of a banneton as a support system, not a mold. It holds the dough in a safe shape while the dough does its fermentation work. If the dough is too wet or the basket is too big, the whole system breaks down.
That's why you'll often see baking instructions that say "use a 9-inch banneton for 500 grams of dough" rather than a one-size-fits-all rule.
What Is a Rattan Proofing Basket, Anyway?
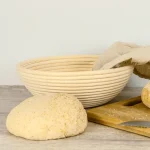
If you've seen the terms banneton, brotform, or proofing basket used interchangeably, you're not wrong. They all refer to the same category of tool. A banneton is simply a basket made from natural cane, wood pulp, or plastic, designed to hold bread dough during its final proof.
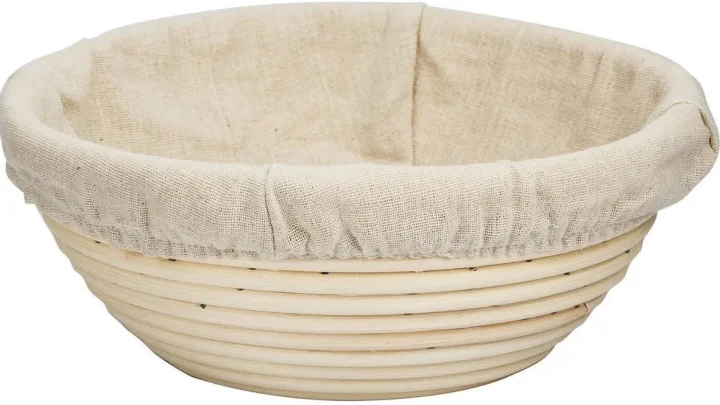
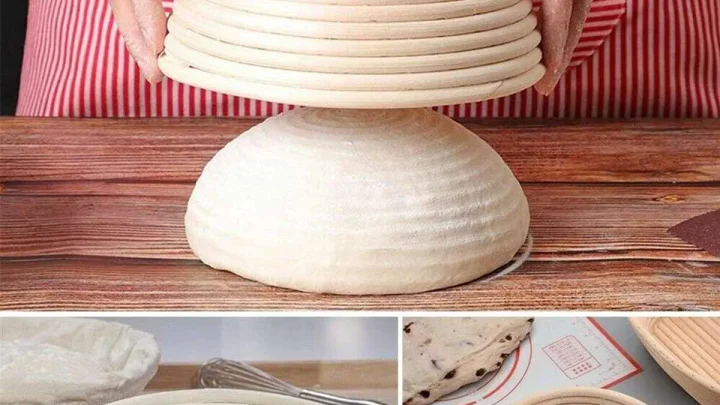
Rattan versions are the classic choice. The cane is harvested, steamed, and coiled into a stiff, open-weave structure. That weave matters because it allows air to reach the dough's surface, forming a thin, dry skin.
That skin is what gives you a clean score and a proud oven spring.
Round, Oval, Lined, Unlined
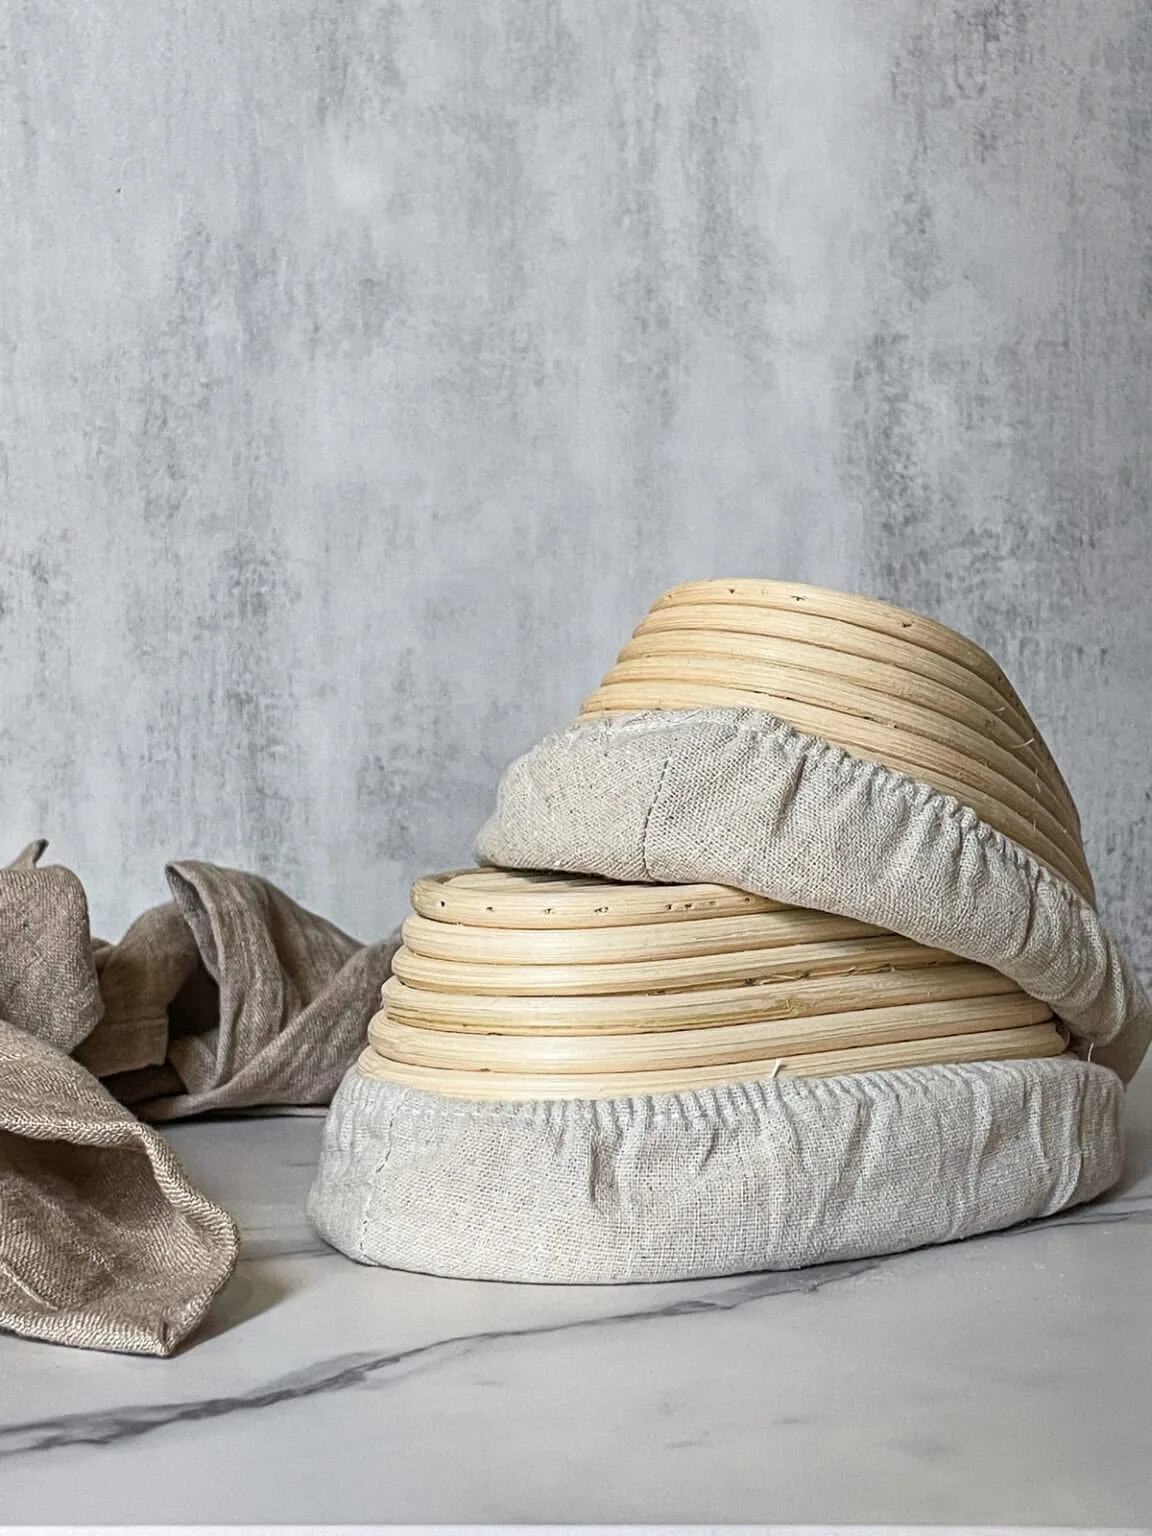
When you start looking, you'll see two main shapes:
- Round baskets for boules
- Oval baskets for batards and sandwich loaves
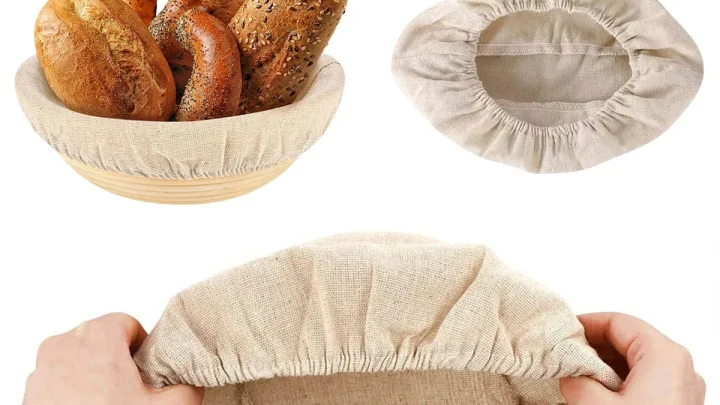
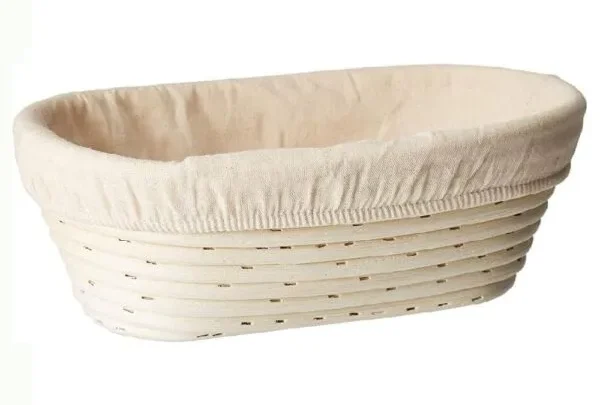
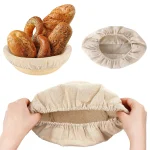
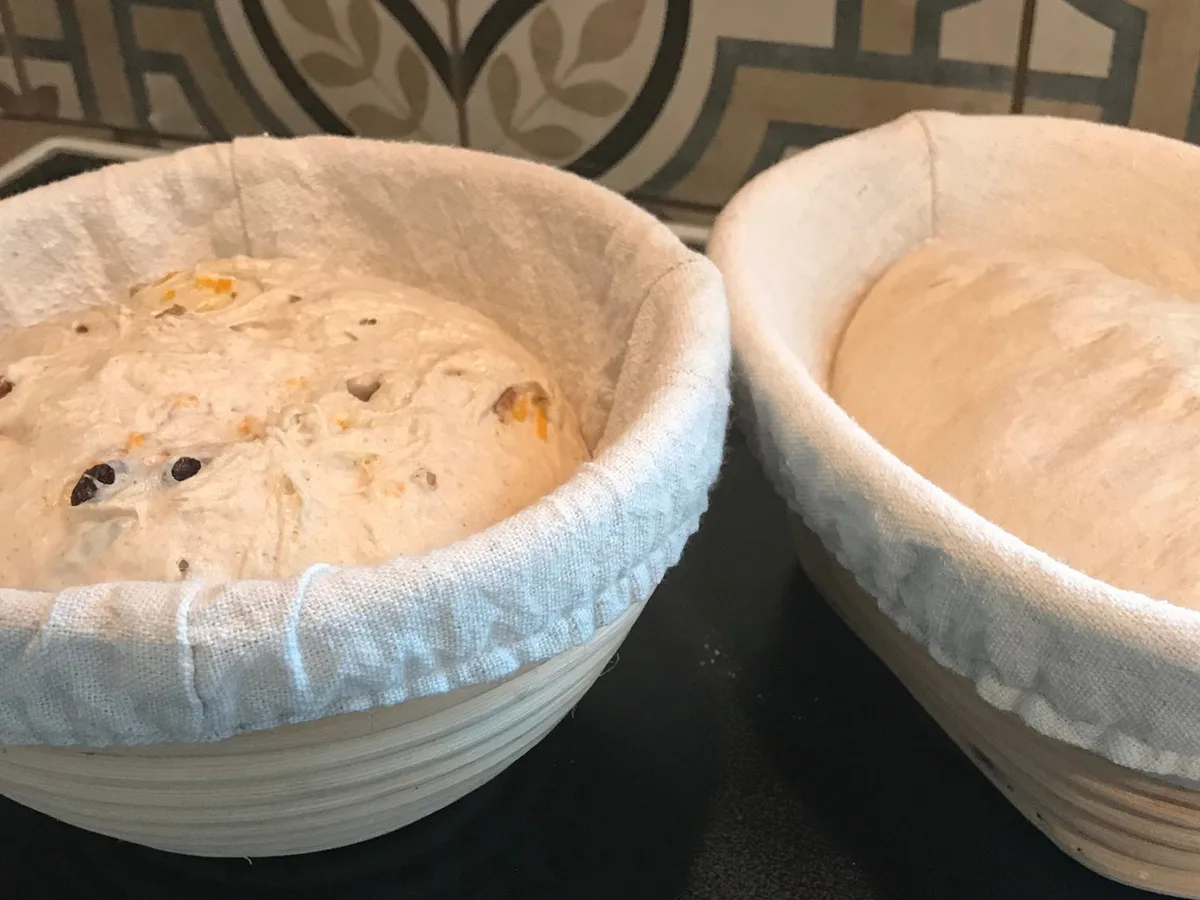
Then there's the liner question. Some baskets come with a removable linen liner. Others are bare rattan.
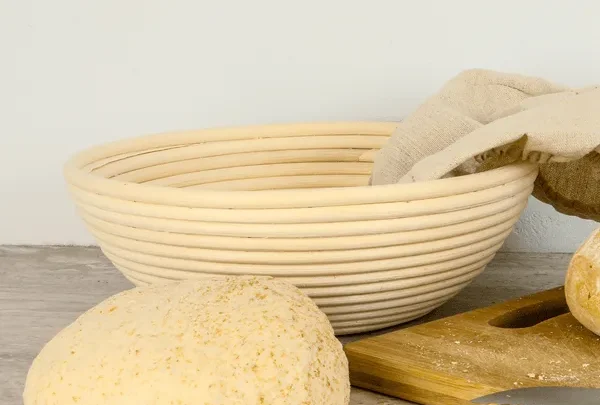
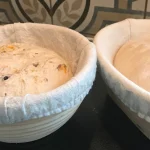
Neither is automatically better. A liner makes cleanup easier and prevents deep flour build up. Bare rattan transfers its spiral pattern to the dough crust and makes flipping the loaf out simpler because the liner can't slip.
If you bake once a week, a lined basket is forgiving and low maintenance. If you're chasing those beautiful spiral marks and don't mind a little extra care, go unlined.
When Do You Actually Need One?
You don't need a rattan proofing basket to bake good bread. People have been proofing dough in floured kitchen towels for centuries. But certain situations make a banneton worth every penny.
First, high-hydration dough. If your dough is 75% hydration or higher, meaning the water content is high relative to flour weight, it has a softer, looser structure. That dough can spread into a puddle without support.
A rattan basket keeps the sides firm and vertical during the final proof.
Second, cold proofing. A long, slow ferment in the fridge develops flavor and improves texture. During that overnight rest, the dough sits for 8 to 16 hours.
A covered basket protects the dough from fridge air and condensation. It also lets you hold multiple loaves at once, which a single bowl doesn't easily do.
Third, consistency. Because the basket holds a fixed size and shape, you can produce the same loaf every time. That appeal matters for cottage bakers and anyone who wants reliable results.
When do you not need one? If you bake often with stiff, low-hydration dough below 65% hydration, a simple bowl with a floured tea towel works fine. And if you only bake in a bread machine, skip the basket entirely.
What to Look For Before You Buy
Choosing the right basket comes down to size, shape, and finish. Get these right, and the basket becomes an everyday tool. Get them wrong, and you'll wonder why anyone bothers.
Size and Dough Capacity
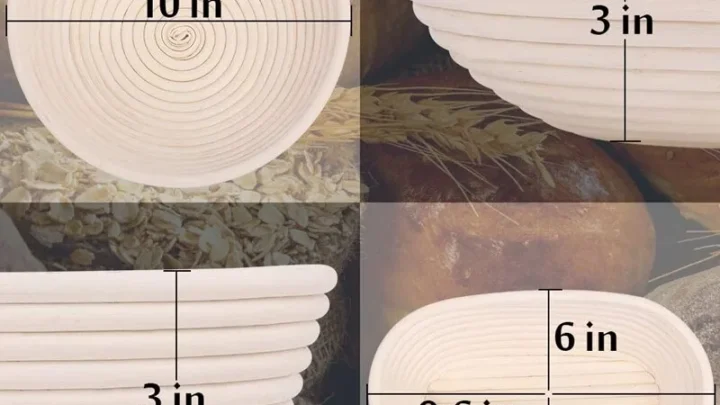
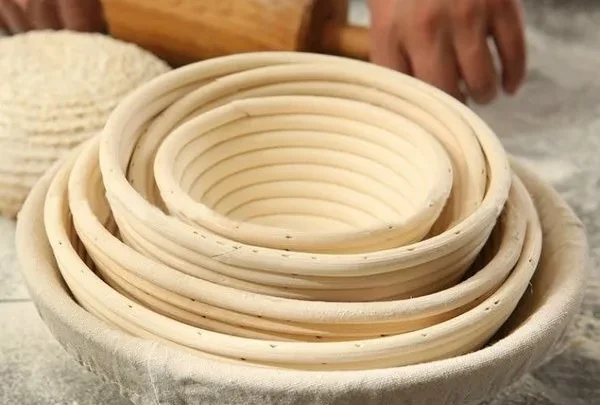
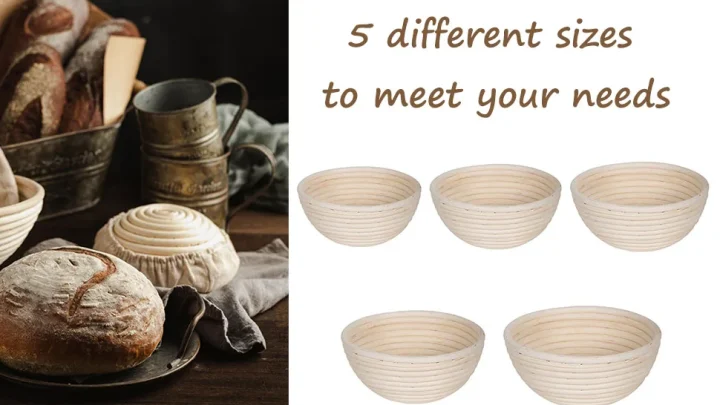
The most important spec is capacity, not the physical diameter alone. A 9-inch round basket typically holds 500 to 750 grams of dough. A 10-inch holds up to a kilogram.
A smaller 8-inch basket suits 300 to 500 grams.
For bread bakers, that means your typical loaf recipe determines your basket size. Here's a simple guide:
| Basket Shape | Approx. Size | Dough Capacity |
|---|---|---|
| Round | 8 inches | 300 to 500 g |
| Round | 9 inches | 500 to 750 g |
| Round | 10 inches | 750 to 1000 g |
| Oval | 12 inches | 750 to 1000 g |
Manufacturer specifications confirm this range across most brands. If your dough fills the basket less than two-thirds full, the loaf may spread outward rather than rise upward.
Lined vs. Unlined
Lined baskets are easier to maintain. You can remove the linen and wash it if needed. Unlined baskets require gentler care, but they produce a nicer, more distinct pattern on the crust.
For beginners, a lined basket is usually the safer pick because dough is less likely to stick to linen than raw cane.
Material Quality and Food Safety
Look for baskets labeled food-safe or food-contact approved. Natural rattan is inherently food-safe as long as it hasn't been treated with harsh varnishes or dyes. Some cheaper imports use glue or coatings that can off-gas or flake over time.
When possible, choose a product from a reputable bakeware maker that documents its materials. The Bread Bakers Guild of America offers solid guidance on professional-quality baking tools.
Price Expectations
A quality rattan banneton runs around $15 to $30. Linen liners add another $5 to $10. That's a modest investment for years of regular use.
Skip the ultra-cheap "craft" baskets with rough glue joints; they tend to shed splinters into your dough.
The Quick Answer: How to Use a Rattan Proofing Basket
Using one is straightforward, but it has a few non-negotiable steps. Set aside five minutes to prepare the basket, and you'll avoid most failures.
1. Season a New Basket
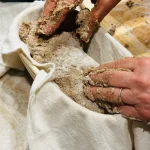
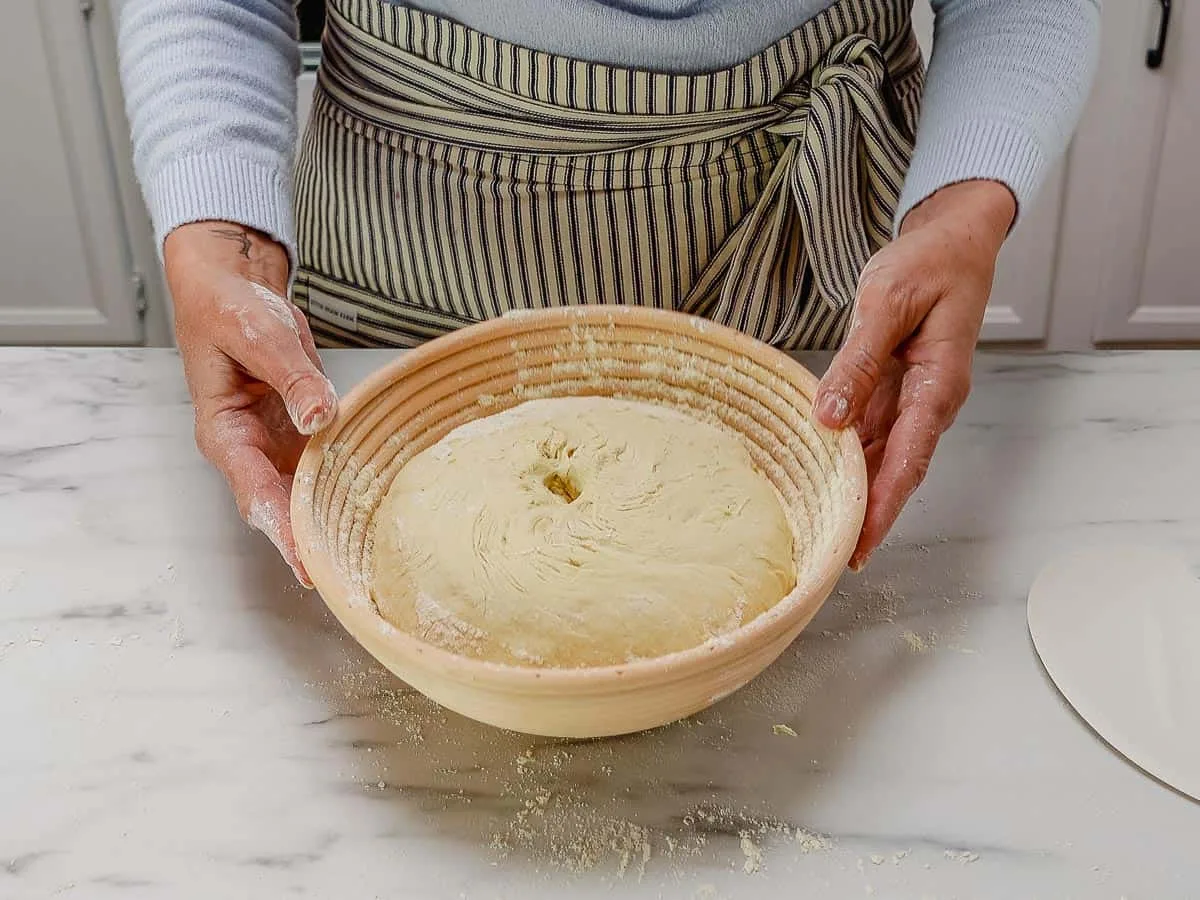
Before first use, lightly mist the inside with water. Sprinkle a generous layer of rice flour over the surface. Rub it in with your hand, then tip out the excess.
Let it dry fully for a couple of hours. This creates a smooth, nonstick base.
2. Dust Every Time
Even after seasoning, dust the basket before every proof. Rice flour works best because it doesn't absorb into the dough like wheat flour does. You need about one to two tablespoons for a standard loaf.
Make sure the flour coats the bottom and lower walls, not just the center.
3. Shape and Place the Dough
After you finish your final shaping, place the dough into the basket. For most techniques, put the dough seam-side up so that the seam stays closed as it rests. If you placed the dough in a lined basket, the liner's seam should face down.
Either way, the goal is even support on all sides.
4. Cover and Proof
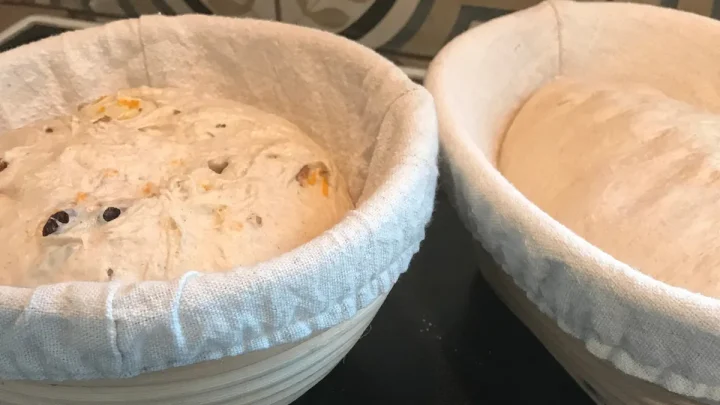
Cover the basket with a clean kitchen towel or plastic wrap. This stops the surface from drying out while retaining enough airflow. Proof at room temperature for one to four hours, or refrigerate for eight to sixteen hours.
Cold proofing improves flavor and makes the dough easier to score.
5. Flip It Out Gently
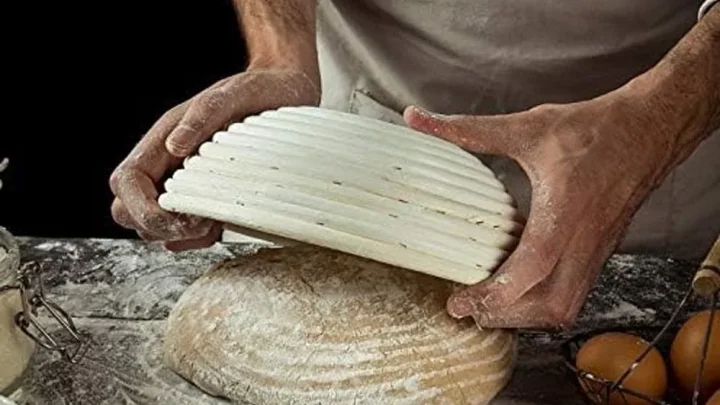
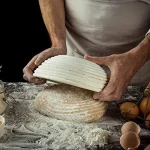
Place a piece of parchment paper or a floured peel over the basket. Invert the whole thing with one confident motion. The dough should release on its own.
If it sticks, gently coax it with your fingers, but avoid pulling too hard or you'll tear the gluten structure.
Step-by-Step: From Dough to Ready-to-Bake
Here's a typical full workflow from shaped dough to ready-to-bake loaf. It looks long, but most of the time you're just waiting on proofing.
| Step | What to Do | Key Tip |
|---|---|---|
| 1 | Pre-shape the dough | Round it loosely and rest it for 20 to 30 minutes |
| 2 | Final shape | Build surface tension with a tight round or batard |
| 3 | Dust the basket | Use 1 to 2 tablespoons of rice flour |
| 4 | Place dough seam-side up | Tuck the seam into the center for even final rise |
| 5 | Cover and proof | 1 to 4 hours at room temp, or 8 to 16 in the fridge |
| 6 | Flip out | Invert onto parchment on a peel or baking stone |
Pre-shaping matters more than bakers expect. It gives the gluten a moment to relax, making the final shape easier and less likely to tear.
For cold proofing, place the covered basket in the fridge right after the final shape. The cold slows fermentation, which deepens flavor. It also firms the dough, so scoring becomes a clean, shallow cut instead of a dragging fight.
Banneton vs. the Alternatives
Rattan isn't the only way to support proofing dough. Here's how it stacks up against the common alternatives.
| Option | Support | Moisture Wicking | Crust Pattern | Best For |
|---|---|---|---|---|
| Rattan banneton | Firm | High | Yes | High-hydration sourdough and cold proofing |
| Lined banneton | Firm | Medium | No | Beginners and easy cleanup |
| Bowl and tea towel | Soft | Low | No | Stiff dough, occasional bakes |
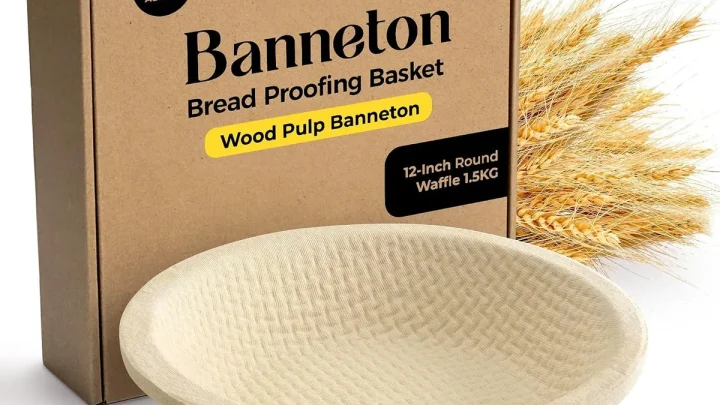
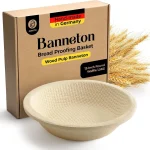
| Wood-pulp basket | Firm | Medium | Faint | Bakers who want a similar shape for less money |
| Cloth couche | Soft | Medium | No | Baguettes and long batards |
The bowl-and-towel method works, but it has two flaws. The towel absorbs flour unevenly, and it offers almost no side support. A slack dough will spread toward the edges after a couple hours.
Rattan keeps everything tight.
Choose a plastic or wood-pulp basket if rattan is hard to source or too expensive. Just know that plastic holds moisture against the dough, so you'll need more flour and a watchful eye on condensation.
Mistakes That Ruin Loaves (and Baskets)
Even with a quality basket, a few missteps can wreck a bake.
- Using too little flour. Dust the entire inside, especially the folds of the linen liner.
- Proofing dough too small for the basket. If the dough fills less than two-thirds of the basket, it'll spread rather than rise.
- Washing the basket. Water pushes flour deep into the cane coils, where it molds. Spot-clean instead.
- Leaving it uncovered in a dry kitchen. The top of the dough will set into a hard skin that blocks oven spring.
- Over-proofing. In a warm kitchen at 80°F, dough can double in two to three hours and then quickly weaken and collapse.
The good news is that every mistake here has a simple fix. More flour, a smaller basket, and a kitchen timer solve most issues.
Cleaning and Storing Your Basket the Right Way
Rattan is a natural fiber, and natural fibers hate standing water. The golden rule of banneton care is simple: keep it dry.
After each use:
- Tap out any loose flour.
- Let the basket air out on a rack for an hour or two.
- If dough left a residue, scrape it off once it dries. Never scrub the cane with water.
- Remove the linen liner, if you have one, and wash it in cold water with mild dish soap. Hang it to dry fully before reinserting.
Spots of mold are a real risk in humid kitchens. If you see fuzzy gray or black patches, wash the basket with water and white vinegar, then dry it in the sun. If the mold has soaked deep into the cane, retire the basket.
Your bread will taste like the basket if it's not clean.
Quick Answers to Common Questions
What's the difference between a banneton and a proofing basket?
Nothing. The terms are interchangeable. Banneton is the French word for the basket; proofing basket and brotform are the English and German names.
They all mean the same tool: a container that holds bread dough during its final rise.
Which flour is best for dusting a banneton?
Rice flour is the standard choice. It doesn't absorb into the dough as readily as wheat flour, so it creates a clean release every time. Use white rice flour for the lightest dusting.
Brown rice flour works but leaves a slightly speckled crust.
Can you wash a rattan proofing basket with soap and water?
Never submerge it. A quick rinse and a wipe with a clean dry cloth is fine, but any deeper cleaning should be done with white vinegar and water. Always dry the basket completely before you store it, ideally in sunlight.
How long can dough sit in a banneton?
At room temperature, 1 to 4 hours is typical, depending on your recipe. In the fridge, 8 to 16 hours is safe and actually improves flavor. Keep dough covered during the whole proof to prevent skinning over.
Should You Buy a Rattan Proofing Basket?
After working through all the details, the answer comes down to how you bake.
Buy a rattan basket if:
- You bake high-hydration sourdough at 75% or higher.
- You want a consistent shape and professional-looking flour pattern.
- You cold-proof overnight for better flavor.
- You're tired of dough sticking to tea towels or slumping in bowls.
Skip it if:
- You bake mostly stiff dough below 65% hydration.
- You only make bread in a machine.
- You'd rather not maintain a second piece of gear.
If you do get one, start with a 9-inch round lined basket. It fits most standard recipes and is the most forgiving. Once you've baked six or seven loaves, you'll know exactly whether a second basket is worth it.

Similar Posts