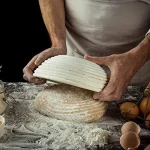
Oval Proofing Basket Problems? Fix Them Fast
If you've ever wrestled dough out of an oval proofing basket only to watch it deflate, stick, or come out looking like a misshapen football, you know the frustration. Oval proofing basket problems are among the most common stumbling blocks for home bakers, and the fixes aren't always obvious.
The good news? Nearly every oval banneton issue follows a predictable pattern. Once you learn to read what your dough is telling you, you can fix the problem in your next bake.
As of 2026, most commercial bannetons remain made from rattan cane, which offers excellent moisture wicking but demands proper seasoning and technique.
Quick Answer
Sticking dough means your basket isn't seasoned or your flour choice is wrong. Collapsed loaves mean over-proofing or weak shaping. Uneven oval shapes come from poor seam placement and tension issues.
Use rice flour, not all-purpose, for dusting. Season a new basket with three to five bakes. Watch proofing time carefully, especially in warm kitchens.
Cold proofing overnight gives better structure and easier release. Most oval banneton failures trace back to just four root causes.
Why Oval Baskets Behave Differently Than Round Ones
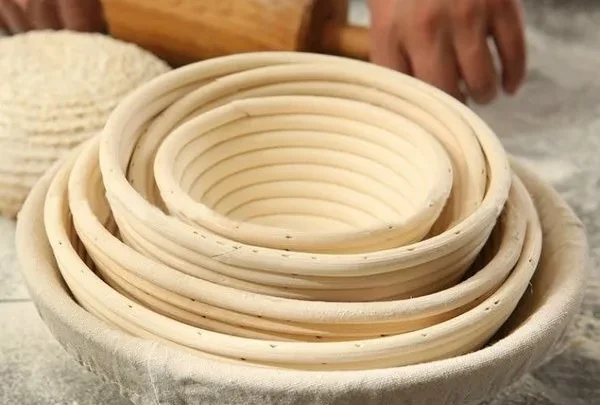
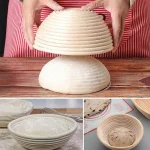
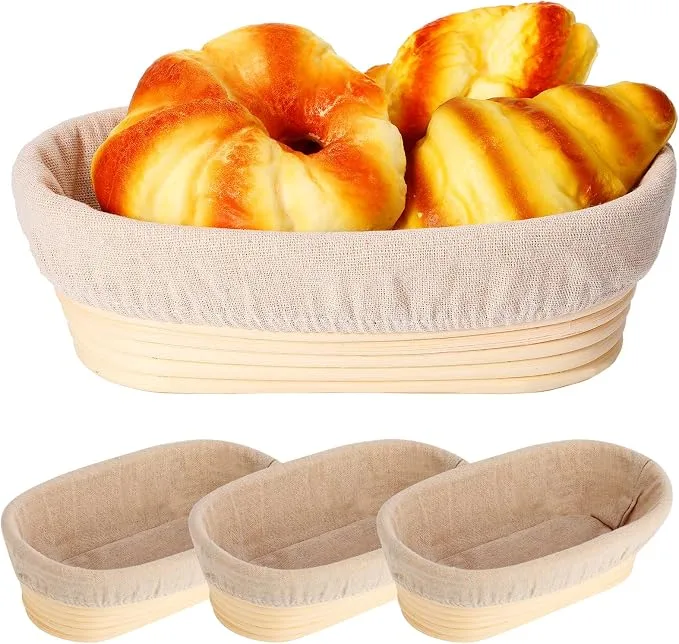
Oval proofing baskets, sometimes called batard bannetons, create a specific challenge that round baskets simply don't have. The geometry changes everything.
A round basket supports dough evenly from all sides. The dome shape distributes weight uniformly, which means the dough holds its structure with less effort. An oval basket has two narrow ends where the dough curves inward.
Those ends get less support, making them prone to collapsing or fusing together during proofing.
There's also the seam issue. With round loaves, the seam placement matters, but it's forgiving. With ovals, the seam runs along the length of the loaf.
If it's not sealed properly, the whole thing can split open during baking. The elongated shape also means more surface area for the dough to stick to, which increases the chance of tearing when you unmold.
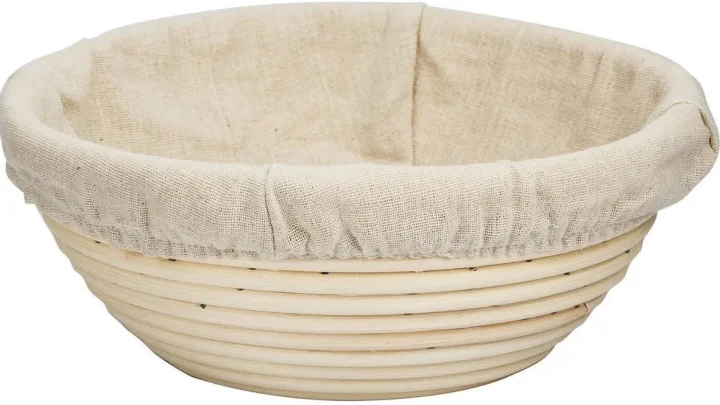
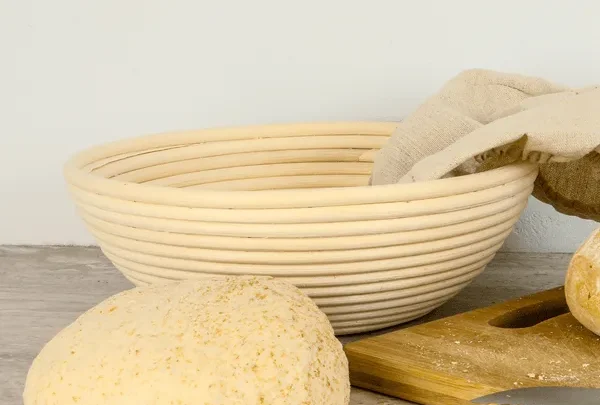
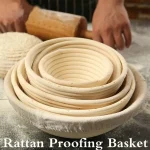
Beyond shape, the material matters. Most oval bannetons are made from rattan, a natural cane that's highly absorbent. That's great for wicking moisture away from the dough's surface.
But it also means the basket needs repeated use to build up a natural non-stick coating. A brand-new rattan basket straight out of the packaging is the single most common cause of dough disasters. Oval baskets are especially prone to this because of their larger surface area.
Diagnosing the Problem: A Step-by-Step Workflow
The trick to fixing any proofing problem is correct diagnosis. Before you change anything in your process, identify which of the four core failure modes you're dealing with.
Step 1: Is the Dough Sticking to the Basket?
If you flip your banneton and the dough clings to the rattan, you're dealing with a sticking problem. The likely culprits, in order of probability:
- Unseasoned basket (fewer than three to five uses)
- Insufficient or wrong type of flour dusting
- Overly hydrated dough (above 80%)
- Dough that proofed too long and became tacky on the surface
Step 2: Is the Loaf Collapsing or Spreading?
If your dough deflates when you turn it out, or spreads into a flat pancake on your baking surface, you have a structure problem. This usually traces back to:
- Over-proofing, where the gluten structure has broken down
- Under-shaping, where the dough didn't develop enough surface tension
- A weak flour with insufficient protein content
Step 3: Is the Shape Uneven or Lopsided?
If one end of your oval loaf comes out flat while the other stays tall, you're dealing with a shaping and seam placement problem. The fix is technique, not equipment.
Step 4: Is the Crust Coming Out Wrong?
If the crust looks great but the crumb is dense, or if the crust has odd rings or patterns, your issue might be with how the dough interacted with the basket surface. Rice flour rings on the crust are normal and desirable. Thick flour patches or burned flour pockets point to over-dusting.
The Sticking Problem: Causes and Fixes
Sticking is by far the most reported oval proofing basket problem. It's also the easiest to fix once you understand what's happening.
New Basket vs. Seasoned Basket
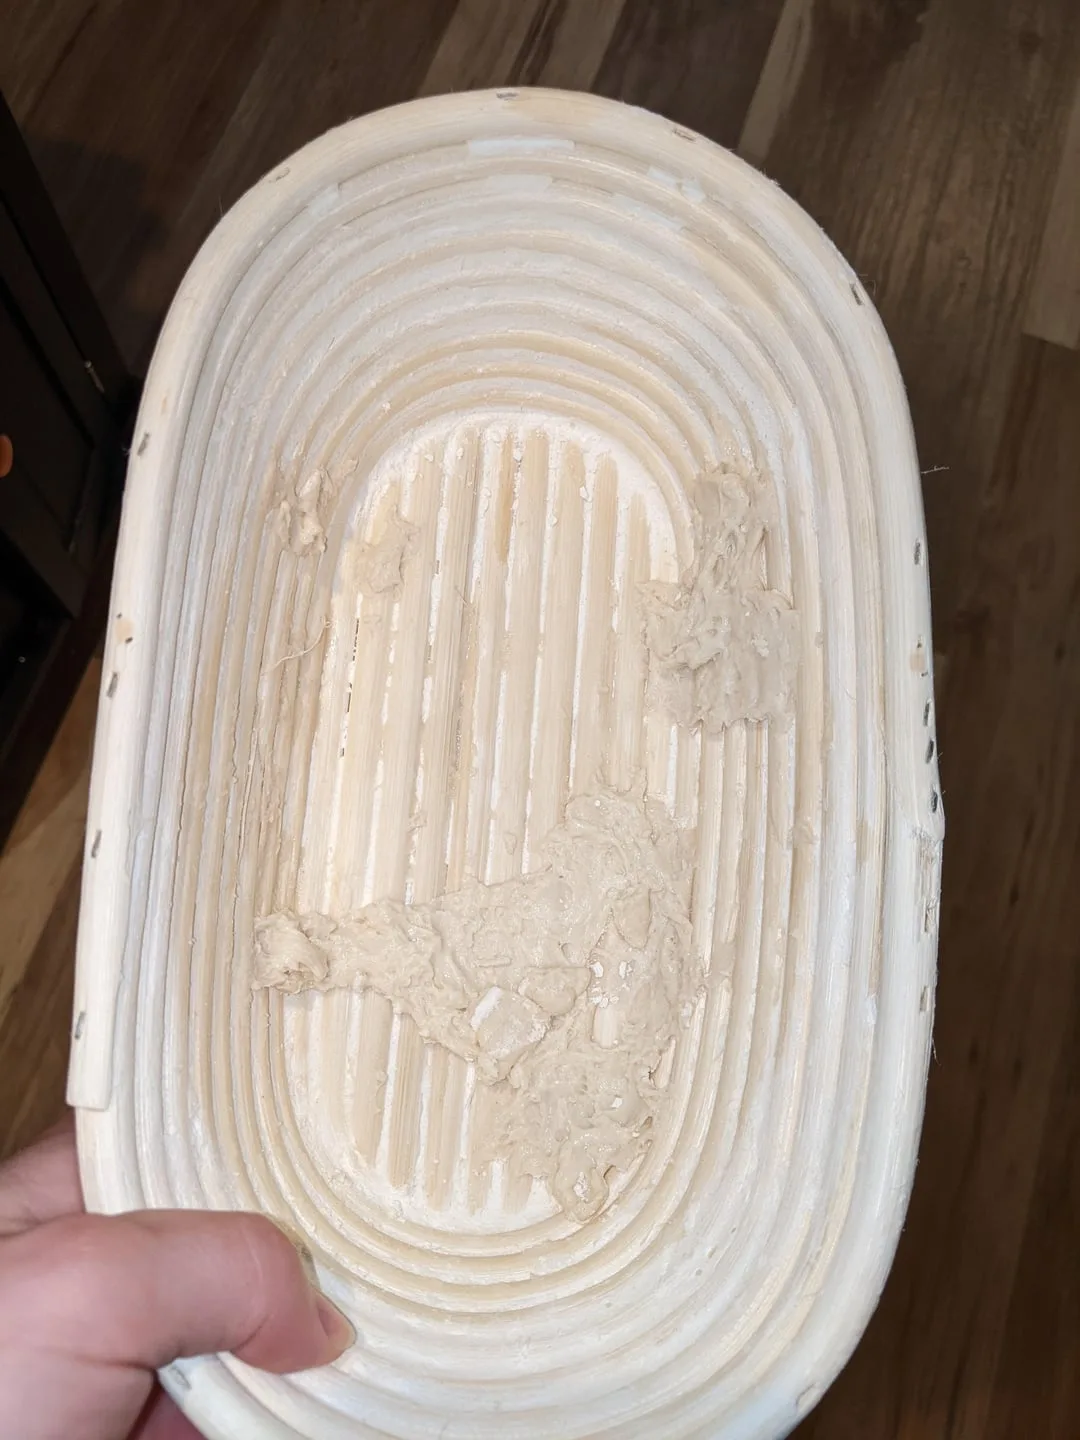
A brand-new banneton is essentially raw rattan. The surface is porous, slightly rough, and highly absorbent. When you place wet dough into an unseasoned basket, the dough literally fuses into the cane's tiny gaps.
Seasoning a new basket takes time. Most bakers report that the first three to five bakes are the hardest. After that, natural oils and flour residues build up a patina that creates a non-stick surface.
To accelerate seasoning, some bakers recommend rubbing a mixture of rice flour into the cane, then letting the basket sit in a warm, dry place for a few hours before first use. This doesn't fully season the basket, but it helps.
Hydration Levels and Dough Strength
High-hydration doughs, anything above 75%, are more prone to sticking because they're wetter and stickier by nature. The dough's surface never fully dries out against the basket, which means it stays tacky.
If you're baking high-hydration loaves, compensate with extra dusting. You also need to make sure your dough is strong enough to hold its shape. A weak, slack dough will slump against the basket walls and increase contact area, making sticking worse.
Rice Flour vs. All-Purpose Flour: What Actually Works
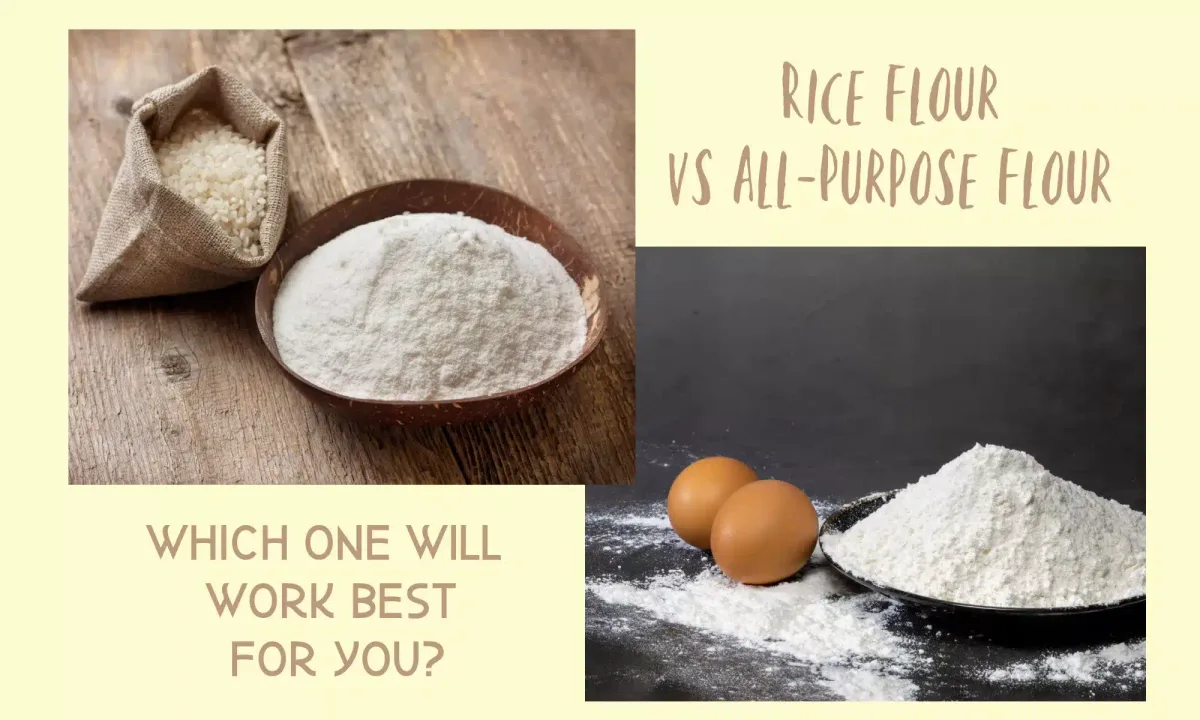
This is one of the most important distinctions in banneton use. All-purpose flour contains gluten, which absorbs moisture and forms a sticky paste when it contacts wet dough. That paste adheres to the rattan, and the dough follows.
Rice flour, on the other hand, contains no gluten. It doesn't form that sticky paste. Instead, it creates a dry, powdery barrier between the dough and the basket.
This is why virtually every professional baker and sourdough guide recommends rice flour for dusting bannetons.
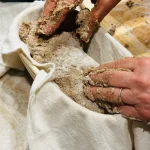
Use a generous amount. Add several tablespoons of rice flour to the basket, swirl it to coat all surfaces, then tap out the excess. The thin, even coating that remains is what prevents sticking.
| Dusting Agent | Gluten Content | Stickiness Risk | Best Use |
|---|---|---|---|
| All-Purpose Flour | Yes | High | Bread board dusting only |
| White Rice Flour | None | Low | Banneton dusting |
| Brown Rice Flour | None | Low | Banneton dusting, nutty flavor |
| Cornstarch | None | Very Low | Mixed with rice flour for extra safety |
The Collapse Problem: Structure, Proofing Time, and Shaping Mistakes
A collapsed oval loaf is heartbreaking. You've waited hours for the proof, and then the whole thing flattens the moment you unmold it. The good news is that collapse is almost always preventable.
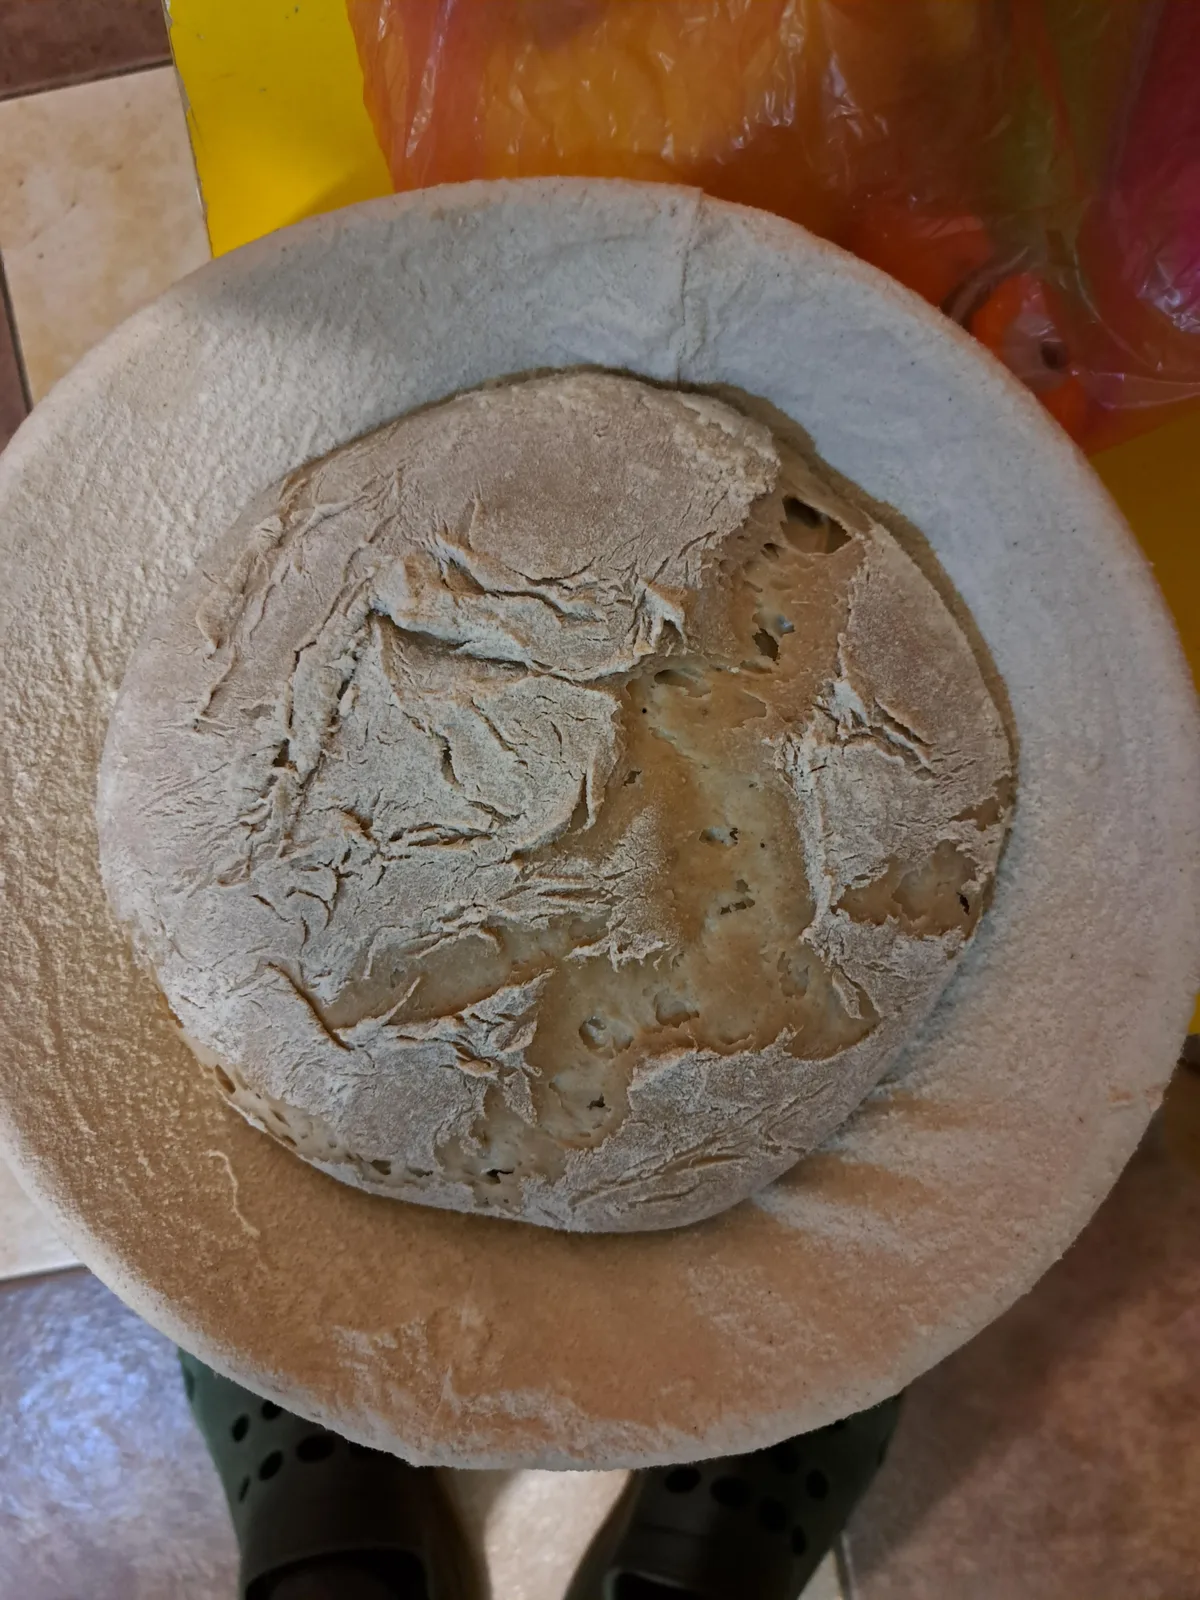
Over-Proofing vs. Under-Proofing
The most common cause of collapse is over-proofing. During fermentation, yeast produces gases that inflate the dough. But enzymes called proteases are also breaking down the gluten structure.
If you let the dough proof too long, the gluten degrades to the point where it can no longer hold the gas bubbles. The dough becomes slack, sticky, and fragile.
Signs of over-proofing include:
- The dough looks puffy but doesn't spring back when gently poked
- The surface feels slightly tacky or even wet
- The dough has an overly acidic, sour smell
- When you unmold it, the dough spreads instead of holding its shape
Under-proofing is less common and produces the opposite problem. The dough is tight, dense, and may tear when scored. The loaf bakes up with poor oven spring and a gummy crumb.
Most home bakers err on the side of over-proofing, especially when following recipes with long proofing times. If you're unsure, err on the side of under-proofing. Under-proofed dough bakes into a denser but still edible loaf.
Over-proofed dough often collapses entirely.
Seam Placement and Tension Issues
The seam of an oval loaf runs the entire length of the loaf. If that seam isn't properly sealed during shaping, it can split open during proofing or baking. This weakens the structure and contributes to collapse.
Proper shaping technique matters more than most bakers realize. You need to build surface tension by dragging the dough ball across an unfloured surface, creating a tight outer skin. That tension is what holds the loaf upright.
When you place the dough in the banneton, the seam should face up. This means it's fully supported by the basket during proofing. When you flip the basket to unmold, the seam ends up on the bottom, where it's hidden during baking.
The Narrow-End Problem: Why Oval Loaves Fail at the Ends
Here's the unique challenge of oval bannetons. The narrow ends of the loaf experience more stress during proofing because they have less structural support.
In a round basket, the dough's weight distributes evenly. In an oval, the dough wants to bulge outward at the center and compress at the ends. If your dough is even slightly over-proofed, those ends will flatten first.
To counteract this, many professional bakers use a slightly stiffer dough for oval loaves. Reducing hydration by even 2-3% can make a significant difference. You can also increase your final shaping tension specifically at the ends of the loaf.
Linen Liners: Help or Hindrance?
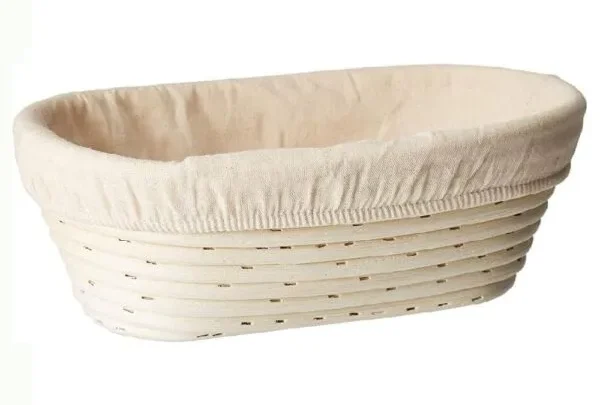
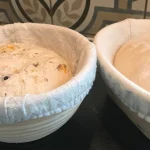
Linen liners seem like an obvious solution to sticking problems. They create a physical barrier between the dough and the rattan, which should mean easier release. In practice, though, liners come with their own set of complications.
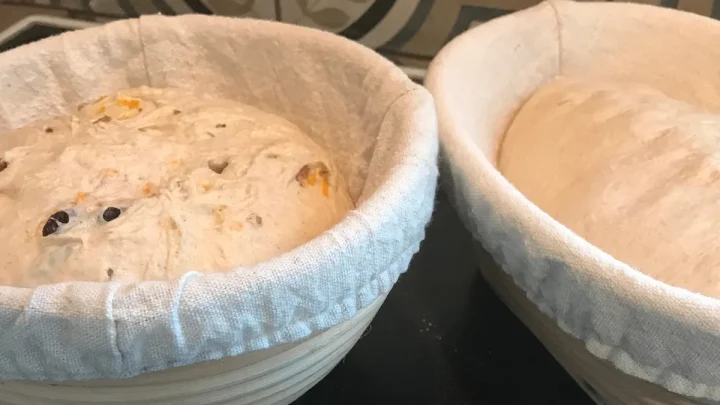
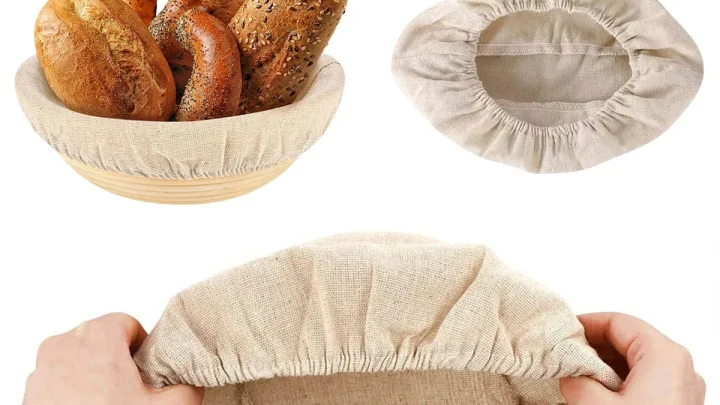
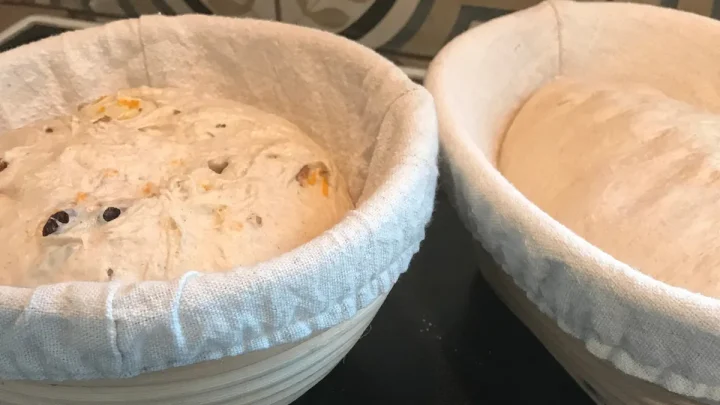
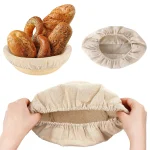
A linen liner is great for very high-hydration doughs that would otherwise glue themselves to rattan. The weave of the fabric provides some airflow while keeping the dough off the cane.
But liners can also bunch up and wrinkle. Those wrinkles imprint into the dough, creating odd ridges and folds on the loaf's surface. Worse, if the liner isn't stretched taut, the dough can sink into the folds and create weak spots.
If you use a liner, make sure it's pressed firmly against the basket walls. The liner should be fitted, not loose. You also need to dust the liner just like you would dust the bare rattan.
Many experienced bakers eventually skip the liner altogether. Once a basket is well-seasoned, bare rattan allows better airflow around the dough. That airflow promotes the formation of a thin, dry skin on the dough's surface.
That skin is what gives sourdough loaves their beautiful scoring patterns and oven spring.
Seasoning Your Oval Banneton the Right Way
Seasoning isn't optional. It's the foundation of every successful banneton bake. Without a properly seasoned basket, you'll fight sticking, tearing, and uneven crusts on every loaf.
First-Time Seasoning
Before your first bake, give the basket a light mist with water and let it dry completely. This helps relax the cane fibers. Then dust the basket generously with rice flour, working it into the weave with your fingers.
Let the basket sit in a warm, dry spot for several hours. Some bakers repeat this process two or three times before the first bake. It won't fully season the basket, but it creates a better starting surface.
Maintaining the Seasoning Over Time
Each bake adds a thin layer of flour and oil to the cane. Over time, this builds up into a smooth, non-stick patina. To maintain it:
- Always dust with rice flour before each use
- Shake out excess flour after each bake
- Let the basket dry completely before storing
- Never wash with soap and water
Cleaning and Drying: Keeping Mold Away
Mold is the silent killer of bannetons. The natural cane absorbs moisture, and if it stays damp, mold grows quickly. Once mold sets in, the basket is compromised and should be replaced.
The rule is simple: never submerge your banneton in water. Never put it in the dishwasher. Water damages the cane and strips away the seasoning.
Instead, brush out excess flour after each use with a dry pastry brush. If dough residue is stuck in the weave, let it dry completely, then tap it out.
For deeper cleaning, some bakers wipe the basket with a barely damp cloth, then dry it promptly. The key is to dry it thoroughly before storing. Place it in a warm, airy spot for a full day.
Avoid direct sunlight, which can crack the cane.
Step-by-Step: Shaping and Proofing an Oval Loaf Without Tears
Getting a clean, even oval loaf comes down to consistent technique. Here's the workflow that works:
- Pre-shape your dough into a loose round. Let it rest on the bench, uncovered, for 20 to 30 minutes.
- Final shape by flattening the dough into an oval, folding in the sides, and rolling it tightly into a log.
- Seal the seam by pinching it firmly along the entire length.
- Dust the basket generously with rice flour, coating every surface.
- Place the dough seam-side up in the basket. It should fill the basket with some room to expand.
- Proof immediately or refrigerate for cold retarding.
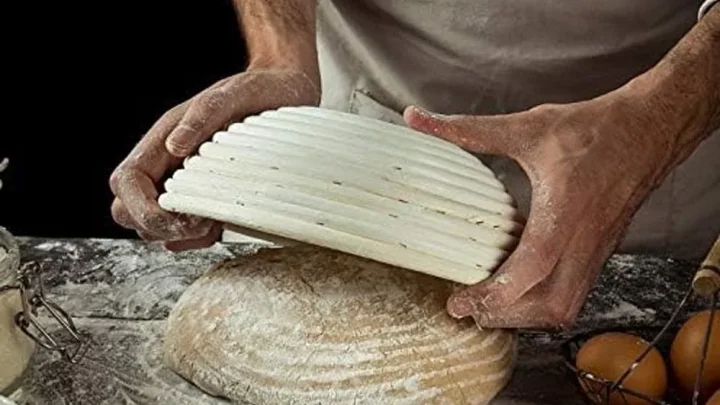
- Unmold by placing a piece of parchment over the basket, then a cutting board or peel, and flipping quickly.
Cold Proofing vs. Room Temperature Proofing in an Oval Basket
Cold proofing, also called cold retarding, is your best defense against oval basket problems. When dough proofs in the refrigerator, fermentation slows dramatically. This gives you a wider window of time before over-proofing becomes a risk.
At room temperature, dough can over-proof in as little as 30 to 45 minutes. In the fridge, you get 12 to 18 hours of flexibility. Cold dough is also firmer, which means it holds its shape better when unmolded.
It's easier to score, and it produces a more complex flavor.
Cold proofing also makes unmolding easier. The dough's surface stiffens in the cold, so it's less likely to stick to the rattan.
Mistakes to Avoid: What Most Home Bakers Get Wrong
Even experienced bakers fall into these traps. Here are the most common mistakes we see in our research and in community forums:
Using all-purpose flour for dusting. This creates glue, not a barrier. Switch to rice flour and your sticking problems largely disappear.
Skipping the rice flour on a new basket. First bakes are brutal. They demand extra dusting. Generous dusting.
Don't be shy with it.
Proofing in a warm spot without monitoring. A warm oven with the light on can over-proof dough in under an hour. Check your dough frequently.
Unmolding too slowly. The flip should be quick and confident. Hesitation lets gravity pull the dough into weird shapes.
Storing a damp basket. This breeds mold. Always dry thoroughly after each use.
When to Give Up on a Basket: Signs It's Beyond Saving
Baskets don't last forever. With regular use, rattan eventually degrades. Here's when to throw in the towel:
- Visible mold that comes back after cleaning
- Cracks or splinters in the cane that catch the dough
- A musty smell that doesn't disappear after drying
- Significant loss of structure, where the walls bend or sag
A good banneton should last for years with proper care. But when it's done, it's done. A failing basket ruins loaf after loaf, and replacement is the only fix.
FAQ: Quick Answers to Common Oval Proofing Basket Questions
Why does my dough stick to my proofing basket?
The most common cause is using all-purpose flour for dusting instead of rice flour. All-purpose flour contains gluten, which forms a sticky paste when it contacts wet dough. Another cause is an unseasoned basket.
New bannetons need three to five bakes to build up a non-stick patina.
How do I fix a sticky proofing basket?
Switch to rice flour for dusting and apply it generously. Make sure the basket is fully dry before each use. If the basket is new, keep using it, as the seasoning will improve with each bake.
For very high-hydration doughs, consider using a linen liner as an extra barrier.
Can I wash my proofing basket with water?
No. Never submerge a rattan banneton in water or put it in the dishwasher. Water damages the cane and strips the seasoning.
Instead, brush out excess flour after each use. For stubborn residue, let it dry completely and tap it out.
How long should I proof dough in an oval basket?
At room temperature, 60 to 90 minutes is typical for most recipes. In the refrigerator, 12 to 18 hours works well. The exact time depends on your dough's hydration, flour type, and temperature.
Watch the dough, not the clock.
Why is my oval loaf flat at the ends?
The narrow ends of an oval loaf have less structural support, so they flatten first when the dough is over-proofed or under-shaped. Reduce your proofing time slightly, and build extra tension at the ends during final shaping.
Do I need a liner for my oval banneton?
Not necessarily. Many experienced bakers skip the liner once their basket is well-seasoned. Bare rattan provides better airflow around the dough.
Liners are useful for very high-hydration doughs, but they can wrinkle and imprint on the loaf.

Similar Posts