How to Make Perfect Bagel Dough in a Bread Maker
Making bagels at home often feels like a daunting task because of the physical labor involved in kneading dense dough. Learning how to use a bread maker for bagel dough simplifies this process by automating the heavy lifting while ensuring consistent results every time.
Manufacturer specifications indicate that bagel dough typically requires a hydration level of 50% to 55%. As of 2026, most modern bread machines can handle this ratio if the ingredients are loaded correctly. Using the machine for the initial mix and first rise allows you to focus on the shaping and boiling steps.
Quick Answer
To use a bread maker for bagel dough, load ingredients in the order recommended by the manufacturer. Select the Dough cycle to mix and knead the heavy dough. Monitor the first five minutes to ensure a smooth, firm ball forms.
Remove the dough once the cycle completes to shape, boil, and bake.
The Stiff Dough Warning: Will It Break Your Machine?
Bagel dough is significantly tougher than standard sandwich bread or pizza dough. The low water content creates a stiff mass that requires high torque to move. Research shows that many standard bread makers are designed for softer loaves, so you must be cautious.
If you hear the motor straining or rhythmic thumping, the dough may be too dry. This strain can cause the internal belt to slip or the motor to overheat. In some cases, the machine might even vibrate enough to move across the kitchen counter.
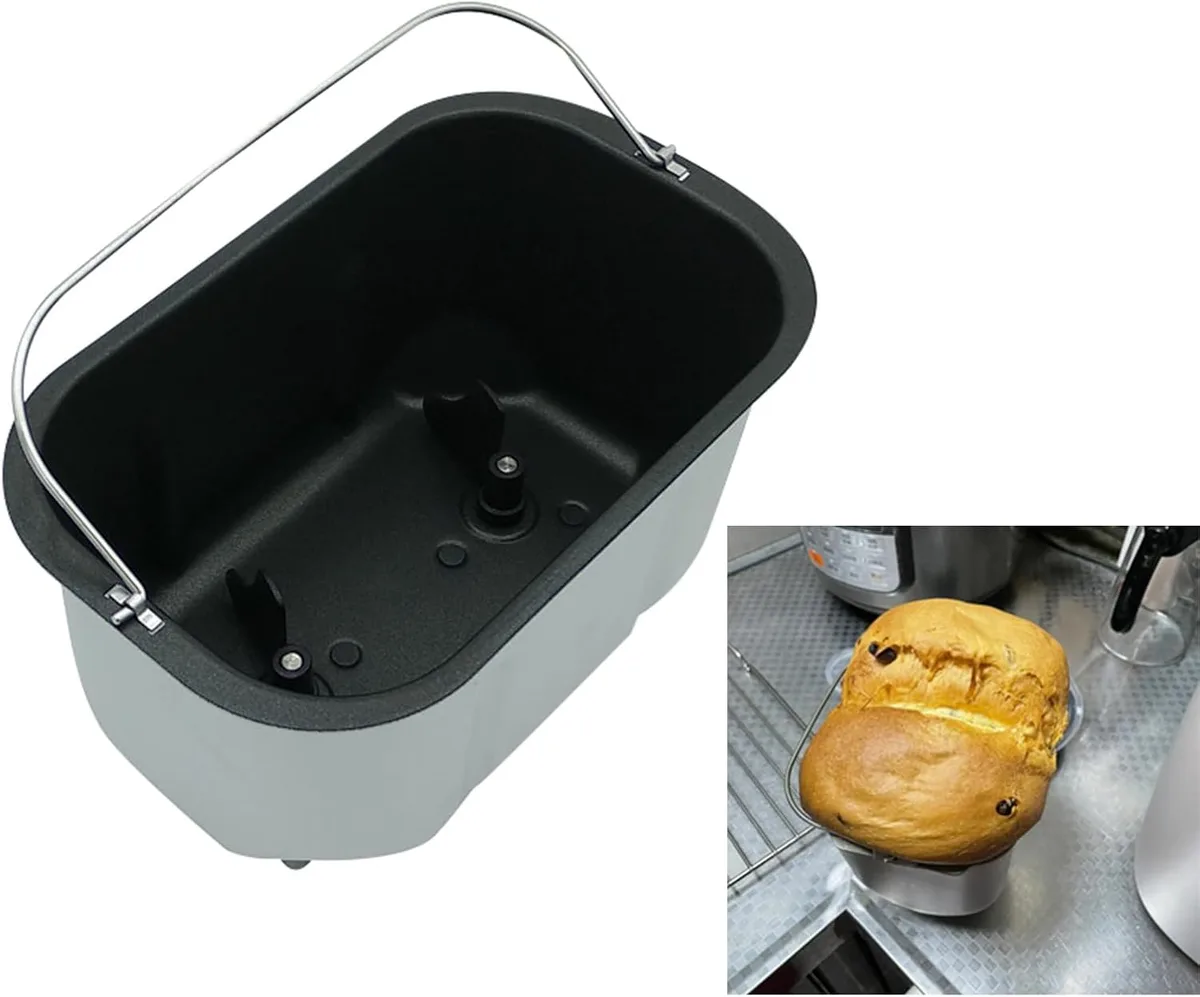
To protect your appliance, avoid doubling recipes unless you have a high-capacity machine. Heavy loads are the primary reason for mechanical failure in countertop bakers. If the machine struggles, you might experience issues similar to when a standard loaf expands too much and jams the internal sensors.
| Machine Type | Typical Capacity | Bagel Batch Limit |
|---|---|---|
| Vertical/Small | 1.0 – 1.5 lbs | 4 to 6 bagels |
| Horizontal/Standard | 2.0 lbs | 6 to 8 bagels |
| Dual-Paddle/Professional | 2.5 lbs+ | 10 to 12 bagels |
Choosing the Right Ingredients for the Dough Cycle
The success of your bagel depends on protein content. High-protein flour is essential for creating the characteristic chew. Standard all-purpose flour often lacks the strength to hold its shape during the boiling process.
Bread flour is the minimum standard, usually containing 12% to 13% protein. Aggregate user feedback suggests using high-gluten flour, which reaches 14% protein or higher, for the best results. This ensures the dough remains elastic and does not collapse after the machine finishes its cycle.
Water temperature is the next critical factor. Use lukewarm water, ideally around 80°F (27°C). If the water is too cold, the yeast won't activate in time.
If it is too hot, you risk killing the yeast before the kneading even begins.
Finally, consider the sweetener. Authentic recipes often call for barley malt syrup. This provides a deep, earthy sweetness and helps the crust brown effectively.
If you cannot find malt syrup, honey or non-diastatic malt powder are suitable substitutes that work well in a machine environment.
Setting Up the Machine: The Liquid-First Layering Method
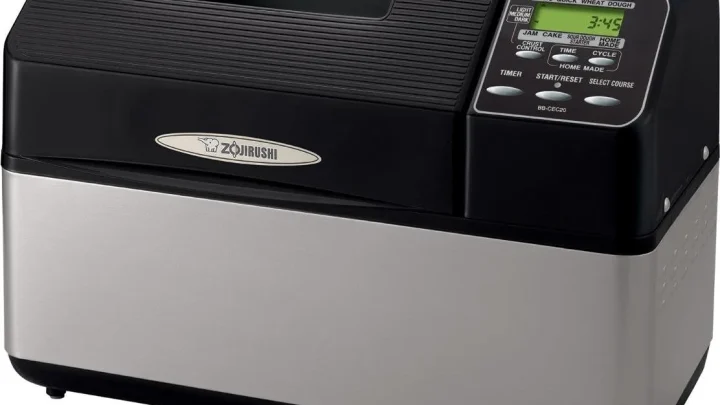
Most manufacturers, such as Zojirushi, recommend adding liquids to the pan first. This prevents flour from clumping in the corners of the pan where the paddle cannot reach it. Start by pouring in your measured water and malt syrup.
Next, add your dry ingredients. Carefully pour the flour over the liquid to create a raft that floats on top. Add the salt and any fat, like oil, around the edges of the flour pile.
Salt should not touch the yeast directly until the machine starts mixing, as it can inhibit yeast activity.
Finally, make a small indentation in the center of the flour. Place your yeast into this dry well. This layering technique is especially important if you are using a delay timer.
It keeps the yeast dormant until the cycle begins.
- Step 1: Add water and liquid sweeteners.
- Step 2: Add flour to cover the liquid entirely.
- Step 3: Add salt and oil in the corners.
- Step 4: Place yeast in a center divot.
The Dough Cycle Settings and Timing
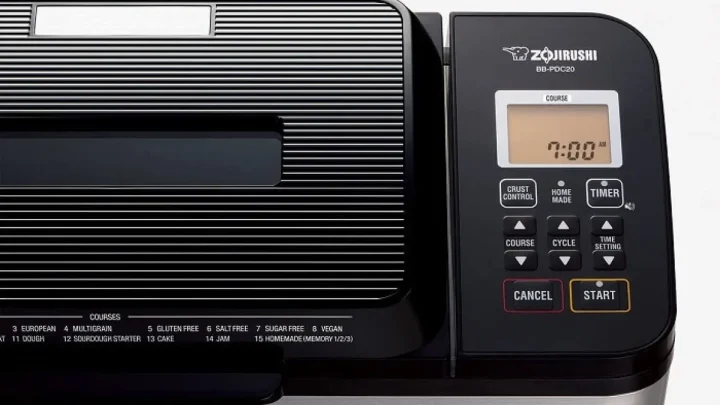
You should never use a Bake setting for bagels. Bread machines bake at a lower temperature and higher humidity than a bagel needs. Instead, select the setting labeled Dough or Manual.
This cycle typically lasts between 90 minutes and two hours. During this time, the machine will go through several phases: an initial mix, a vigorous knead, and a warm rise. Some machines include a rest period at the beginning to allow the flour to hydrate.
Keep an eye on the timer. You want to remove the dough as soon as the cycle ends. If it sits in the warm machine for too long, it can over-proof.
Over-proofed dough becomes weak and will likely deflate when you try to shape it or drop it into the boiling water.
The 5-Minute Window: Visual Cues for Hydration
The most critical moment occurs in the first five minutes of kneading. Open the lid and watch how the ingredients interact. Because bagel dough is so low-hydration, it can easily become too dry for the machine to handle.
The dough should form a single, solid ball that clears the sides of the pan. It should look smooth and feel slightly tacky, but it should not stick to your fingers. If you see loose flour in the corners, the mix is too dry.
Add water one teaspoon at a time if the dough looks shaggy or crumbly. Wait a full minute between additions to see how the dough absorbs the moisture. Conversely, if the dough is sticking to the walls of the pan, add a tablespoon of flour.
Identifying Success: The Windowpane Test and Dough Texture
Once the machine finishes, you need to verify the gluten structure. The most reliable method is the windowpane test. This test confirms that the machine has kneaded the dough long enough to create a strong protein network.
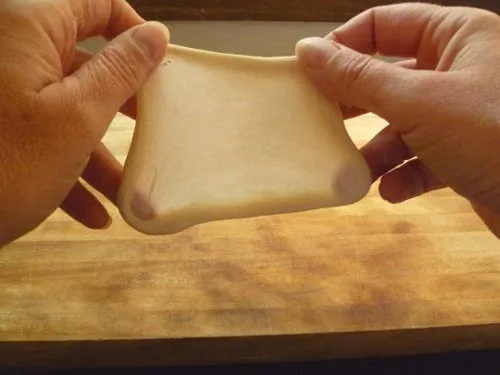
To perform the test, tear off a piece of dough about the size of a walnut. Slowly stretch it out from the center using your thumbs and forefingers. You are looking for the dough to become translucent in the middle without snapping or tearing.
If the dough breaks immediately, it needs more kneading. Properly developed dough will feel like a firm stress ball, bouncy, elastic, and resistant to pressure.
Step-by-Step: From Machine Beep to Shaped Bagel
When the machine beeps, turn the dough out onto a clean, lightly floured surface. Bagel dough needs a small amount of friction against the table to roll into a smooth shape.
Divide the dough into equal portions of approximately 100g each. Roll every piece into a smooth, tight ball with your palm. Let these rest under a damp cloth for 10 minutes to relax the gluten.
To shape, poke a hole through the center of a ball with your thumb. Gently twirl the ring around two fingers to expand the hole to about two inches. The dough will shrink back, so a larger hole ensures it does not close up during the boil.
The Boiling Phase: How to Get that Professional Shine
Boiling is what separates a bagel from a round piece of bread. This step sets the crust and prevents the bagel from rising too much in the oven. It also gives the exterior that classic chewy texture and shine.
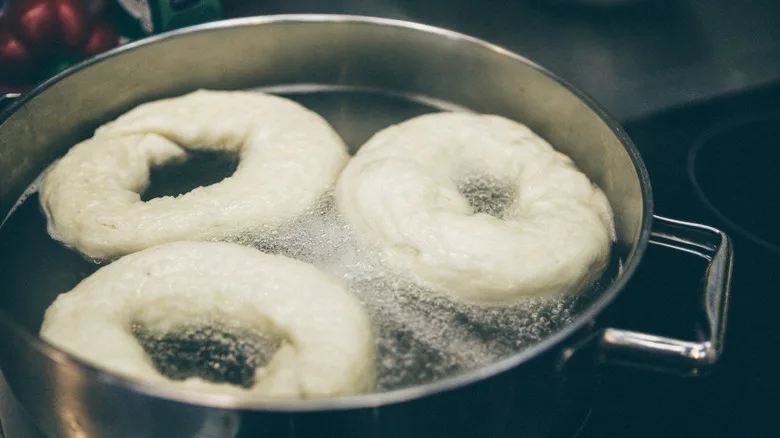
Bring a large pot of water to a rolling boil. Add one tablespoon of barley malt syrup and one teaspoon of baking soda. The alkaline environment created by the baking soda promotes the Maillard reaction, which is the chemical process responsible for browning.
Drop the bagels into the water two or three at a time. Boil them for 30 to 60 seconds per side. Use a slotted spoon to flip them and then move them back to the baking sheet.
Baking for the Perfect Crust and Crumb
Preheat your oven to 425°F (218°C) while the bagels are boiling. If you want to add toppings like sesame seeds or everything seasoning, do it immediately after boiling while the surface is still wet and sticky.
Bake the bagels for 15 to 20 minutes. You are looking for a deep golden-brown color. Once finished, transfer them to a wire rack to cool.
Cooling for at least 20 minutes allows the internal crumb to set. Cutting into a hot bagel can result in a gummy texture.
Pro Tips for NYC-Style Texture in a Home Machine
For a deeper flavor, consider a cold fermentation step. After shaping the bagels, place them in the refrigerator overnight on a covered tray. This slow rise produces the tiny surface blisters prized by professionals.
Research indicates that the USDA suggests keeping dough refrigerated at 40°F or below to prevent spoilage during long ferments. When you are ready to bake the next morning, take them straight from the fridge to the boiling water.
If your bread flour feels too soft, add one tablespoon of vital wheat gluten to the bread pan. This boost increases the protein content to professional levels. It ensures the bagels maintain their height during the boil.
Common Mistakes: Why Your Bagels Came Out Like Rolls
The most frequent error is over-hydration. If the dough is too soft, the bagels will lose their shape and look like flat buns. Resist the urge to add excess water unless the dough is physically crumbling apart.
Another mistake is skipping the boil or boiling for too short a time. A quick dip isn't enough to gelatinize the starches on the surface. You need at least 30 seconds per side to get that signature skin.
Finally, check your yeast. If your bagels are dense and leaden, your yeast might be old. Always store yeast in the freezer to maintain its potency.
Maintaining Your Bread Maker After Heavy Dough Use
Stiff bagel dough puts extra stress on the internal drive belt and motor. After the cycle ends, check the pan for any flour that might have migrated into the seal of the kneading shaft. Clean these areas with a soft, damp cloth once the machine cools to prevent grit buildup.
Avoid soaking the entire bread pan in the sink. Instead, fill it with warm, soapy water only up to the level of the paddle to protect the underside bearings. Removing the paddle immediately after use prevents the dough from hardening and locking the blade in place.
Troubleshooting: What to Do if the Machine Struggles
If your machine starts thumping loudly or moves across the counter, the dough is likely too dry. Add one teaspoon of water every minute until the ball moves freely. If the motor smells hot or stops, unplug it immediately to let the thermal fuse reset.
When the dough fails to rise, the culprit is usually the temperature. Check that your water was between 80 and 90 degrees Fahrenheit. If the machine was in a cold room, the internal heater may have struggled to maintain the proofing temperature.
The Verdict: Bread Maker vs. Stand Mixer for Bagels
A bread maker is the best choice for beginners because it provides a controlled, warm environment for the first rise. It automates the timing, which prevents the common mistake of under-kneading dense bagel dough.
Stand mixers offer more power for large batches, but they require constant monitoring. For home bakers making a dozen bagels or less, the bread maker provides more consistency with less manual cleanup.
Frequently Asked Questions
Can I leave the dough in the machine overnight?
You should not leave bagel dough in the machine overnight on a standard cycle. It will over-proof and collapse. Instead, use the machine to knead, then move the shaped bagels to the fridge for a cold, overnight ferment.
Why do my bagels look wrinkled after boiling?
Wrinkled skin is often a sign of over-proofing. If the dough rises too much before the boil, it loses its tension and deflates. Limit the machine rise to 60 minutes and boil immediately after shaping.
Do I need to grease the bread machine pan?
Most bread machine pans have a non-stick coating and do not require greasing for dough. However, a tiny drop of oil on the kneading shaft can help the paddle release more easily after a heavy bagel batch.
What is the best setting for a 2-pound machine?
Use the 1.5-pound or 2-pound Dough setting, even for smaller batches. This ensures the motor uses the full kneading time required for high-protein flour. Avoid any Quick or Rapid settings as they cut the vital gluten-development phase too short.

Similar Posts