How to Choose the Best Bread Maker for Gluten-Free Bread
Finding a consistent loaf of wheat-free bread is one of the biggest hurdles when managing a gluten-restricted diet. If you’ve spent any time researching how to choose a bread maker for gluten free bread, you already know that a standard machine often produces results that are more like a brick than a baguette.
In our research of manufacturer specifications, we’ve found that the primary issue isn't the baker, but the machine's programming. Most traditional cycles are built for the two-stage kneading and rising process required by wheat gluten, which is fundamentally incompatible with the chemistry of alternative flours.
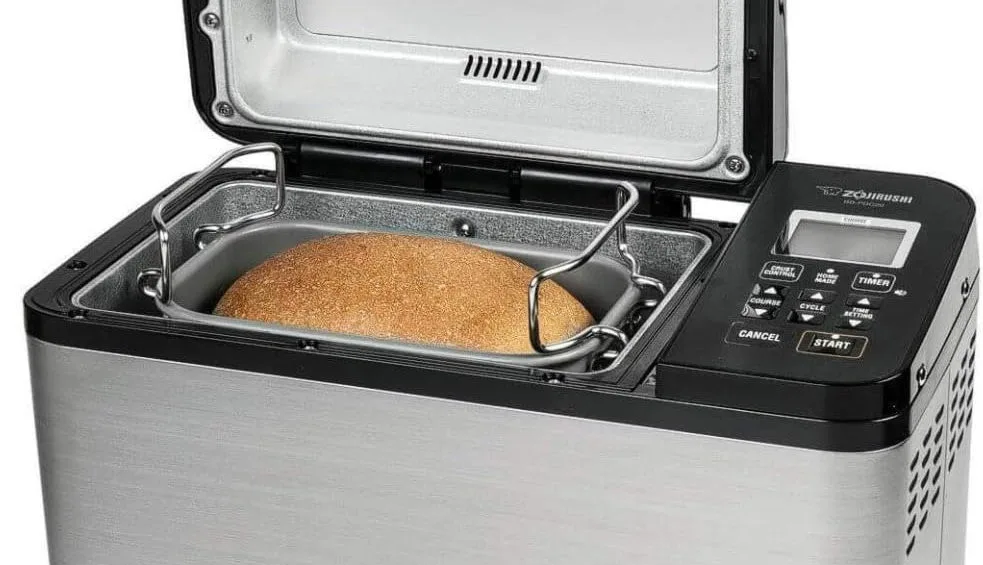
Quick Answer
To choose a gluten-free bread maker, prioritize machines with a dedicated GF cycle. These cycles skip the second rise. Look for a motor with high torque.
Heavy batters can strain weak motors. Models with programmable settings offer the most control. Ensure the heating element provides even, rapid heat.
This prevents the loaf from collapsing.
Why Standard Bread Makers Fail at Gluten-Free Baking
Standard bread makers are designed to develop gluten through repeated agitation. In a traditional wheat-based cycle, the machine kneads the dough, lets it rise, punches it down to redistribute gas, and kneads it again. This process builds the elastic web that gives wheat bread its structure.
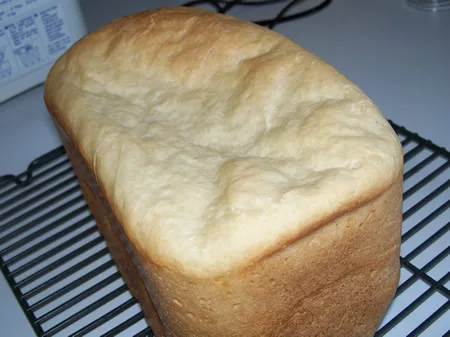
Gluten-free "dough" behaves more like a thick cake batter or wet cement. It lacks the elasticity to withstand a second knead. When a standard machine punches down a gluten-free loaf after its first rise, it collapses the delicate air bubbles created by the yeast.
Since there is no gluten to hold the shape, the bread stays flat, dense, and gummy.
Furthermore, many older machines lack the temperature precision needed for specialty starches. Rice flour and potato starch require a specific thermal environment to set their structure. Without a rapid heat-up phase, the batter may overflow the bread pan as it over-proofs while waiting for the oven to get hot.
The "One-Rise" Rule: How Gluten-Free Cycles Actually Work
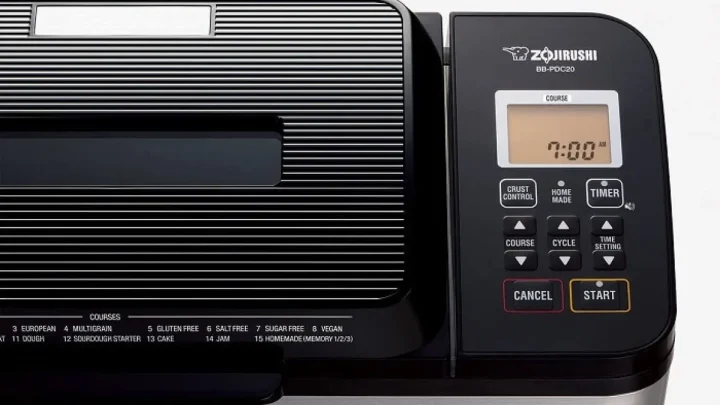
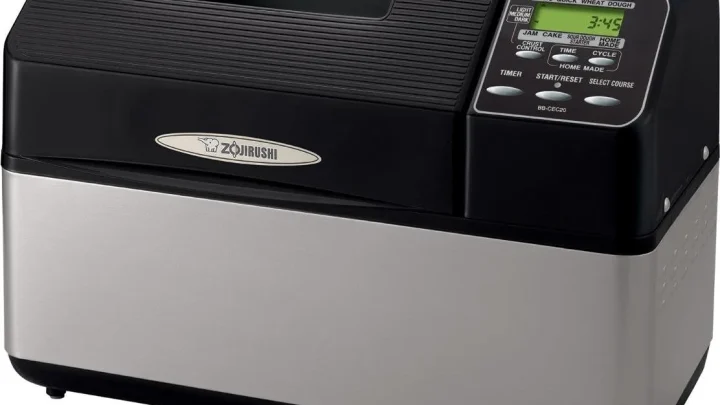
The most critical feature to look for is a dedicated gluten-free setting. Unlike wheat cycles, a GF-specific program uses a "one-rise" logic. According to technical documentation from brands like Zojirushi and Panasonic, these cycles typically involve one long knead followed by a single, uninterrupted rise and a high-heat bake.
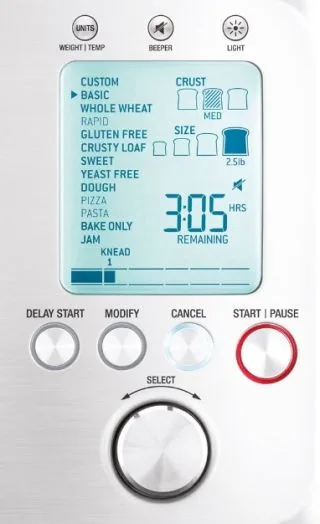
During the single rise, the machine maintains a consistent, warm temperature to encourage yeast activity. Because the dough isn't being punched down, the air pockets remain intact. This is the only way to achieve a crumb structure that resembles real bread.
In our analysis of user feedback, machines that offer a "Rapid" or "Quick" cycle are sometimes used as a workaround. However, these are rarely as effective as a tuned GF cycle. A true gluten-free setting also adjusts the baking temperature, often running slightly higher to help crisp the crust, which is difficult to brown without wheat proteins.
Must-Have Hardware: Paddles, Motors, and Heat Distribution
Hardware durability is just as important as the software. Gluten-free batter is significantly heavier and stickier than wheat dough. This puts a massive amount of stress on the drive belt and the motor.
A machine designed for light, airy white bread may experience motor burnout within a year if used for heavy sorghum or almond flour blends.
Look for a machine with a high-wattage motor, typically 500W or higher. Heat distribution is the second hardware pillar. The heating element should ideally wrap around the entire base of the pan.
Some premium models even include an additional heating element in the lid to ensure the top of the loaf browns at the same rate as the sides.
If the machine has a viewing window, ensure it is double-paned. A single-pane window can lead to heat loss, which is a common cause of the dreaded sunken top in gluten-free baking. Consistent internal temperature is the key to preventing the center of the loaf from remaining raw while the outside burns.
Comparing Top-Tier Brands for Gluten-Free Performance
When evaluating different manufacturers, the distinction usually comes down to how much control they give the user. Some brands offer a "black box" approach with one button, while others allow you to customize every second of the process.
| Feature | Entry-Level Brands | Mid-Range (Cuisinart/Hamilton) | Premium (Zojirushi/Breville) |
|---|---|---|---|
| GF Cycle | Basic / Shared | Dedicated | Optimized / Multi-Stage |
| Custom Programming | No | Rare | Yes (Memory Slots) |
| Heating Elements | Bottom Only | Bottom Only | Dual (Lid + Bottom) |
| Build Quality | Plastic Housing | Stainless / Plastic | Heavy-Duty Metal |
Manufacturer specifications for premium models often highlight dual heaters, which are effective for gluten-free recipes that include eggs or dairy. These ingredients need precise thermal management to avoid a rubbery texture. While entry-level machines can produce edible bread, the crust quality and rise height are noticeably superior in machines designed with high-torque motors.
Programmable vs. Pre-Set: Which Logic Fits Your Baking Style?
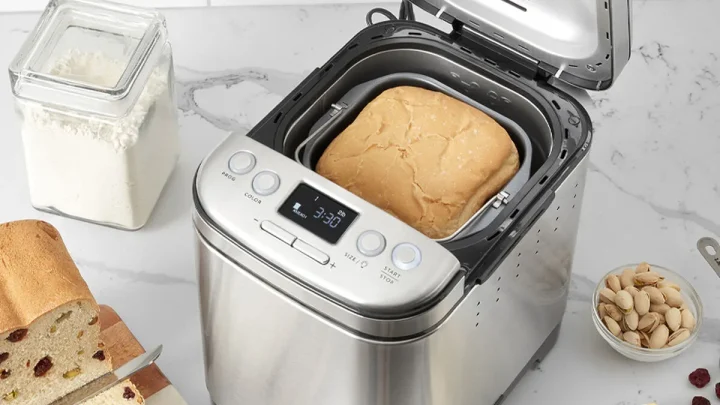
If you plan on using pre-mixed gluten-free flour blends, a machine with a simple, high-quality pre-set button is usually sufficient. Most commercial mixes are formulated to work within the parameters of standard GF cycles found on machines like the Cuisinart CBK-200. These cycles are reliable and remove the guesswork from the morning routine.
However, if you are a from-scratch baker using individual flours like teff, millet, or buckwheat, you may want a programmable machine. Different flours have different hydration levels and fermentation speeds. A programmable machine lets you extend the rise time by ten minutes or increase the bake temp to accommodate a particularly wet batter.
Programmable logic is especially useful as of 2026, as newer flour blends hit the market that require less kneading and more steam. Having the ability to save your own custom cycle ensures that when you find the perfect recipe, the machine repeats it exactly every time. This level of precision is the difference between a kitchen tool you use once and one that becomes a daily essential.
Essential Features for a Gummy-Free Crust
The hallmark of poor gluten-free bread is a crust that feels damp or rubbery. This usually happens when the machine fails to drive off enough moisture during the final stage of the cycle. Gluten-free batters require higher hydration levels than wheat dough.
If that extra water isn't evaporated, it settles back into the crumb as the loaf cools.
Look for a machine that offers crust color control specifically within the gluten-free setting. Premium models often use a precise temperature ramp-up. They finish the bake at a higher heat to ensure the exterior is crisp.
A vented lid can also help by allowing steam to escape during the baking phase.
If your loaves are consistently gummy, check if your machine has a "keep warm" function. For gluten-free bread, you should disable this or remove the pan immediately. Leaving a GF loaf in a cooling machine creates a steam-trap.
This leads to a soft, wet crust and a sunken middle.
The Hidden Cost of Budget Machines in GF Baking
Choosing a budget bread maker often leads to higher long-term costs in wasted ingredients. Gluten-free flour blends, such as those containing premium starches or almond meal, are significantly more expensive than all-purpose wheat flour. A single failed loaf can represent four or five dollars in lost materials.
Entry-level machines frequently lack the sensors needed to adjust for ambient kitchen temperatures. If your kitchen is slightly cold, the yeast may not activate fully during the fixed-time rise. Over time, the cost of these failures adds up.
You could have easily paid for a mid-range machine with the money spent on failed bakes.
Furthermore, cheaper models often use lower-grade drive belts. These belts are prone to slipping or snapping when faced with the resistance of a thick sorghum batter. Investing in a machine with a solid warranty and a reputation for durability is a smarter financial move for daily bakers.
Single vs. Dual Kneading Paddles for Heavy Batter
The paddle configuration determines how well the machine incorporates dry ingredients into the sticky batter. A single-paddle machine works well for 1lb loaves. However, if you are baking larger 2lb loaves, a single paddle often leaves dead zones in the corners of the pan.
Dual-paddle systems are generally superior for gluten-free baking. They create a more vigorous figure-eight motion. This is essential for ensuring that binding agents, like xanthan gum, are distributed evenly.
If the binder isn't mixed thoroughly, you will find pockets of slime in some parts and crumbly sections in others.
If you choose a single-paddle model, look for a pan with rounded corners. Sharp, 90-degree corners are magnets for dry flour. Even with a good machine, it is a helpful practice to use a silicone spatula to scrape the sides during the first few minutes of the mix.
Why Ceramic Pans Outperform Teflon for Specialty Flours
The surface of your bread pan significantly affects the heat transfer to the dough. Ceramic-coated pans have become the preferred choice for many specialty bakers. They provide more even heating than traditional thin-metal Teflon pans.
This even heat helps the bread rise uniformly without hot spots.
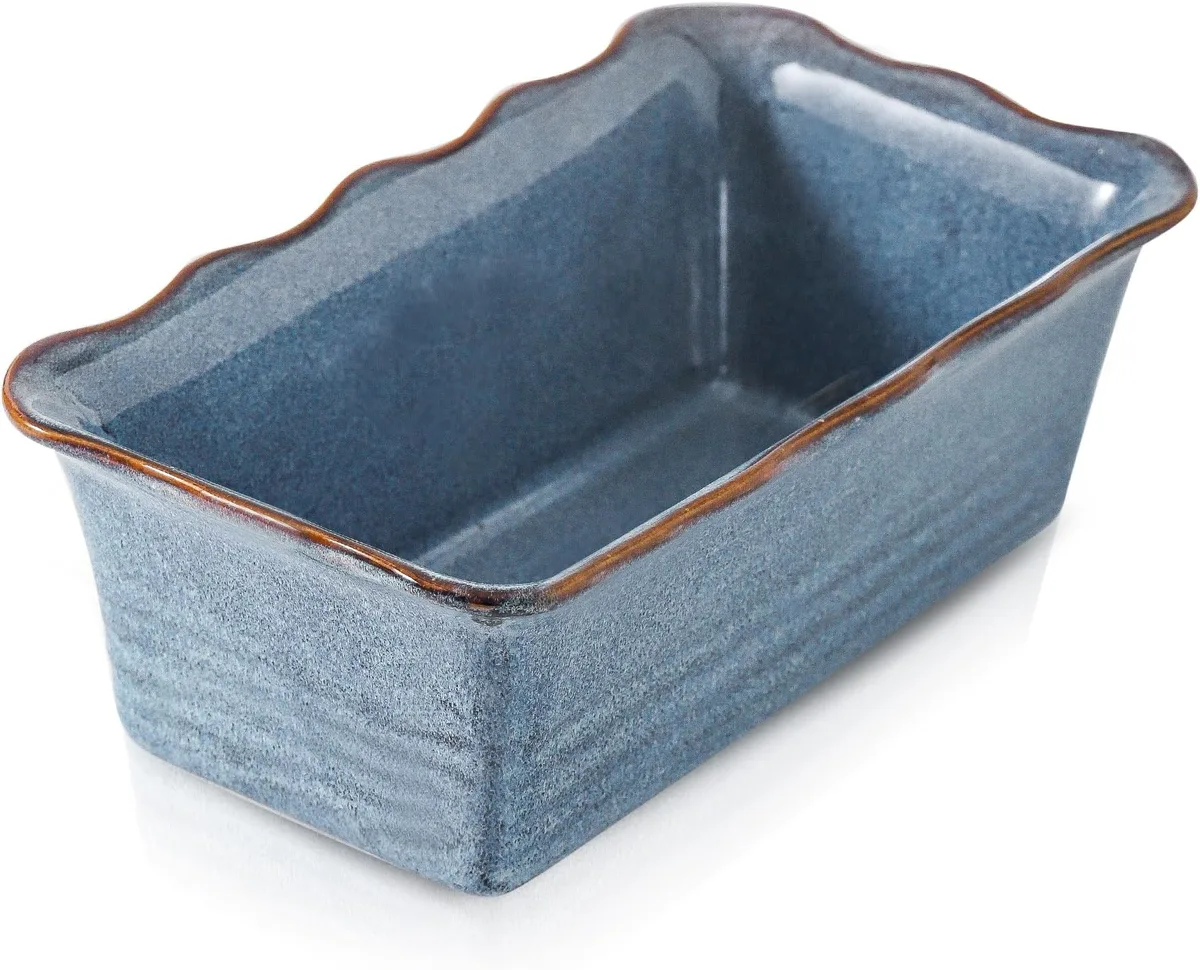
Ceramic is also naturally more non-stick for the specific proteins found in egg-based gluten-free recipes. Many GF loaves require eggs or egg replacers for structure. These can stick aggressively to worn Teflon surfaces.
A clean release is vital because gluten-free bread is fragile until it fully cools.
Manufacturer specifications often note that ceramic coatings are PFOA and PTFE-free. From a purely functional standpoint, the thicker walls of ceramic-lined pans act as a heat sink. This provides a more stable temperature throughout the long gluten-free bake cycle.
Matching the Machine to Your Favorite Flour Blends
Not all gluten-free flours behave the same way under heat. If you prefer heavy, whole-grain flours like teff or buckwheat, you need a machine with a long, hot bake cycle. These flours are dense and hold onto moisture.
A machine with a weak heating element will leave the center of a teff loaf undercooked.
For those using lighter blends based on white rice flour and cornstarch, a shorter cycle is often better. These starches can become brittle if over-baked. If your favorite flour blend is high in sugar or milk powder, look for a machine that allows you to lower the crust setting.
These ingredients brown faster and can burn before the loaf is done.
Understanding the torque of your machine is also vital for nut-flour blends. Almond flour is heavy and lacks the lift of grain starches. A high-torque motor ensures the paddle doesn't stall when trying to aerate these dense mixtures.
Matching your machine's power to your flour's density is the secret to a perfect rise.
Avoiding the Sunken Center: Common Machine Settings Mistakes
A sunken center usually occurs when the loaf rises too quickly and then collapses because the structure hasn't set. This is often caused by using the wrong setting for the type of yeast you have chosen. If you use instant yeast on a cycle designed for active dry yeast, the dough will over-proof before the baking phase begins.
Another common mistake involves the liquid-to-dry ratio. Gluten-free batter should resemble thick buttercream frosting. If the batter is too thin, the steam created during baking will escape too quickly, causing the top to crater.
Always measure your flour by weight in grams rather than volume to ensure accuracy.
Environmental factors also play a role. In our research, aggregate user reviews show that placing a bread maker in a drafty area can cause the heating element to cycle on and off too frequently. This leads to uneven rising and structural failure.
Keep your machine in a temperature-controlled spot away from open windows.
Cross-Contamination Hazards: Buying New vs. Used
For those with Celiac disease, cross-contamination is a serious health risk. Buying a used bread maker that was previously used for wheat bread is generally not recommended. Gluten particles are microscopic and can hide in the drive shaft, under the paddle, or in the heating element housing.
Manufacturer documentation confirms that even a thorough cleaning cannot guarantee the removal of all gluten residue from a porous non-stick surface. If you are sharing a household with wheat eaters, it is best to have a dedicated gluten-free machine. Label the machine clearly to avoid any accidental mix-ups.
If you must use a pre-owned machine, replace the bread pan and the kneading paddle with brand-new parts. However, the internal fan and heating vents can still harbor old flour dust. For total safety, purchasing a new machine with a fresh factory seal is the only way to ensure a truly gluten-free environment.
Recommended Machines for Different Kitchen Needs
Choosing the right model depends on your daily volume and your desire for customization. For families who eat bread with every meal, a dual-paddle machine is often the top recommendation. Its horizontal pan shape creates a traditional rectangular loaf that is perfect for sandwiches.
If you have limited counter space, a vertical machine is a better fit. These models have a smaller footprint but still feature a reliable gluten-free setting. While the loaves are taller and square, the internal crumb quality remains high for most commercial flour blends.
For the hobbyist who loves to experiment, a fully programmable machine is the best investment. Models that allow you to bypass the pre-set logic let you master difficult recipes like gluten-free sourdough or brioche. These machines typically cost more upfront but offer the most versatility for advanced gluten-free baking.
The Post-Bake Workflow: Cooling and Slicing for Longevity
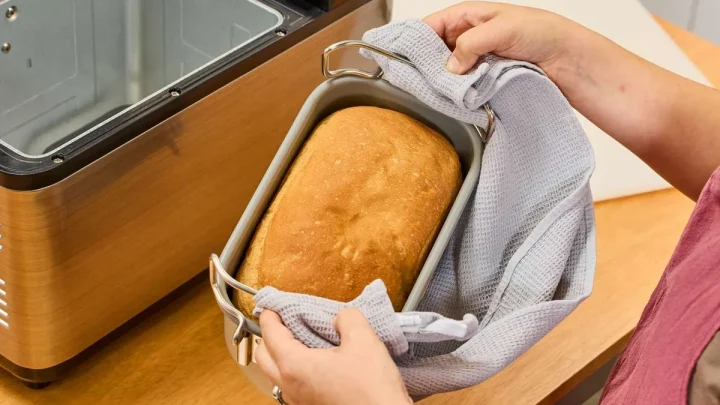
Gluten-free bread continues to cook and set its structure after the machine beeps. You must remove the loaf from the pan immediately to prevent sweating. If the loaf sits in the hot pan, the steam will turn the bottom crust into a soggy mess.
Place the loaf on a wire cooling rack for at least two hours. Resisting the urge to slice into warm bread is difficult but necessary. Slicing too early will result in a gummy texture because the starches haven't finished gelatinizing.
Use a high-quality serrated knife to get clean slices without tearing the bread.
Since home-baked GF bread lacks preservatives, it will stale faster than store-bought versions. Once fully cooled, slice the entire loaf and freeze it with parchment paper between the slices. This allows you to toast individual pieces as needed, keeping the bread tasting fresh for weeks.
Decision Guide: Which Bread Maker Should You Buy?
If you are a beginner, start with a mid-range machine that has a labeled Gluten-Free button. This takes the stress out of the process while you learn how different flours behave. You will get consistent results with popular mixes.
If you are baking for a Celiac household, prioritize a new machine with a ceramic pan. The safety of a fresh machine combined with the superior heat of ceramic is worth the extra cost. Avoid used machines or those with damaged Teflon coatings.
For those who want the best possible texture, choose a model with dual kneading paddles and a lid heater. These features address the two biggest complaints in GF baking: unmixed flour and pale tops. Matching the machine's power to your specific dietary needs will turn your kitchen into a successful gluten-free bakery.
Frequently Asked Questions
Can I use a regular bread machine for gluten-free bread?
You can only use a regular machine if it has a Custom or Programmable setting that allows you to delete the second rise. Standard cycles will deflate gluten-free batter during the second knead. This results in a dense, heavy loaf that does not rise properly.
Why is my gluten-free bread so heavy and dense?
This is usually caused by too much flour or not enough yeast activation. Gluten-free batter should be sticky and wet, not a firm dough ball. In our research, using liquids at 105°F to 110°F is the standard for ensuring the yeast provides a proper lift.
Is xanthan gum necessary in a bread maker?
Yes, xanthan gum or a similar binder like psyllium husk is mandatory. Since there is no gluten to provide elasticity, these binders hold the air bubbles in place. Without them, the bread will be extremely crumbly and will not hold its shape when sliced.
How do I stop flour from sticking to the corners?
Open the lid during the first five minutes of the kneading cycle. Use a silicone spatula to gently push any dry flour from the corners into the center of the batter. Most machines allow this brief interruption without affecting the internal temperature or the timer.
Should I use the Rapid setting for gluten-free bread?
Only use the Rapid setting if your manual specifically recommends it for gluten-free recipes. Rapid cycles often cut the rise time too short, which can leave the bread under-proofed. A dedicated GF setting is always a safer choice for consistent results.

Similar Posts