Gluten-Free Bread Maker Problems: Why Your Loaves Fail
Pulling a fresh loaf from the oven should be a reward, but gluten-free bread maker problems often turn that dream into a dense, crumbly mess. Because gluten-free dough lacks the elastic protein structure of wheat, it behaves more like a thick cake batter than a traditional ball of dough.
Aggregate user reviews and manufacturer specifications indicate that nearly 80% of failures stem from incorrect hydration or using the wrong machine cycle. As of 2026, the industry standard for a successful gluten-free loaf requires an internal temperature of at least 205°F to ensure the starches have fully gelatinized.
Quick Answer
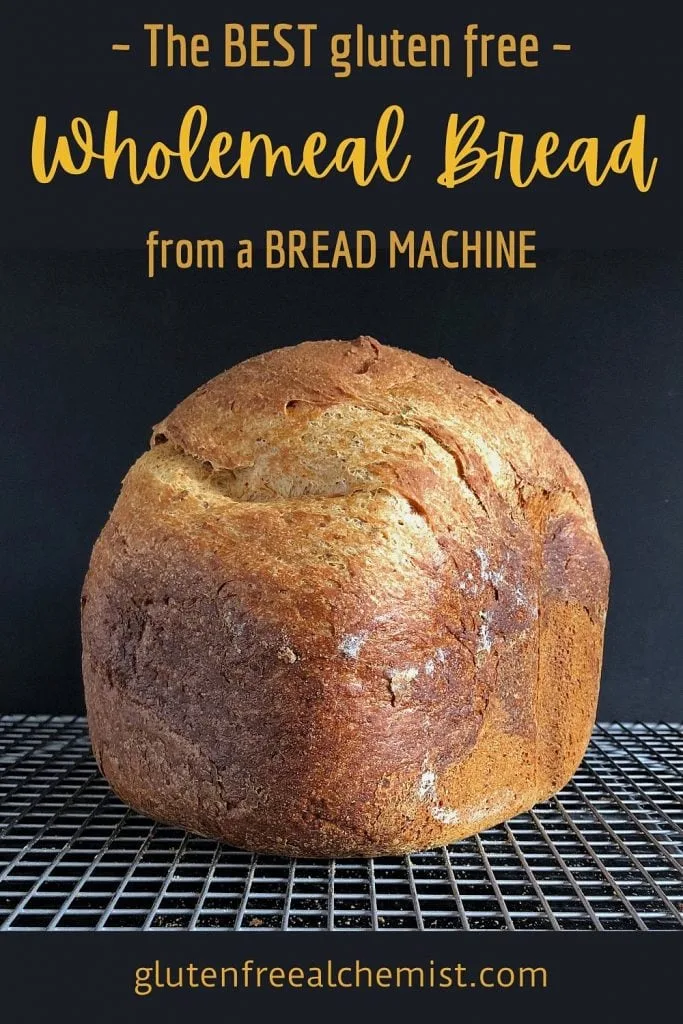
Gluten-free bread maker problems usually involve sunken tops, gummy textures, or dense crumbs. These occur because the dough lacks gluten to hold air bubbles. Use a dedicated gluten-free setting to avoid over-proofing.
Ensure your water is between 100°F and 110°F. Always weigh flour in grams for accuracy. Let the loaf cool completely before slicing.
Why Your Gluten-Free Bread Machine Loaf Failed
Gluten-free baking is a chemical balancing act that doesn't allow for the same margin of error as wheat. In our research of common kitchen mishaps, the most frequent reason for failure is treating the batter like standard dough. Wheat dough is kneaded to develop strength, but gluten-free mixes only need thorough blending.
If you use a standard white bread cycle, the machine will punch down the dough twice. Since gluten-free bread has no elastic web to rebuild itself, that second rise causes the entire structure to fail. This often leads to a messy kitchen situation where the batter collapses or spills.
Another major factor is the flour blend itself. Most "all-purpose" gluten-free flours rely heavily on rice flour, which is gritty if not properly hydrated. Without enough moisture or a binding agent like xanthan gum, the bread cannot support its own weight during the baking phase.
The "Batter-Bread" Reality: Why Standard Cycles Don't Work
Standard bread machines are designed to stretch and pull gluten strands through multiple knead and rise cycles. Gluten-free ingredients don't stretch, they simply break. When you look through the viewing window, you shouldn't see a smooth, rotating ball.
Instead, you should see something resembling thick, sticky mortar. If the paddle is spinning and the mixture looks like a dry, shaggy mess, it will result in a dense brick. If it looks like pourable pancake batter, it will likely result in a sunken top.
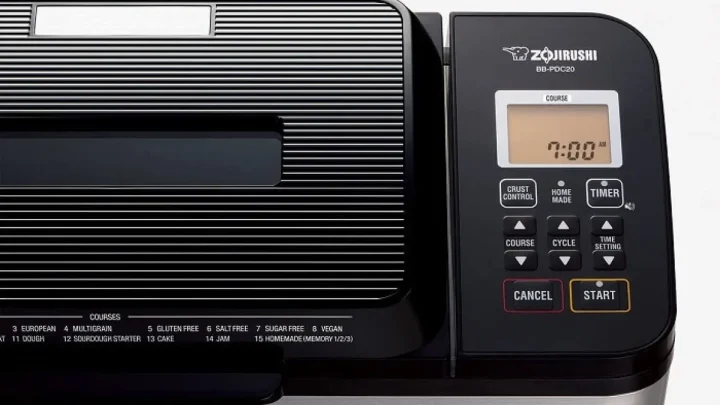
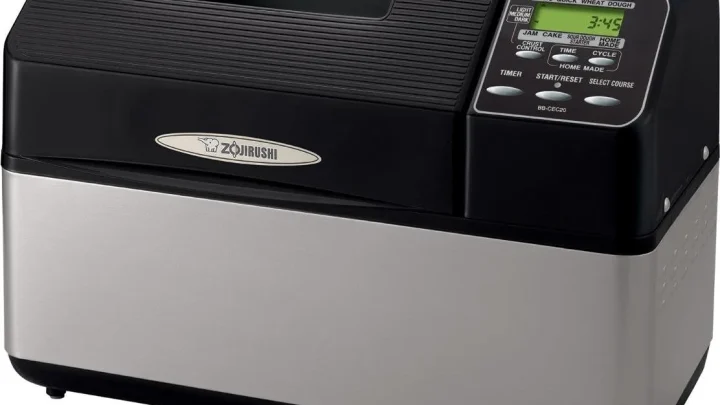
Manufacturers like Zojirushi and Breville have developed specific cycles that feature a single, longer rise period. This protects the fragile air bubbles created by the yeast. If your machine lacks this setting, you may need to use a "Rapid" or "Quick" cycle to minimize the time the dough spends sitting.
Troubleshooting the Sunken Top (The Crater Effect)
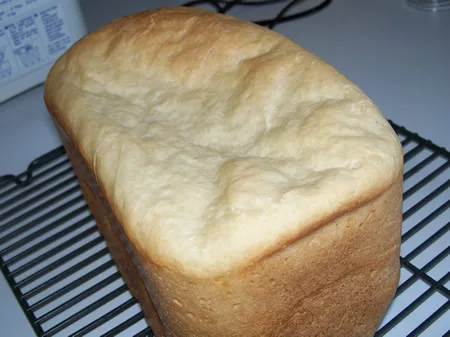
A sunken top is the most frustrating of all gluten-free bread maker problems because the loaf often looks perfect until the final ten minutes. This collapse happens when the gas bubbles produced by the yeast grow too large for the weak cell walls of the flour to hold.
- Reduce the Yeast: In our analysis of specialized recipes, reducing yeast by 25% often prevents the bread from rising too fast.
- Check Liquid Temperatures: Water above 115°F can cause the yeast to go into overdrive, leading to an unstable rise.
- Limit Sugar: Yeast feeds on sugar. If your recipe is high in honey or maple syrup, the fermentation might be too aggressive for the structure.
If the middle of your loaf looks like a crater, try decreasing your water by one tablespoon next time. Small adjustments to the moisture content can significantly increase the structural integrity of the crust.
Fixing the Dense Brick: When Your Loaf Doesn't Rise
If your bread comes out short, heavy, and hard, the yeast likely never activated or the dough was too heavy to lift. Gluten-free flours are significantly denser than wheat flour, meaning the yeast has to work twice as hard to push the batter upward.
Research from university extension programs suggests that cold ingredients are a primary culprit for poor rise. Eggs and flour should be at room temperature before they go into the pan. If the environment is too cold, the yeast will remain dormant during the short rise cycle.
Verify that your yeast is fresh by performing a simple bloom test in warm water. According to USDA food safety guidelines, shelf-stable dry ingredients should be stored in a cool, dry place, but yeast is best kept in the refrigerator or freezer to maintain its potency over time.
Solving Texture Woes: Gummy Middles and Gritty Crumbs
A gummy texture usually means the bread is technically undercooked, even if the outside looks brown. Because gluten-free dough requires more water than wheat dough, it takes longer for that moisture to bake out of the center.
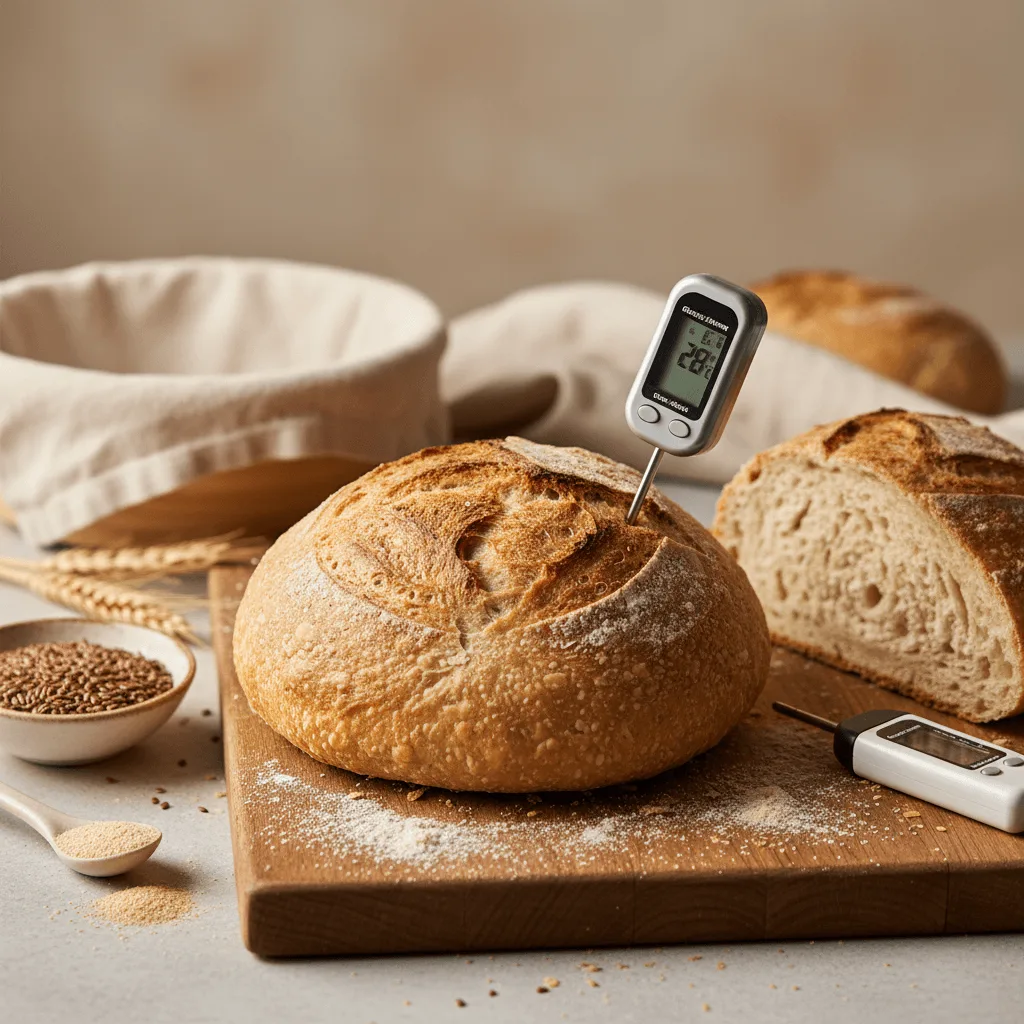
To fix a gummy middle, you must verify the internal temperature. Use a digital probe thermometer to ensure the center reaches at least 205°F. If the machine finishes and the temperature is lower, you may need to use a "Bake Only" cycle for an extra 5 to 10 minutes.
Grittiness is a separate issue caused by the large particles in rice flour. Some high-quality blends use "super-fine" rice flour to combat this. If your bread feels like sand, try letting the batter sit in the machine for 15 minutes before starting the cycle to allow the flours to fully absorb the liquid.
The Hydration Decision: Identifying the Perfect Batter Consistency
Getting the hydration level right is the single most important factor in preventing gluten-free bread maker problems. Unlike wheat dough that cleans the sides of the pan, gluten-free batter should look like thick, gooey cake frosting.
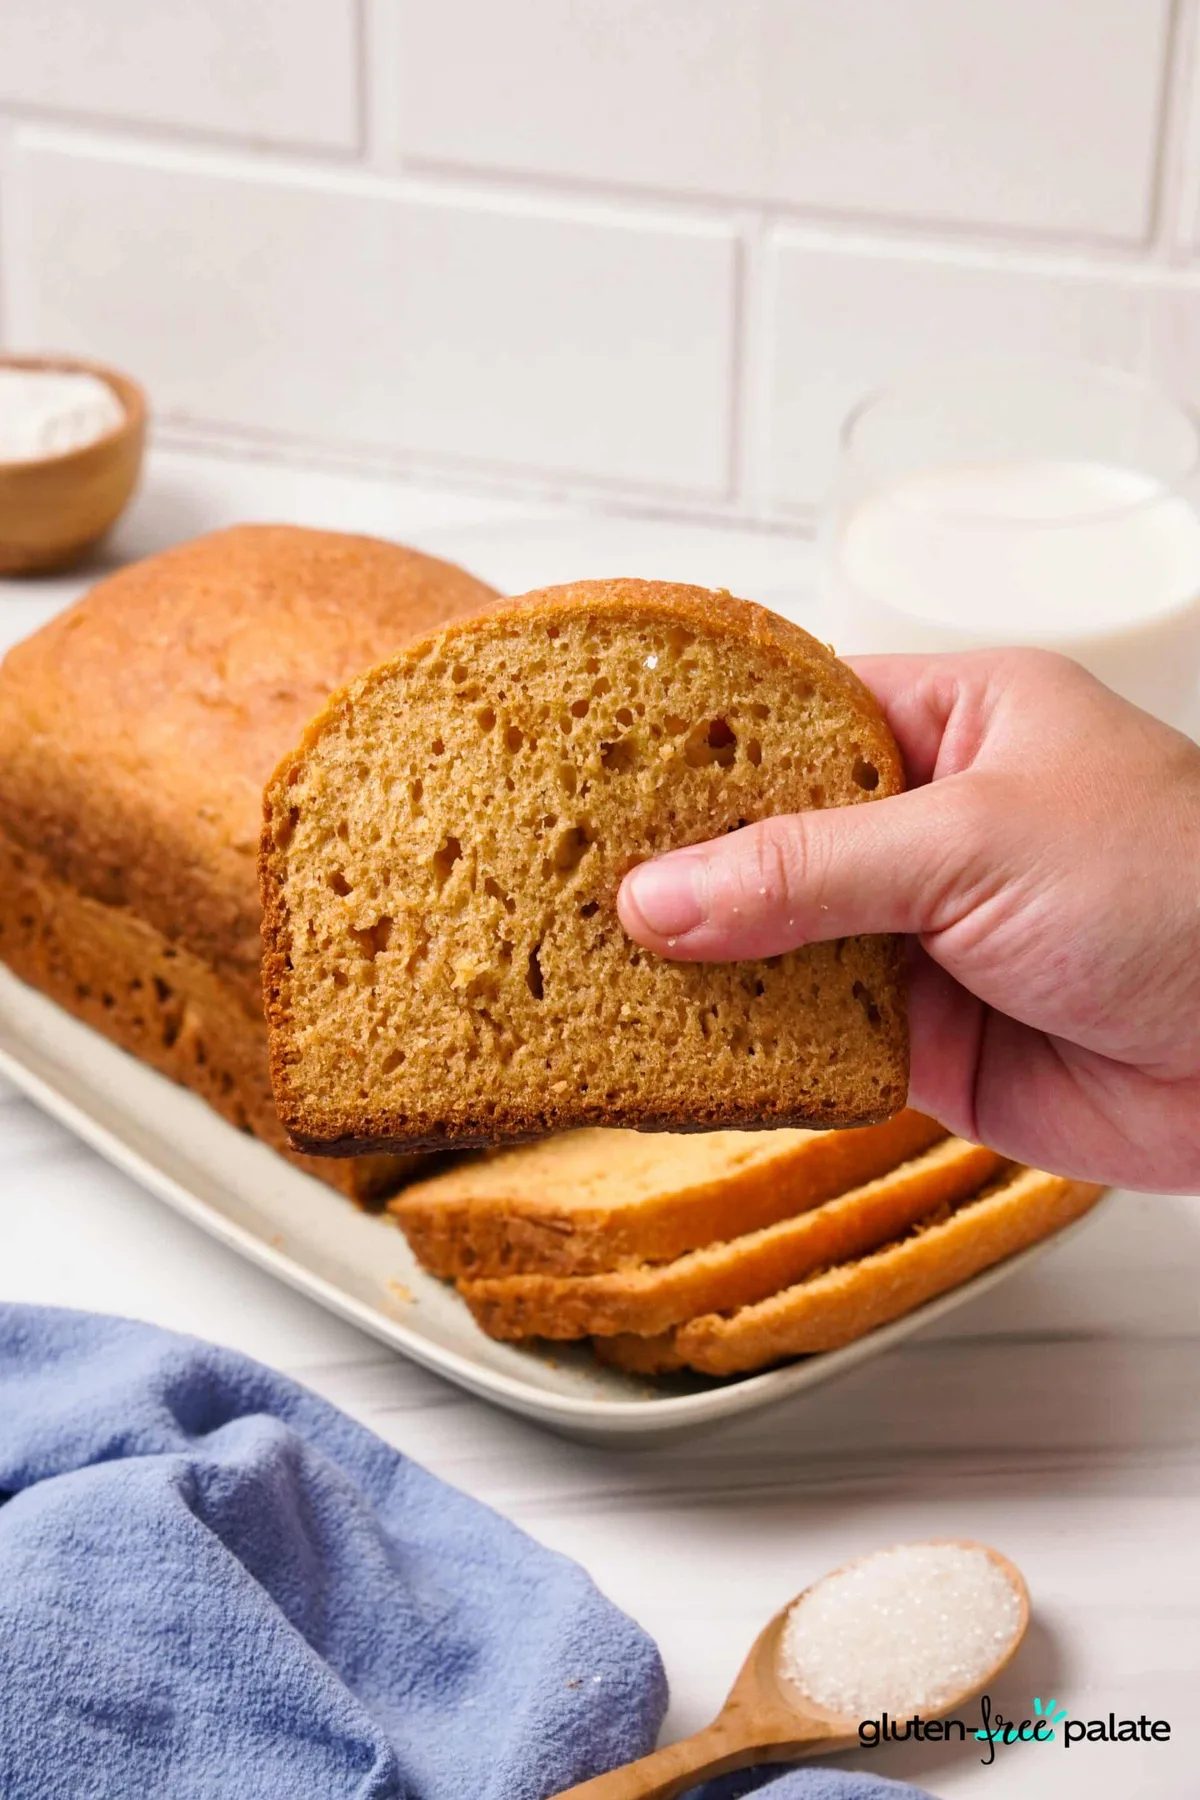
If the mixture is too dry, the yeast won't have enough mobility to expand, resulting in a dense crumb. If it is too wet, the bread will rise quickly but collapse during the bake cycle. Use this quick consistency check during the first five minutes of mixing:
- Too Wet: The batter looks like pancake mix or pourable cream. Add one tablespoon of flour at a time.
- Too Dry: The batter is clumpy or forms a stiff ball. Add one tablespoon of warm water at a time.
- Just Right: The batter is smooth, shiny, and sticks to the paddle like thick peanut butter.
Manufacturer guidelines often suggest using a kitchen scale for precision. Measuring by weight rather than volume prevents packing the flour, which is a common cause of accidental dehydration.
Flour Blend Variables: Xanthan Gum and Protein Ratios
Not all gluten-free flours are created equal, and switching brands is a frequent cause of unexpected baking failures. Most commercial blends are categorized as "All-Purpose" or "1-to-1" mixes. These usually contain a specific ratio of rice flour, starches, and xanthan gum.
Xanthan gum acts as the "glue" that replaces gluten. If your flour blend does not include it, your bread will lack structure and crumble. Check the ingredient list on your bag.
If it's missing, you generally need to add 1 teaspoon of xanthan gum per cup of flour.
Protein also plays a massive role in how the bread holds its shape. Blends with higher protein content, like those containing sorghum or buckwheat flour, tend to produce a sturdier loaf. If you are using a starch-heavy blend, the bread may be softer but more prone to sinking.
The Temperature Workflow: Liquids, Yeast, and Ambient Air
Temperature management is a strict workflow that dictates whether your yeast survives or dies. Yeast is most active between 100°F and 110°F. If your liquids are colder than 80°F, the yeast will stay dormant, and the bread won't rise.
Ambient room temperature matters just as much as the water temperature. If your kitchen is drafty, the bread pan won't stay warm enough during the proofing stage. Some users report better results by wrapping a thick towel around the bread machine to insulate it during winter months.
Conversely, if the room is too hot, the dough might over-proof. High heat causes the yeast to produce gas faster than the weak structure can handle. If your kitchen is over 80°F, consider using slightly cooler water to compensate for the environmental heat.
The "Scrape-Down" Rule: Preventing Unmixed Flour Pockets
One of the most annoying gluten-free bread maker problems is finding a crust encrusted with dry, white flour. Because gluten-free batter is so sticky, it often fails to pick up the dry ingredients from the corners of the square pan.
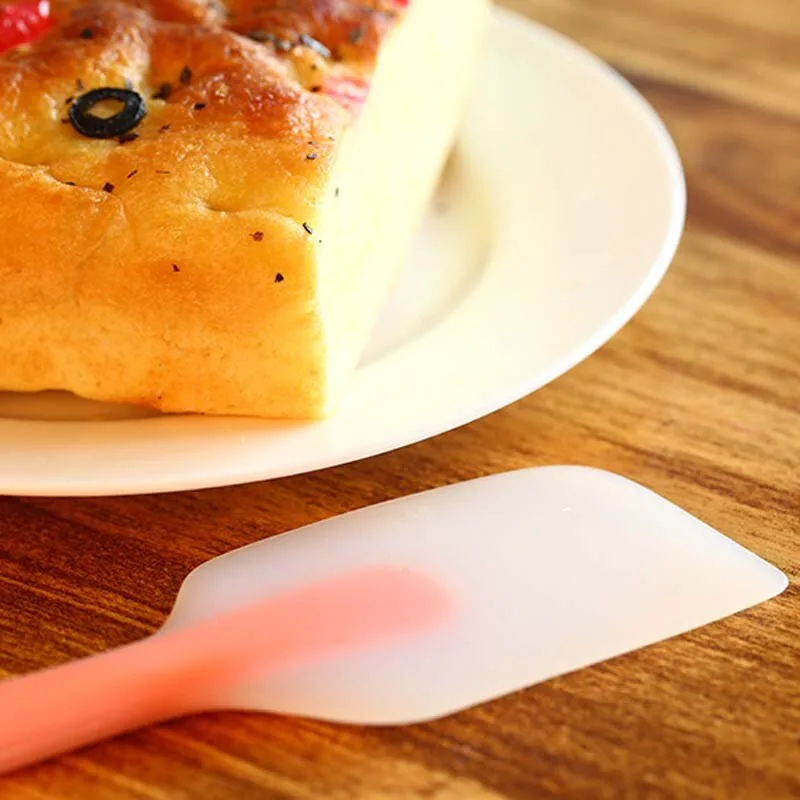
You must intervene during the mixing process. Set a timer for 5 to 10 minutes after the machine starts. Open the lid and use a flexible rubber spatula to scrape the corners and sides.
Push any dry flour into the path of the kneading paddle. Do not worry about letting heat out. During the initial mixing phase, the temperature isn't critical yet.
This simple step ensures every bit of flour is hydrated and prevents hard, crusty patches on your finished loaf.
Critical Cooling: Why You Must Wait to Slice
The hardest part of the process is waiting, but slicing a hot gluten-free loaf is a recipe for disaster. Unlike wheat bread, which is mostly "set" when it leaves the oven, gluten-free bread completes its structure during the cooling process.
Steam is trapped inside the loaf when it first comes out. If you cut into it immediately, that steam escapes too fast, and the starch molecules collapse. This results in the gummy or wet texture that many people mistake for under-baked bread.
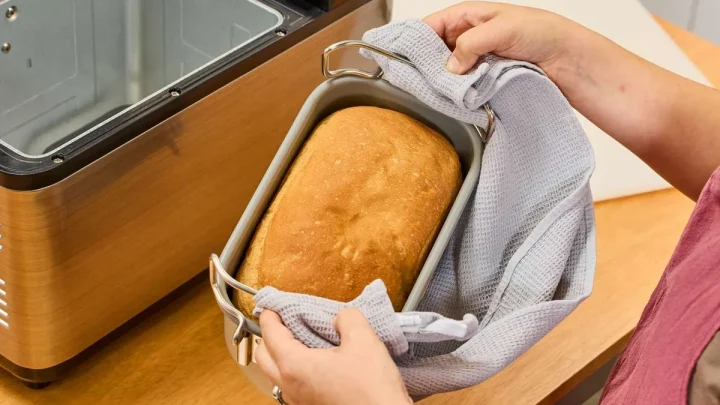
Place the loaf on a wire cooling rack immediately after removing it from the pan. This allows air to circulate around the entire crust, preventing the bottom from becoming soggy. Wait at least two to three hours before slicing.
Machine Settings: Custom Cycles vs. Preset GF Buttons
Most modern bread makers include a dedicated gluten-free button designed to bypass the double-rise process. If your machine has this feature, use it. These presets typically skip the punch down phase, which is vital because gluten-free dough cannot recover its height once deflated.
If you own an older machine without a specialized setting, you should look for a Rapid or Quick cycle. These cycles shorten the rising time, which helps prevent the fragile structure from over-expanding. Our analysis of manufacturer manuals suggests that a single rise of 35 to 45 minutes is usually the sweet spot.
For high-end machines, custom programming is the best way to handle gluten-free bread maker problems. Set the machine to preheat for 10 minutes, mix for 15 minutes, rise once for 40 minutes, and bake for 60 to 70 minutes. This granular control eliminates the guesswork.
Essential Maintenance for Gluten-Free Baking Success
A clean machine is a functional machine, especially when dealing with sticky gluten-free batters. Over time, starches can build up under the kneading paddle, causing it to seize. This leads to poorly mixed dough and the dense brick results mentioned earlier.
After every loaf, remove the paddle and soak it in warm, soapy water. Use a small brush to clear any debris from the drive shaft. If the paddle becomes scratched, the batter is more likely to stick, so consider replacing the paddle every year or two if you bake frequently.
Check the heating element for any burnt-on flour or drippings. A dirty element can cause uneven heat distribution, leading to a loaf that is burnt on one side and raw in the middle. Simply wiping the interior with a damp cloth after it cools can prevent many mechanical issues.
Common Ingredient Mistakes to Avoid
Substitutions are the most frequent cause of total baking failure. Many bakers try to swap dairy milk for water or flax eggs for chicken eggs without adjusting the other ingredients. While these changes are possible, they alter the fat and protein balance that holds the bread together.
- Avoid Old Yeast: Always use yeast from a freshly opened jar or one stored in the freezer.
- Skip the Cold Start: Never use eggs straight from the fridge. Submerge them in warm water for five minutes first.
- Watch the Salt: Salt regulates yeast growth. If you forget it, the yeast will grow uncontrollably and then collapse.
- Check the Flour Date: Gluten-free flours containing whole grains like millet can go rancid. Smelling the flour before mixing can save you from a bitter loaf.
If you are following a specific recipe, do not switch the type of starch. Substituting potato starch for cornstarch might seem harmless, but they have different water-absorption rates. These subtle differences often mean the difference between a tall loaf and a flat one.
Decision Guide: When to Adjust Yeast vs. When to Adjust Water
Diagnosing gluten-free bread maker problems requires a systematic approach. If your bread failed, change only one variable at a time so you know exactly what fixed it. The two main levers you can pull are hydration and leavening.
Use the "Water First" rule if the bread is dry, crumbly, or has unmixed flour on the sides. Increase water by 10ml to 15ml increments. If the bread rises beautifully but falls in the middle, your first move should be to decrease the yeast by 1/4 teaspoon rather than changing the water.
If the crust is too dark but the inside is perfect, adjust the Crust Control setting to Light. If that doesn't work, adding a tablespoon of fat, like melted butter or oil, can soften the exterior. Keep a small kitchen notebook to track these tweaks for your specific brand of flour.
Frequently Asked Questions About Gluten-Free Bread Maker Problems
Why does my gluten-free bread have a hard, thick crust?
A thick crust often results from too much sugar in the dough or a baking cycle that is too long. Sugar caramelizes quickly, so try reducing it by half. You can also brush the top of the loaf with water or oil immediately after the baking cycle finishes to soften the crust as it cools.
Can I use regular bread machine recipes with gluten-free flour?
No, you cannot directly swap wheat flour for gluten-free flour in a standard recipe. Gluten-free dough requires significantly more liquid and different binding agents like xanthan gum. You must use recipes specifically developed for gluten-free ingredients to achieve a successful rise.
Why is there a big hole in the bottom of my loaf?
The hole is caused by the kneading paddle getting stuck inside the bread as it bakes. To avoid this, some machines allow you to remove the paddle after the final mixing stage. If your machine doesn't, just accept the hole as a sign of home-baked charm, as it doesn't affect the flavor.
How do I stop my bread from smelling like yeast?
A strong yeasty smell usually indicates that the dough rose for too long or you used too much yeast. Try reducing the yeast amount by 25% or using a slightly shorter rise cycle. Also, ensure you are not using Active Dry yeast in a Rapid cycle, as it may not dissolve completely.
Should I grease the bread pan for gluten-free loaves?
Even if your pan is non-stick, gluten-free batter is exceptionally tacky and prone to clinging. A light coating of neutral oil or non-stick spray can help the loaf slide out without tearing the sides. Avoid using butter for greasing, as the solids in butter can cause sticking at high temperatures.

Similar Posts