Common Compact Bread Maker Problems and How to Fix Them
If you have ever pulled a pale, sunken crater out of your kitchen counter’s newest gadget, you are not alone. Solving common compact bread maker problems often feels like a guessing game because these smaller machines have very little room for error compared to standard models. While they are great for saving space, their tight baking chambers and smaller motors make them highly sensitive to minor measurement mistakes or temperature shifts.
Aggregate user data and manufacturer specifications from brands like Zojirushi and Hamilton Beach indicate that a 1lb loaf requires much higher precision than a 2lb loaf. Because the heating element is physically closer to the dough, even a five-gram difference in flour can be the difference between a perfect slice and a burnt brick. Understanding how these mechanical and chemical variables interact is the first step toward consistent results.
Quick Answer
Compact bread maker problems usually stem from over-hydration or inactive yeast. These smaller machines use narrow buckets that trap heat quickly. Too much liquid causes the top to collapse during baking.
Old yeast prevents the dough from reaching the required height. Always weigh your ingredients with a digital scale for accuracy. Scraping the corners during kneading prevents dry flour clumps.
Identifying the Failure: What is Wrong With Your Small Loaf?
Before you change your recipe, you need to identify the specific symptom your machine is showing. Compact machines typically produce vertical loaves, which means gravity is working against the dough more than in a horizontal pan. If your loaf is hitting the lid, it is likely a scaling issue.
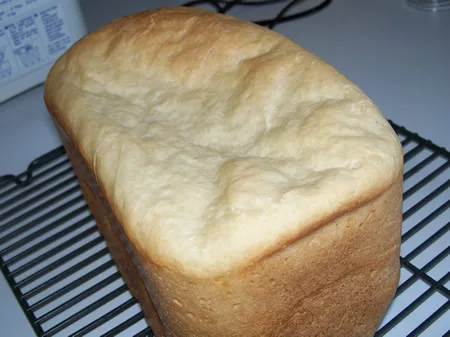
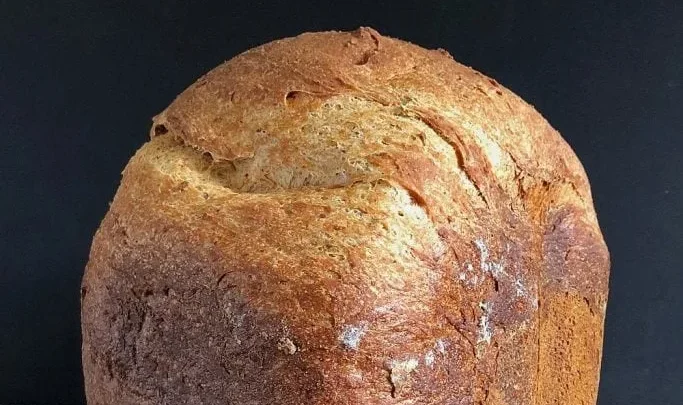
Manufacturer guides often point to the "dome" of the bread as the primary health indicator. A perfectly rounded, slightly browned top suggests your ratios are correct. A flat or concave top means the structure failed before the heat could set the crust.
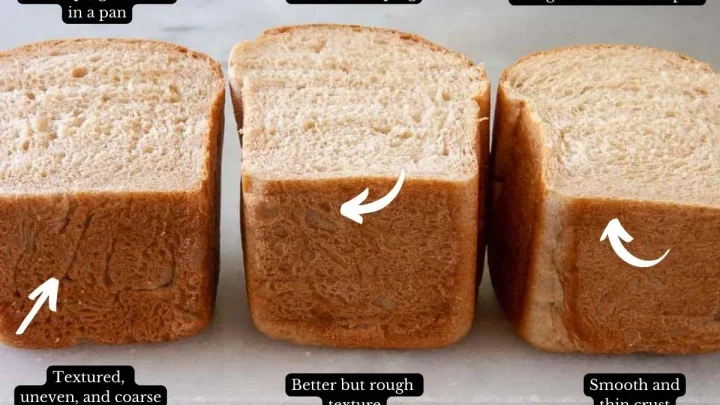
If the sides are jagged or have white patches, the hydration was too low to incorporate all the dry ingredients.
Our research into common failure points shows that as of 2026, many newer compact models use high-speed motors. These can sometimes generate enough internal heat to "bloom" the yeast too early. If you see bubbles forming during the first ten minutes of mixing, your water was likely too hot.
The Compact Bread Maker Diagnostic Workflow
Troubleshooting a small machine requires a step-by-step approach. Since you cannot easily see the bottom of a deep, narrow bucket, you have to rely on the "feel" of the cycle. Follow this workflow to narrow down the culprit based on the physical state of your bread.
Branch 1: The Loaf Collapsed or Sunk in the Middle
If the bread rose beautifully and then fell, the dough became too heavy or unstable. This is usually caused by too much water or too much yeast. In a compact chamber, the steam has less room to escape, which can soften the structure.
Try reducing your liquid by one tablespoon next time.
Branch 2: The Bread is Dense, Short, or Unrisen
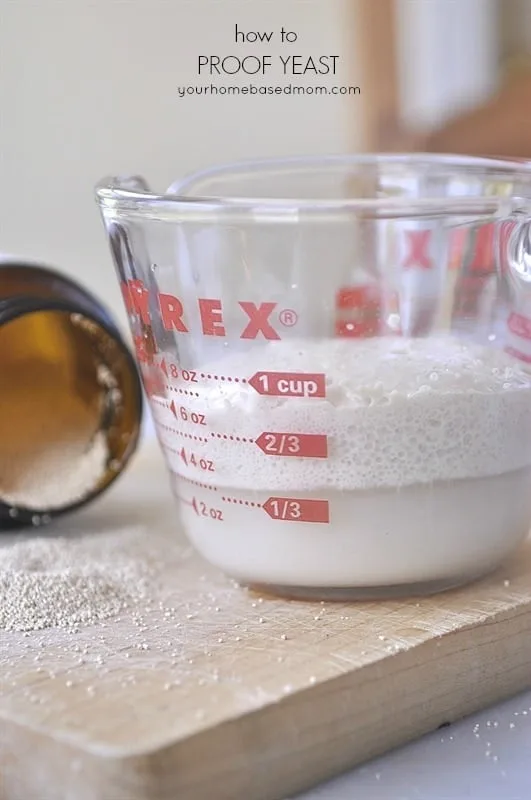
If the loaf looks like a heavy stone, the yeast failed to produce enough carbon dioxide. First, check the expiration date on your yeast jar. If the yeast is fresh, you may have added too much salt, which kills the leavening agent on contact.
Ensure the salt and yeast stay on opposite sides of the flour pile during setup.
Branch 3: The Crust is Burnt or Too Thick
Compact machines have heating elements very close to the bread pan walls. If your crust is consistently scorched, your recipe might have too much sugar or milk powder. These ingredients caramelize quickly.
According to USDA food standards, different sugars react at different temperatures, so scaling back honey or white sugar can prevent a burnt exterior.
Branch 4: Dry Flour Clumps and Unmixed Corners
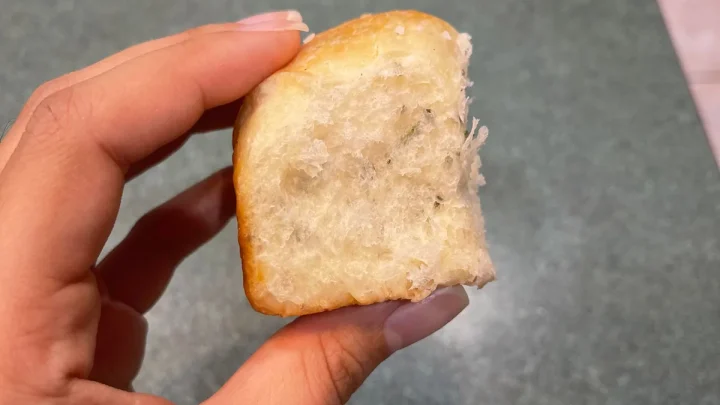
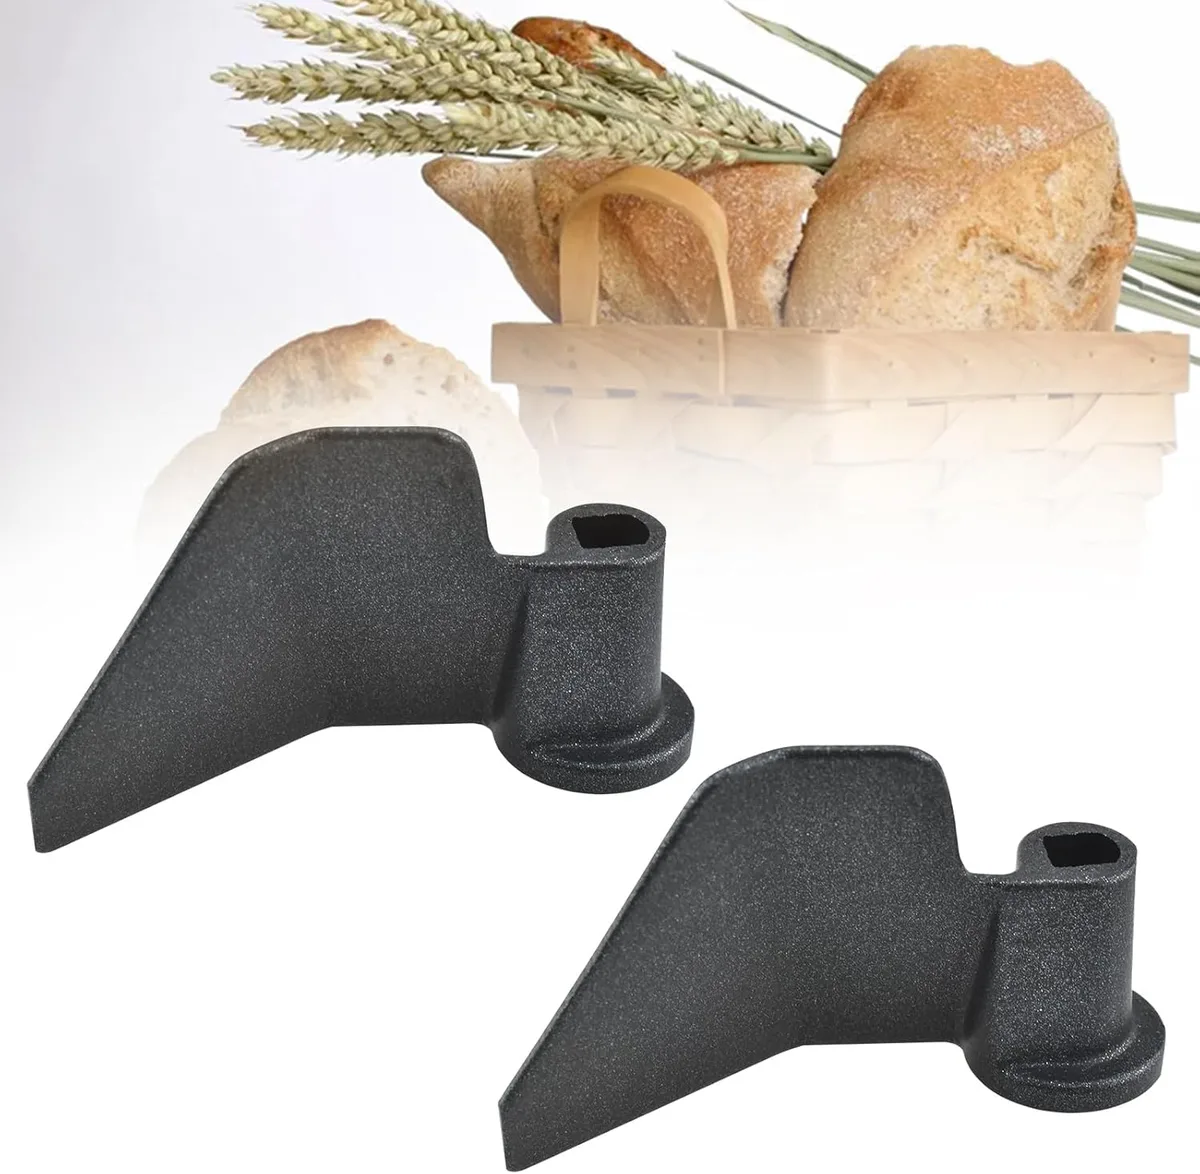
If you find raw flour on the sides of your finished loaf, the paddle failed to reach the corners. This is a common design flaw in square, vertical buckets. You will need to manually intervene.
Sometimes, a messy overflow occurs because the unmixed flour finally incorporates all at once late in the cycle, causing a delayed rise.
Why Small Machines Struggle with Standard Recipes
Most bread recipes found online are designed for 2lb machines. Simply cutting a recipe in half does not always work for a compact model. The ratio of surface area to volume is different, meaning moisture evaporates at a different rate in a 1lb pan.
The Heat Proximity Factor in Narrow Chambers
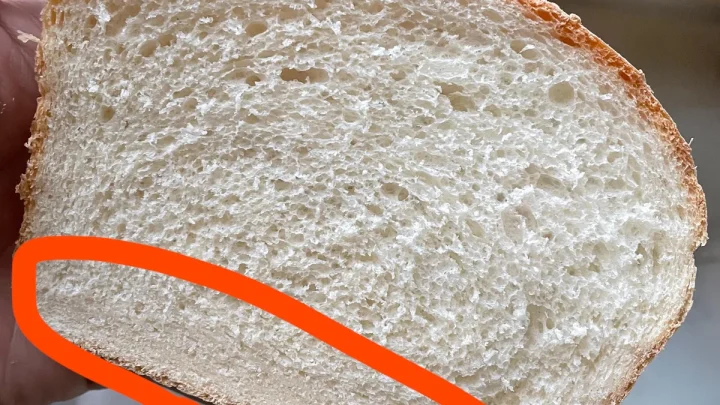
In a large machine, there is a significant air gap between the dough and the heating coils. In a compact unit, that gap is halved. This creates a "flash bake" effect where the outside sets before the inside has fully expanded.
This leads to a thick, chewy crust and a doughy center.
The Impact of 5-Gram Measurement Errors
When you are working with only 200 grams of flour, a 5-gram error is a 2.5% deviation. In a large 4-cup recipe, that same error is negligible. Professional bakers recommend using a digital scale rather than measuring cups to maintain the correct fluid level for these small batches.
Lower Torque Motors and Heavy Dough Stalls
Compact machines often use 450-watt to 600-watt motors. While sufficient for white bread, they can struggle with heavy whole wheat or rye flours. If you hear the machine "groaning" or smelling like hot electronics, the dough is too stiff.
You must add water, one teaspoon at a time, until the motor sounds smooth again.
The Walking Machine: Troubleshooting Vibration and Movement
Because compact machines are lightweight, they lack the physical mass to stay anchored during a vigorous knead. If the dough ball is too dry, it becomes a solid mass that the paddle slaps against the sides of the bucket. This creates a centrifugal force that can move the machine across your counter.
Aggregate reviews report that machines are most likely to "walk" when placed on smooth granite or laminate surfaces. You should ensure the rubber feet on the bottom of the unit are clean and free of flour dust. Flour dust acts like microscopic ball bearings, reducing friction and letting the machine slide.
If your machine continues to move, check the dough consistency. A balanced dough ball should be tacky, like a Post-it note, but should not stick to your fingers. If it is as hard as a rubber ball, it is putting too much strain on the chassis.
Adjusting your hydration is usually the fix for a wandering appliance.
Managing the Dough Consistency in Real-Time
You cannot simply "set it and forget it" with a compact machine until you have mastered a specific recipe. The first 10 minutes of the kneading cycle are the most critical. This is your only window to fix a loaf before the chemistry of the bake takes over.
| Dough Appearance | The Problem | The Fix |
|---|---|---|
| Shaggy, loose crumbs | Too dry | Add 1 tsp warm water |
| Sticking to the bottom | Too wet | Add 1 tsp bread flour |
| Smearing on the sides | Over-hydrated | Add 1 tbsp flour immediately |
| Smooth, bouncing ball | Perfect | Close the lid and wait |
The Tacky-Ball Test During the Second Knead
During the second kneading phase, open the lid and quickly touch the dough. It should feel supple and slightly sticky. If it feels dry and crusty, the bread will be dense.
If it leaves a thick paste on your finger, the top will likely sink during the bake.
When to Add Liquid vs. When to Add Flour
Only add ingredients during the first mix. If you add flour during the rise cycle, it will not incorporate and will leave a white, powdery coating on your bread. If you miss the window, it is better to let the loaf finish and take notes for the next attempt.
Keeping a small notebook by a reliable machine helps you track these micro-adjustments over time.
Critical Mistakes to Avoid with 1lb Loaf Settings
The biggest error users make is treating the 1lb setting like a smaller version of the 2lb setting. On a compact machine, the bake time is usually shorter and the temperature spikes are more aggressive. If you select a "Dark" crust on a small loaf, the radiant heat from the nearby walls will often char the edges before the center is even warm.
Why Rapid Bake is Often the Enemy of Compact Models
Rapid or Express cycles cut down on rising time by using higher heat and more yeast. In a small bucket, this leads to a massive, uncontrolled gas expansion. Our research into routine upkeep shows that rapid cycles are the most common cause of dough hitting the viewing window.
The dough simply does not have enough structural strength to hold that much air that fast.
Over-Hydration: The Number One Cause of Caved-In Tops
In a compact chamber, there is less air volume to absorb evaporating moisture. If your dough is too wet, the steam builds up inside the loaf and weakens the gluten walls. Once the bake cycle starts and the yeast dies off, the heavy, wet structure collapses.
This results in the "crater" look that ruins a perfectly good weekend brunch.
Using the Wrong Yeast Type for the Cycle Length
Bread machine yeast and Active Dry yeast are not always interchangeable in small machines. Active Dry needs to be dissolved in liquid first to work properly. If you drop it into a dry flour well on a short compact cycle, it may not activate in time.
This results in a short, gritty loaf that smells like raw flour.
The Pro-Active Intervention: The Spatula Trick for Square Buckets
Vertical, square buckets have a physical limitation: the circular motion of the paddle cannot reach into 90-degree corners. You will often see a "flust" (flour-dust) coating on the finished crust if you don't intervene. A simple manual check can save the entire loaf.
About five to eight minutes into the first kneading cycle, open the lid. Take a small silicone spatula and gently scrape the dry flour from the corners toward the center of the dough ball. This ensures the correct fluid level is maintained throughout the entire mass.
Be careful not to touch the moving paddle with your tool. If you wait until the second knead, the dough will be too developed and elastic to incorporate the dry bits. This intervention also gives you a chance to see if you need to top it up with a teaspoon of water.
When the Hardware is the Problem: Drive Belts and Fuses
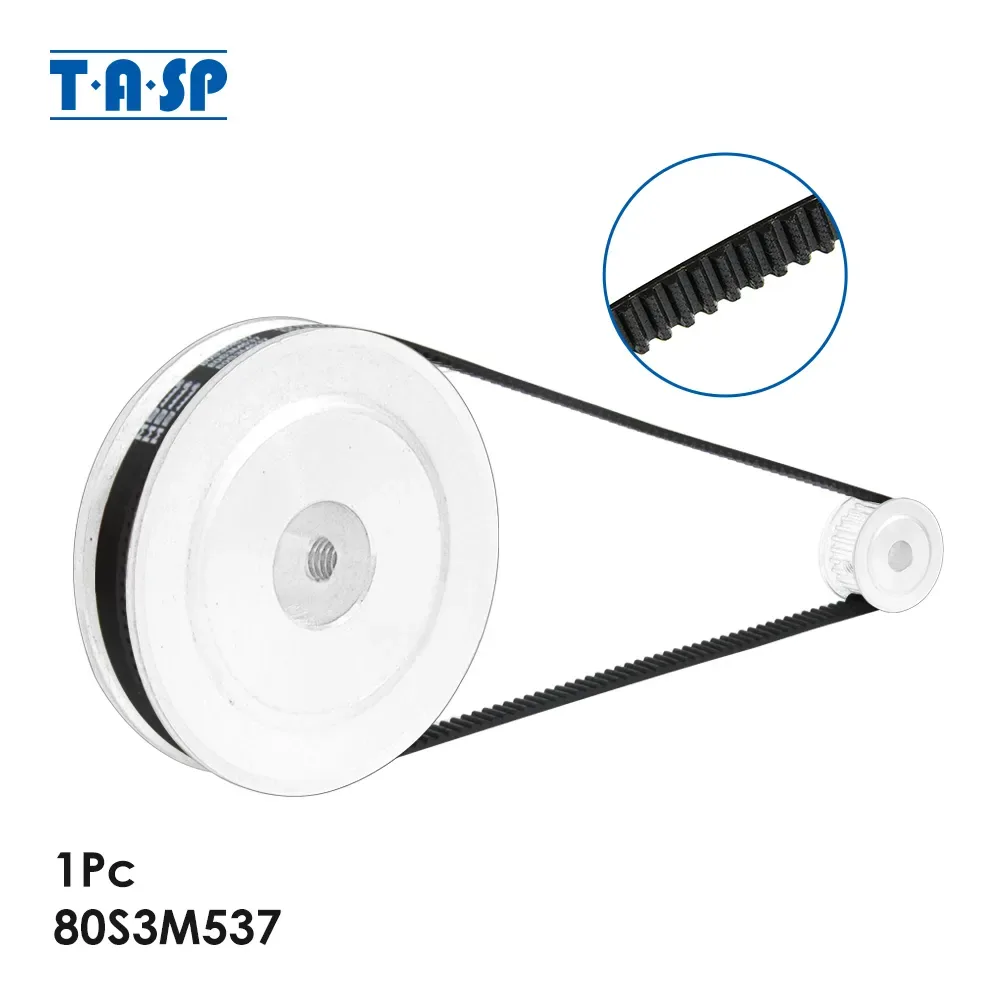
Sometimes the issue isn't the recipe, it is the mechanical heart of the machine. Compact units use smaller, thinner drive belts to save space. These belts are under significant tension when you use heavy flours like whole wheat or rye.
Signs of a Failing Internal Drive Belt
If you hear the motor whirring or humming but the paddle isn't turning, the belt has likely slipped or snapped. This often happens if the paddle was previously stuck and the motor tried to force it to turn. You can usually check this by trying to rotate the drive shaft by hand while the machine is unplugged.
If it spins freely with no resistance, the connection to the motor is gone.
Testing the Kneading Paddle for Mechanical Play
The spindle that holds the paddle should be firm. Over time, the seal at the bottom of the bread pan can wear out, causing liquid to leak into the base of the machine. If you see black residue or oil in your dough, the bearing is failing.
This is a common point of failure for top-rated brewers and bread makers alike after a few years of daily use.
Optimizing Your Environment for Small-Batch Success
A compact machine is essentially a small greenhouse. External factors like kitchen humidity and ambient temperature have a massive impact on the internal micro-climate. If your kitchen is 85°F in the summer, your bread will rise twice as fast as it does in the winter.
Why Kitchen Temperature Matters More in Small Machines
Large machines have more air to act as a buffer. In a small unit, the internal temperature rises almost instantly. If your ingredients are cold from the fridge, the small heating element might not be able to compensate during the proofing stage.
Use a thermometer to ensure your water is exactly 80°F for the best results.
The Best Flour-to-Water Ratios for Compact Buckets
Editorial analysis of manufacturer documentation suggests a hydration ratio of 60% to 65% for compact machines. For every 100 grams of flour, use 60 to 65 grams of water. This creates a dough that is firm enough to hold its shape vertically but soft enough for the small motor to knead.
Essential Maintenance for Long-Term Performance
Maintenance is the key to preventing the most common compact bread maker problems. The most vulnerable part of your machine is the bread pan itself. If you treat the non-stick coating poorly, your bread will stick, and the paddle will eventually refuse to come out of the loaf.
Cleaning the Spindle and Avoiding "Paddle Freeze"
After every bake, soak the pan in warm, soapy water for 15 minutes. Never use a metal knife to pry the paddle off the spindle. This creates scratches where baked-on sugars can act like glue.
A clean, lubricated spindle ensures the motor doesn't have to work overtime just to start the rotation.
Protecting the Non-Stick Coating from Pitting
Avoid using abrasive sponges or harsh detergents. If the coating starts to pit, it can release chemicals or trap bacteria. Per UL safety standards, once the internal coating of a food-contact appliance is compromised, the pan should be replaced.
Keeping the surface smooth also helps the dough ball move more efficiently during the knead.
The Compact Bread Maker Decision Guide: Should You Fix or Replace?
Deciding whether to repair your machine depends on the age of the unit and the cost of replacement parts. If you are experiencing simple issues like sunken tops or unmixed flour, these are user errors that no new machine will solve. However, if the motor has stalled or the drive belt has snapped, you must weigh the repair cost against the price of a new unit.
For most compact models, a replacement bread pan costs about one-third of the total machine price. If the heating element has failed, manufacturer specifications generally suggest replacing the entire unit for safety reasons. If the machine is more than five years old, newer models offer better sensors that manage internal heat more effectively.
Safety Warnings: When to Unplug and Call the Manufacturer
You should never ignore electrical warning signs in a small kitchen appliance. If you smell ozone or burning plastic, unplug the machine immediately. Compact units have high power density, and a short circuit in the heating element can become a fire hazard quickly.
Per CPSC guidelines, any appliance that shows visible sparks or has a frayed power cord should be taken out of service. If the digital display shows an "E" error code that won't reset, the internal thermal fuse may have tripped. Contact the manufacturer for a diagnostic check rather than attempting to bypass safety sensors yourself.
Frequently Asked Questions About Compact Bread Machines
Why does my bread maker paddle always get stuck in the loaf?
This happens when sugars and starches bake onto the spindle during the cycle. Try applying a tiny drop of food-grade vegetable oil to the spindle before attaching the paddle. Removing the loaf immediately after the bake cycle finishes also helps prevent the bread from "locking" onto the blade.
Can I use all-purpose flour instead of bread flour?
All-purpose flour has less protein and weaker gluten than bread flour. In a tall, narrow compact bucket, all-purpose dough often fails to support its own weight and collapses. For best results in a small machine, stick to flour with at least 12% protein content.
Why does my machine beep during the kneading cycle?
Most compact machines include an "Add-In" beep roughly 10 to 15 minutes into the process. This is the signal to add nuts, seeds, or raisins so they don't get crushed by the initial heavy kneading. It is also the perfect time to use the spatula trick to clear the corners of the pan.
Is it normal for the top of the loaf to be pale?
Since compact machines have heating elements around the sides and bottom, the very top of the loaf is furthest from the heat. This often results in a lighter-colored top crust compared to the sides. You can improve browning by lightly brushing the top of the dough with an egg wash before the bake cycle begins.
How do I stop my machine from walking off the counter?
Clean the rubber feet and the countertop with a degreasing cleaner to ensure maximum suction. If the machine still moves, your dough is likely too dry and heavy. Adding a single teaspoon of water can soften the dough ball enough to reduce the vibration levels significantly.

Similar Posts