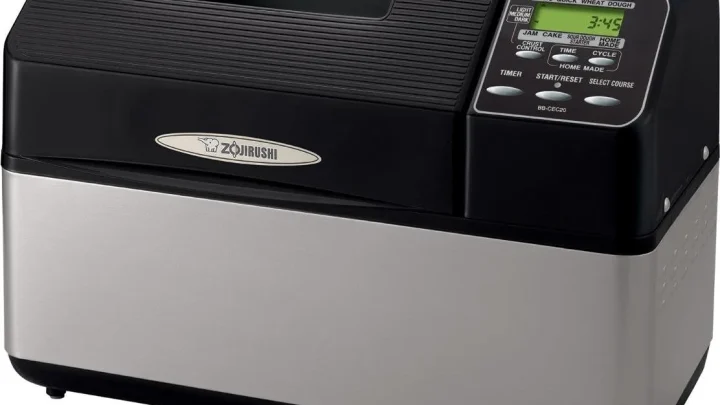
How to Fix a Bread Maker H01 Error: Quick Repair Guide
If you have just seen a flashing bread maker h01 error on your display, you aren't alone. This common fault code usually appears right when you are eager to start a fresh loaf of homemade bread. It simply means the internal temperature of the baking chamber is too high for the program to begin safely.
According to manufacturer specifications from brands like Zojirushi and Panasonic, the unit must be within a specific thermal range to prevent damage to the yeast or the internal circuitry. Most machines are designed to operate between 59°F and 104°F (15°C to 40°C) for the initial kneading phase.
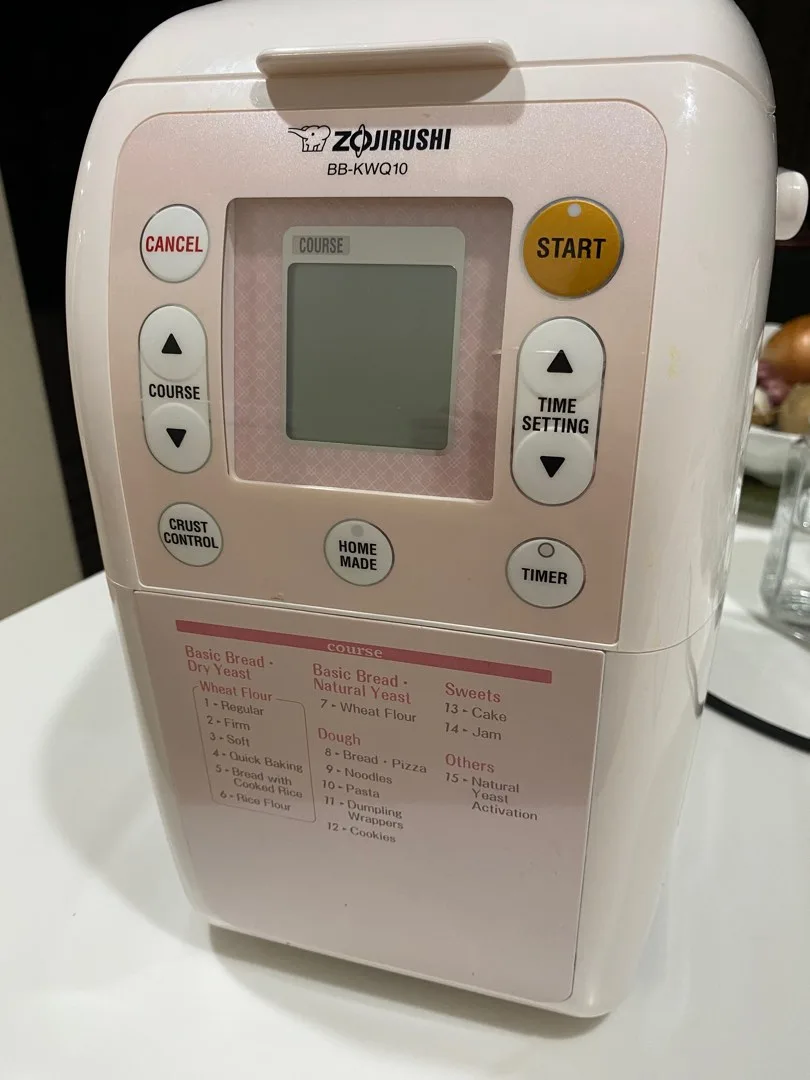
Quick Answer
The bread maker h01 error signifies that the machine is too hot to start. This happens most often during back-to-back baking sessions. The internal sensor detects heat levels that would kill the yeast instantly.
You should open the lid and remove the bread pan immediately. Allow the unit to cool for at least 20 minutes. The error will clear automatically once the temperature drops below 104°F.
Why Your Bread Maker is Flashing the H01 Error
The h01 code is an automated safety feature designed to protect your ingredients and the appliance. Bread makers rely on precise temperature control to manage the fermentation of yeast. If the baking chamber is still holding heat from a previous cycle, the dough will rise too quickly.
The yeast might even die before the first knead is finished.
Manufacturer documentation indicates that the thermistor, a small temperature-sensing component, monitors the air inside the unit. When you press the start button, the microprocessor checks this reading first. If the air is above the factory-set threshold, the software triggers the h01 block.
This prevents the heating element from engaging. It also protects the motor from straining against overheated, sticky dough.
In some cases, environmental factors play a role. If your kitchen is exceptionally hot or the machine sits in direct sunlight, the internal sensor might read a high baseline temperature. This can lead to frustrating results where the machine refuses to start even if you haven't used it recently.
The Quick Fix: How to Clear H01 in Under 20 Minutes
Clearing this error does not require tools or technical expertise. It simply requires a change in airflow. The most effective way to reset the sensor is to facilitate rapid heat exchange between the baking chamber and the room air.
Follow these steps for a fast recovery:
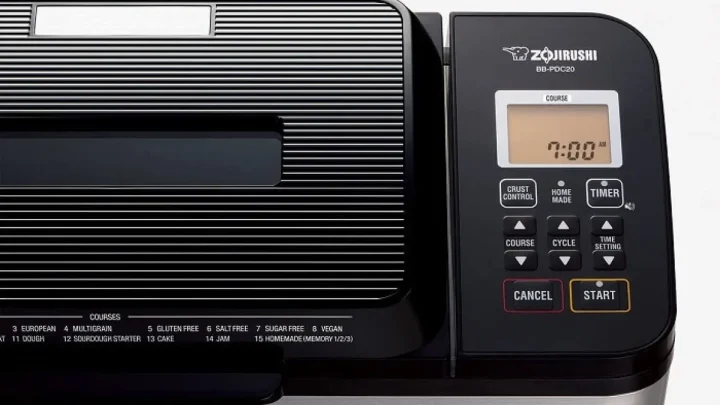
- Cancel the current program: Press and hold the Stop or Reset button until the display stops flashing.
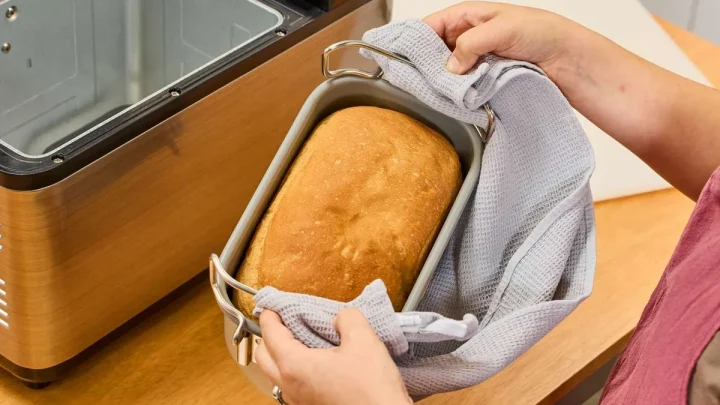
- Remove the bread pan: The metal pan acts as a heat sink, holding onto thermal energy. Use oven mitts to set it on a cooling rack.
- Keep the lid wide open: Do not leave the lid cracked. Open it fully to let the hot air rise and escape the unit.
- Relocate the machine: If the unit is near a stove or oven, move it to a cooler countertop area.
As of 2026, most modern digital bread makers will automatically reset the display to the default clock or "0:00" once the internal sensor reaches a safe operating temperature. You do not need to keep pressing buttons while you wait.
Understanding the Science: Why Temperature Sensors Trigger H01
The physics of bread making involves a delicate balance of biology and heat. Yeast is most active between 75°F and 95°F. Once the temperature exceeds 120°F, yeast cells begin to die.
If the bread maker allowed a cycle to start while the chamber was at 140°F, the loaf would never rise.
The thermistor inside your machine works by changing its electrical resistance based on the heat it detects. The National Institute of Standards and Technology (NIST) provides extensive data on how these types of sensors provide feedback to automated controllers. In a bread machine, the controller is programmed with a hard ceiling.
When the resistance value of the thermistor hits that ceiling, the logic board sends the h01 signal to the LCD. This is a non-negotiable software lock. It ensures that every loaf starts from a consistent thermal baseline.
This consistency is what allows the programmed rise times to work perfectly every time you bake.
Decision Tree: Is Your Machine Overheated or Actually Broken?
Most users assume a flashing code means a trip to the repair shop. However, you can determine the health of your appliance by observing when and how the error occurs. Use this logic to decide your next move.
| If the machine is… | And you see H01… | Your next action is… |
|---|---|---|
| Hot from a previous loaf | Immediately after pressing start | Normal. Open the lid and wait 20 minutes. |
| Completely cold/Room temp | The moment you plug it in | Likely a faulty sensor or loose wire. |
| Running mid-cycle | During the second rise or bake | Stop the machine. Check for a blocked vent. |
| In a very hot kitchen | Before you even add ingredients | Move to a cooler spot or use a fan. |
If the machine is cold to the touch and the h01 error refuses to clear after being unplugged for 30 minutes, the sensor has likely failed. A failed sensor often has an open circuit. This means it is no longer sending a signal to the board.
In this specific case, the board defaults to an error state to prevent a potential fire hazard.
Step 1: The Ambient Cooling Protocol
The ambient cooling protocol is the standard operating procedure for resetting a thermal error. While it might be tempting to use ice to speed things up, doing so can cause thermal shock. This can lead to micro-cracks in the heating element or the non-stick coating of the pan.
Start by unplugging the machine from the wall. This stops all electrical flow and allows the internal components to begin cooling naturally. Removing the pan is vital because the heating element sits directly beneath it.
If the pan remains inside, it traps a pocket of superheated air right against the thermistor.
While you wait, check the ventilation slots on the sides or back of the bread maker. Use a soft brush to clear any flour dust or lint that might be blocking the airflow. Clogged vents are a primary reason why machines take too long to cool down.
Once the vents are clear, most units will be ready for a new cycle in roughly 20 minutes.
Step 2: Performing a Hard Logic Reset
A hard logic reset clears the temporary memory of the microprocessor. It forces the machine to re-evaluate its sensor readings. While simply waiting for the unit to cool usually works, sometimes the digital display gets stuck in an error loop.
This happens when the internal software retains the fault state even after the physical temperature has dropped.
To perform a hard reset, unplug the bread maker from the wall outlet. Leave it disconnected for at least 10 full minutes. This allows the capacitors on the control board to discharge completely.
If you plug it back in too quickly, the board may retain enough residual power to remember the error code.
Once the time has passed, plug the unit back in and check the display. If the room is cool and the error persists, the software might be detecting a permanent hardware fault. This step is a vital diagnostic because it separates a real mechanical failure from a simple software glitch.
Step 3: Checking for Mechanical Obstructions and Motor Strain
If the H01 error appears unexpectedly during the kneading phase, the problem might be the drive motor overheating. If the dough is too dry or the recipe is exceptionally heavy, the motor has to work much harder. This extra effort generates significant internal friction and heat.
Check the following mechanical points:
- The Kneading Blade: Ensure the blade is properly seated on the shaft. A loose or misaligned blade can cause the motor to bind and heat up rapidly.
- Dough Consistency: If the dough has formed a solid ball, the motor might be reaching its thermal limit. Adding a tablespoon of water can often reduce the friction.
- The Drive Belt: In older machines, a slipping drive belt can create friction heat that triggers the internal sensor.
If the motor feels hot to the touch or smells like ozone, the H01 code is doing its job. You should keep the internals clean and clear of flour debris to ensure the motor has proper airflow. If the motor is the culprit, the machine will need a much longer rest period than a standard cooling cycle.
When H01 Happens in a Cold Machine: Troubleshooting the Thermistor
Seeing an H01 code on a cold machine usually indicates a hardware failure within the temperature-sensing circuit. The thermistor is the small, bead-like component that measures the heat inside the baking chamber. If this component or its wiring is damaged, the control board receives a nonsensical reading.
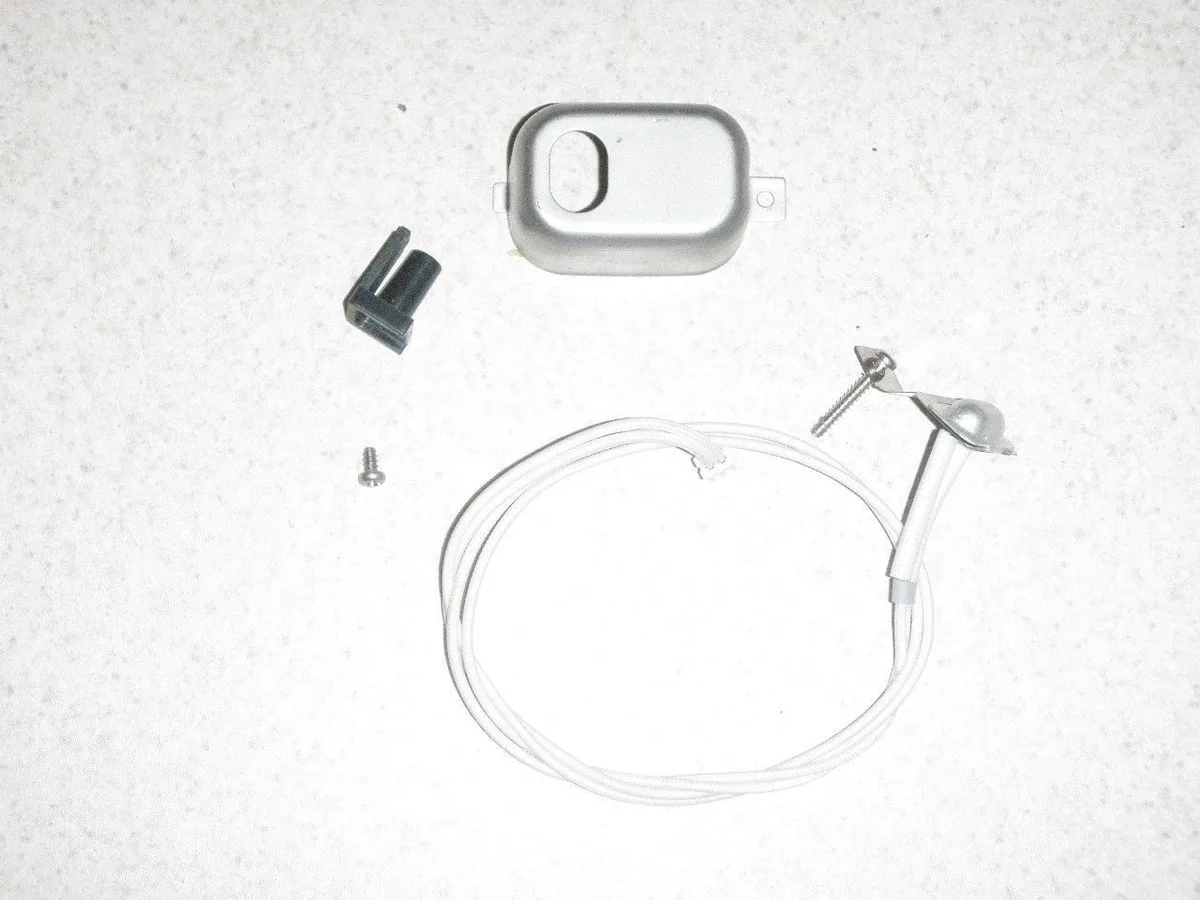
In most bread makers, a failed thermistor defaults to a high-resistance state. The microprocessor interprets this high resistance as extreme heat, even if the machine is sitting in a cold garage. You can try wiping the sensor with a Q-tip dipped in rubbing alcohol.
Sometimes a thin layer of baked-on flour dust can insulate the sensor and cause erratic readings.
If cleaning doesn't help, the sensor itself may have an internal break. According to technical standards for household appliances, these sensors are designed to withstand thousands of heat cycles. However, vibrations from heavy kneading can eventually fatigue the thin copper wires.
If the machine is cold and a reset fails, you may need professional service.
H01 vs. H02: Identifying High vs. Low Temperature Faults
While H01 tells you the machine is too hot, the H02 error usually indicates the opposite problem. Understanding the difference helps you decide whether to grab a fan or a heater. Most manufacturers use these codes as a pair to define the safe operating envelope of the appliance.
| Error Code | Meaning | Common Cause | Fix |
|---|---|---|---|
| H01 | Temperature too high | Back-to-back baking or hot kitchen | Open lid, remove pan, wait 20 mins |
| H02 | Temperature too low | Machine kept in a cold pantry or garage | Move to a warm room for 1 hour |
The H02 code is particularly common in the winter if you store your bread maker in an unheated area. Yeast will not activate properly if the starting temperature is below 50°F. If you see H02, do not use a hairdryer to warm the machine quickly.
This can damage the plastic housing. Instead, let the unit sit at room temperature for an hour.
Mistakes to Avoid When Cooling Down Your Appliance
When you are in the middle of a busy baking day, the temptation to speed up the cooling process is strong. However, certain shortcuts can lead to permanent damage. Our research into user feedback reveals several common mistakes that can ruin a high-end bread maker.
Never put the removable bread pan into the freezer or refrigerator. The non-stick coating is bonded to the metal at a specific tension. A sudden drop in temperature can cause the coating to flake or the metal to warp.
A warped pan will no longer sit flush against the heating element.
Additionally, avoid blowing compressed air into the sensor area. While a standard kitchen fan is safe, high-pressure canned air can force moisture or debris deeper into the electrical housing. This can lead to a short circuit on the logic board.
The safest method is always natural convection with the lid open and the pan removed.
Back-to-Back Baking: Pro Tips for High-Volume Loaf Production
Baking multiple loaves in a single day is possible if you manage the thermal transitions between cycles. The key is to reduce the heat soak period where the machine remains stagnant and hot. Most manufacturer guidelines suggest a minimum 20 minute wait, but you can optimize this with a few strategic habits.
One effective method is using a secondary bread pan. By removing the hot pan immediately and inserting a room-temperature pan, you help absorb some of the residual heat. However, wait to add the actual ingredients until the display stops flashing the fault code.
If you frequently bake for events, consider placing your bread maker in a well-ventilated area. Keeping the unit away from the wall by at least six inches improves airflow around the rear vents. This simple adjustment can shave five to ten minutes off your required cooling time.
Real-World Scenarios: Environmental Factors That Trigger False Errors
Sometimes the machine isn't actually hot from a previous bake, but external conditions trick the internal sensor. High ambient temperatures in a kitchen during the summer months can push a machine close to its thermal limit. If your kitchen reaches 90°F or higher, the baseline reading might trip the H01 lock.
Direct sunlight is another common culprit. If the machine sits on a counter where the sun hits the dark housing, the internal temperature can spike rapidly. We have seen reports where simply moving the machine into a shaded corner resolved a persistent H01 issue.
Humidity can also play a minor role. While it doesn't directly increase temperature, high humidity can make it harder for the machine to shed heat through its vents. In tropical climates, using a small oscillating fan directed at the open machine is a standard practice for many home bakers.
When to Call Technical Support or Invoke Your Warranty
If you have followed the cooling protocol and performed a hard reset but the code persists, it is time to look at your warranty. Most major brands offer a one-year limited warranty on electrical components. An H01 error on a stone-cold machine is a clear sign of a defective thermistor or a faulty control board.
Before calling, have your model number and serial number ready. These are usually found on a silver sticker on the bottom of the unit. Manufacturers will often ask you to perform the unplug test while they are on the phone to verify the fault.
If your unit is out of warranty, you may be able to order a replacement thermistor. However, these are often soldered to the board. Unless you have experience with appliance repair, the labor cost at a shop might approach the price of a brand-new machine.
Essential Maintenance to Prevent Future Sensor Errors
Preventative maintenance keeps the internal sensors accurate. Flour dust is the primary enemy of bread machine electronics. Over time, fine particles can migrate into the chassis and settle on the thermistor.
This creates a layer of insulation that leads to false high-temperature readings.
Vacuum the interior of the machine every few months using a crevice tool. Focus on the area where the sensor nub protrudes through the side of the baking chamber. Do not use wet cloths to clean the internal vents, as moisture can damage the sensitive microprocessor.
Check the power cord for any signs of fraying. A damaged cord can cause inconsistent power delivery. This occasionally triggers false error codes on the digital display.
Keeping the machine clean and the vents unobstructed ensures that the airflow stays within factory-designed parameters.
Frequently Asked Questions
Can I bypass the H01 error to start my bread early?
No, there is no manual bypass for the H01 safety lock. The firmware is designed to prevent the cycle from starting until the sensor detects a safe temperature. Attempting to force the machine to run could damage the motor or ruin your ingredients.
Why does my machine beep loudly when H01 appears?
The beeping is an audible alert to tell you that the Start command was rejected. Since the machine cannot follow your instruction to begin the cycle, it uses a signal to ensure you don't walk away thinking the bread is already baking.
Is the H01 error a sign that my motor is burning out?
Usually, no. It is almost always related to the heat in the baking chamber. However, if the error appears mid-knead and is accompanied by a burning smell, it could indicate the motor is struggling with a heavy dough load.
Does every bread maker brand use H01 for heat errors?
While H01 is the most common code for high heat, some brands use E01 or HHH. Always check your owner's manual to confirm the meaning of the code. The solution of cooling the machine remains the same regardless of the label.
The H01 Final Decision Guide: Fix or Replace?
If your H01 error is triggered by back-to-back baking, your machine is perfectly healthy. You simply need to adjust your workflow to allow for cooling. This is a normal operating characteristic of the appliance and does not require a replacement.
However, if the error appears on a cold machine and a 15 minute hard reset fails to clear it, the sensor circuit has likely failed. For machines under $100, the cost of professional repair usually exceeds the value of the unit. For high-end models, a sensor replacement is a worthwhile investment.
Keep your vents clear and your machine out of direct sunlight for the best results.

Similar Posts