Common 1 lb Bread Maker Problems and How to Fix Them
Owning a compact kitchen appliance often feels like a win for counter space, but 1 lb bread maker problems can quickly turn a convenient hobby into a frustrating chore. Because these machines use smaller pans and less powerful motors than standard 2 lb units, even a slight measurement error can ruin the entire loaf.
Manufacturer specifications for 1 lb machines, such as those from Zojirushi or Hamilton Beach, often indicate a maximum flour capacity of just 200 to 250 grams. As of 2026, research into small-batch baking suggests that environmental factors like humidity affect these tiny loaves much faster than larger batches.
Quick Answer
Common 1 lb bread maker problems usually stem from small measurement errors. These machines have a very low tolerance for extra liquid. A single teaspoon of water can cause a collapse.
Always use room temperature ingredients to prevent stunted growth. Ensure your yeast is fresh by performing a bloom test. Clean the drive shaft regularly to prevent mechanical resistance during kneading.
Why Your 1 lb Loaf Fails (The Margin for Error)
The primary reason people struggle with 1 lb bread makers is the "multiplier effect" of small errors. In a standard 2 lb machine, being off by five grams of flour is negligible. In a 1 lb machine, that same five-gram error represents a much higher percentage of the total volume, which can lead to a mess if the ratios get skewed.
Our research into manufacturer load limits shows that 1 lb machines are designed with smaller heating elements. These elements are positioned closer to the dough because the pan is narrow and vertical. If the dough rises too fast, it hits the lid.
If it is too dense, the small motor cannot generate enough torque to knead it effectively, resulting in an unmixed "brick."
Environmental conditions also play a larger role here. A drafty window or a humid afternoon changes the internal temperature of a small machine much faster than a large, insulated 2 lb model. This lack of thermal mass means you have to be the "brain" for the machine, adjusting your water or flour based on the room's climate.
The Bread Maker Troubleshooting Workflow: Start Here
If your loaf didn't turn out as expected, follow this diagnostic path. Most issues are solved by adjusting one of three variables: hydration, yeast activity, or ingredient temperature. By isolating these, you can stop wasting expensive bread flour on failed experiments.
- Step 1: Check the consistency. Open the lid five minutes into the kneading cycle. The dough should be a smooth, tacky ball. If it looks like thick batter, add a teaspoon of flour. If it looks like dry pebbles, add a teaspoon of water.
- Step 2: Verify your yeast. If the dough didn't rise at all, your leavening agent is likely dormant or expired. You can verify this by mixing a pinch of yeast in warm water with sugar.
- Step 3: Audit your measurements. Switch from measuring cups to a digital scale. Small-batch baking requires precision that volume-based measuring simply cannot provide.
Using this workflow allows you to identify if the problem is mechanical or ingredient-based. If the machine sounds like it is struggling, the issue is likely the drive shaft or an overloaded pan. If the machine runs smoothly but the bread is poor, the fault lies in the recipe or the environment.
Diagnosing the Sunken Top and Cratered Crust
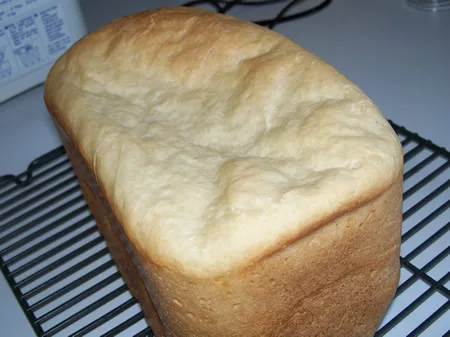
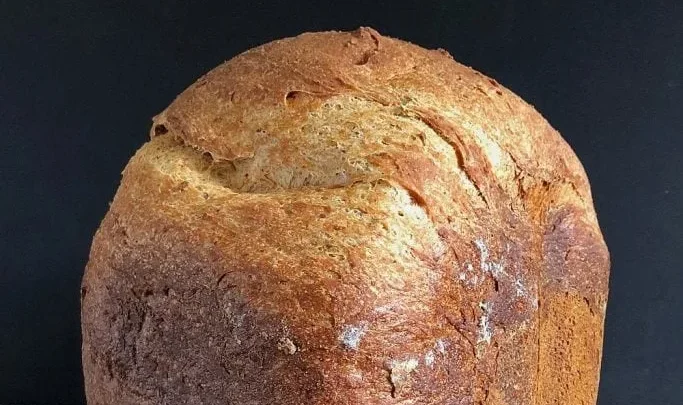
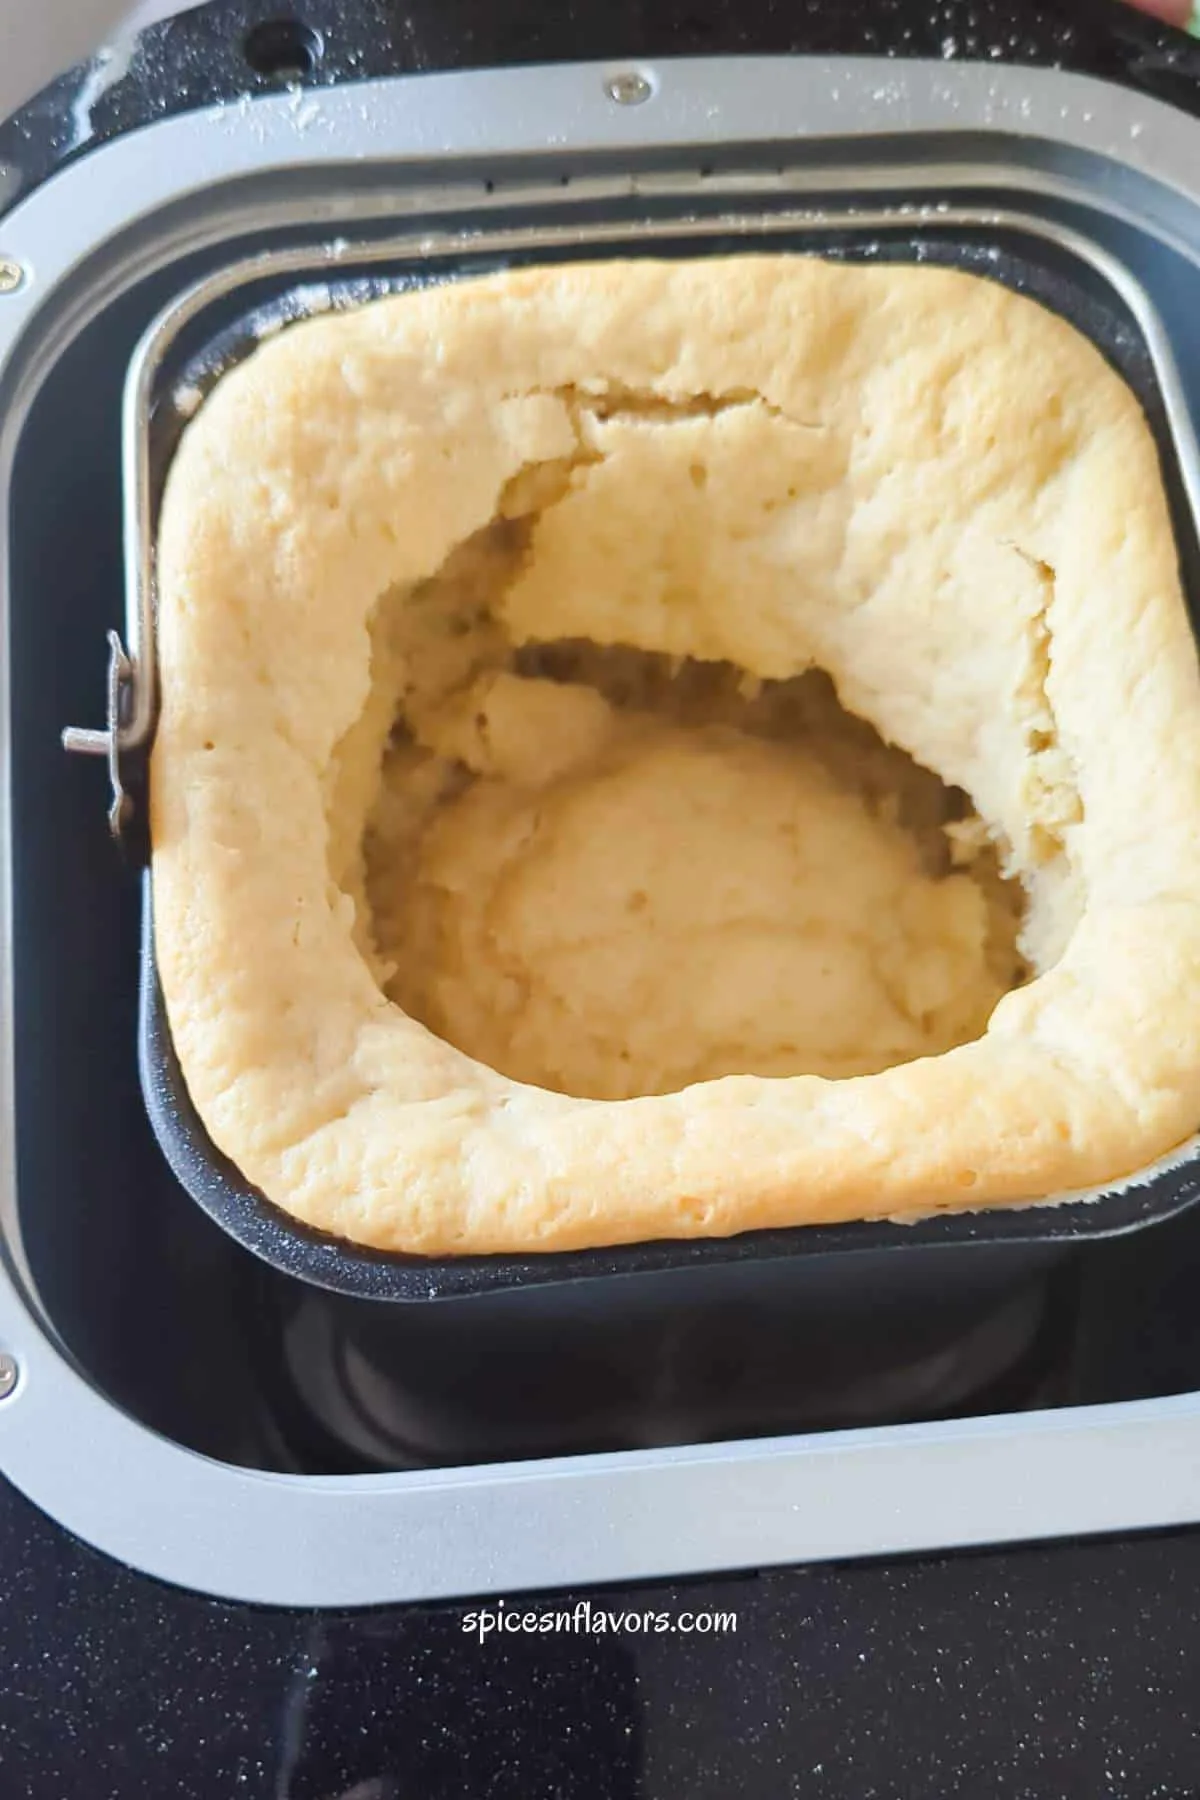
A sunken top is the most frequent complaint with 1 lb machines. This occurs when the bread rises beautifully during the proofing stage but collapses the moment the baking cycle begins. The structure simply isn't strong enough to support its own weight.
According to guidelines from the USDA FoodData Central, the protein content in flour directly impacts the strength of the gluten window. If you are using all-purpose flour instead of high-protein bread flour, your 1 lb loaf is more likely to cave in. The smaller pan size means the walls of the loaf are closer together, creating a chimney effect that can over-accelerate the rise.
| Cause of Collapse | Why it Happens | How to Fix |
|---|---|---|
| Too Much Liquid | Weakens the gluten bonds. | Reduce water by 1 tablespoon. |
| Excessive Yeast | Produces too much gas too quickly. | Use 1/4 teaspoon less yeast. |
| High Humidity | Flour absorbs moisture from the air. | Store flour in an airtight bin. |
| Warm Water | Activates yeast too aggressively. | Use water at 70°F (room temp). |
If you see a cratered top, try reducing your liquid slightly in the next batch. Even a tiny reduction helps the bread maintain a dome shape.
Fixing the Brick Loaf: Dense, Heavy, and Short
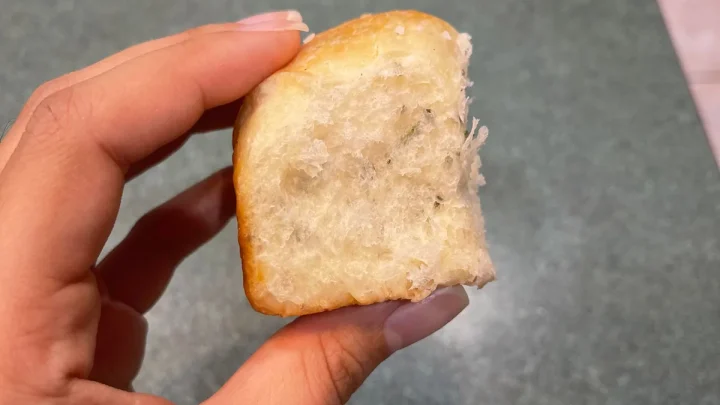
A "brick" loaf is the opposite of a collapse. It is a short, heavy square of dough that feels like a stone. In our analysis of user feedback, this usually happens because the yeast never got the chance to do its job.
The most common culprit is "yeast kill." If you add water that is too hot (above 120°F), you will neutralize the organisms before they can ferment. Conversely, if you use refrigerated water, the yeast might stay "asleep" through the entire short cycle of a 1 lb machine. Aim for the zone of 80°F to 90°F for the best results.
Another factor is the salt-to-yeast ratio. Salt is a yeast inhibitor. In a 1 lb recipe, a small spill of salt into the "yeast well" can completely stop the rise.
Always place your salt in the corner of the pan and your yeast in a small indentation in the center of the dry flour to keep them separated until the mixing starts.
Preventing the Mushroom Cloud Overflow
Because 1 lb pans are typically vertical and narrow, they are prone to "mushrooming." This is when the dough grows past the top of the pan and spreads out, often sticking to the viewing window or the heating elements. This is not just a cleaning nightmare, it is a fire hazard.
This usually happens when users try to adapt a "standard" bread recipe for their mini machine. A 1 lb machine cannot handle more than 2 cups of flour. If your recipe calls for 3 cups, you are guaranteed an overflow.
To prevent this, ensure you are using recipes specifically formulated for small capacities. If the dough hits the lid, the top of the bread will be gummy and under-baked because the heat cannot circulate around the top of the loaf. Monitoring the first rise can help you catch this early.
If the dough is already at the rim before the bake cycle starts, you may need to adjust your batch size for future loaves.
Why Your Machine is Walking Across the Counter
If your 1 lb bread maker moves during the knead cycle, it is likely due to the machine's lightweight chassis being overwhelmed by the force of the dough. Unlike heavy 2 lb models, these compact units lack the weight to remain stationary when the dough ball is too firm.
Manufacturer specifications often emphasize that the machine should be placed on a completely dry, level surface. Even a light dusting of flour under the rubber feet acts like ball bearings. This allows the vibration from the drive motor to push the unit toward the edge of your counter.
Aggregate user reviews indicate that "walking" happens most often when the dough is too dry. A stiff dough ball hits the sides of the pan with more force, creating a jerking motion. If you notice your machine migrating, check the dough consistency and add a teaspoon of water to soften the impact.
Solving the Flour-on-the-Sides Problem in Vertical Pans
Unincorporated flour on the sides of the loaf is a common symptom of the narrow, vertical pan design found in 1 lb machines. Because the kneading paddle is small, it sometimes fails to reach the corners or the high walls of the bucket during the initial mix.
As of 2026, many seasoned bakers suggest using a soft silicone spatula to gently push stray flour back into the center during the first five minutes of the kneading cycle. Be extremely careful not to touch the moving paddle. This manual intervention ensures every gram of flour is hydrated before the first rise begins.
If the flour is consistently clumping in the corners, your order of ingredients might be the issue. Ensure you are putting liquids in first. This lubricates the bottom of the pan and the drive shaft, making it easier for the paddle to pull dry ingredients down into the "vortex" of the mix.
The Yeast Factor: Temperature and Freshness Rules
Yeast is a living organism, and in a 1 lb machine, you are dealing with very small populations that must work perfectly within a tight timeframe. If your yeast is old or has been exposed to high heat, your bread will simply stay flat.
According to research from university extension programs, yeast remains dormant below 70°F and begins to die off above 120°F. If you use a delay timer, ensure your yeast is nestled in a dry "well" of flour. If it touches the water or salt prematurely, it will activate and then exhaust itself before the baking cycle even starts.
- Freshness Test: Mix 1 teaspoon of sugar and 2 teaspoons of yeast in 1/2 cup of warm water. If it doesn't foam up significantly within 10 minutes, the yeast is dead.
- Storage Tip: Keep your yeast in the freezer. This significantly extends its shelf life compared to keeping it in a warm pantry.
- Type Matters: Most 1 lb machines perform best with "Bread Machine Yeast" or "Instant Yeast." Active Dry Yeast can work but often requires blooming in liquid first.
Measuring by Weight vs. Volume in Small-Batch Baking
One of the most effective ways to solve recurring 1 lb bread maker problems is to stop using measuring cups. A cup of flour can weigh anywhere from 120 to 160 grams depending on how tightly it is packed. In a small loaf, that 40-gram difference is massive.

Professional baking standards, like those from the Bread Bakers Guild of America, prioritize weight-based measurements for consistency. Using a digital scale allows you to follow "Bakers Percentages," which is the ratio of ingredients to the total flour weight.
If your recipe calls for 250 grams of flour and 160 grams of water, a scale ensures you hit those numbers exactly every time. This eliminates the guesswork of "leveling off" a measuring cup and prevents the dense, dry loaves that plague many home bakers.
The Liquid-Dry-Yeast Layering Sequence
The order in which you load your 1 lb bread maker is not just a suggestion, it is a functional requirement for the machine's programming. Most units are designed to begin with a rest period or a slow stir that requires the liquids to be at the bottom near the paddle.
- Liquids First: Add your water, milk, eggs, or oil. This creates a base for the paddle to spin freely.
- Dry Ingredients: Carefully layer your flour on top of the liquid. The goal is to create a raft that floats on the water.
- Salt and Sugar: Place these in opposite corners. Salt regulates yeast growth, while sugar provides the fuel.
- The Yeast Well: Make a small divot in the center of the flour. Pour your yeast here. This keeps the yeast dry and inactive until the kneading officially begins.
Following this sequence is vital if you use the delay start feature. If the yeast touches the water three hours before the machine turns on, the dough will over-proof and collapse during the bake. Keeping them separate ensures the fermentation happens on the machine's schedule.
Adjusting for Humidity and Room Temperature
Environmental factors often cause inconsistent results in 1 lb machines because the small dough mass reaches ambient temperature quickly. On high-humidity days, flour acts like a sponge and absorbs moisture from the air before you even open the bag. If the air is damp, your pre-measured flour might actually contain 10 percent more water than it did on a dry day.
In our analysis of baking physics, a 1 lb loaf is more sensitive to these shifts than a 2 lb loaf. If your kitchen is over 80°F, the yeast will ferment too fast, leading to a large rise followed by a collapse. If this happens, try using chilled water to keep the internal dough temperature stable during the kneading phase.
Conversely, a cold kitchen in winter can stall the rise entirely. If your machine is near a drafty window, the heater might struggle to maintain the 90°F to 100°F required for proofing. Moving the machine to a warmer corner or wrapping it in a thick towel (being careful not to block the air vents) can save the loaf.
Handling a Stuck Kneading Paddle or Drive Shaft
A stuck kneading paddle is a mechanical headache that usually stems from baked-on residue or carbon buildup. If the paddle doesn't pop off easily after the bake, do not use pliers. Forcing it can chip the non-stick coating or bend the drive shaft, which ruins the pan's seal.
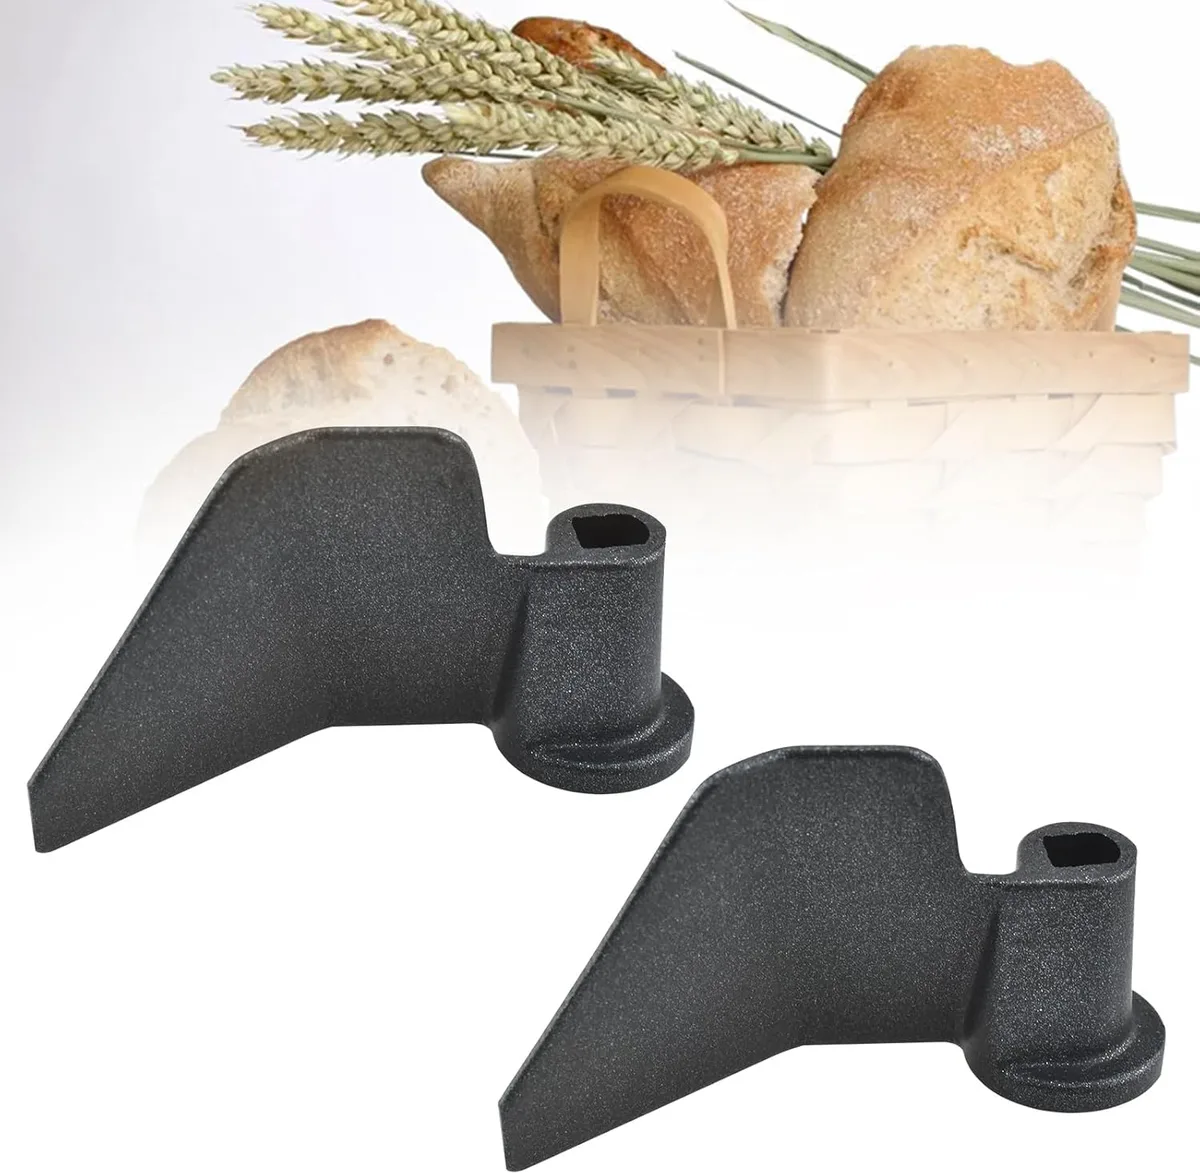
Manufacturer maintenance logs suggest filling the pan with warm, soapy water and letting it soak for 30 minutes. This softens the bread "glue" holding the paddle in place. Once removed, check the underside of the paddle and the drive shaft for any black, oily residue.
This residue is often a mix of flour dust and lubricant. Wipe the shaft clean with a damp cloth after every few uses. If the paddle is consistently difficult to remove, a tiny drop of food-grade mineral oil on the shaft before you attach the paddle can act as a barrier.
Choosing the Right Setting: Quick vs. Basic vs. French
Using the wrong cycle is a common mistake that leads to poor texture or under-baked dough. The "Quick" or "Rapid" setting on a 1 lb machine significantly cuts down the rising time. This requires more yeast or a specific "Rapid Rise" variety to get the dough to the correct height before the heating element kicks in.
The "French" setting usually features a longer kneading and rising time with a higher baking temperature. This is excellent for crusty loaves but can burn a standard white bread recipe that contains high amounts of sugar. Sugar caramelizes quickly, so a longer bake time might result in a charred exterior and a raw center.
For most 1 lb recipes, the "Basic" or "White" setting is the safest choice. It provides a balanced timeline that allows gluten to develop without over-proofing. If you prefer a softer crust, stick to the "Light" crust setting, as small machines often have heating elements very close to the pan walls.
Maintenance Tips for Longevity and Non-Stick Performance
To keep your 1 lb machine running smoothly, you must protect the integrity of the bread pan. The non-stick coating is delicate. Once it begins to flake or scratch, the bread will stick, and the paddle will struggle to rotate, which puts unnecessary strain on the drive motor.
- Hand Wash Only: Never put the bread pan or paddle in the dishwasher. The high heat and harsh detergents will strip the coating and dry out the internal bearings.
- Dry Completely: After washing, ensure the underside of the pan (where it connects to the motor) is bone dry. Moisture here can cause corrosion on the drive gears.
- Check the Belt: If you hear the motor spinning but the paddle isn't moving, the internal drive belt may have slipped or snapped. Many 1 lb machines use a simple rubber belt that can be replaced by a technician.
Avoid using metal utensils to pry bread out of the pan. If the loaf is stuck, turn the pan upside down and shake it firmly. If it still won't budge, wiggle the wing nut on the bottom of the pan to loosen the paddle's grip on the bread.
Final Decision Guide: When to Adjust the Recipe vs. Replace the Machine
If you are facing repeated failures, you need to decide if the issue is your technique or a mechanical breakdown. If the bread consistently fails to rise despite using fresh yeast and a digital scale, the machine's internal thermostat might be faulty. A malfunctioning sensor won't trigger the correct heat for proofing.
However, if your machine kneads well and gets hot, the problem is almost certainly your ingredient ratios. Small machines are simply less forgiving. If you have tried three different recipes with no success, go back to the manufacturer's "Basic White Bread" recipe included in the manual.
These are specifically calibrated for that machine's motor power and heat output.
If the machine makes a loud screeching noise or the paddle feels loose and wobbly on the shaft, the bearings are likely shot. In many entry-level 1 lb models, the cost of a replacement pan is nearly half the price of a new unit. In those cases, upgrading to a more robust model with a better warranty is the smarter long-term move.
Frequently Asked Questions
Why is my bread machine paddle leaving a hole in the loaf?
This is a standard feature of most 1 lb bread makers. Because the paddle stays in the pan during the bake, it gets baked into the bottom. You can remove the paddle before the final rise cycle, but this requires manual timing.
Can I use 1.5 lb bread mixes in a 1 lb machine?
No, using a 1.5 lb mix will lead to an overflow or a gummy, under-baked top. The heating element in a 1 lb machine is not designed to penetrate the density of a larger dough ball.
Why does my bread taste like yeast?
This happens if you use too much yeast or if the rising cycle was too short. In a 1 lb machine, try reducing the yeast by 1/8 to 1/4 teaspoon. A longer, slower rise on the "Basic" setting often eliminates the yeasty aftertaste.
Why is the top of my bread white and unbaked?
The heating element in most 1 lb machines is located at the bottom. If the loaf rises too high, the top is too far from the heat source. Ensure your dough doesn't rise more than 1 inch from the rim of the pan.
Is it normal for the bread pan to rattle?
A small amount of vibration is normal, but a loud rattling usually means the pan isn't seated correctly in the locking tabs. Check the base of the pan for any debris that might be preventing a flush connection with the motor.

Similar Posts